LEISURE 22
Mein Blog zum Leisure 22 bzw. Leisure 23 Refit und Instandsetzung
reFIT


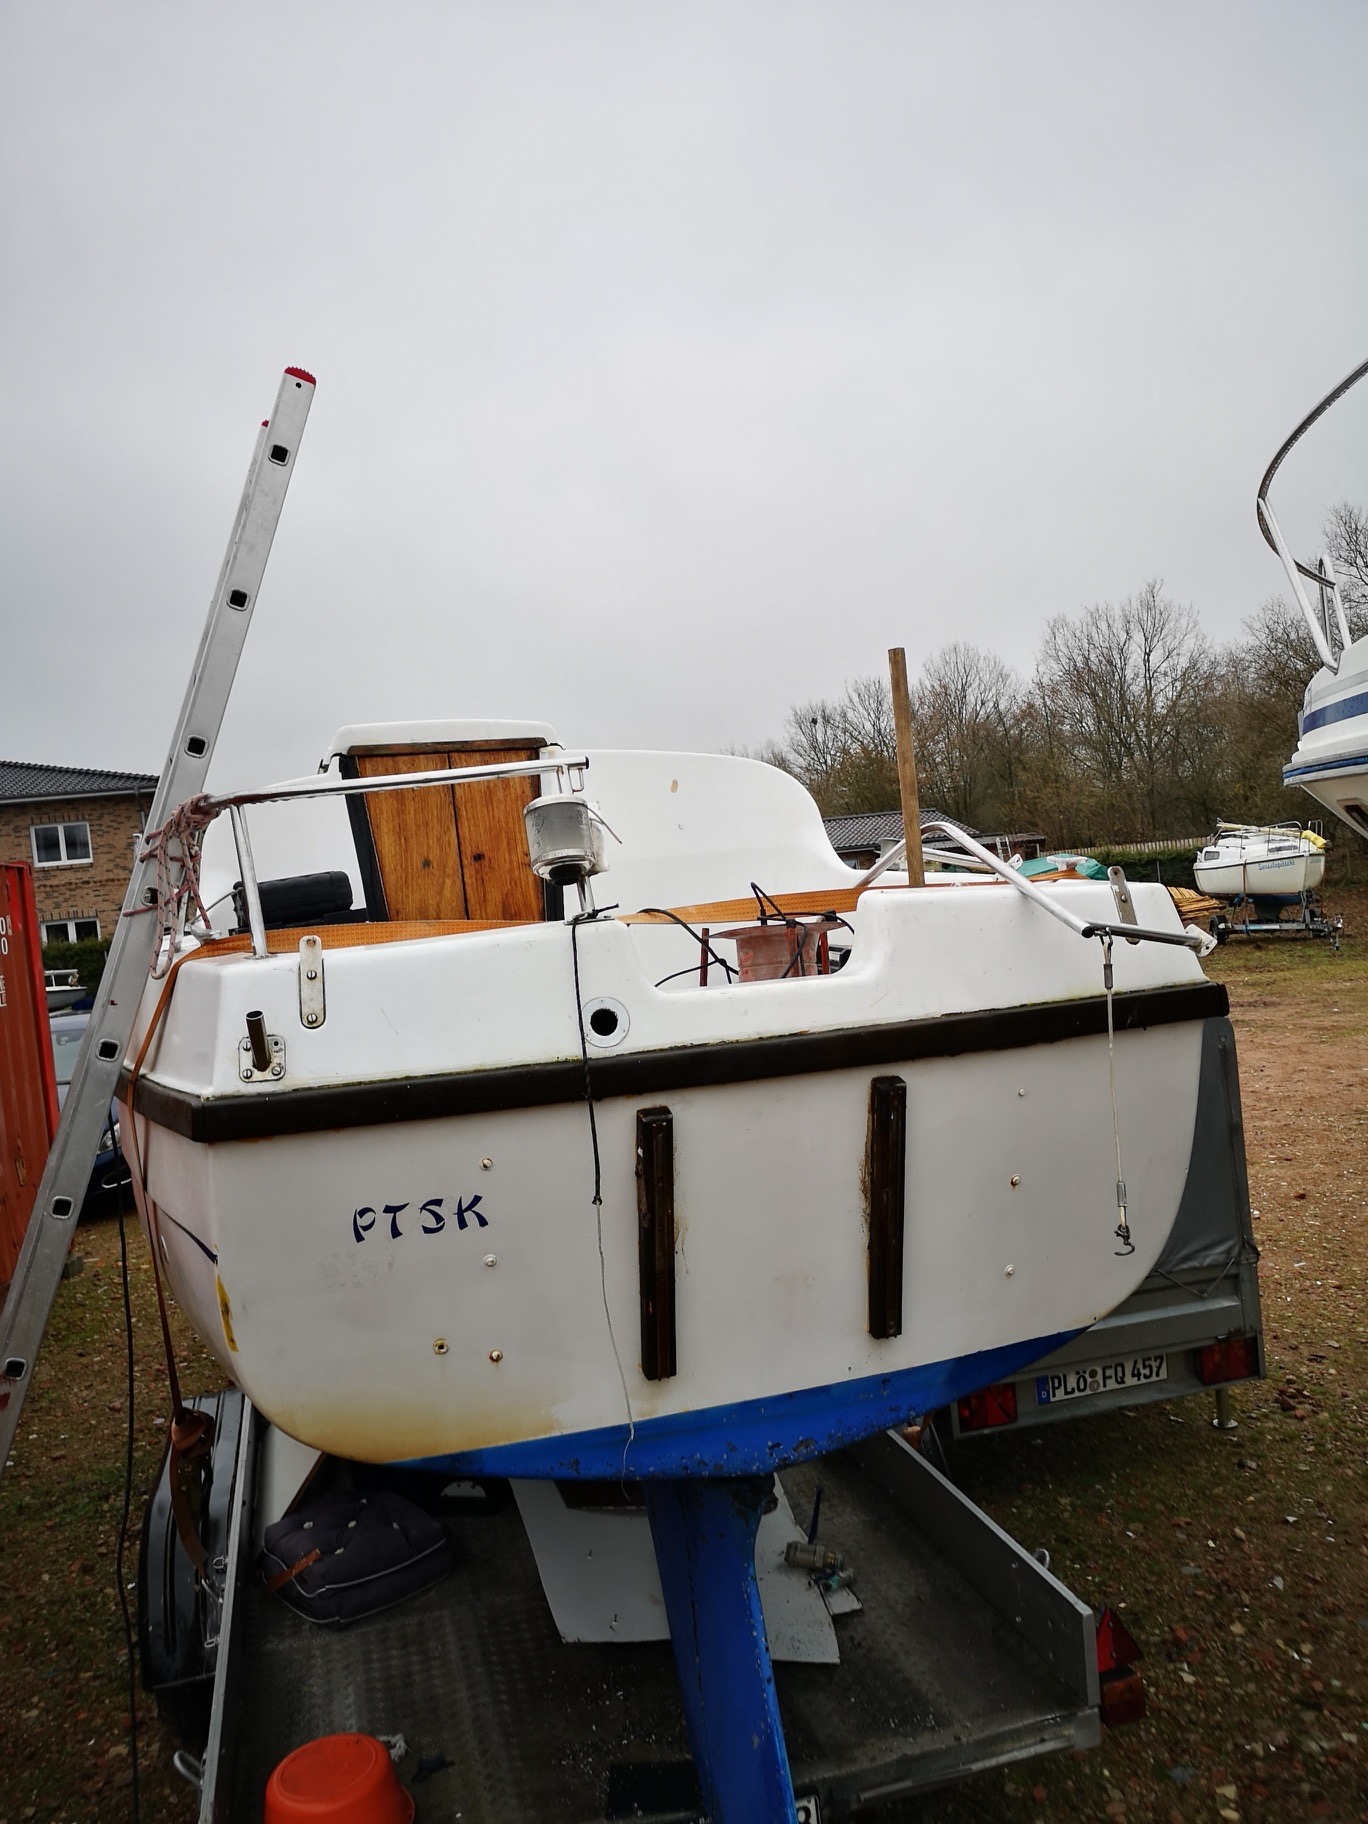
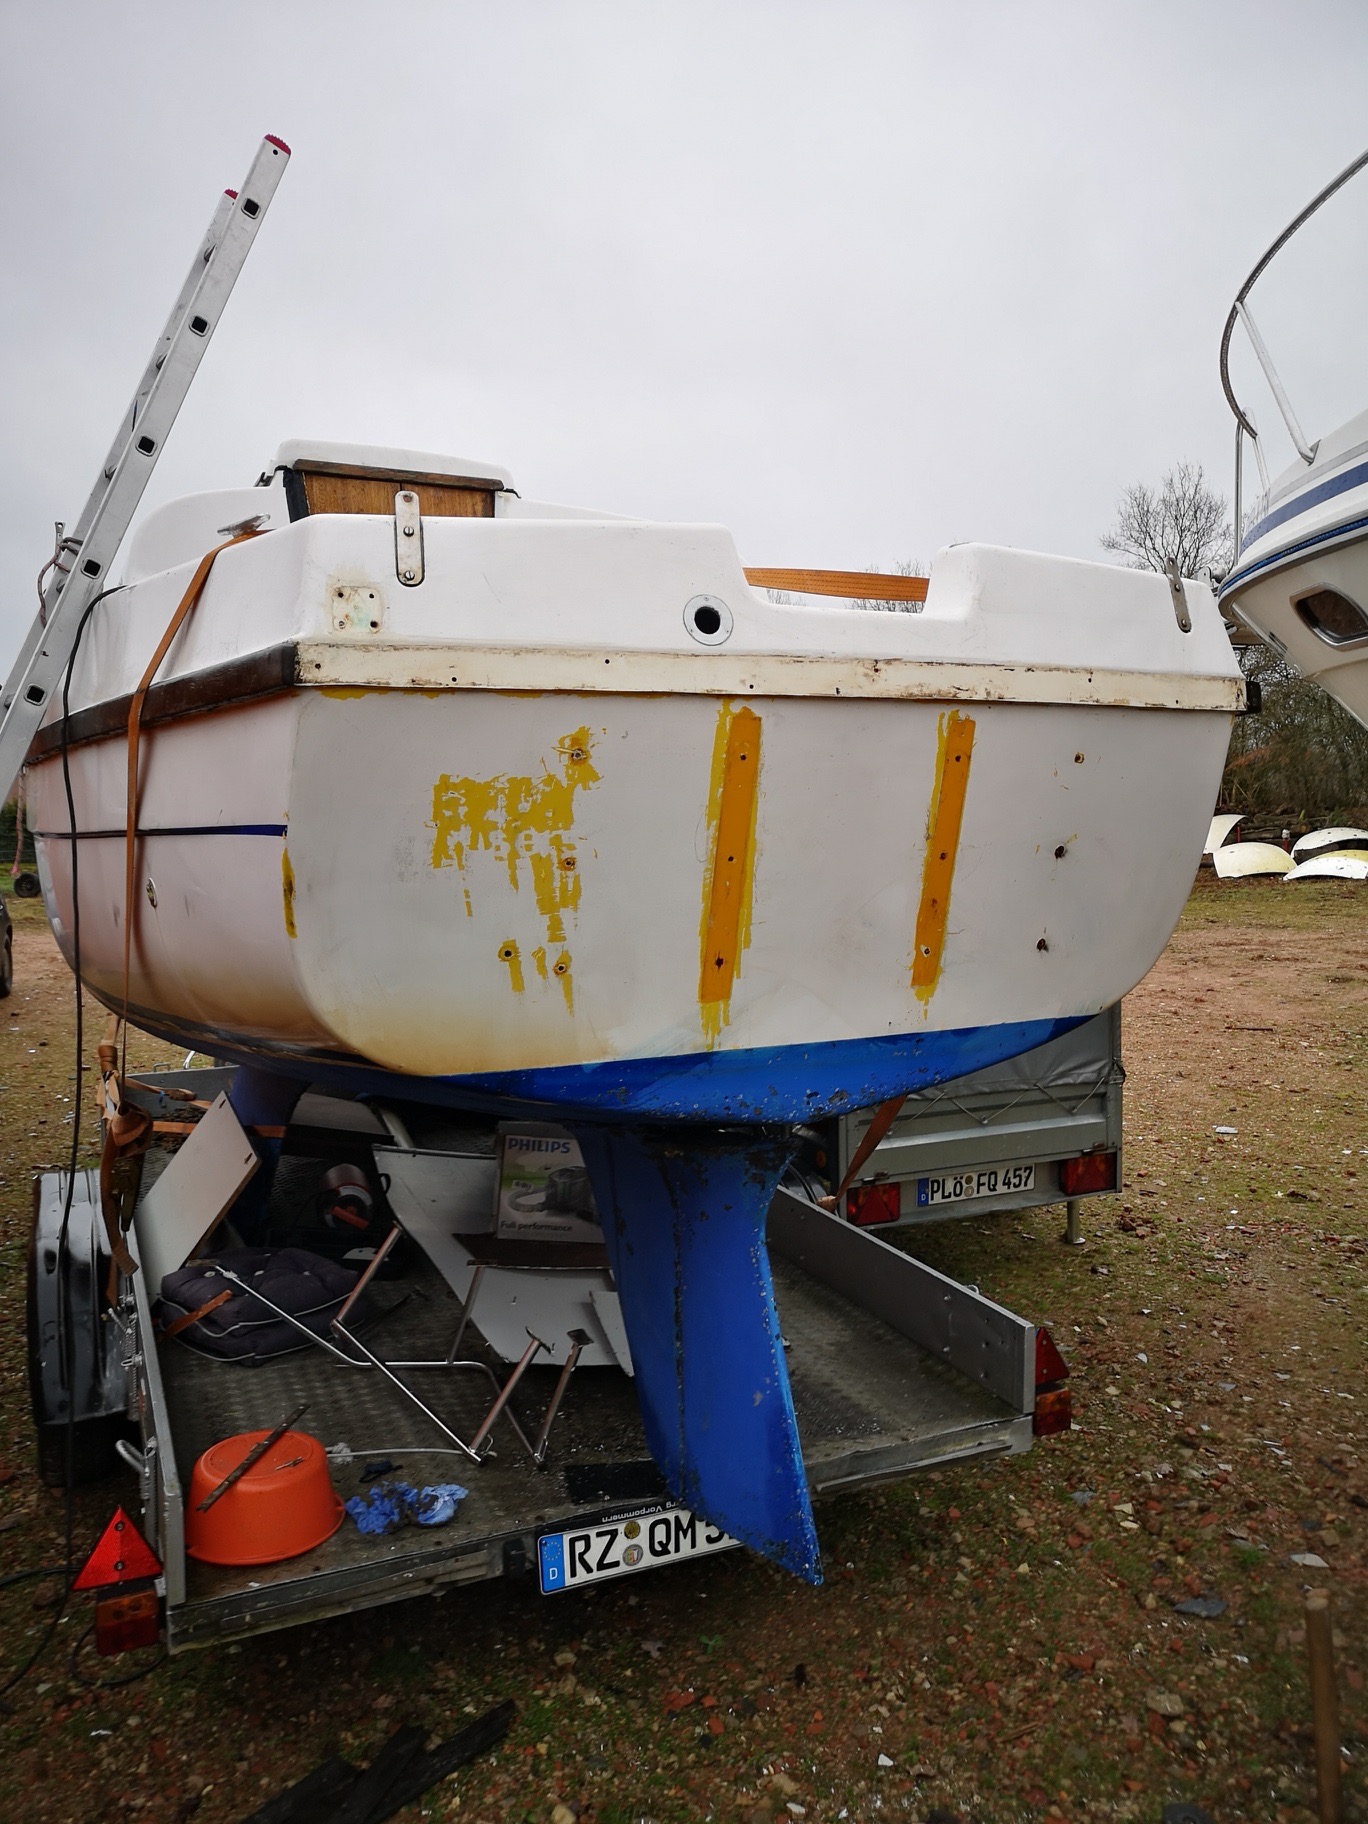
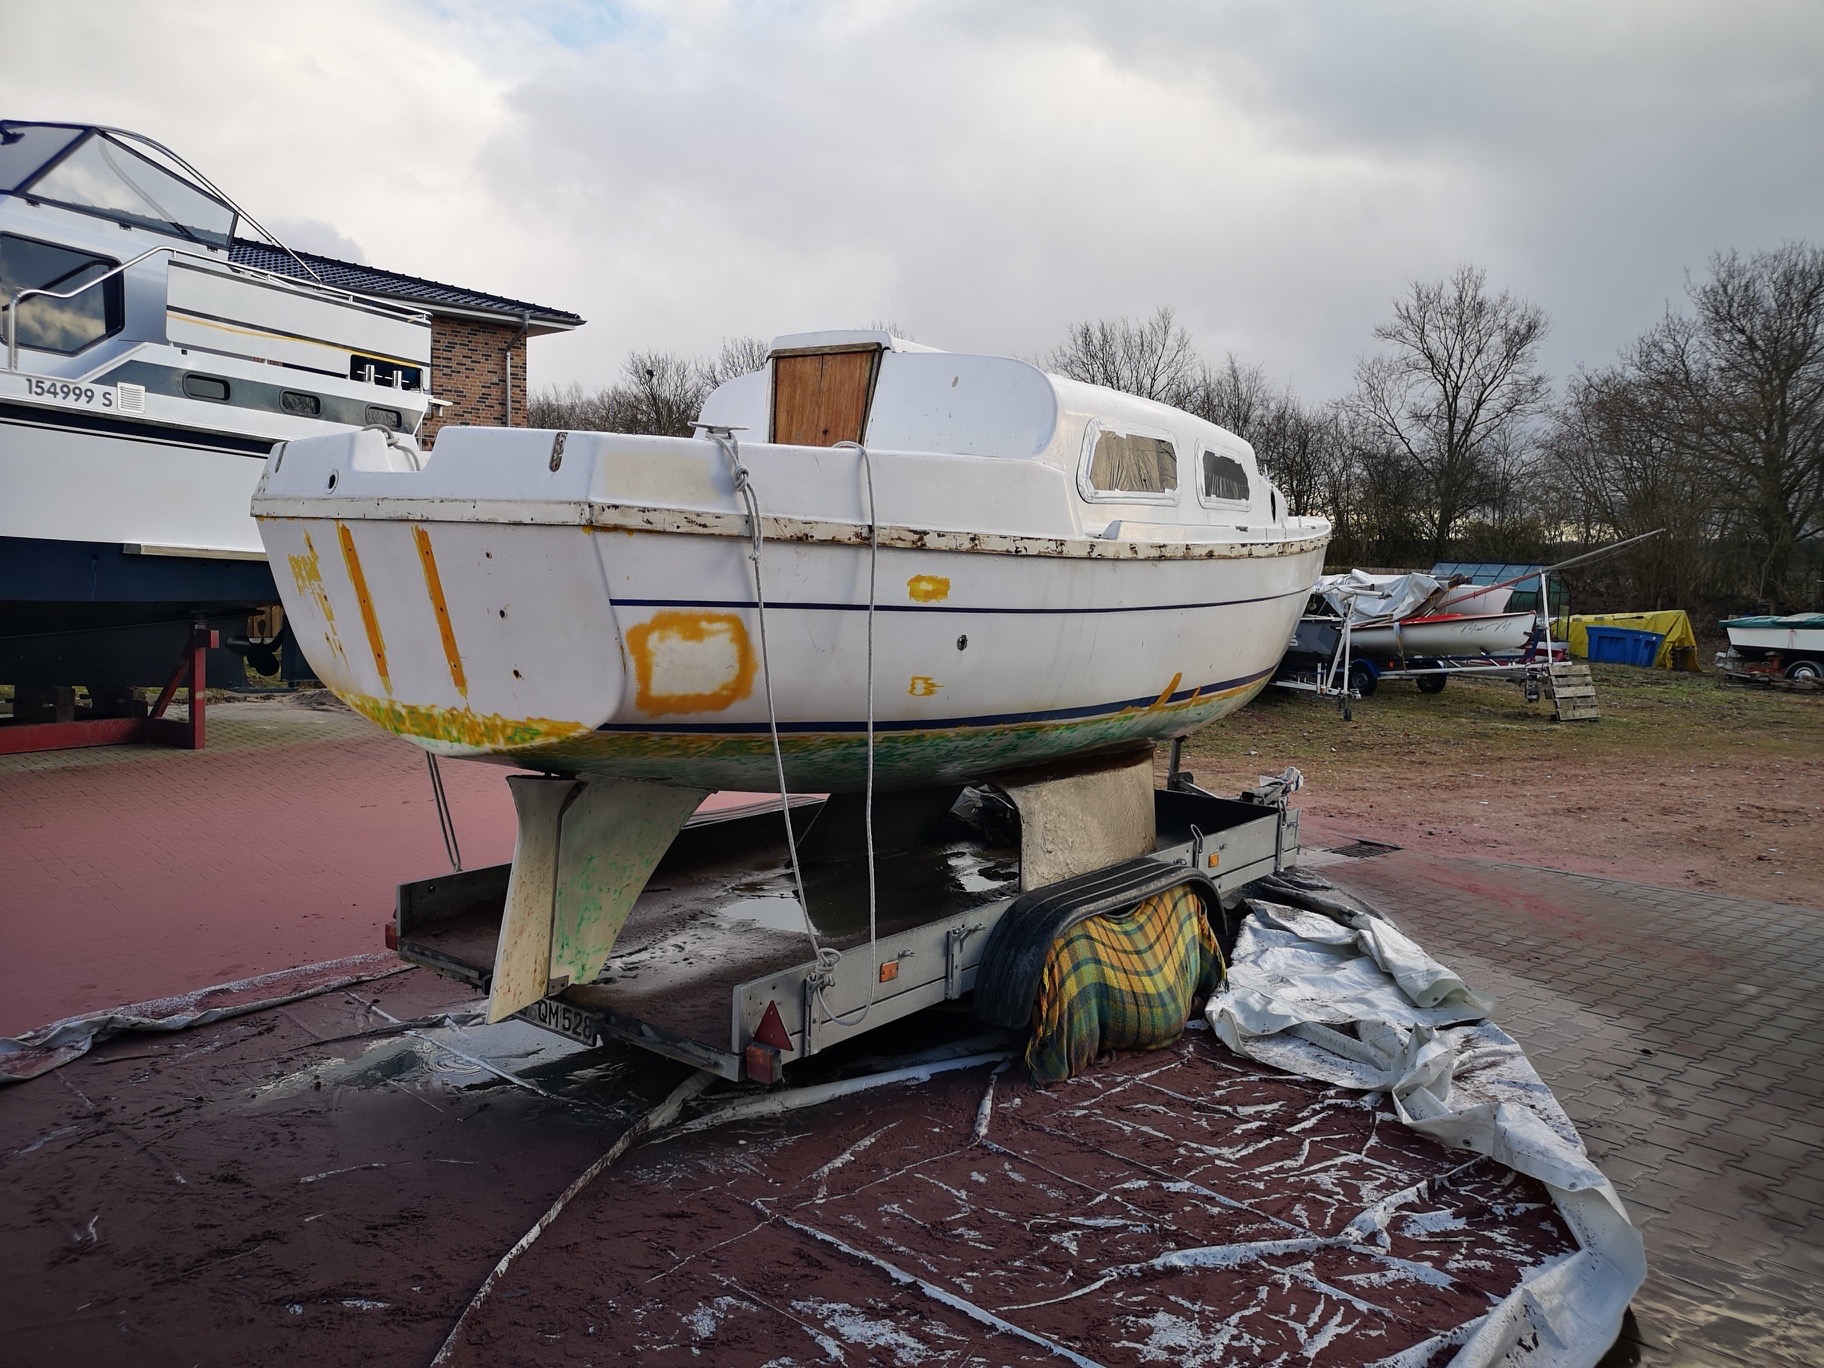
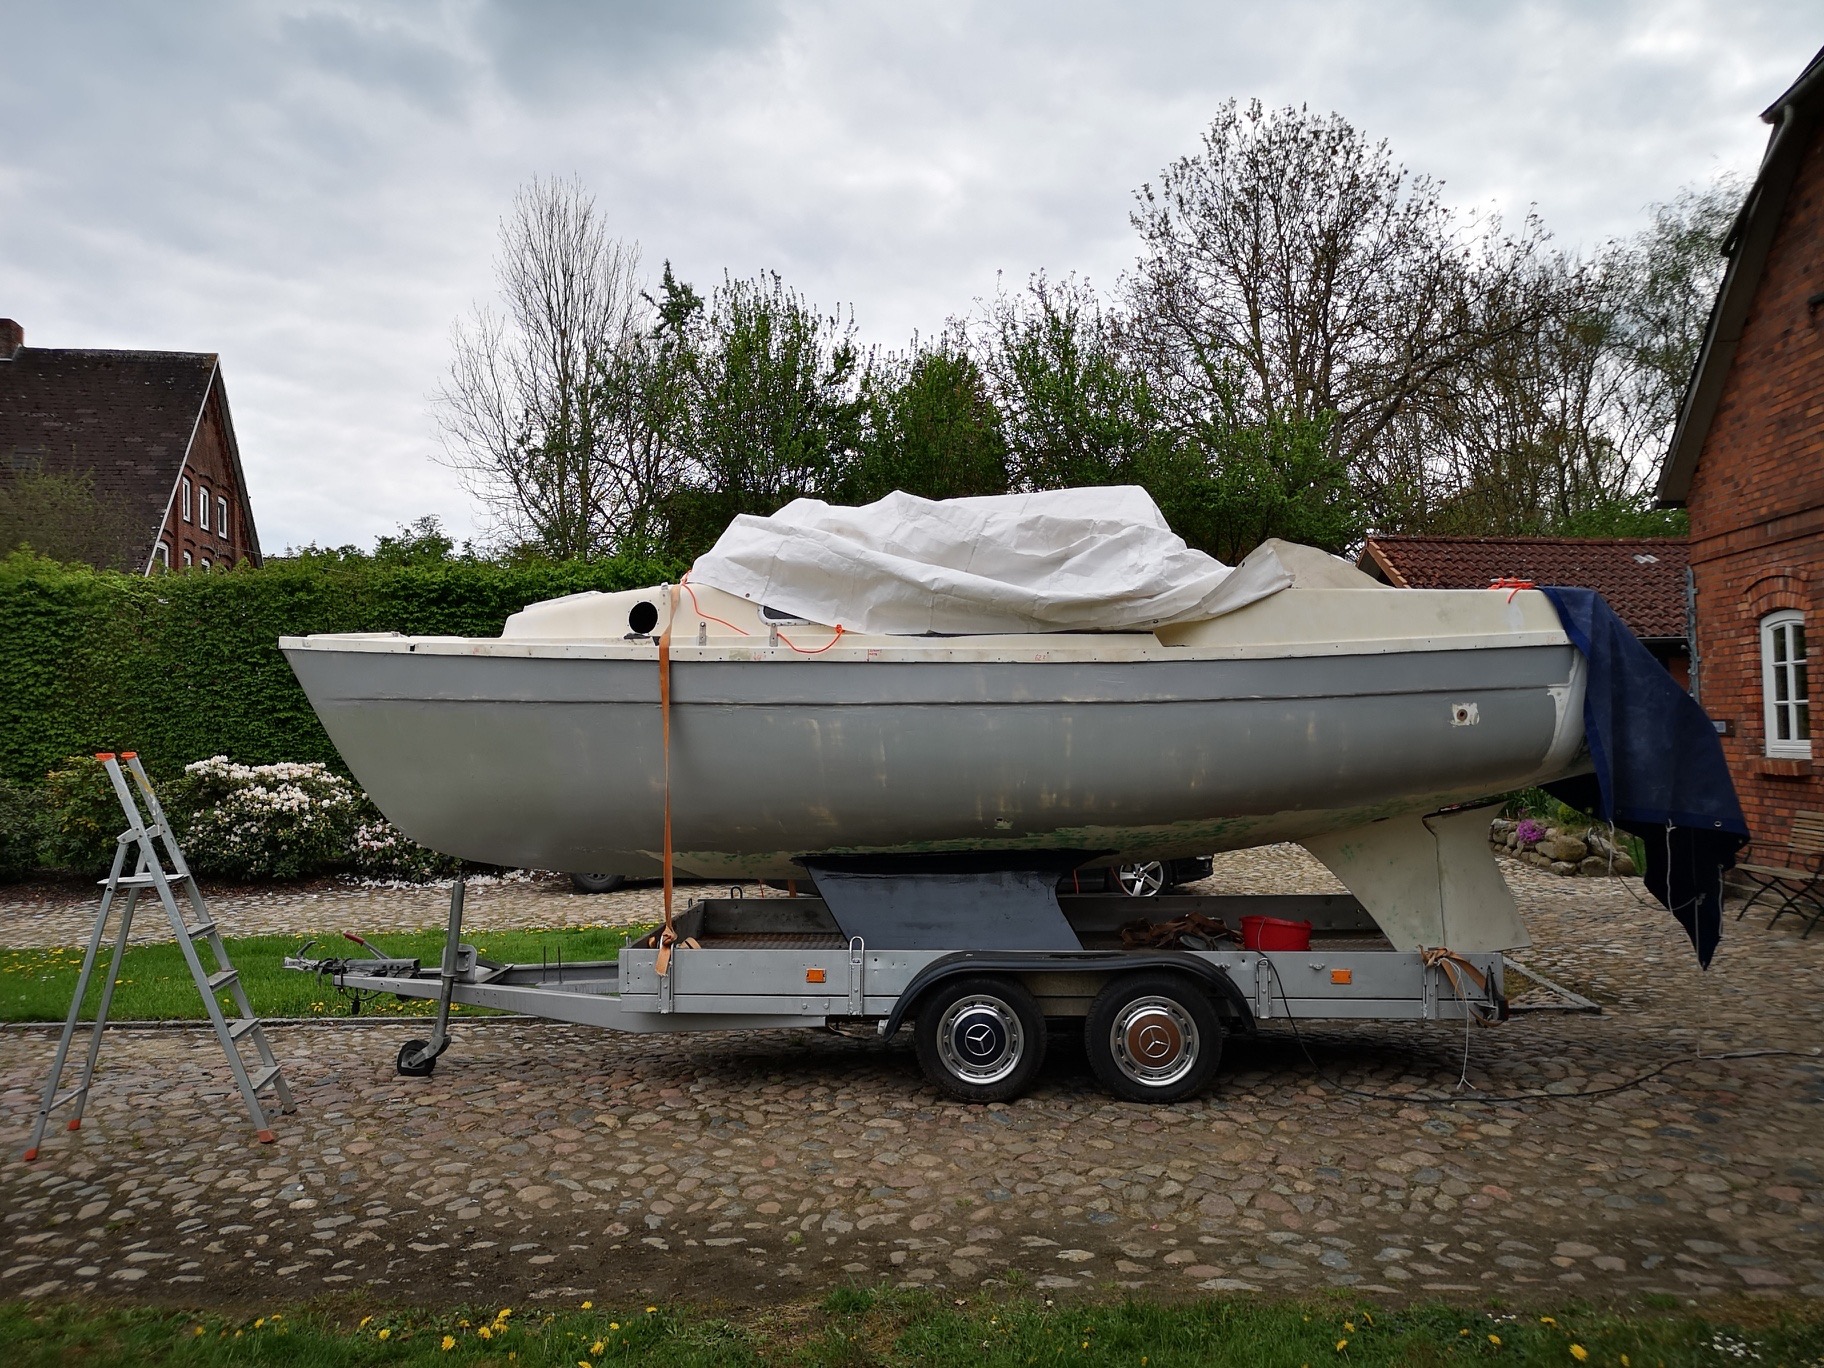
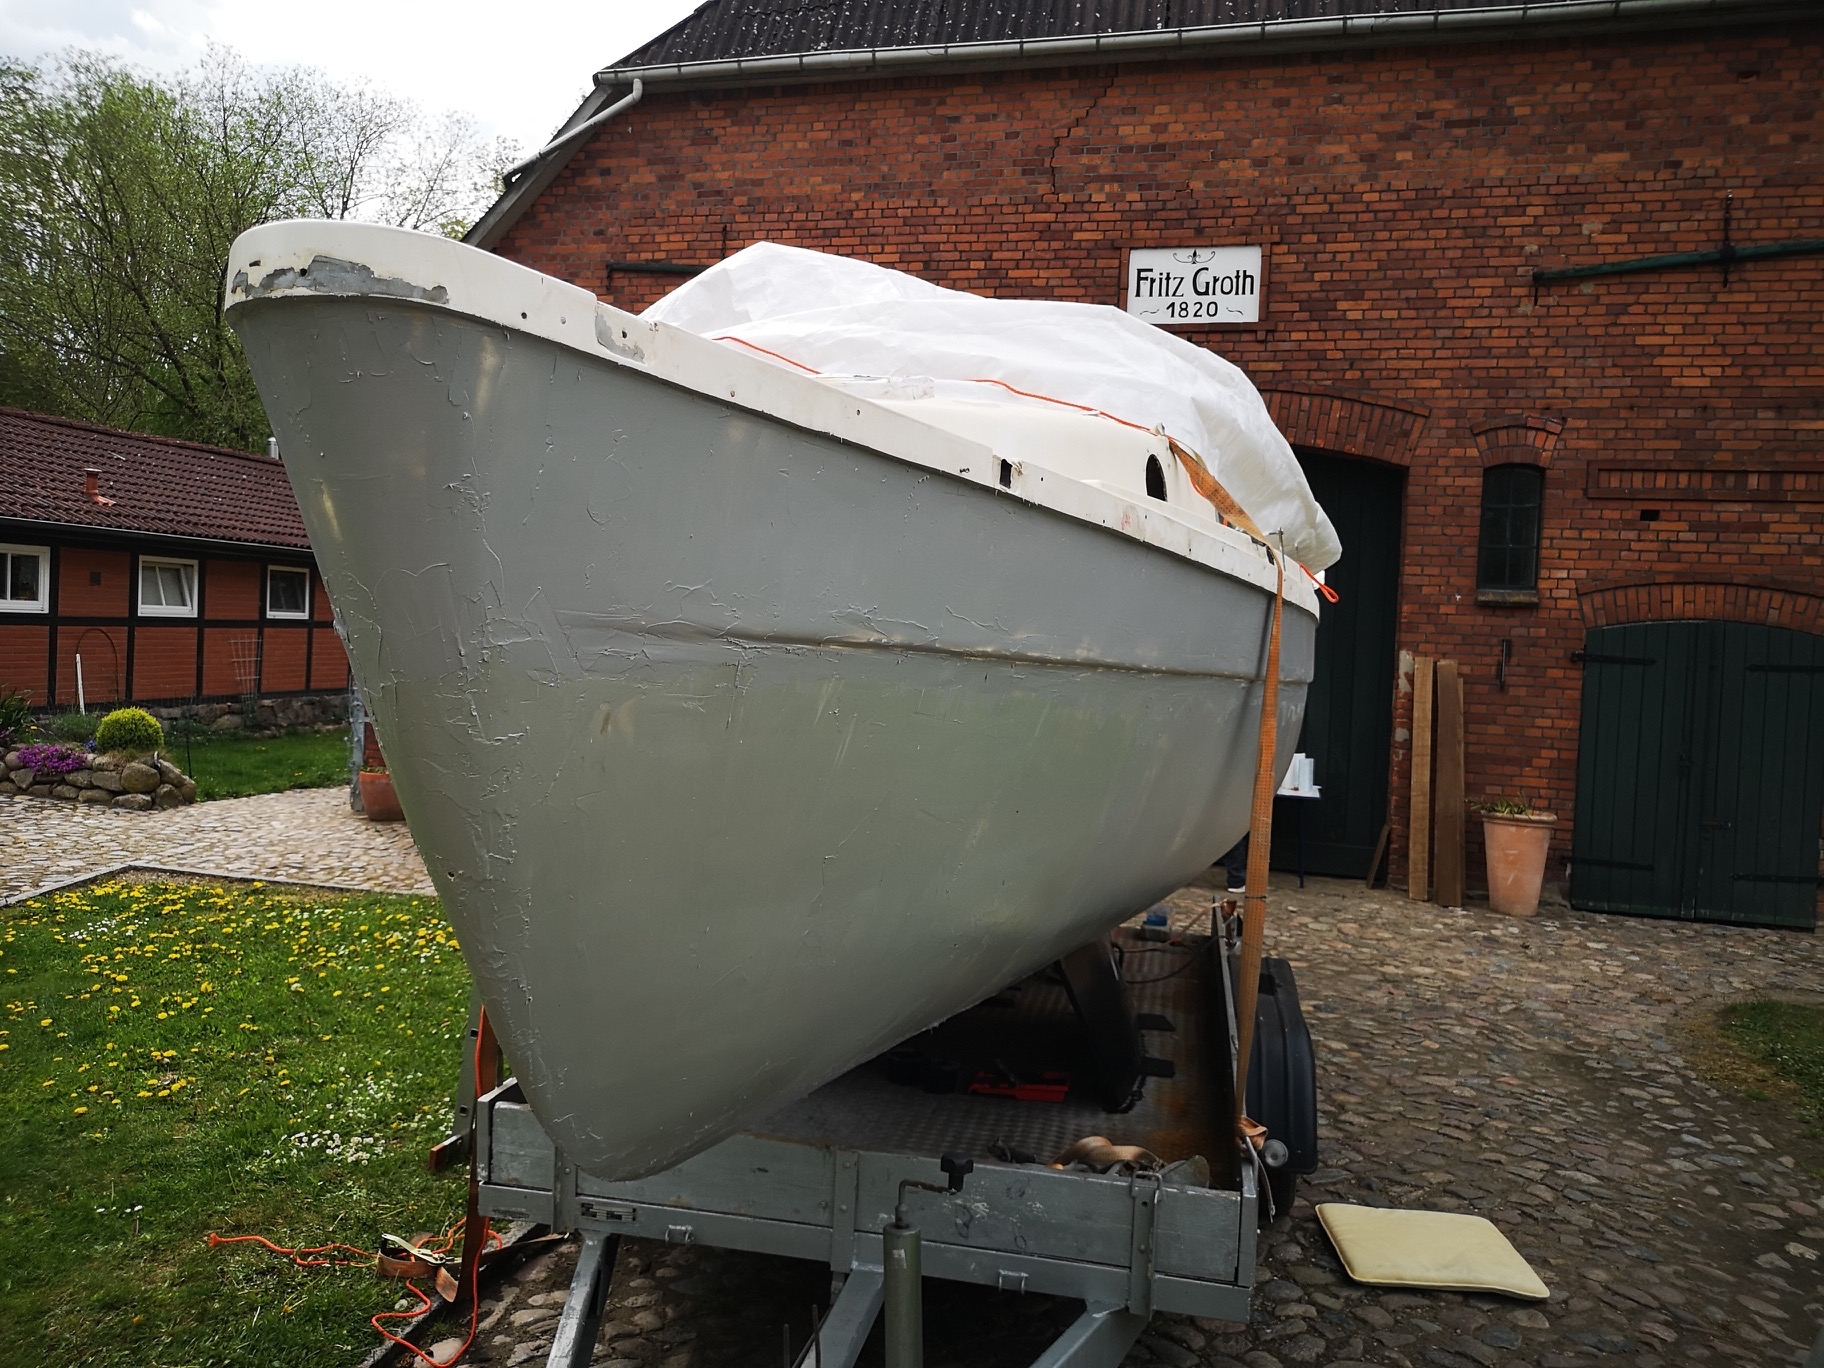
Dismounted sailing ship goes to Lieblingsdaycruiser


22.11.2019
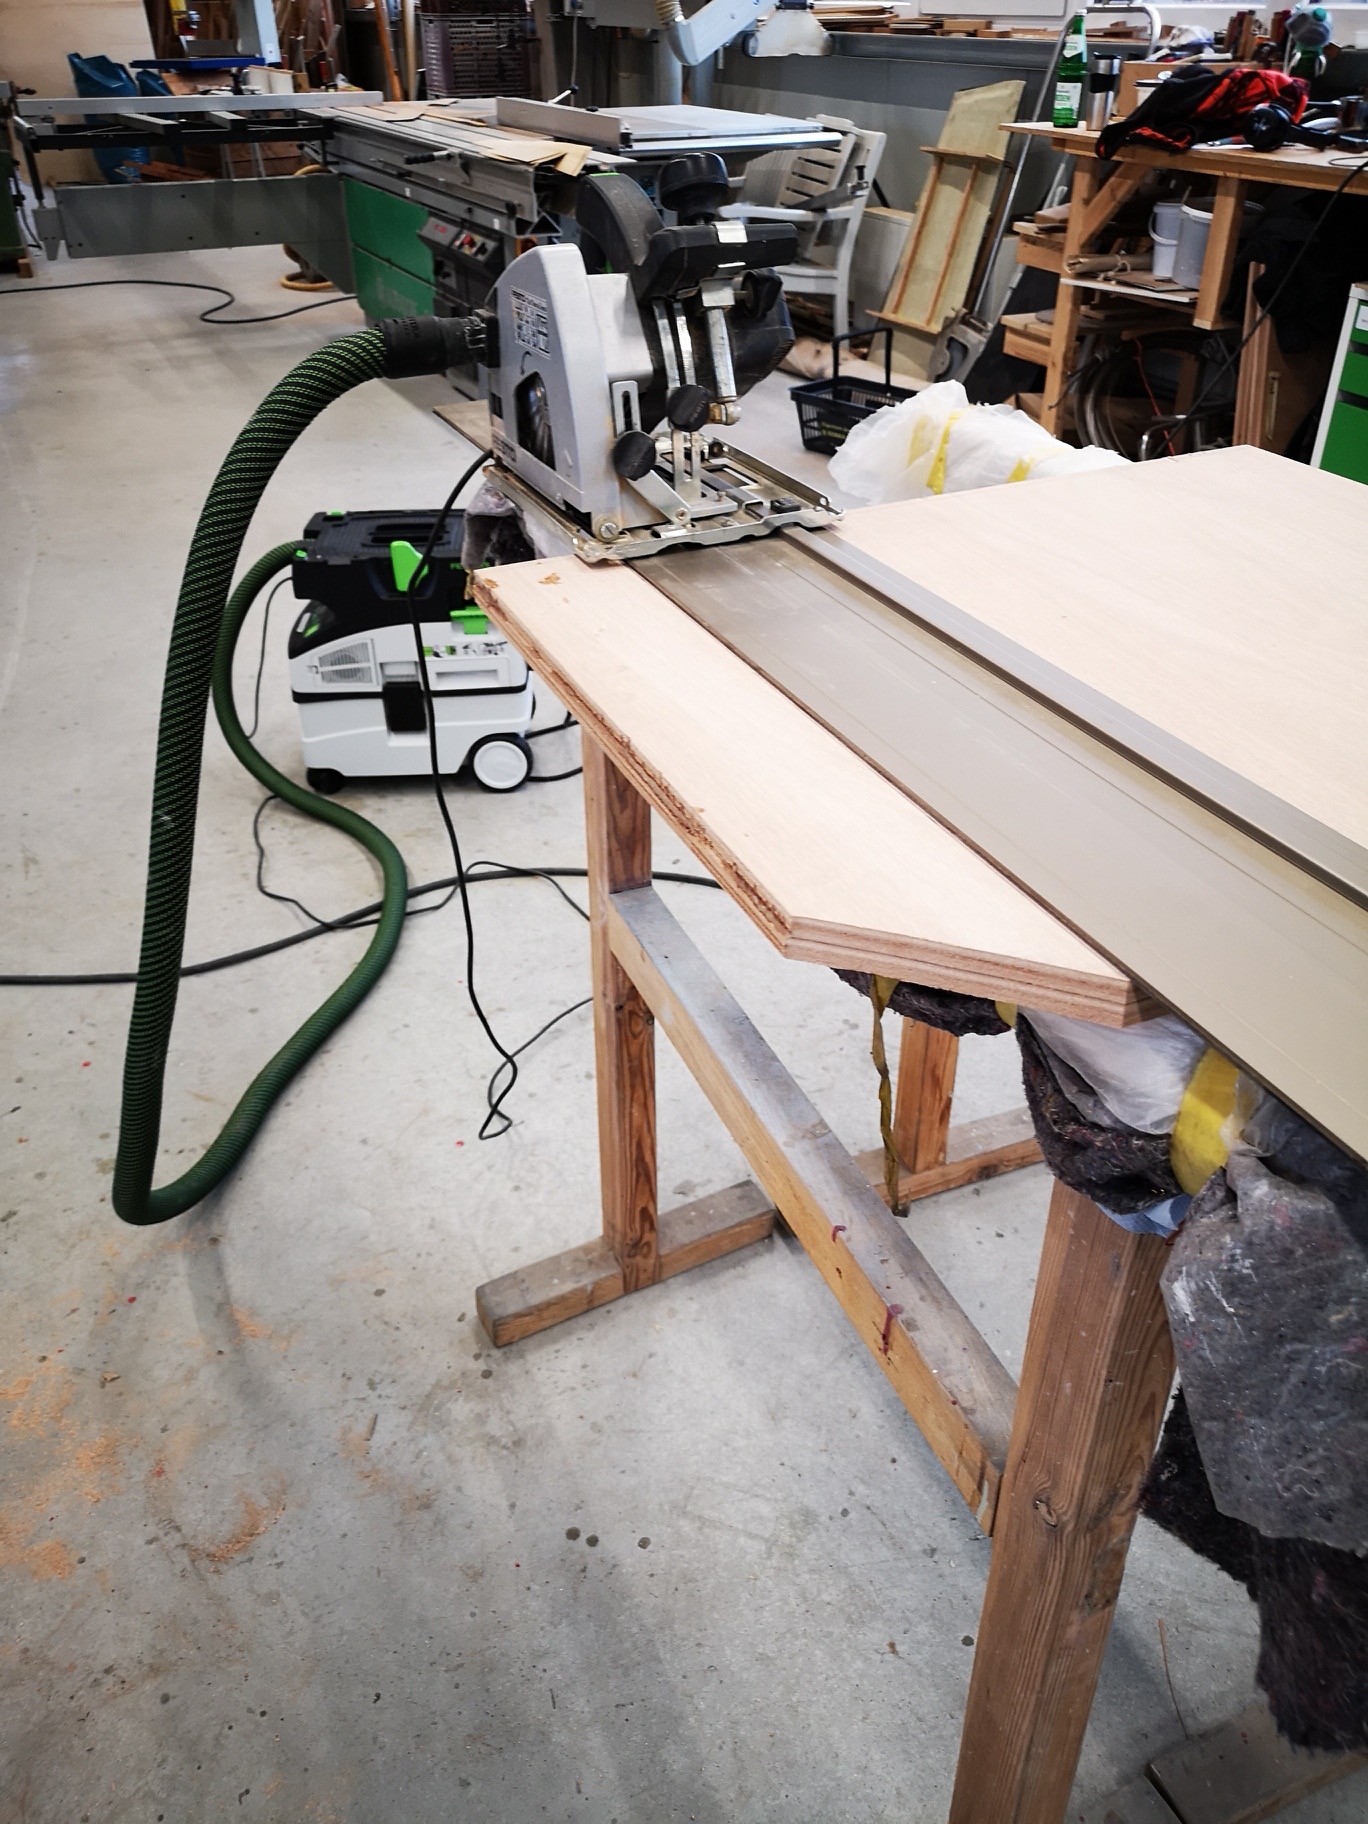
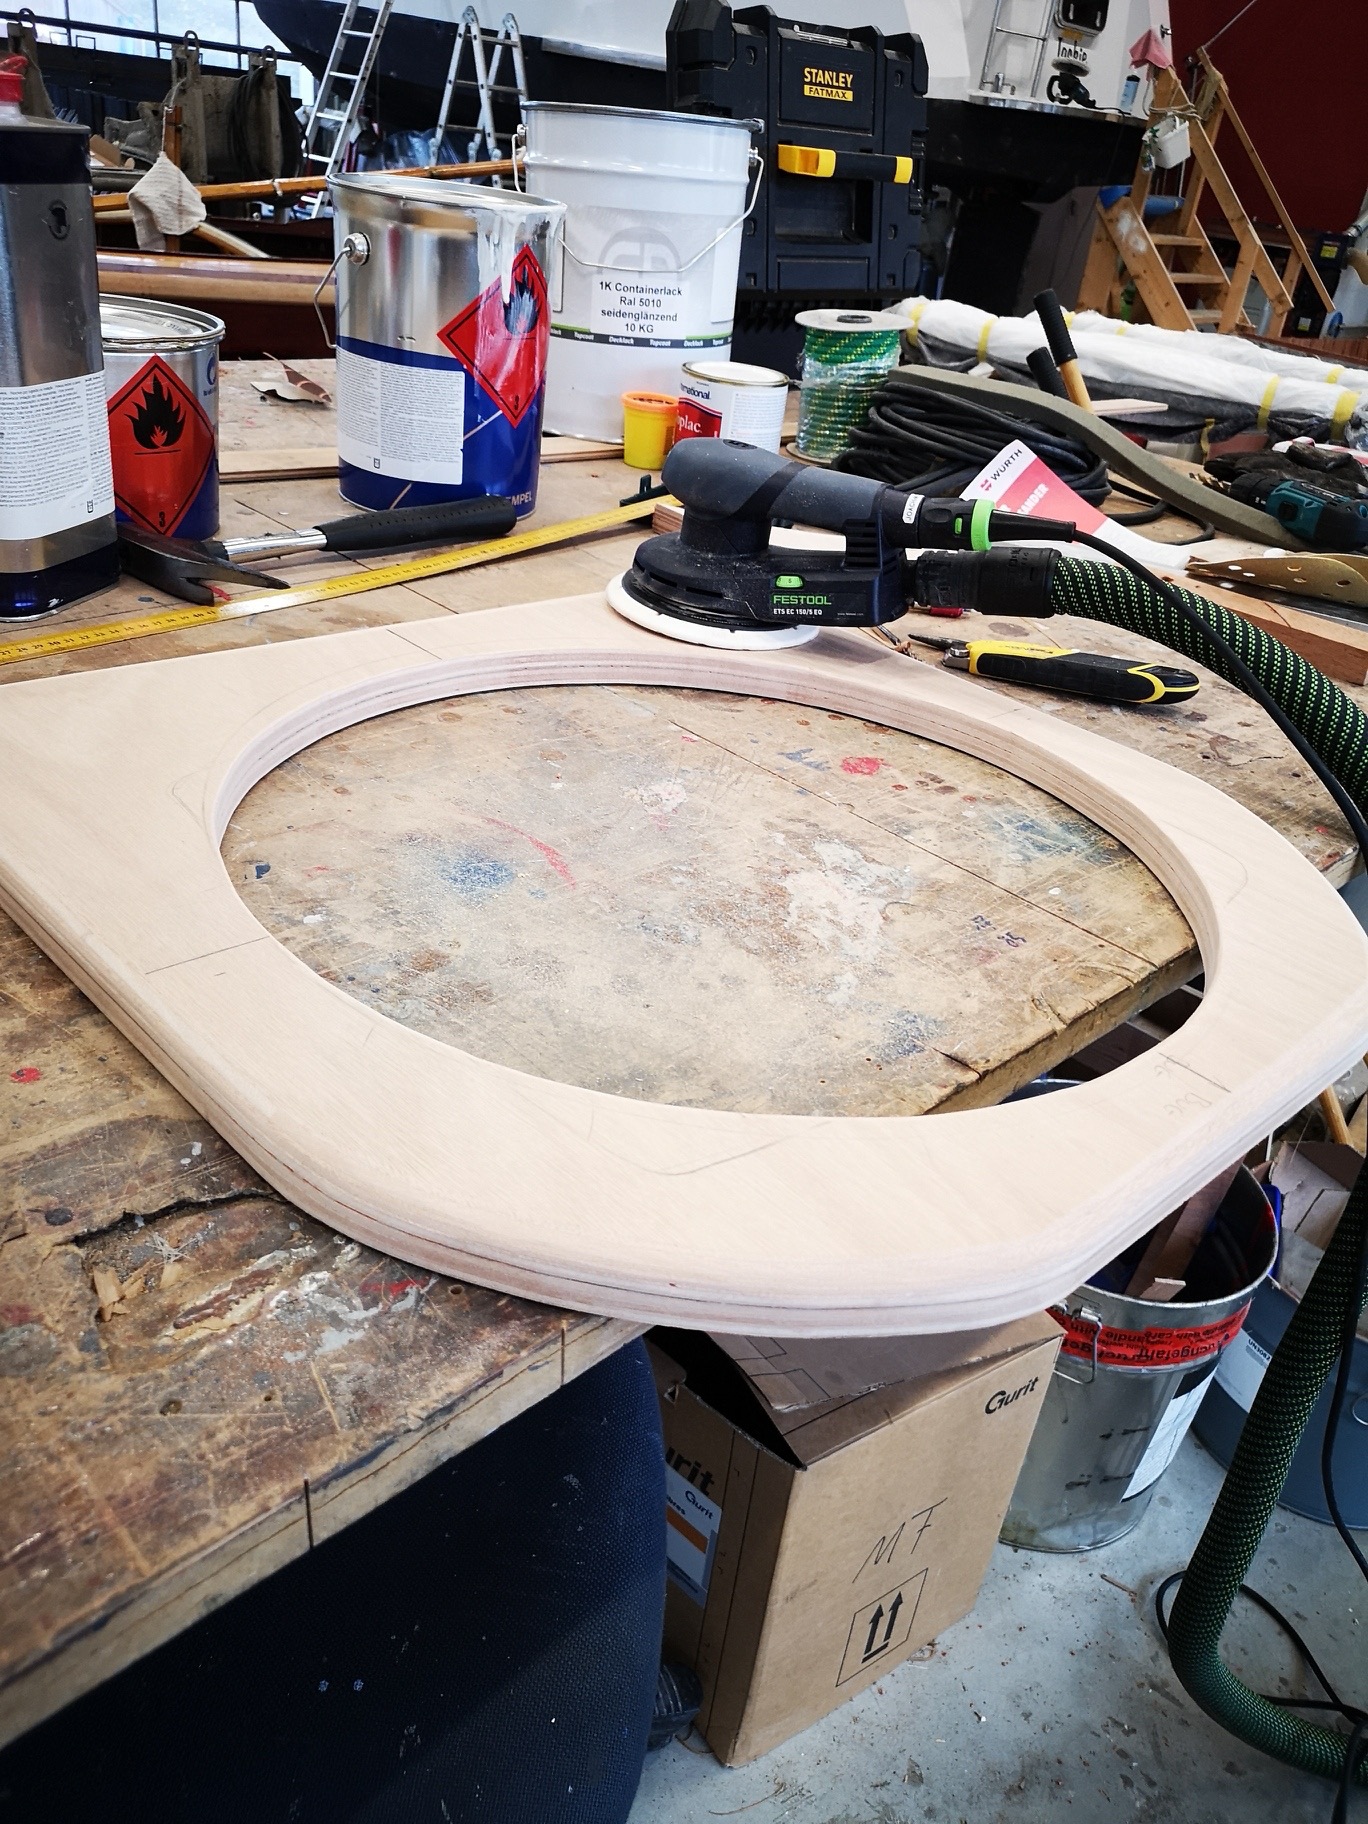
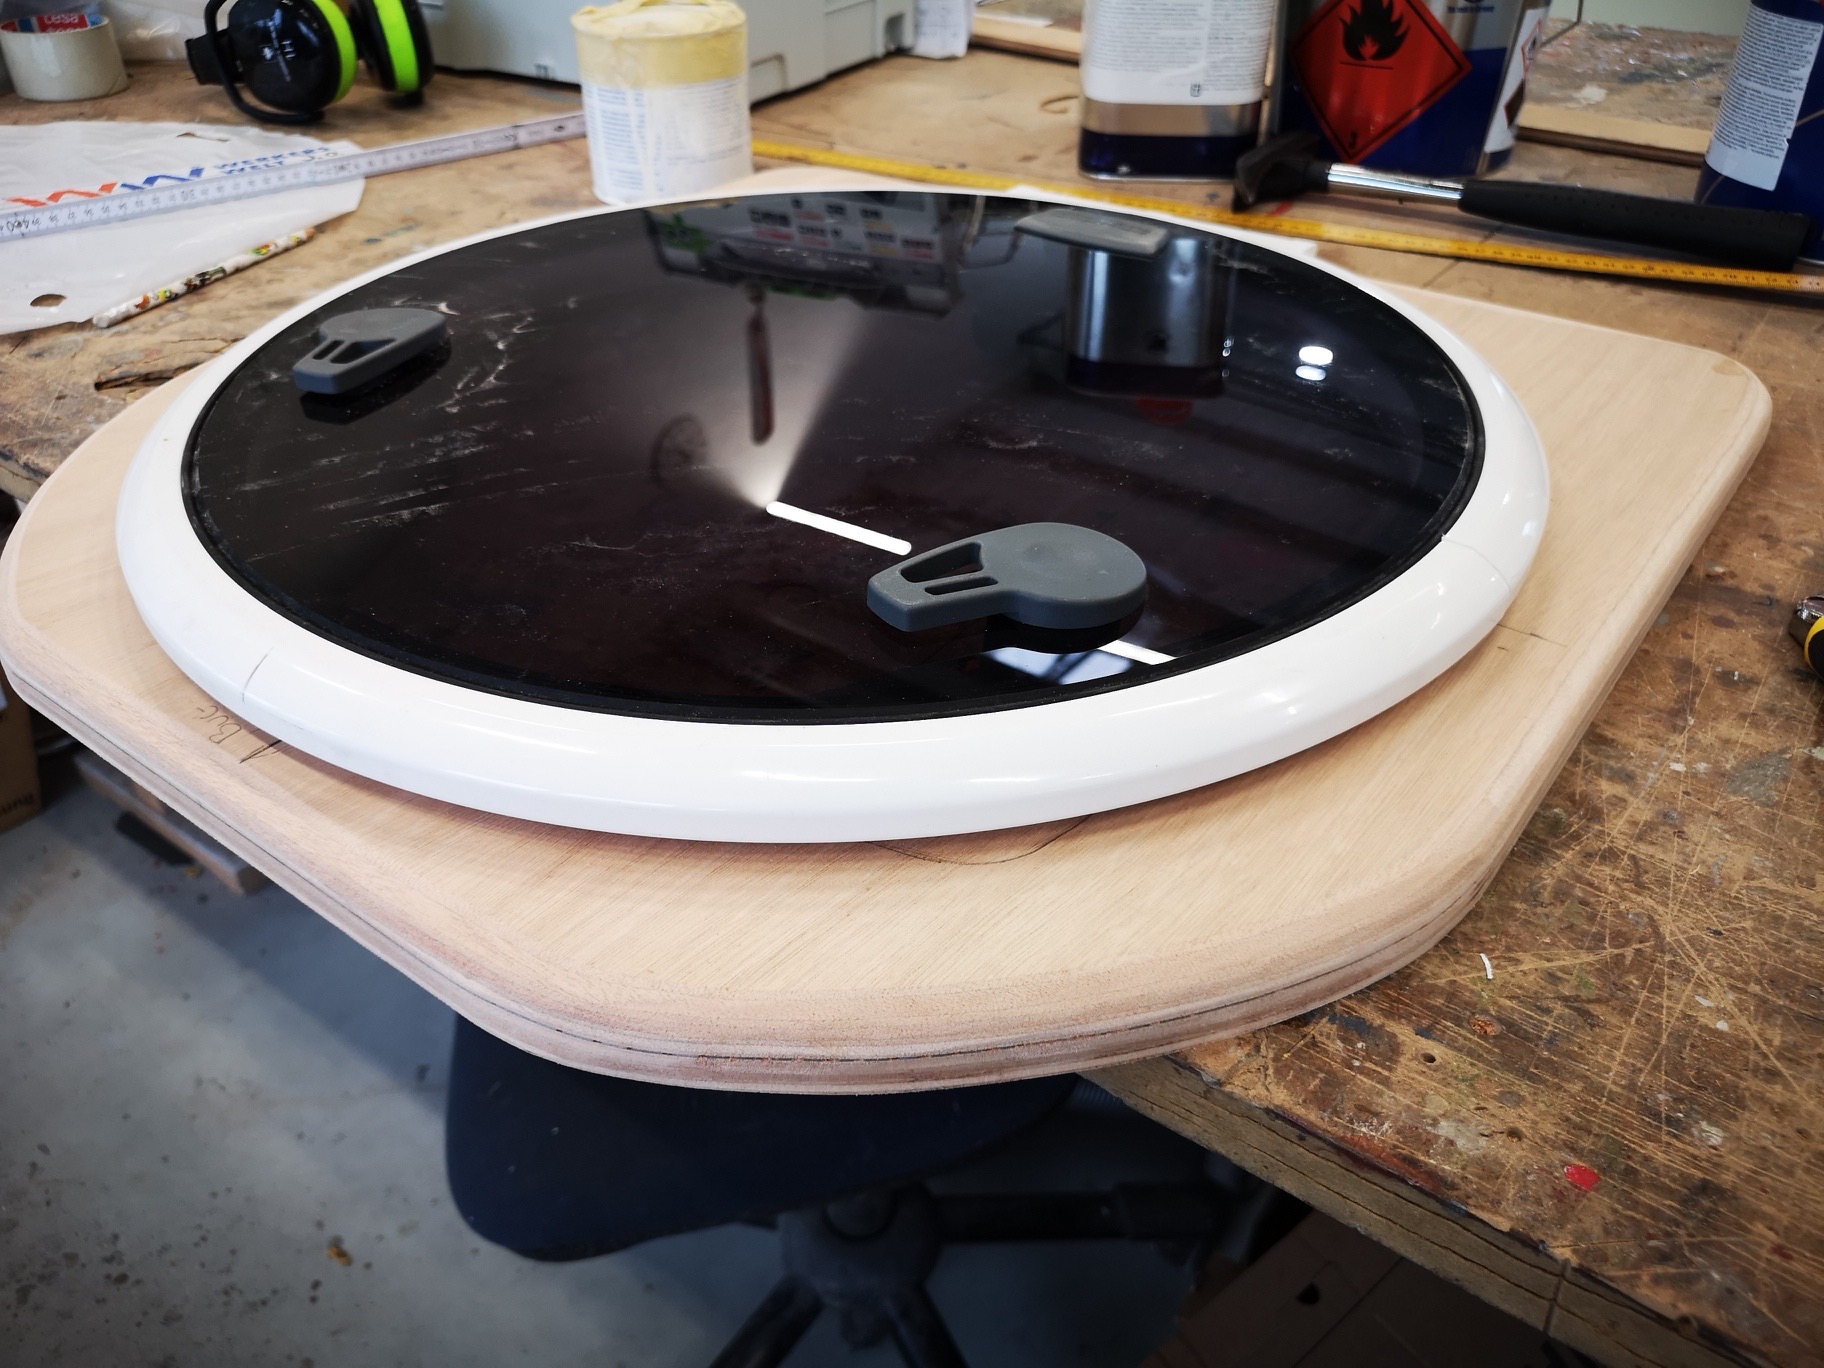
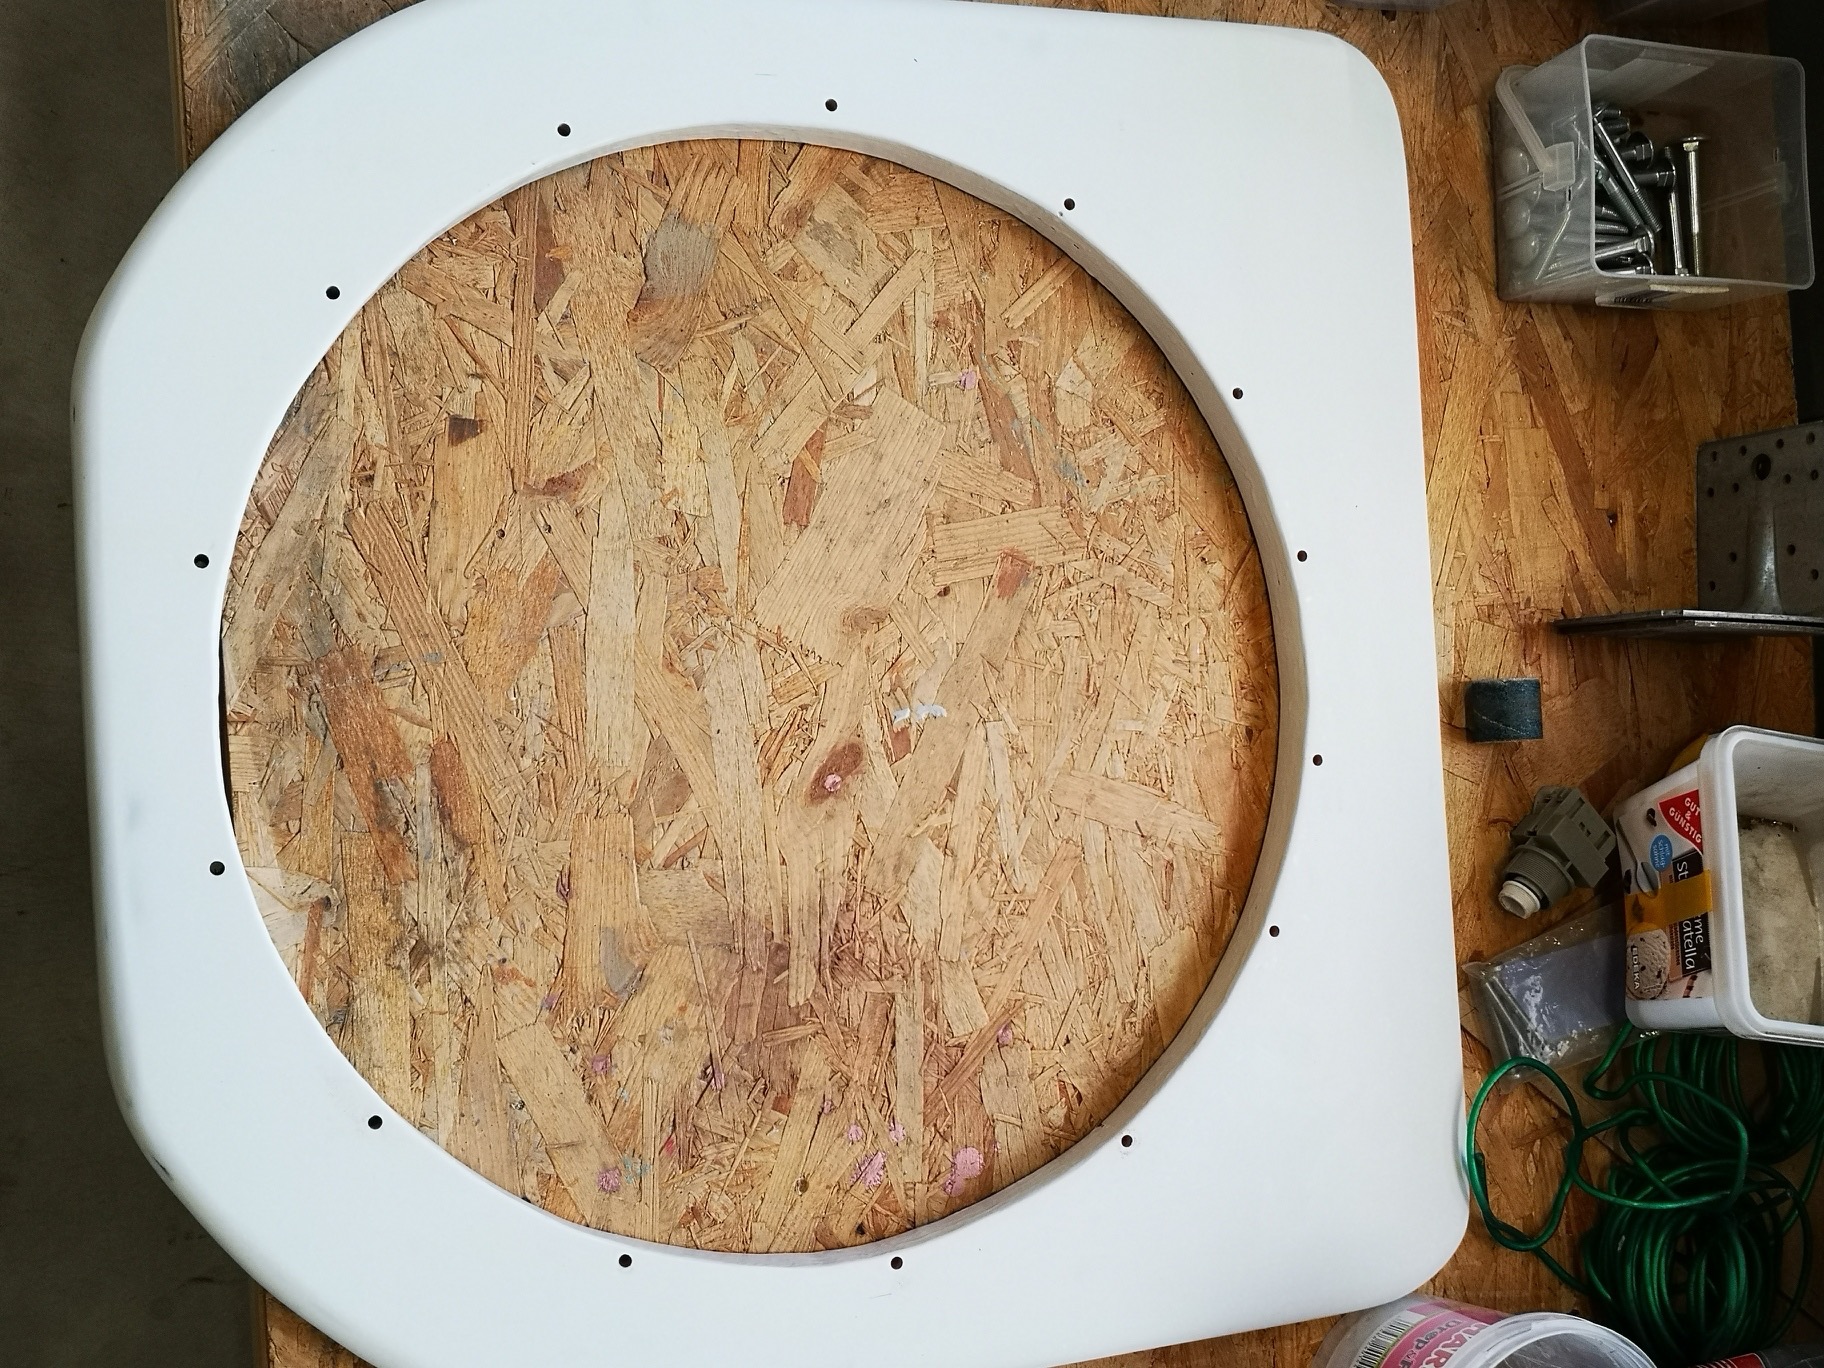
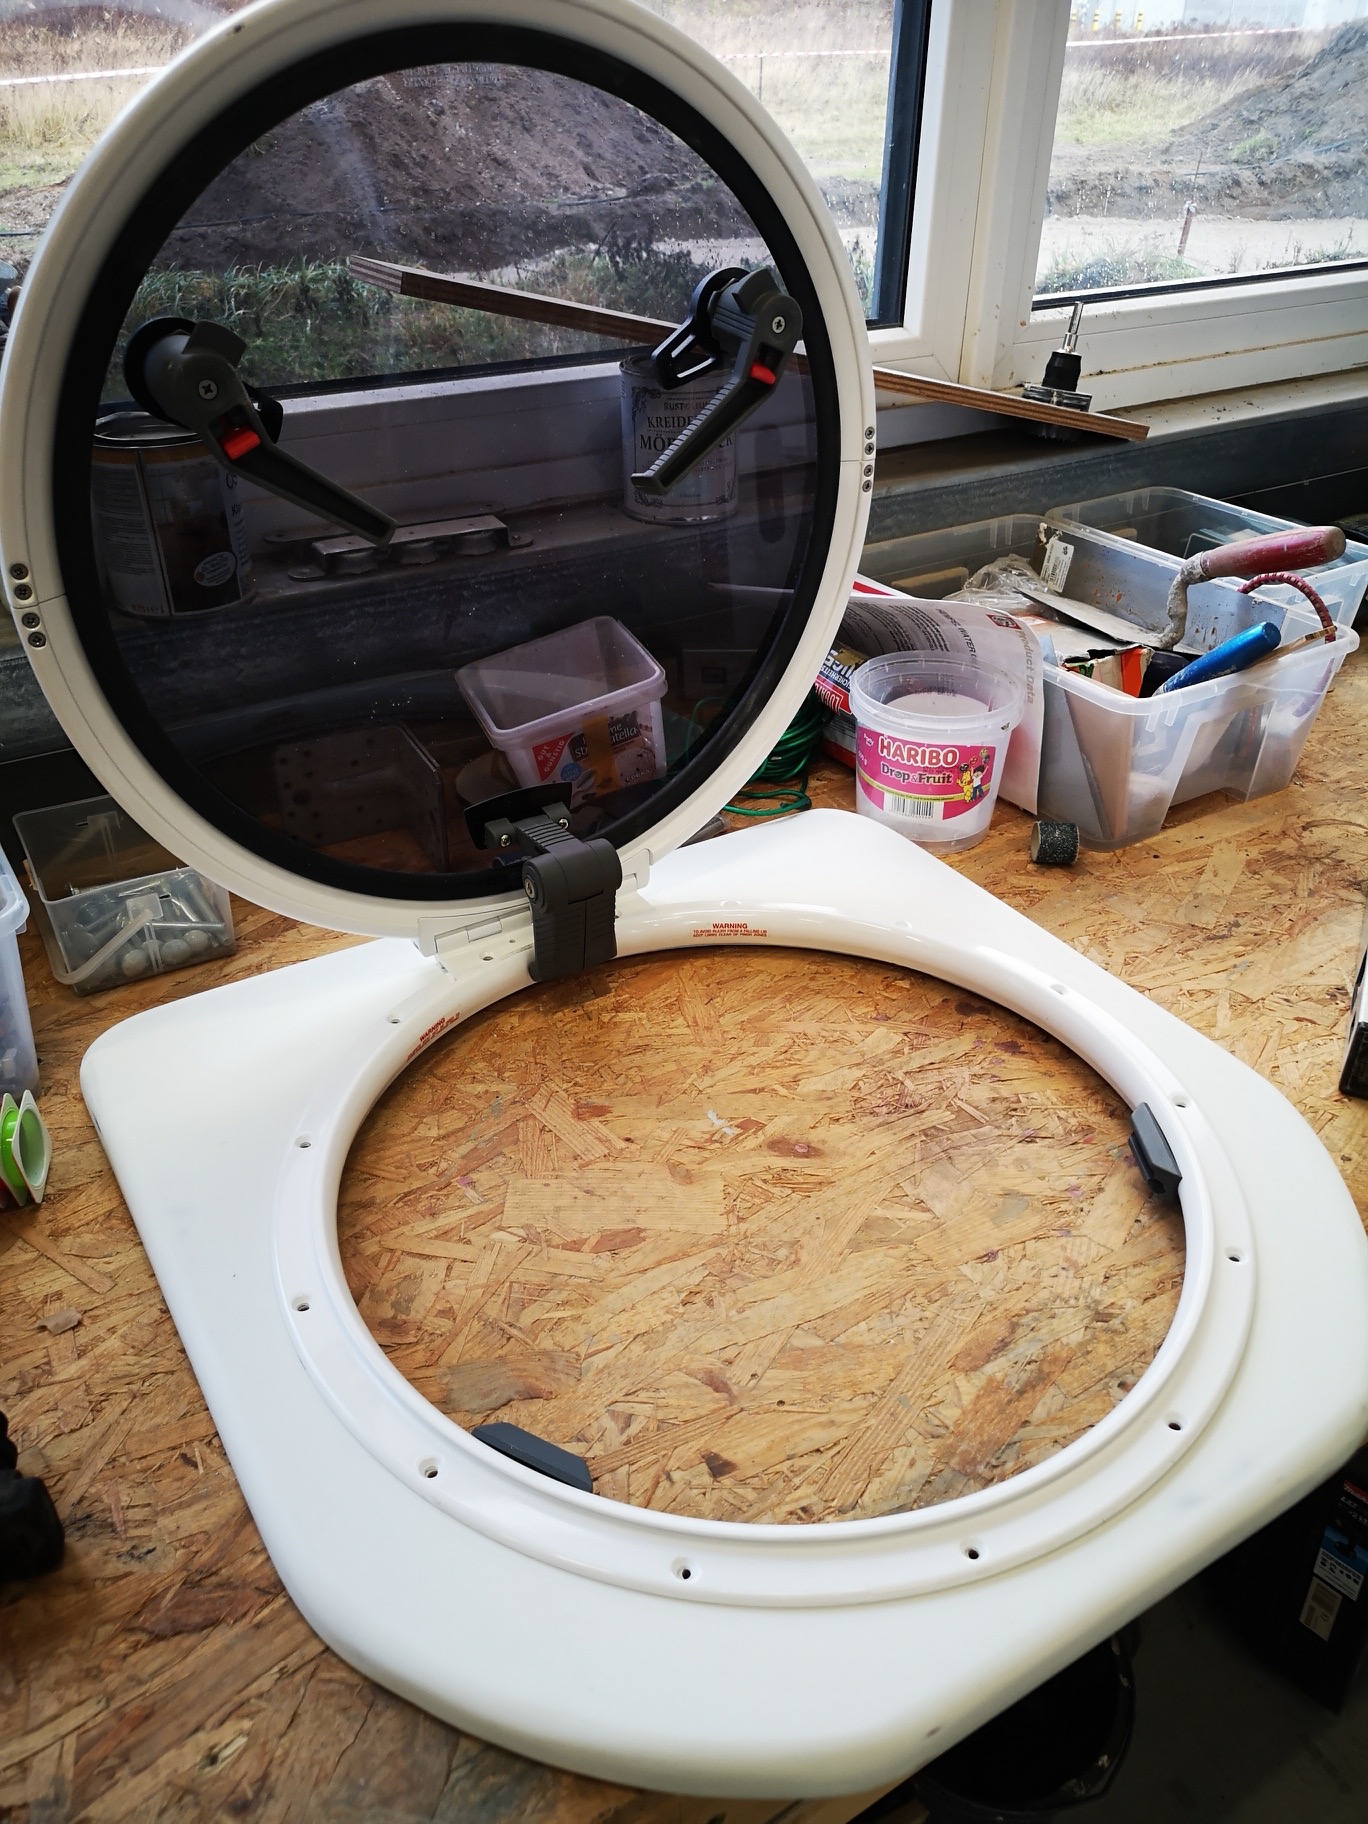
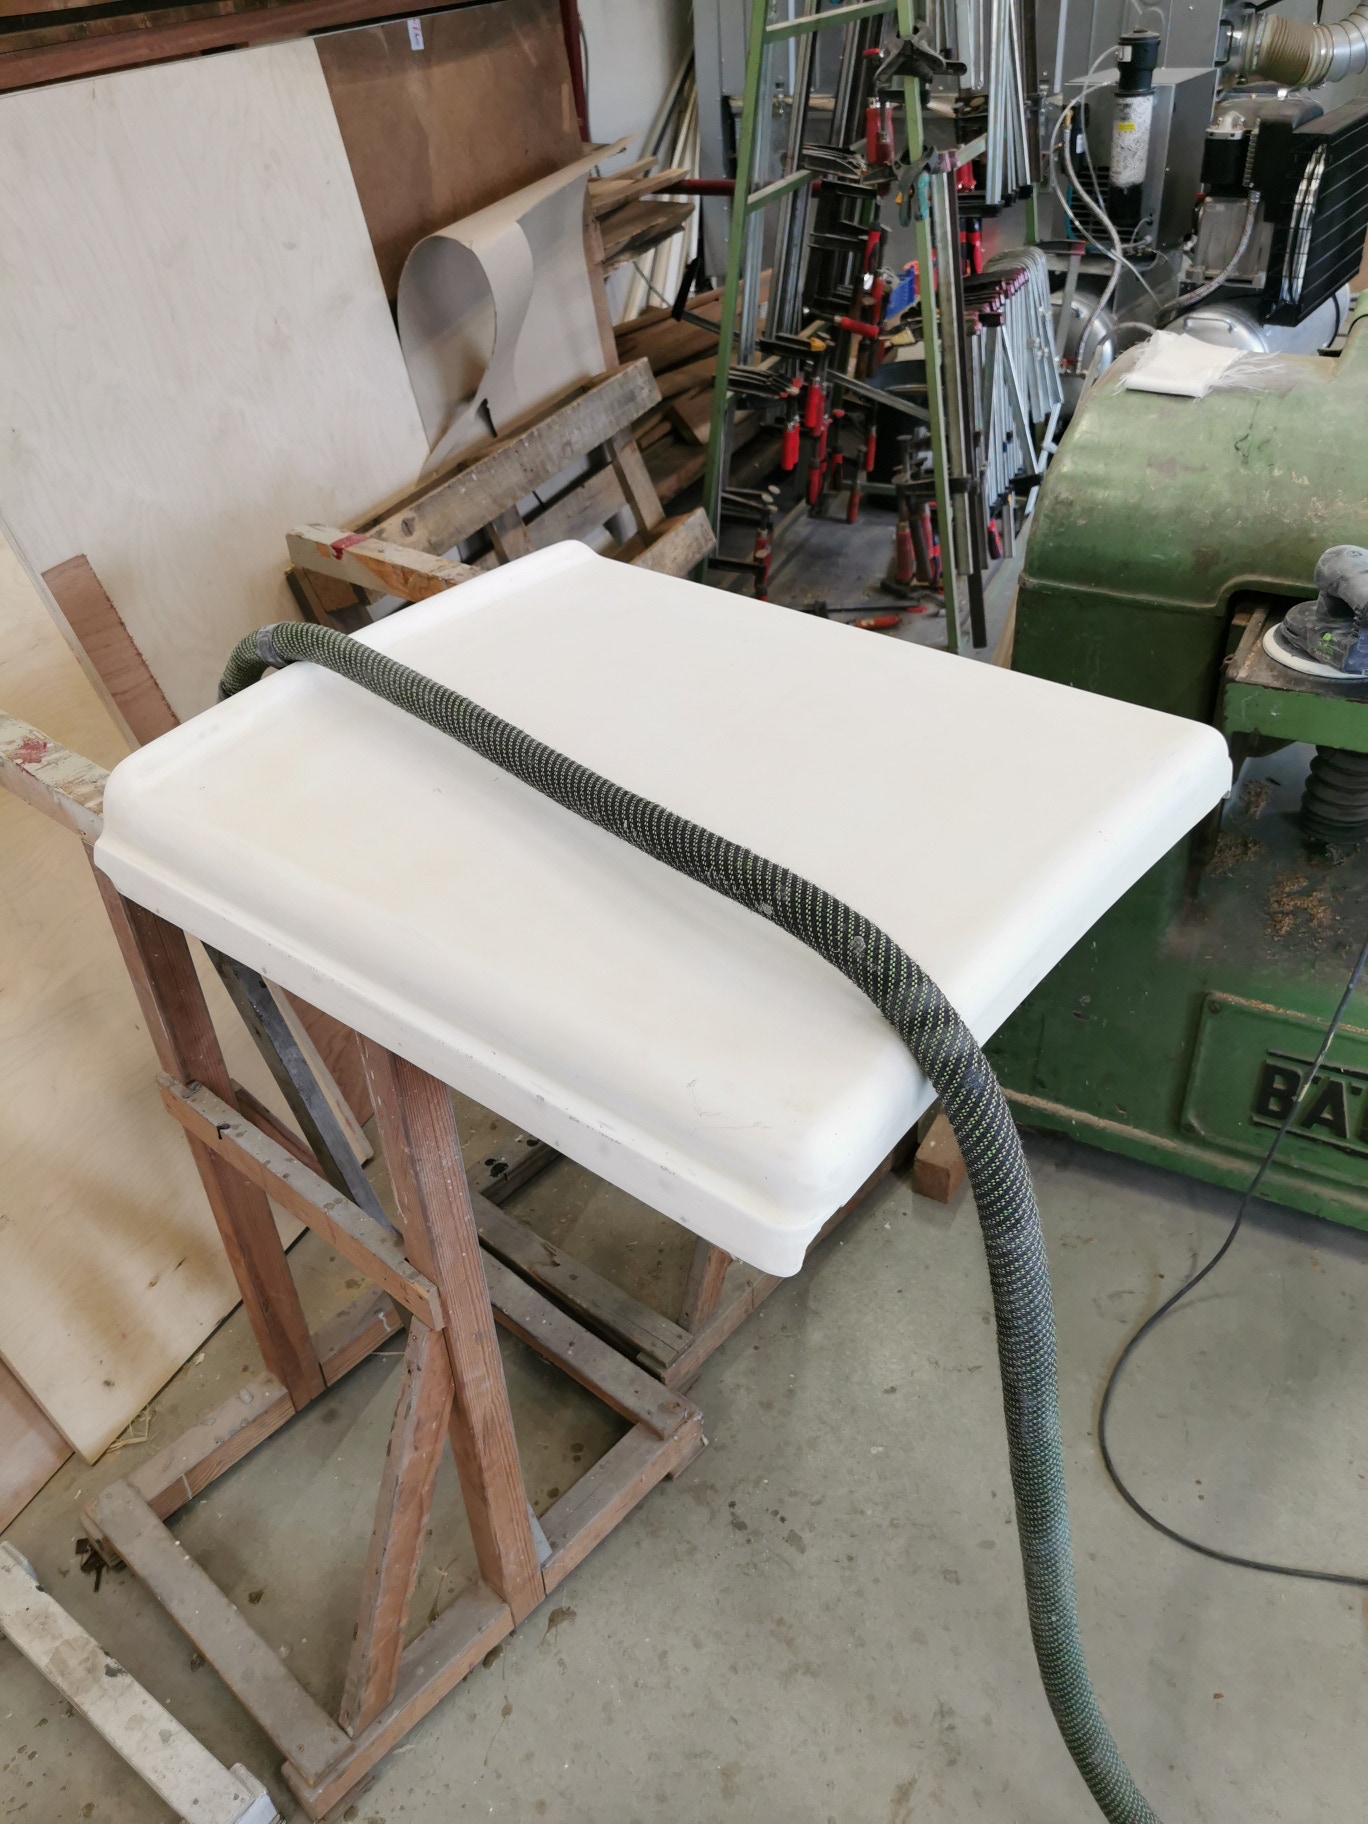
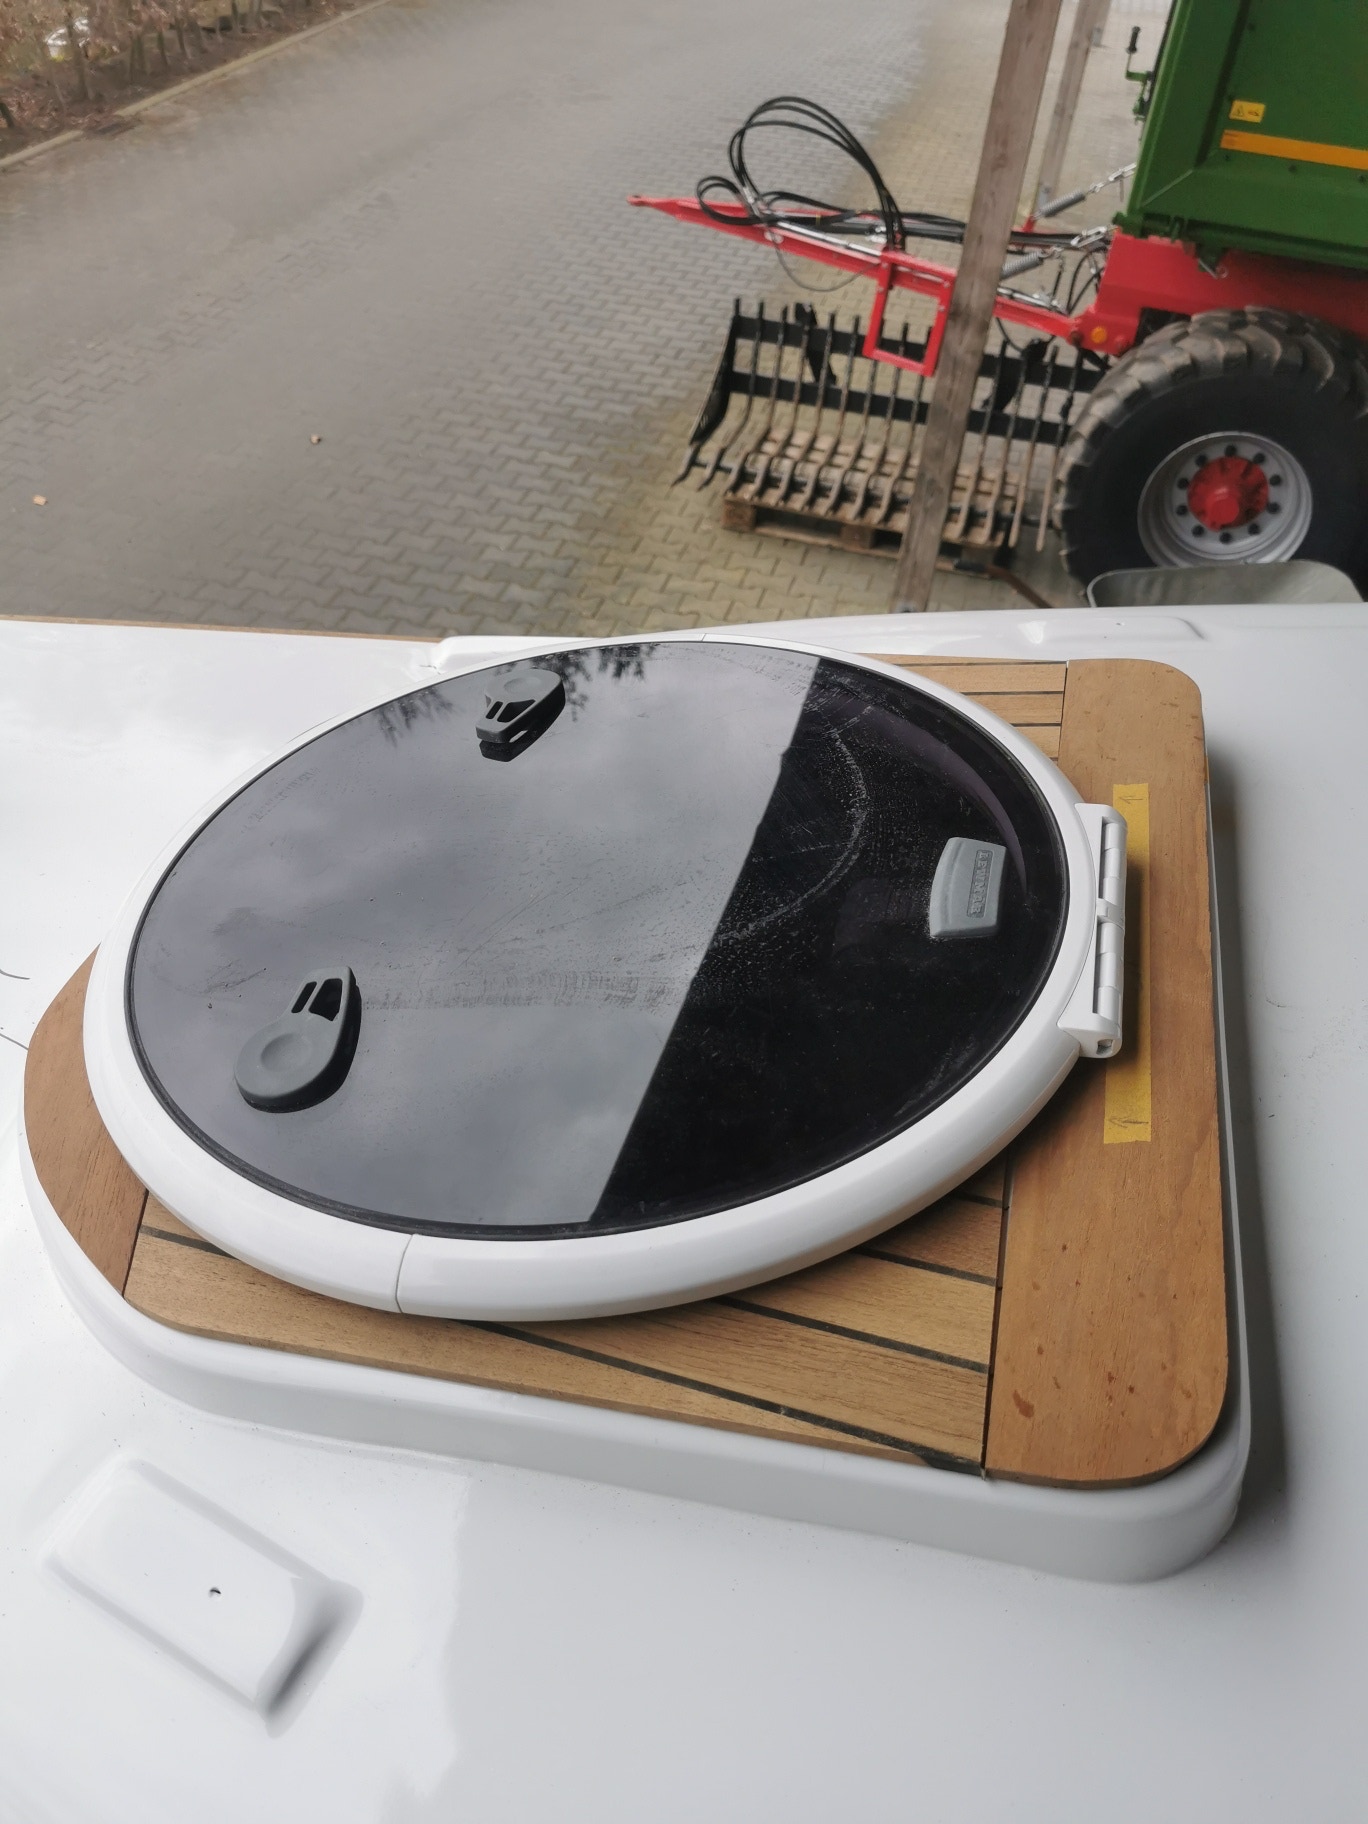
The original hatch has been valiant for 46 years. But it is not up-to-date, does not close well and does not let any light into the ship. The new hatch is from LEWMAR and it is round. To begin, I sawed a 24 cm thick boat plywood board to the dimensions 60 x 60 cm. …
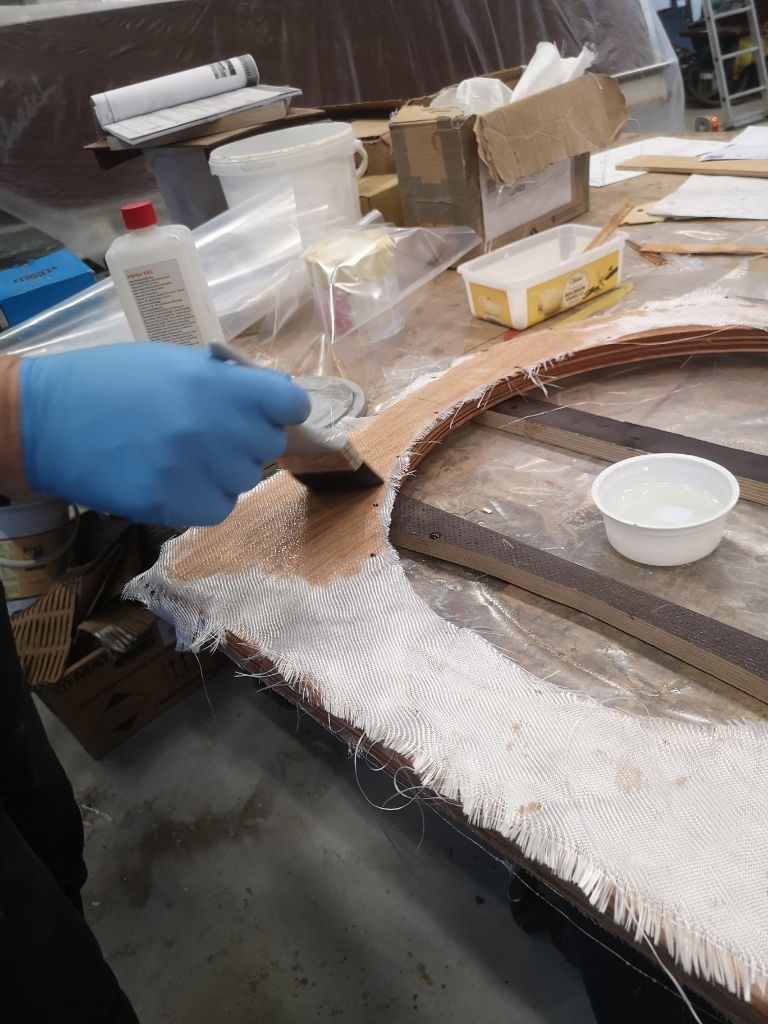
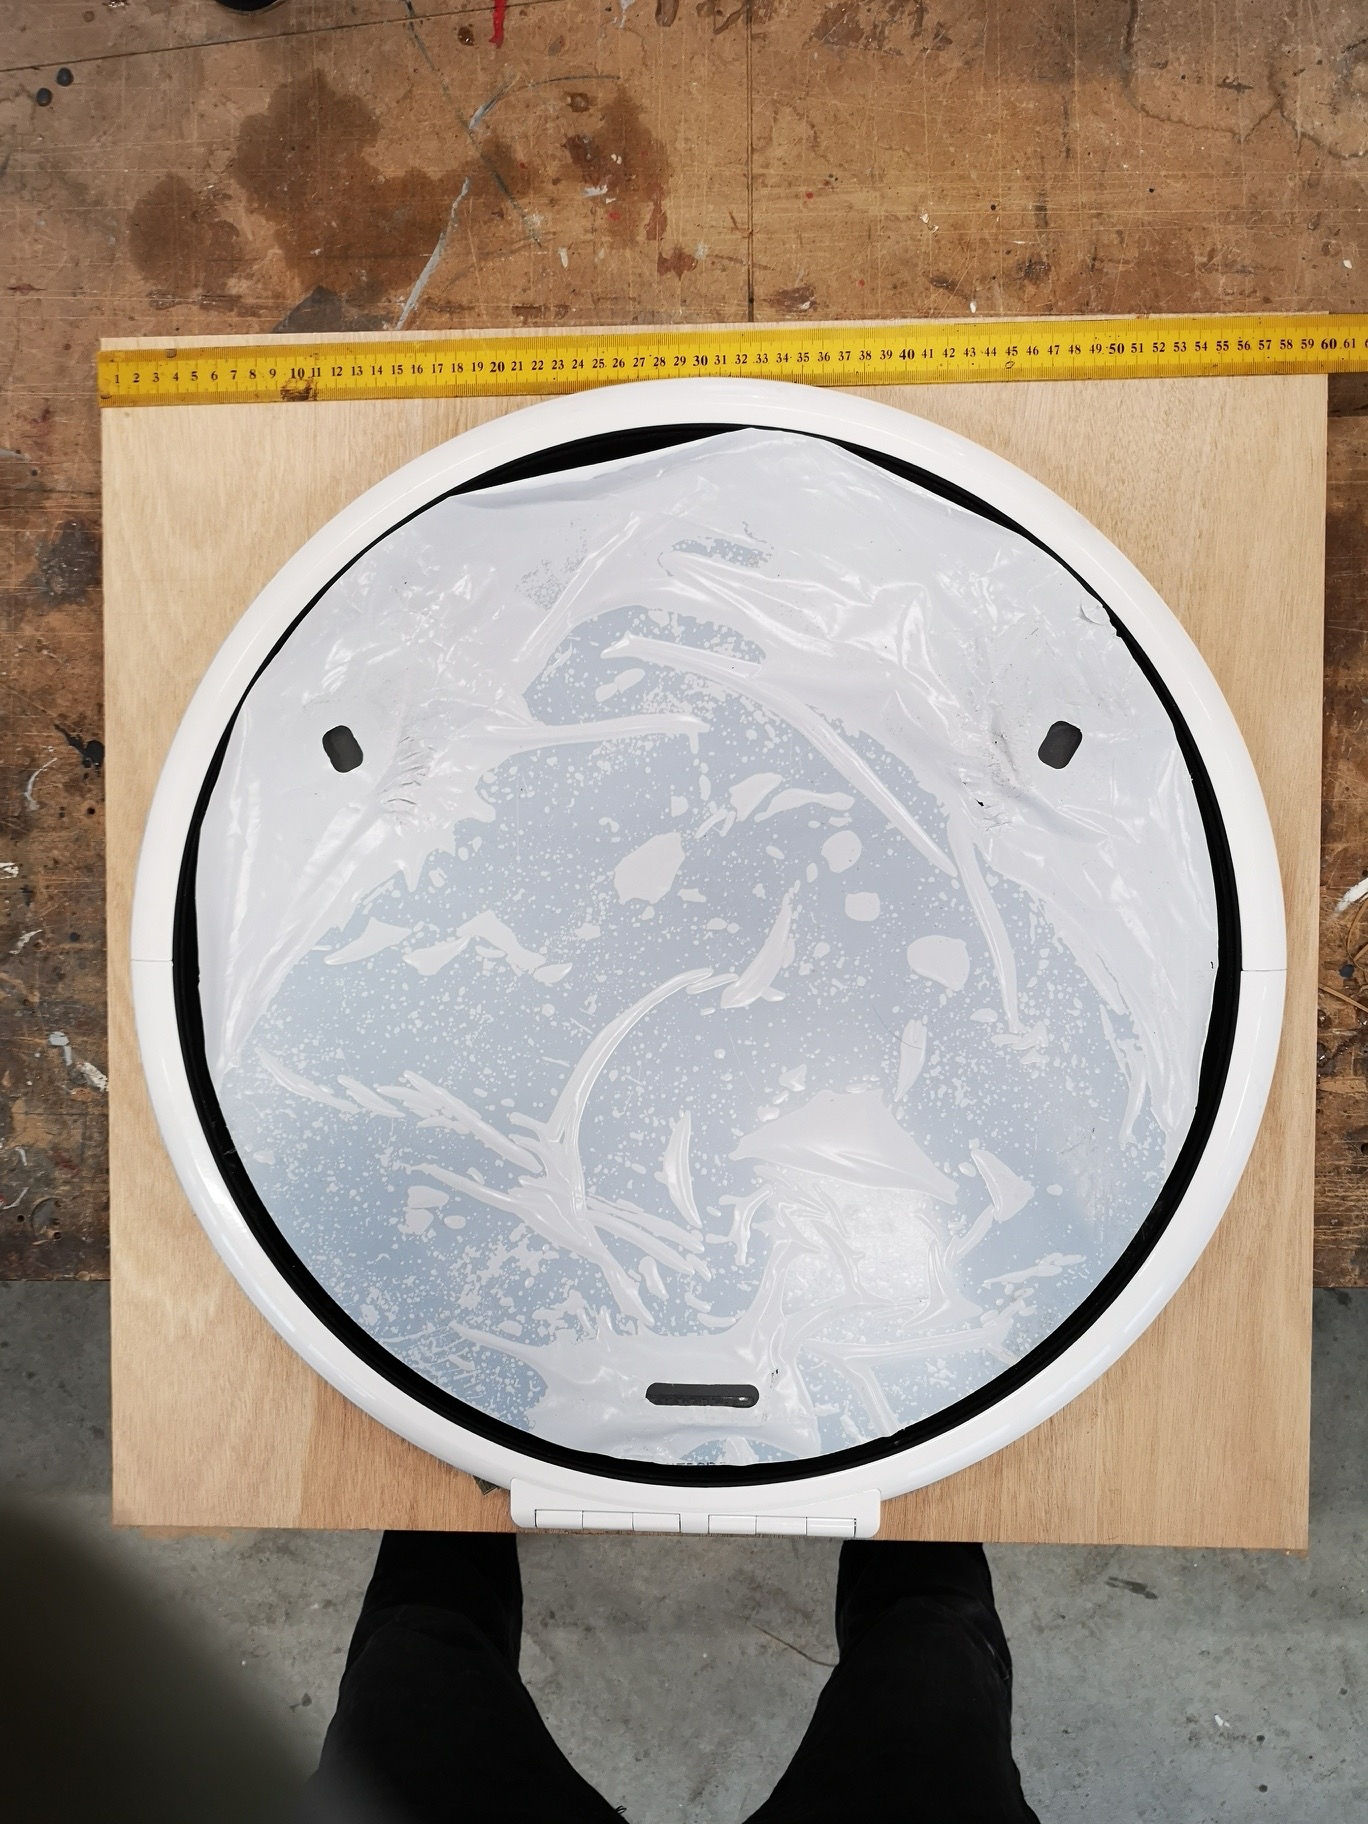
The sawed base is laminated with epoxy resin
The dried primer can be very well filled and sanded.
The hatch base is already primed with 2K primer and will later be painted together with the deck. The installation can only be done when the deck has been reworked.
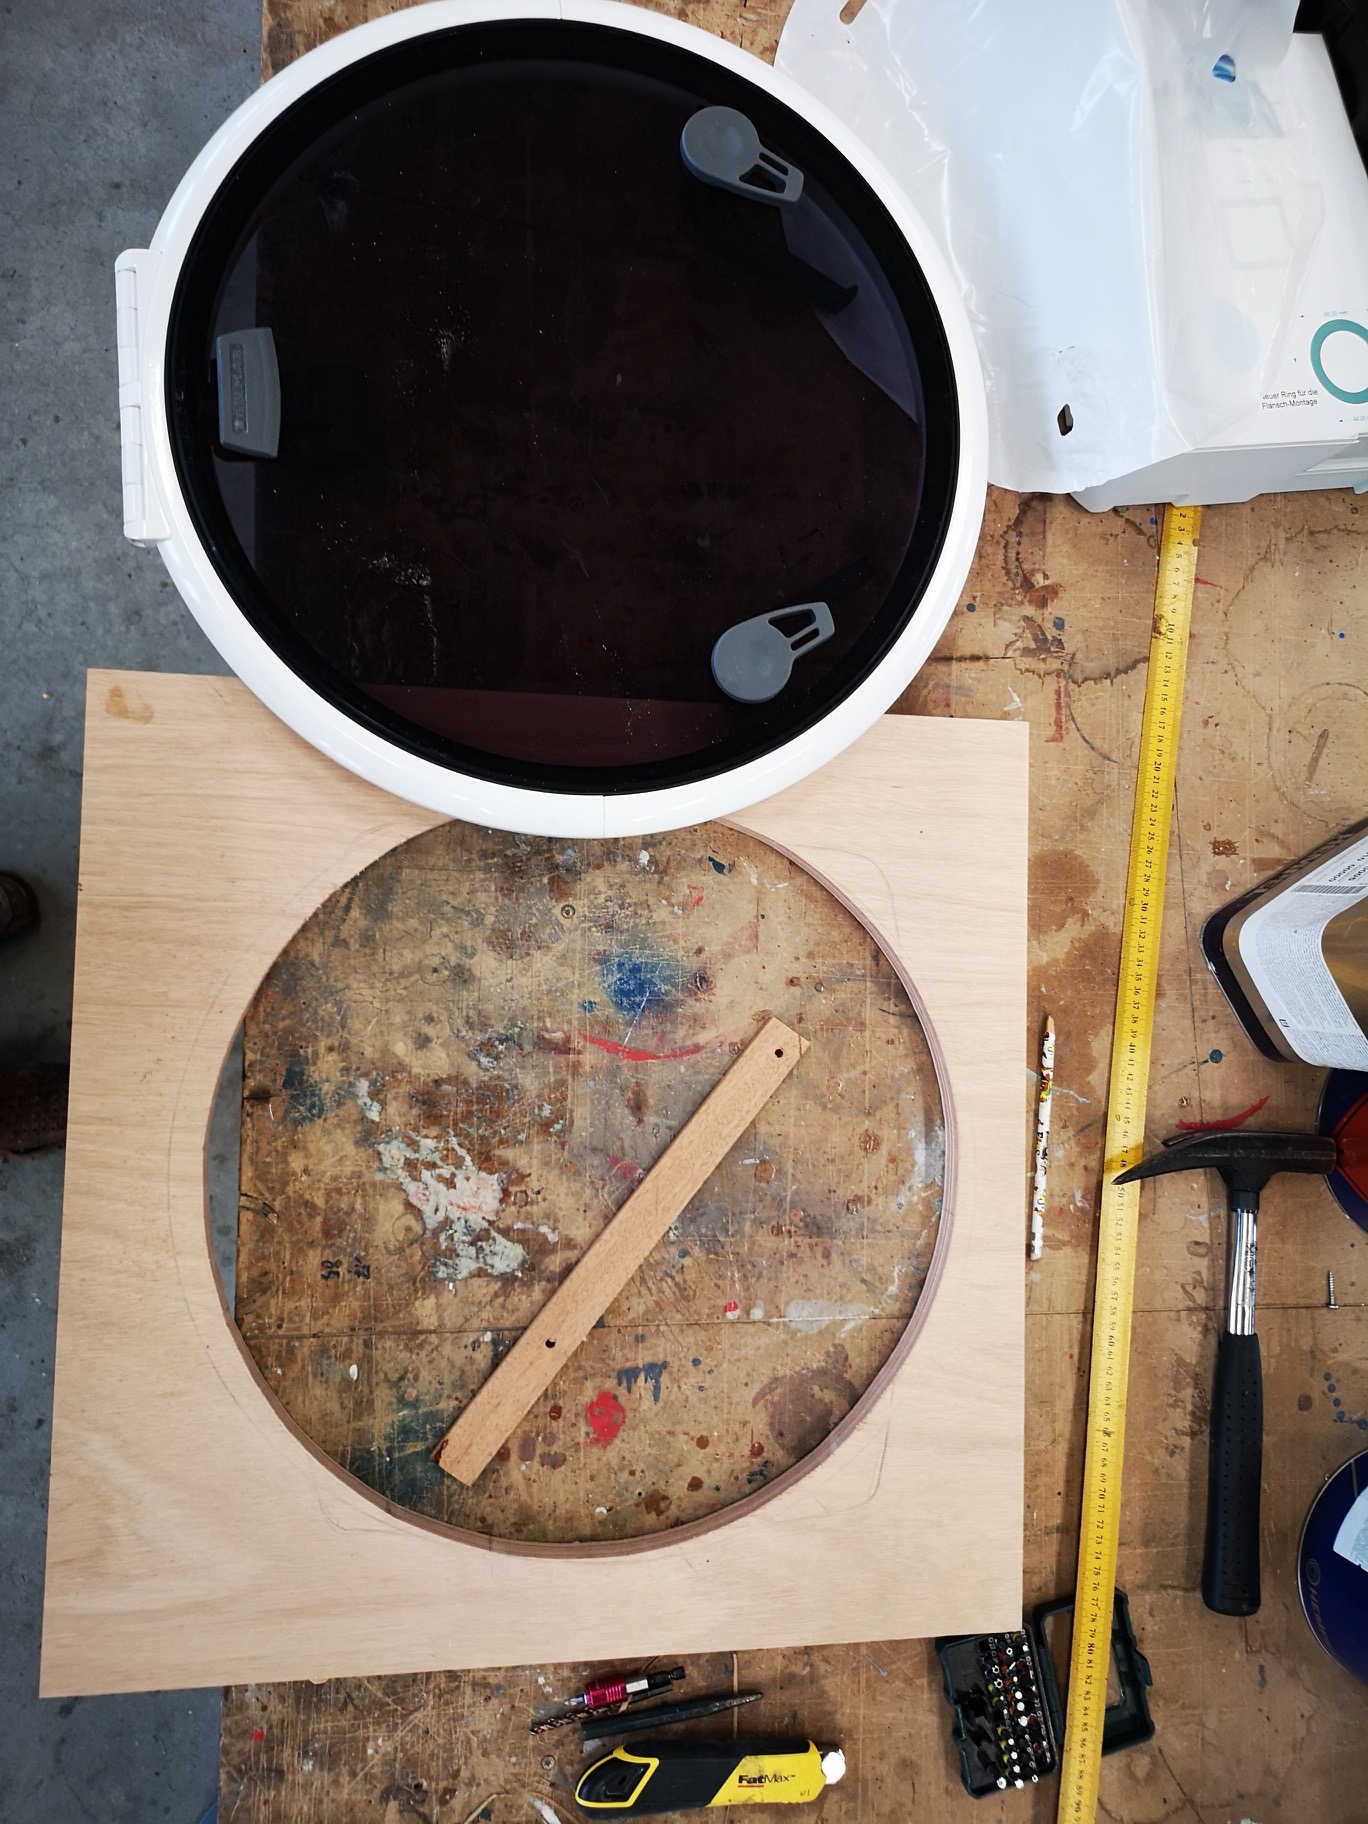
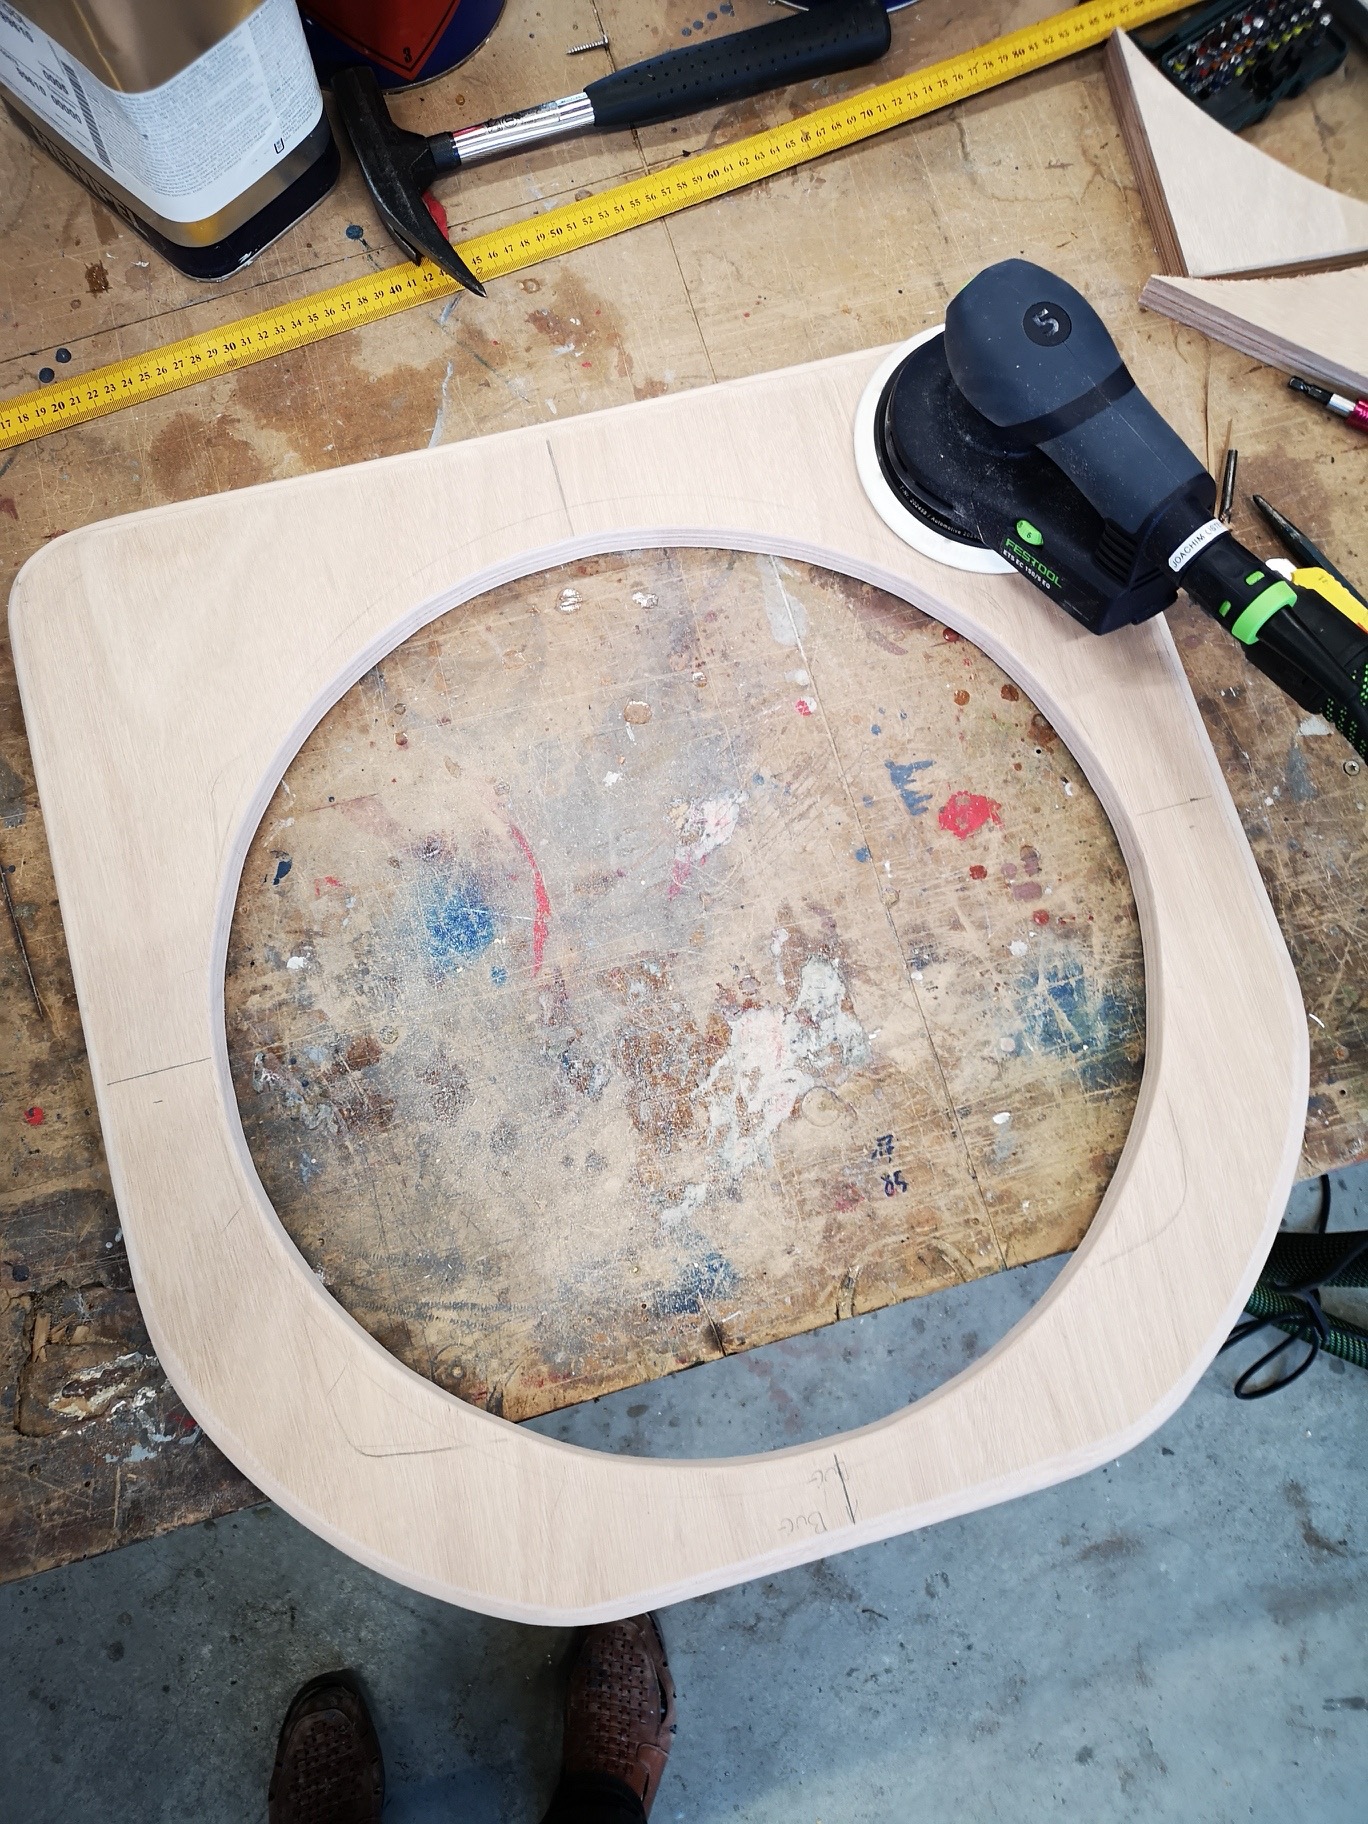
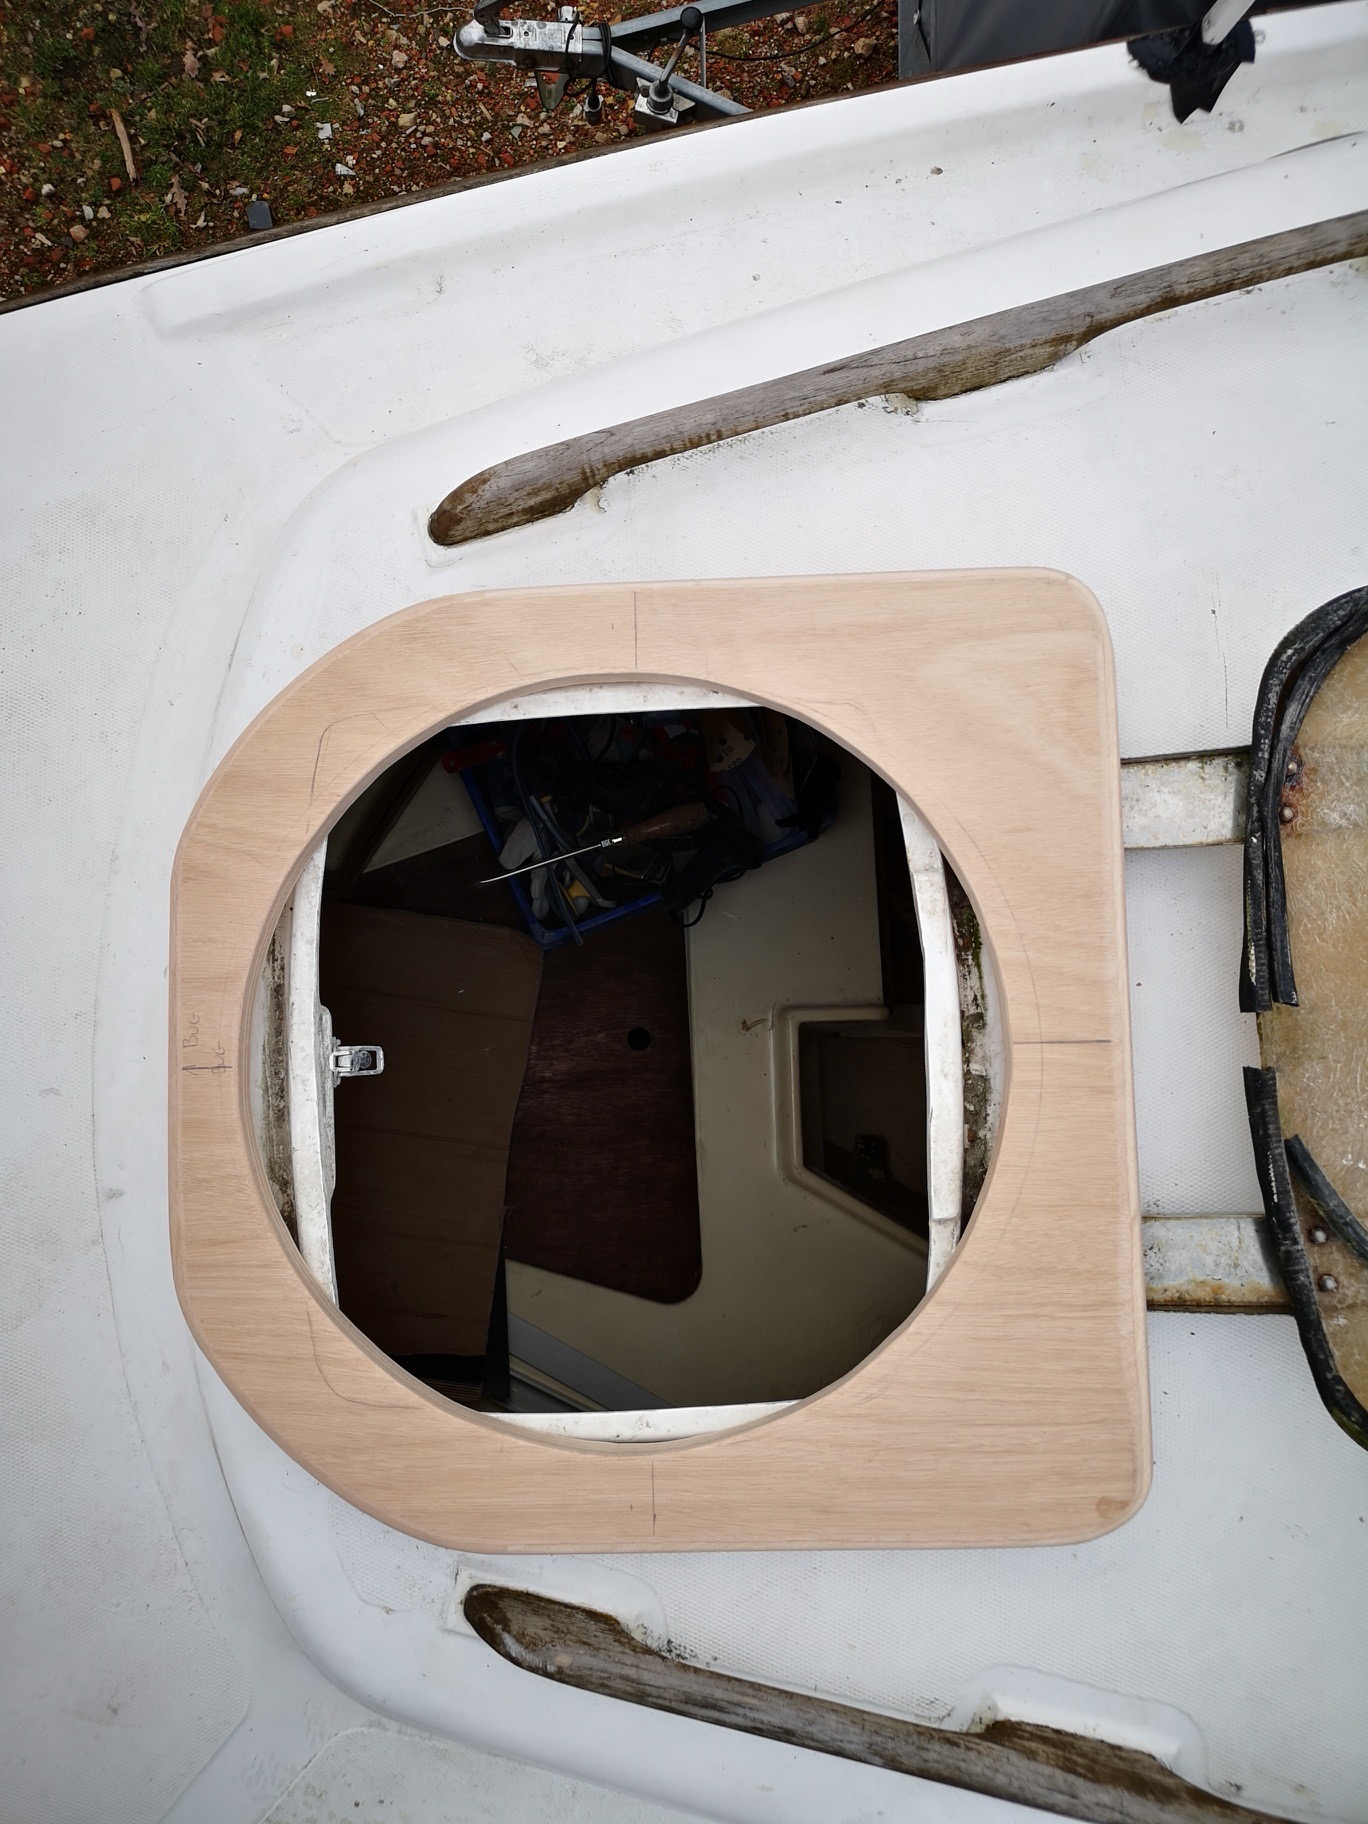
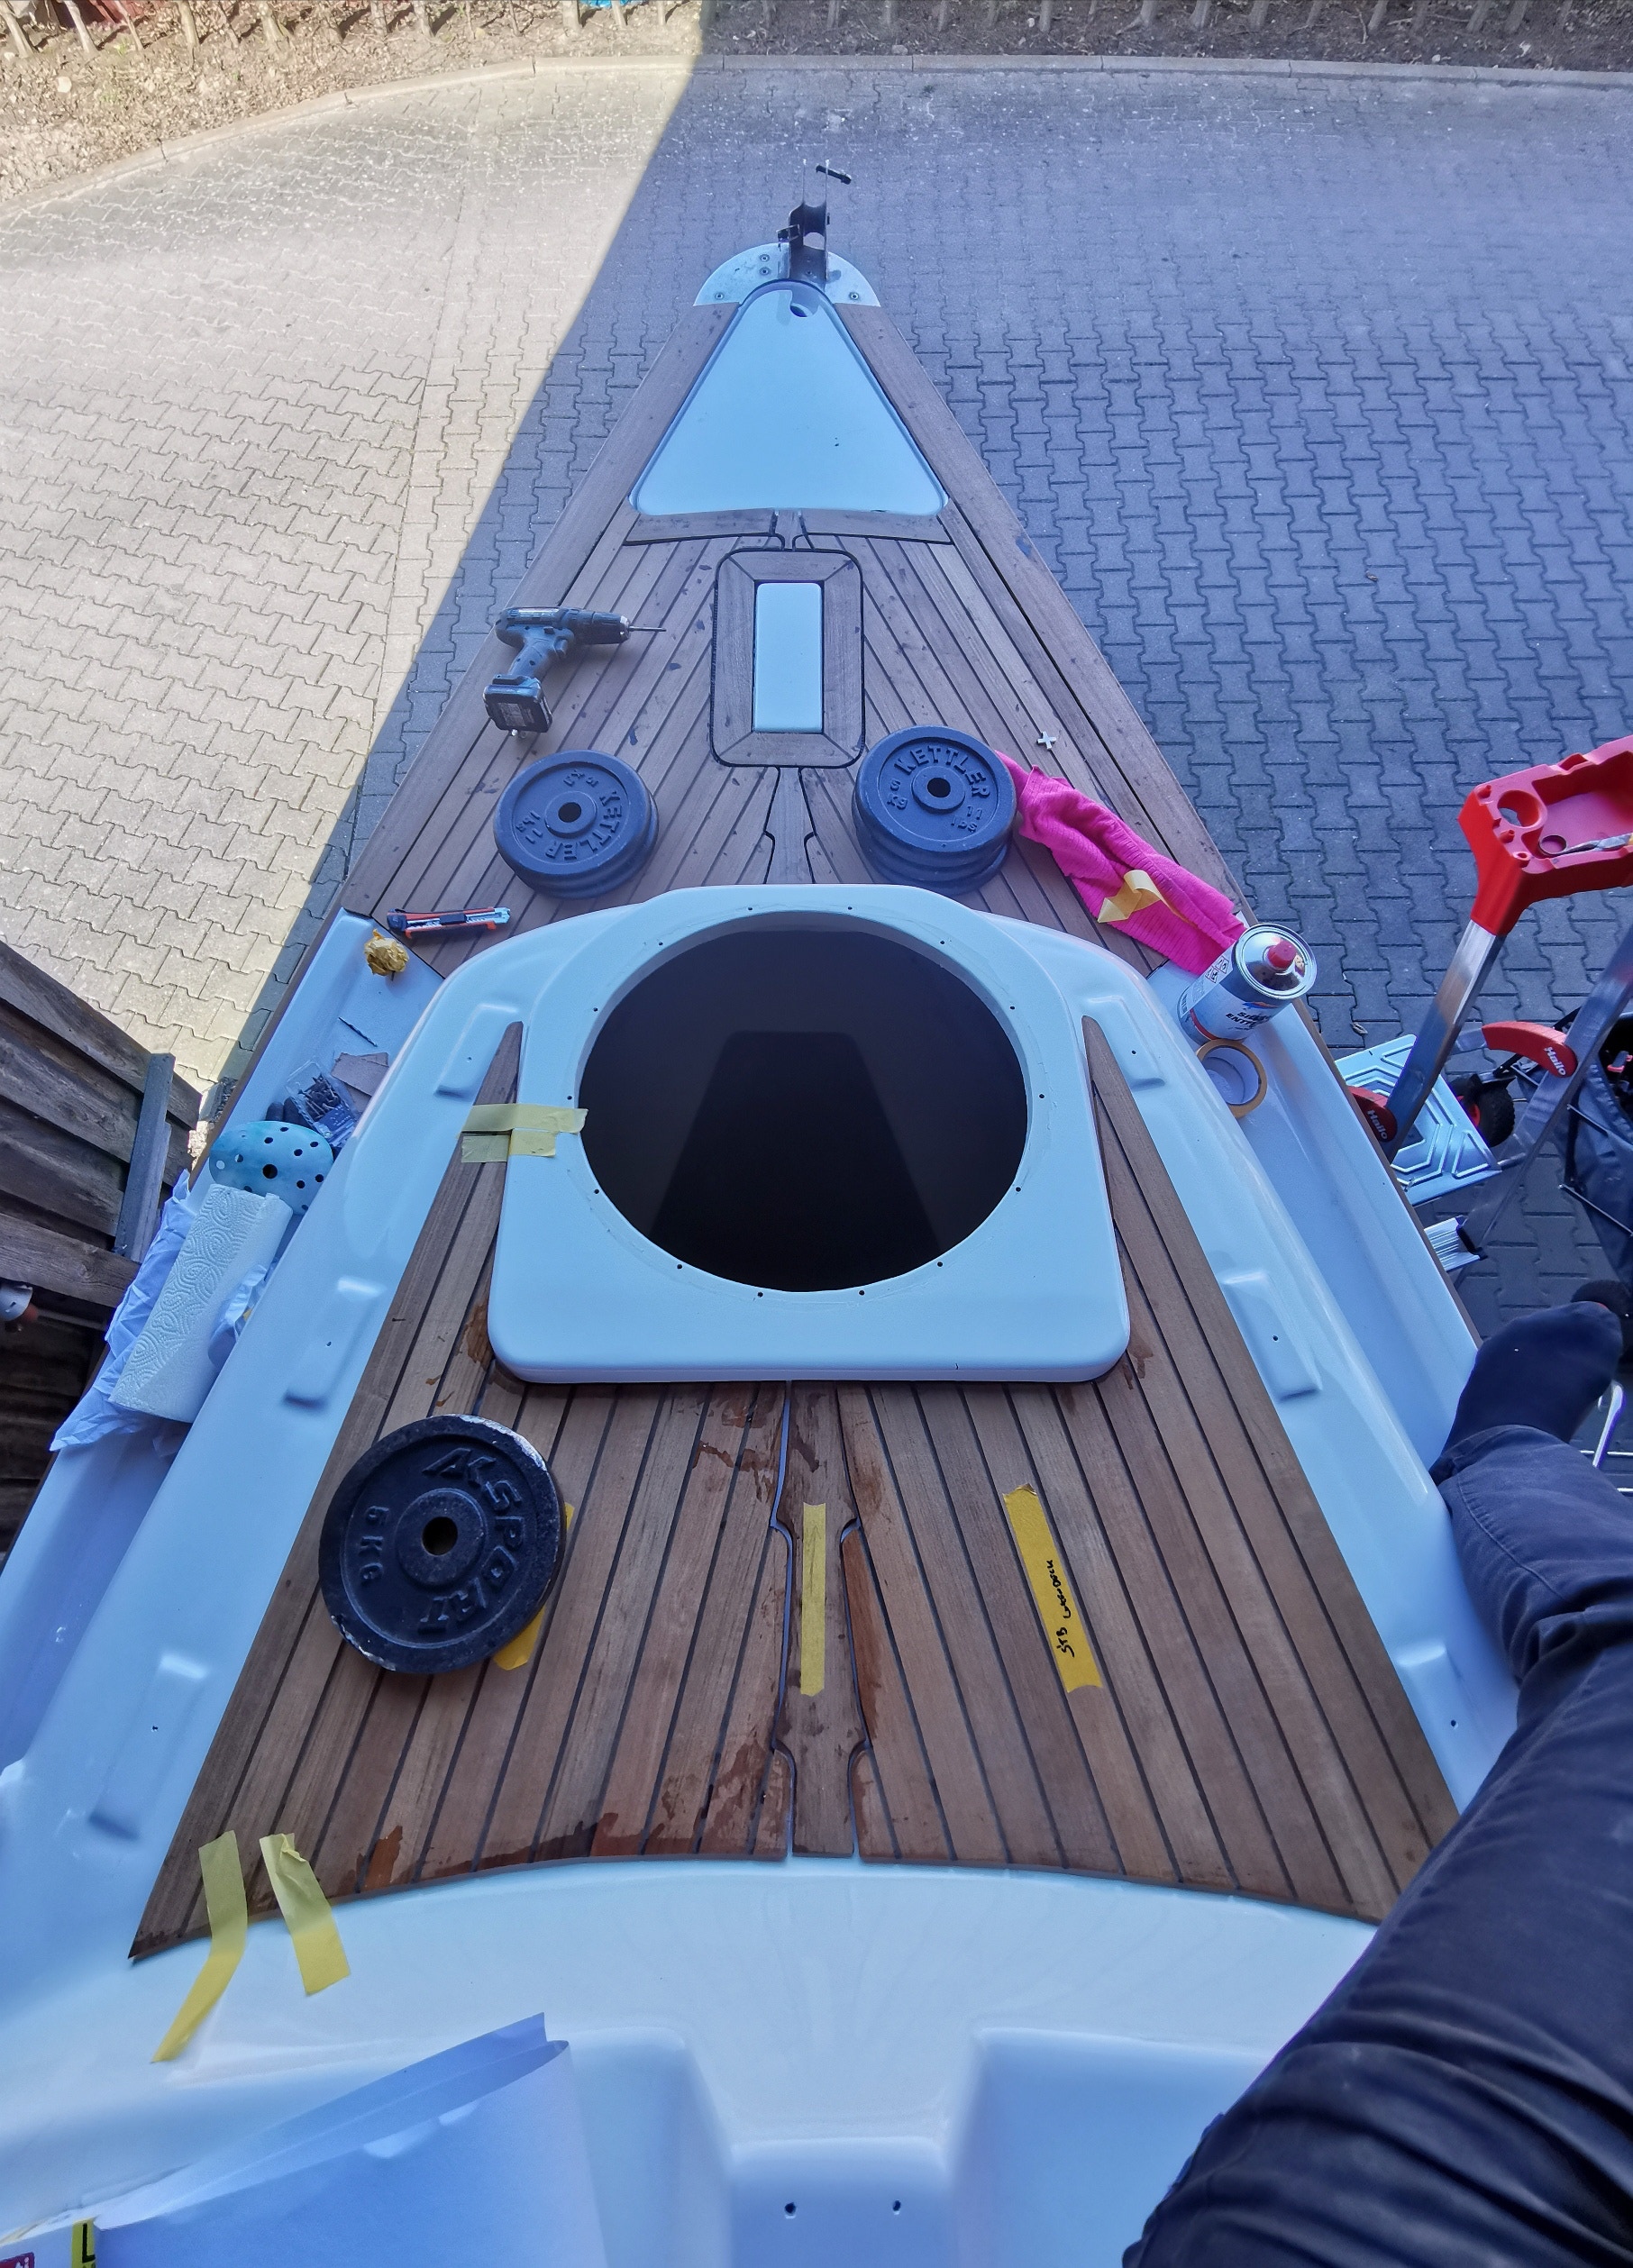
A new deck hatch - The round must be in the square ;-)

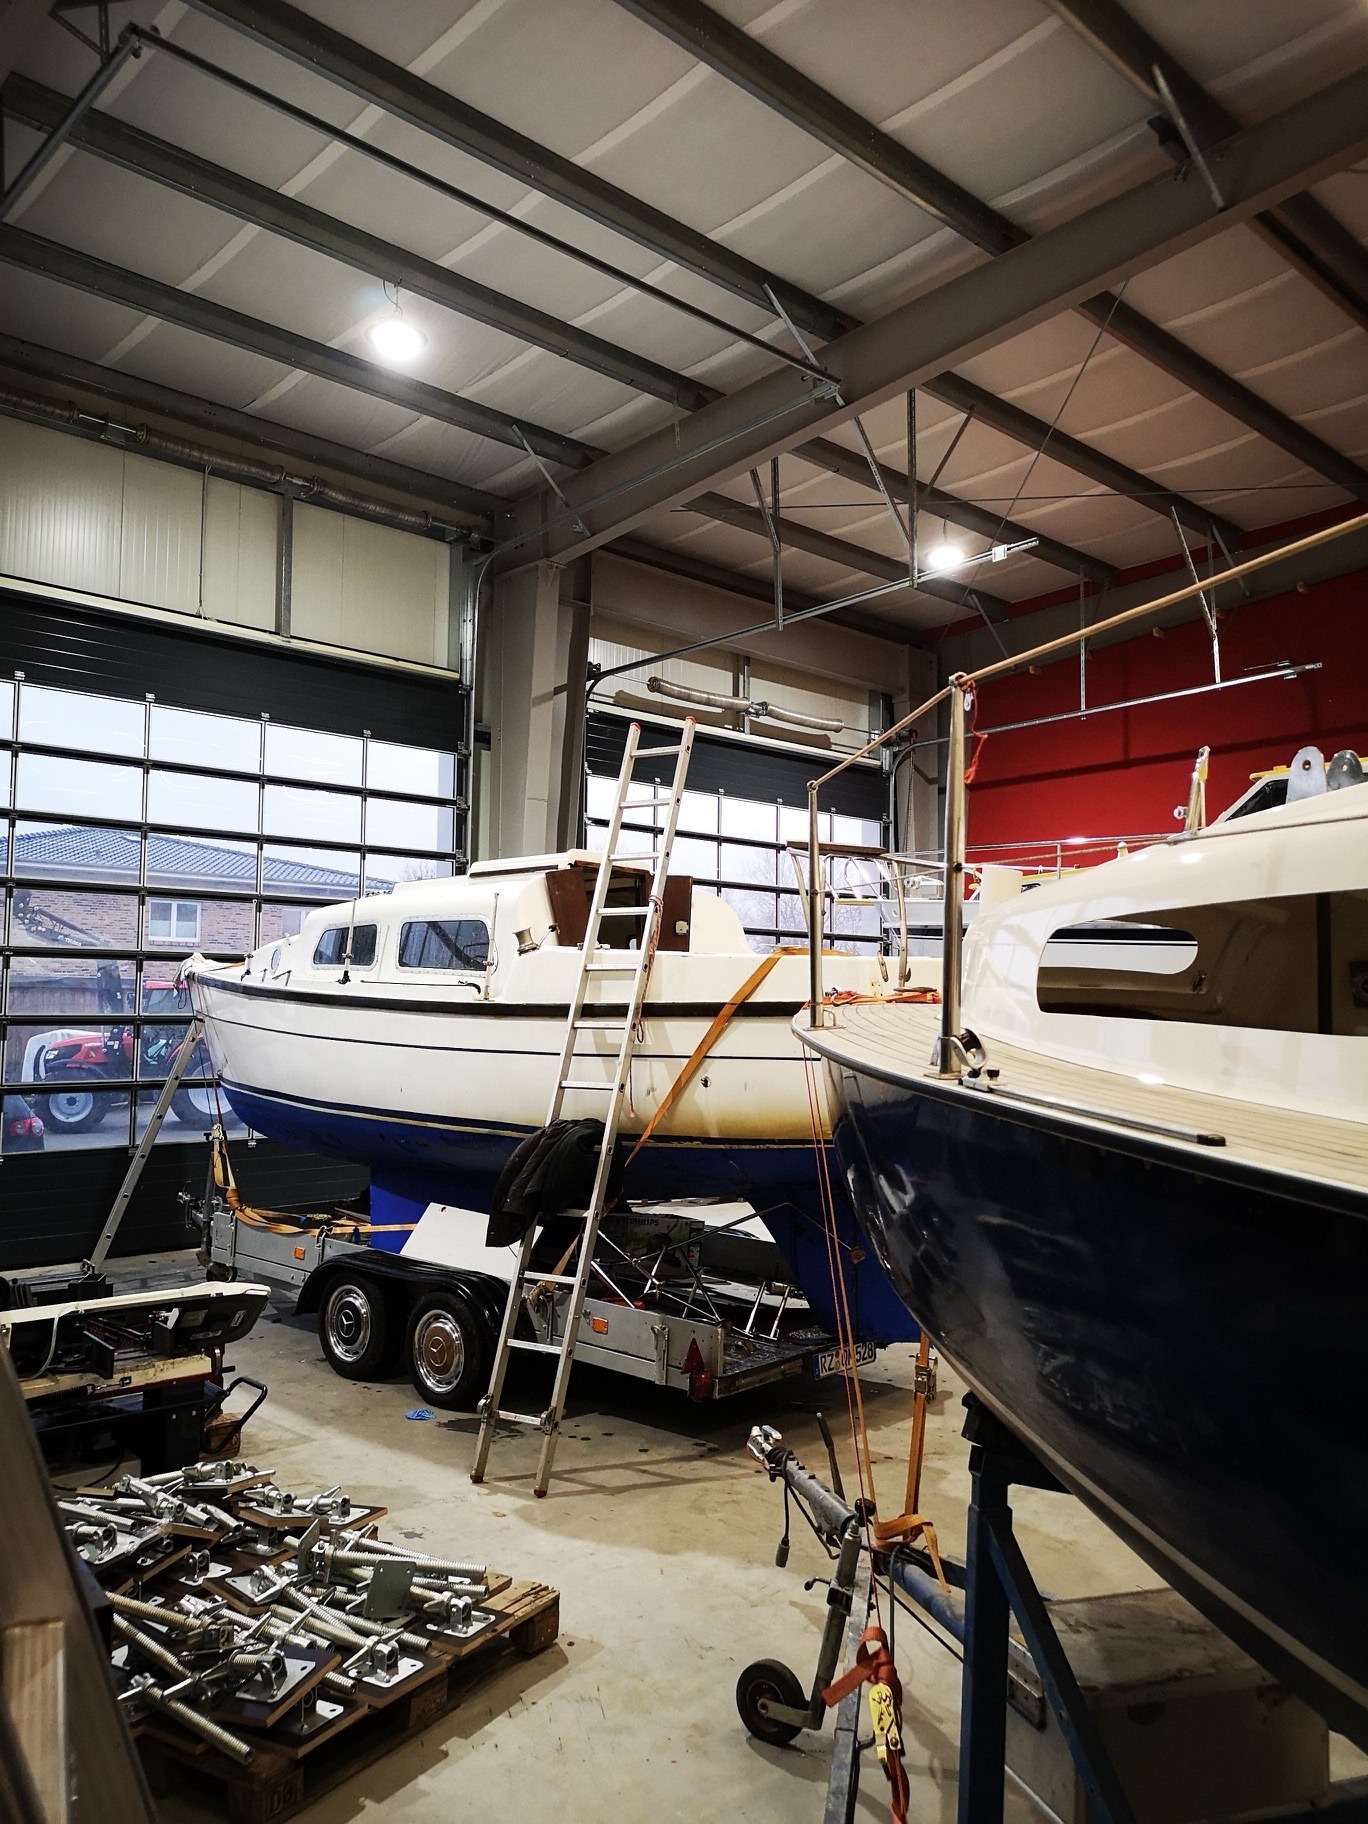
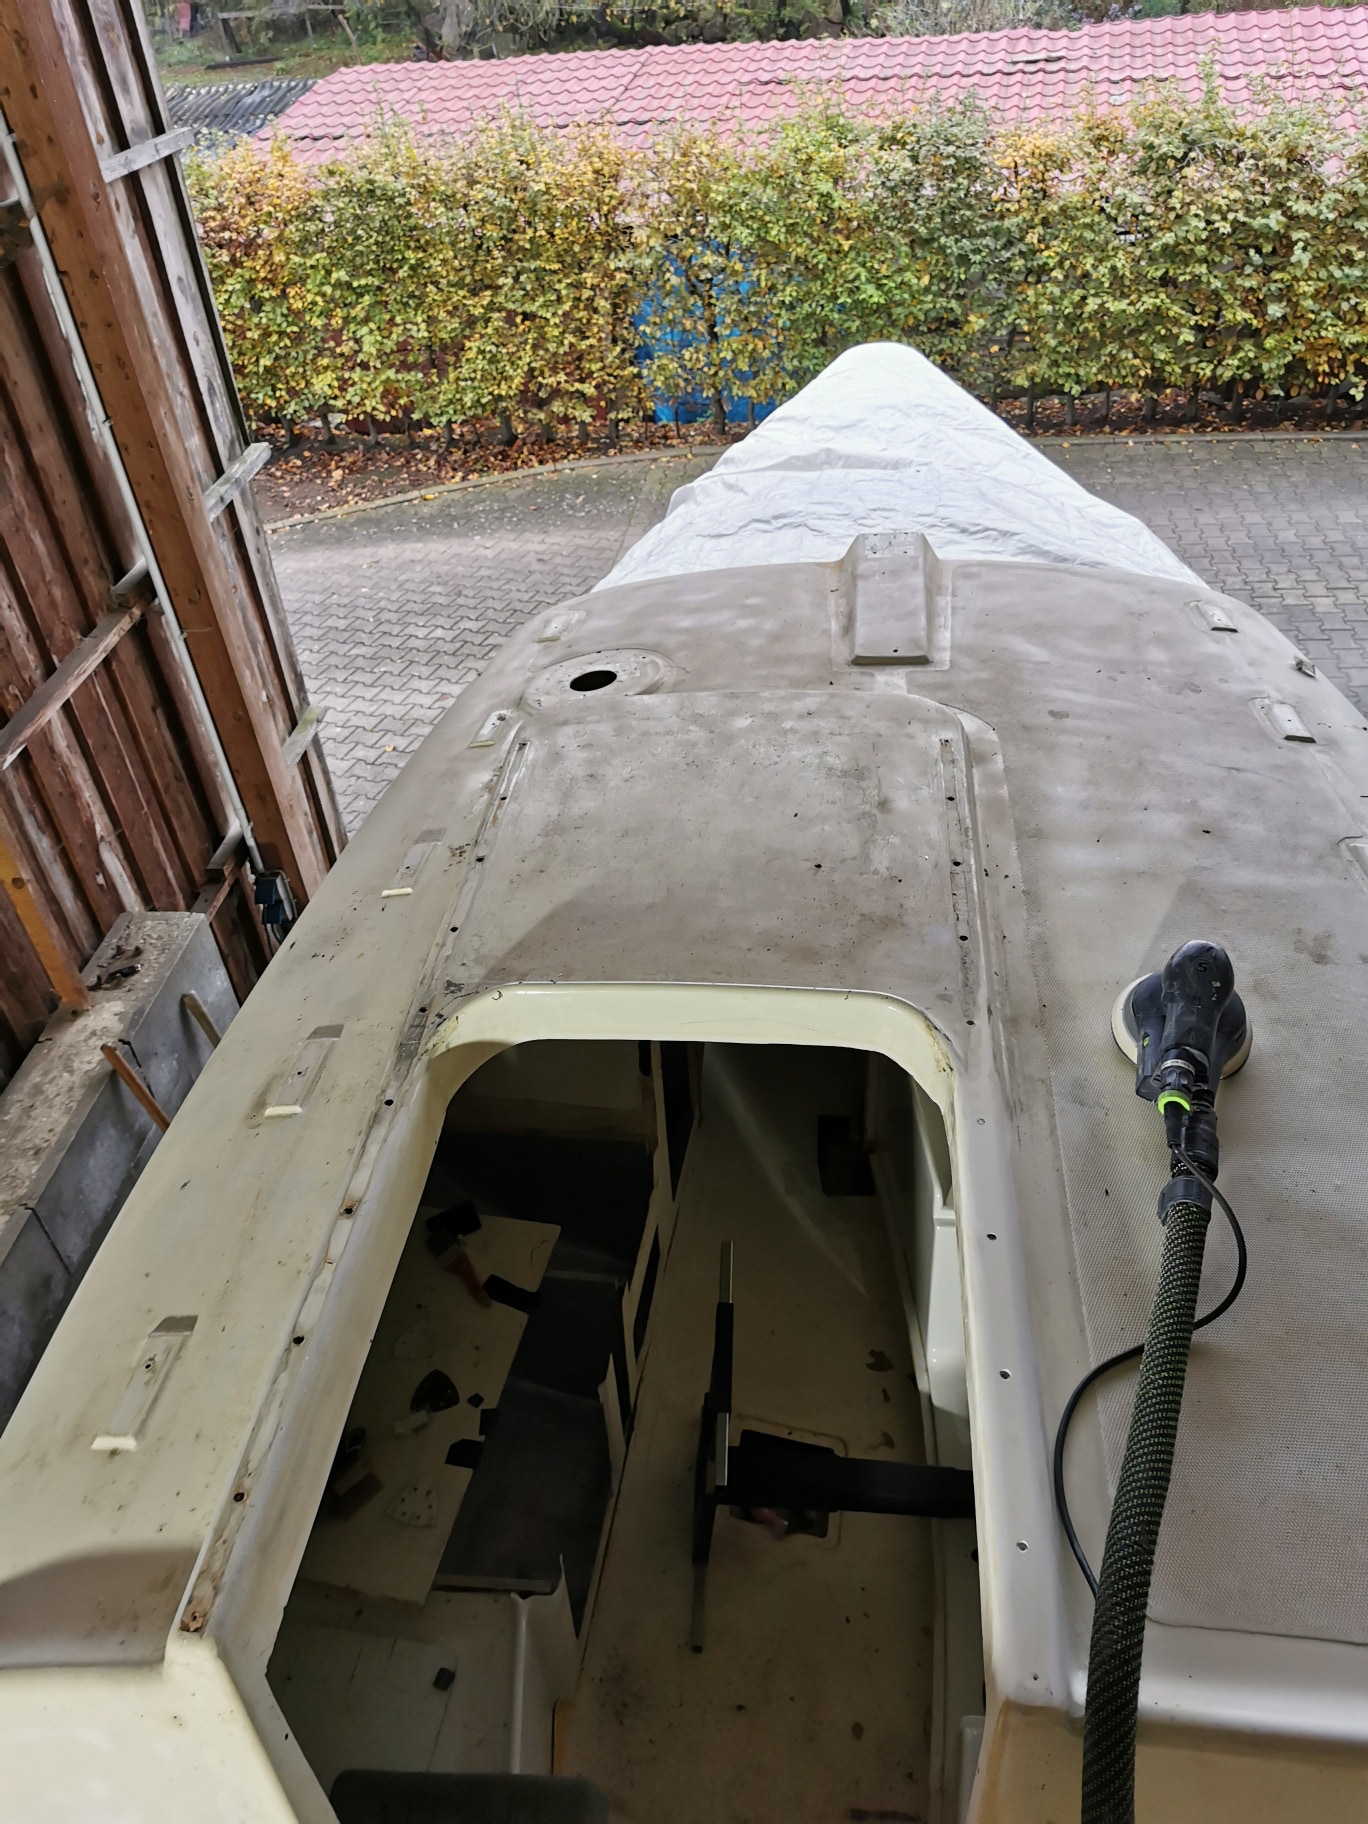
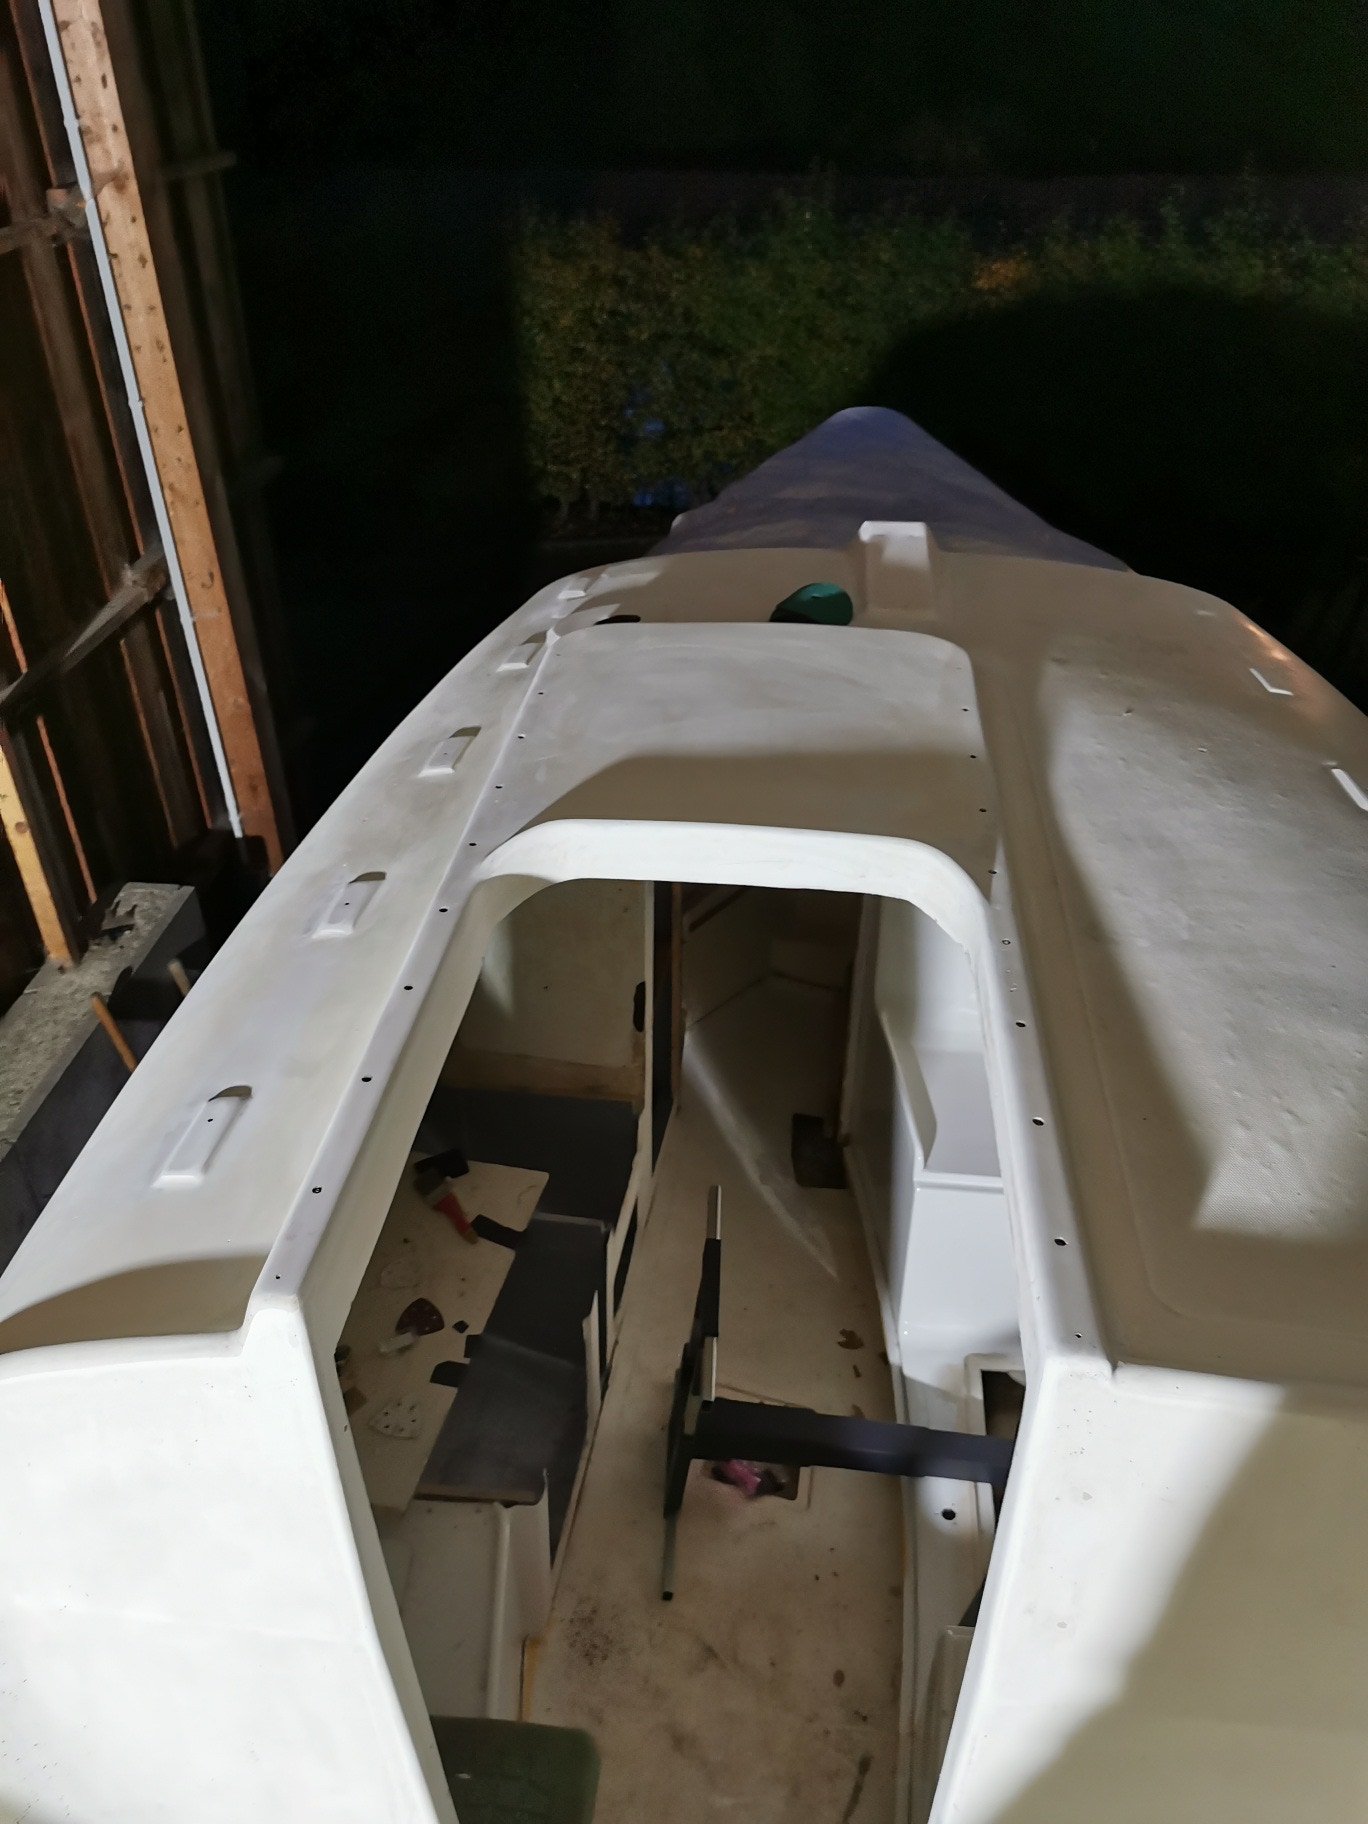
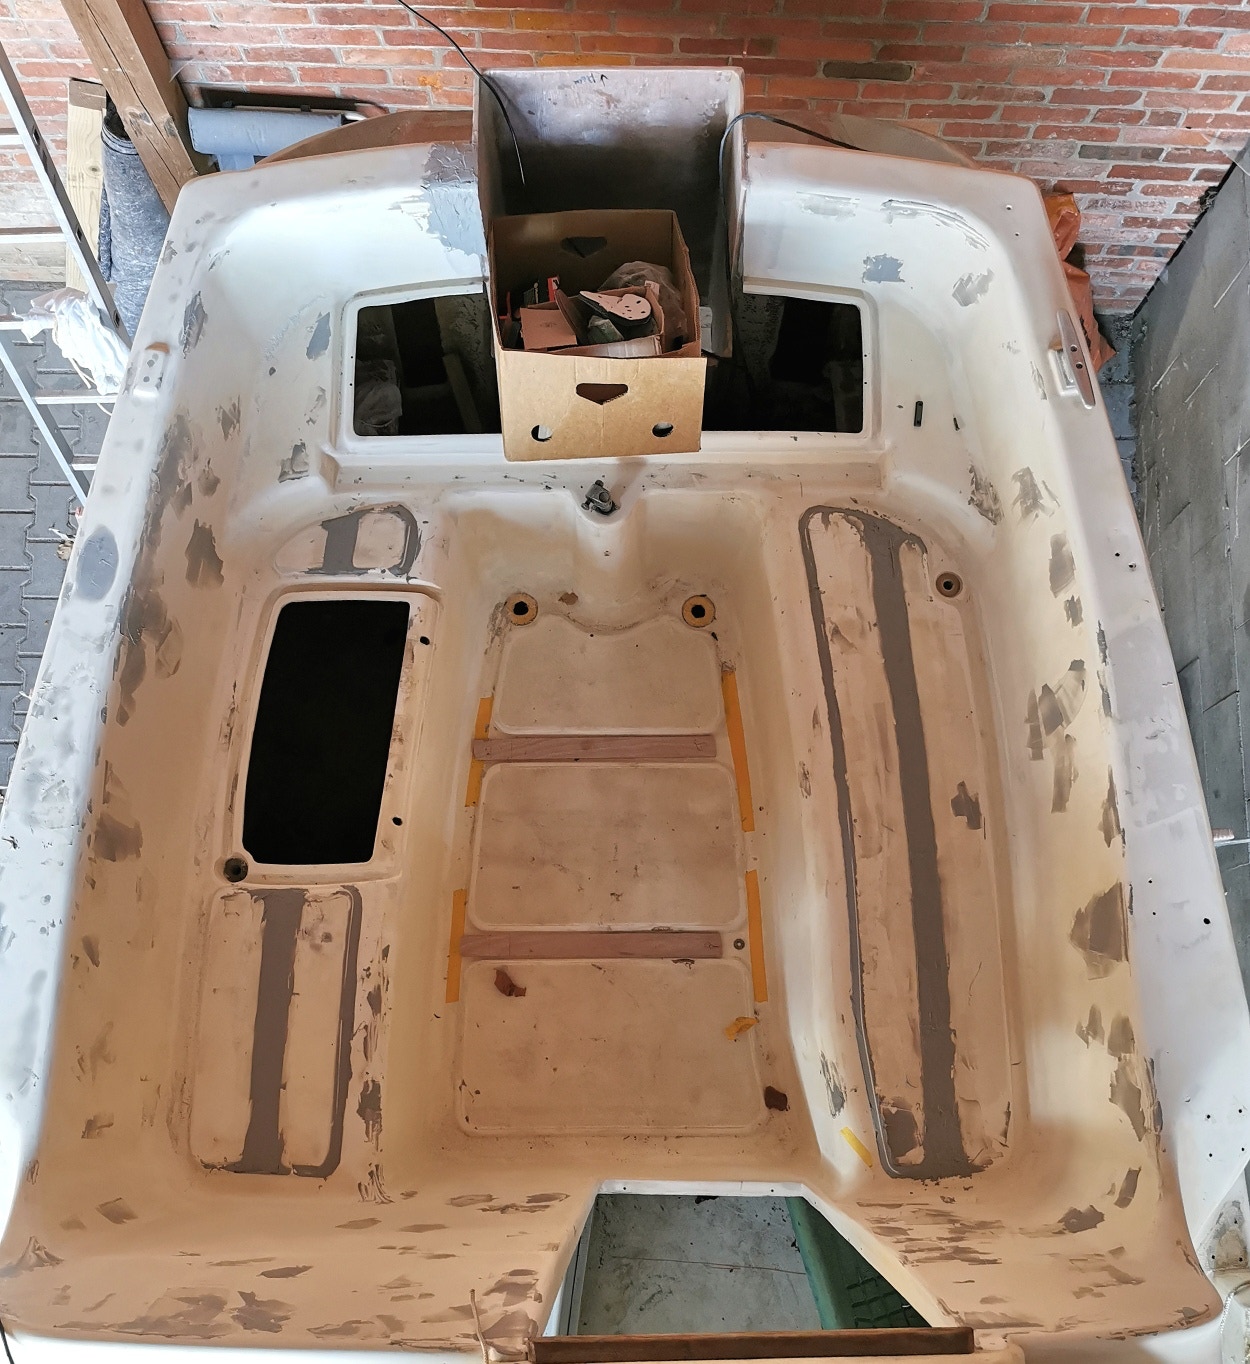
Before the deck can be sanded in the coming weeks, everything has to be removed bit by bit, which does not hinder the grinding and painting work.
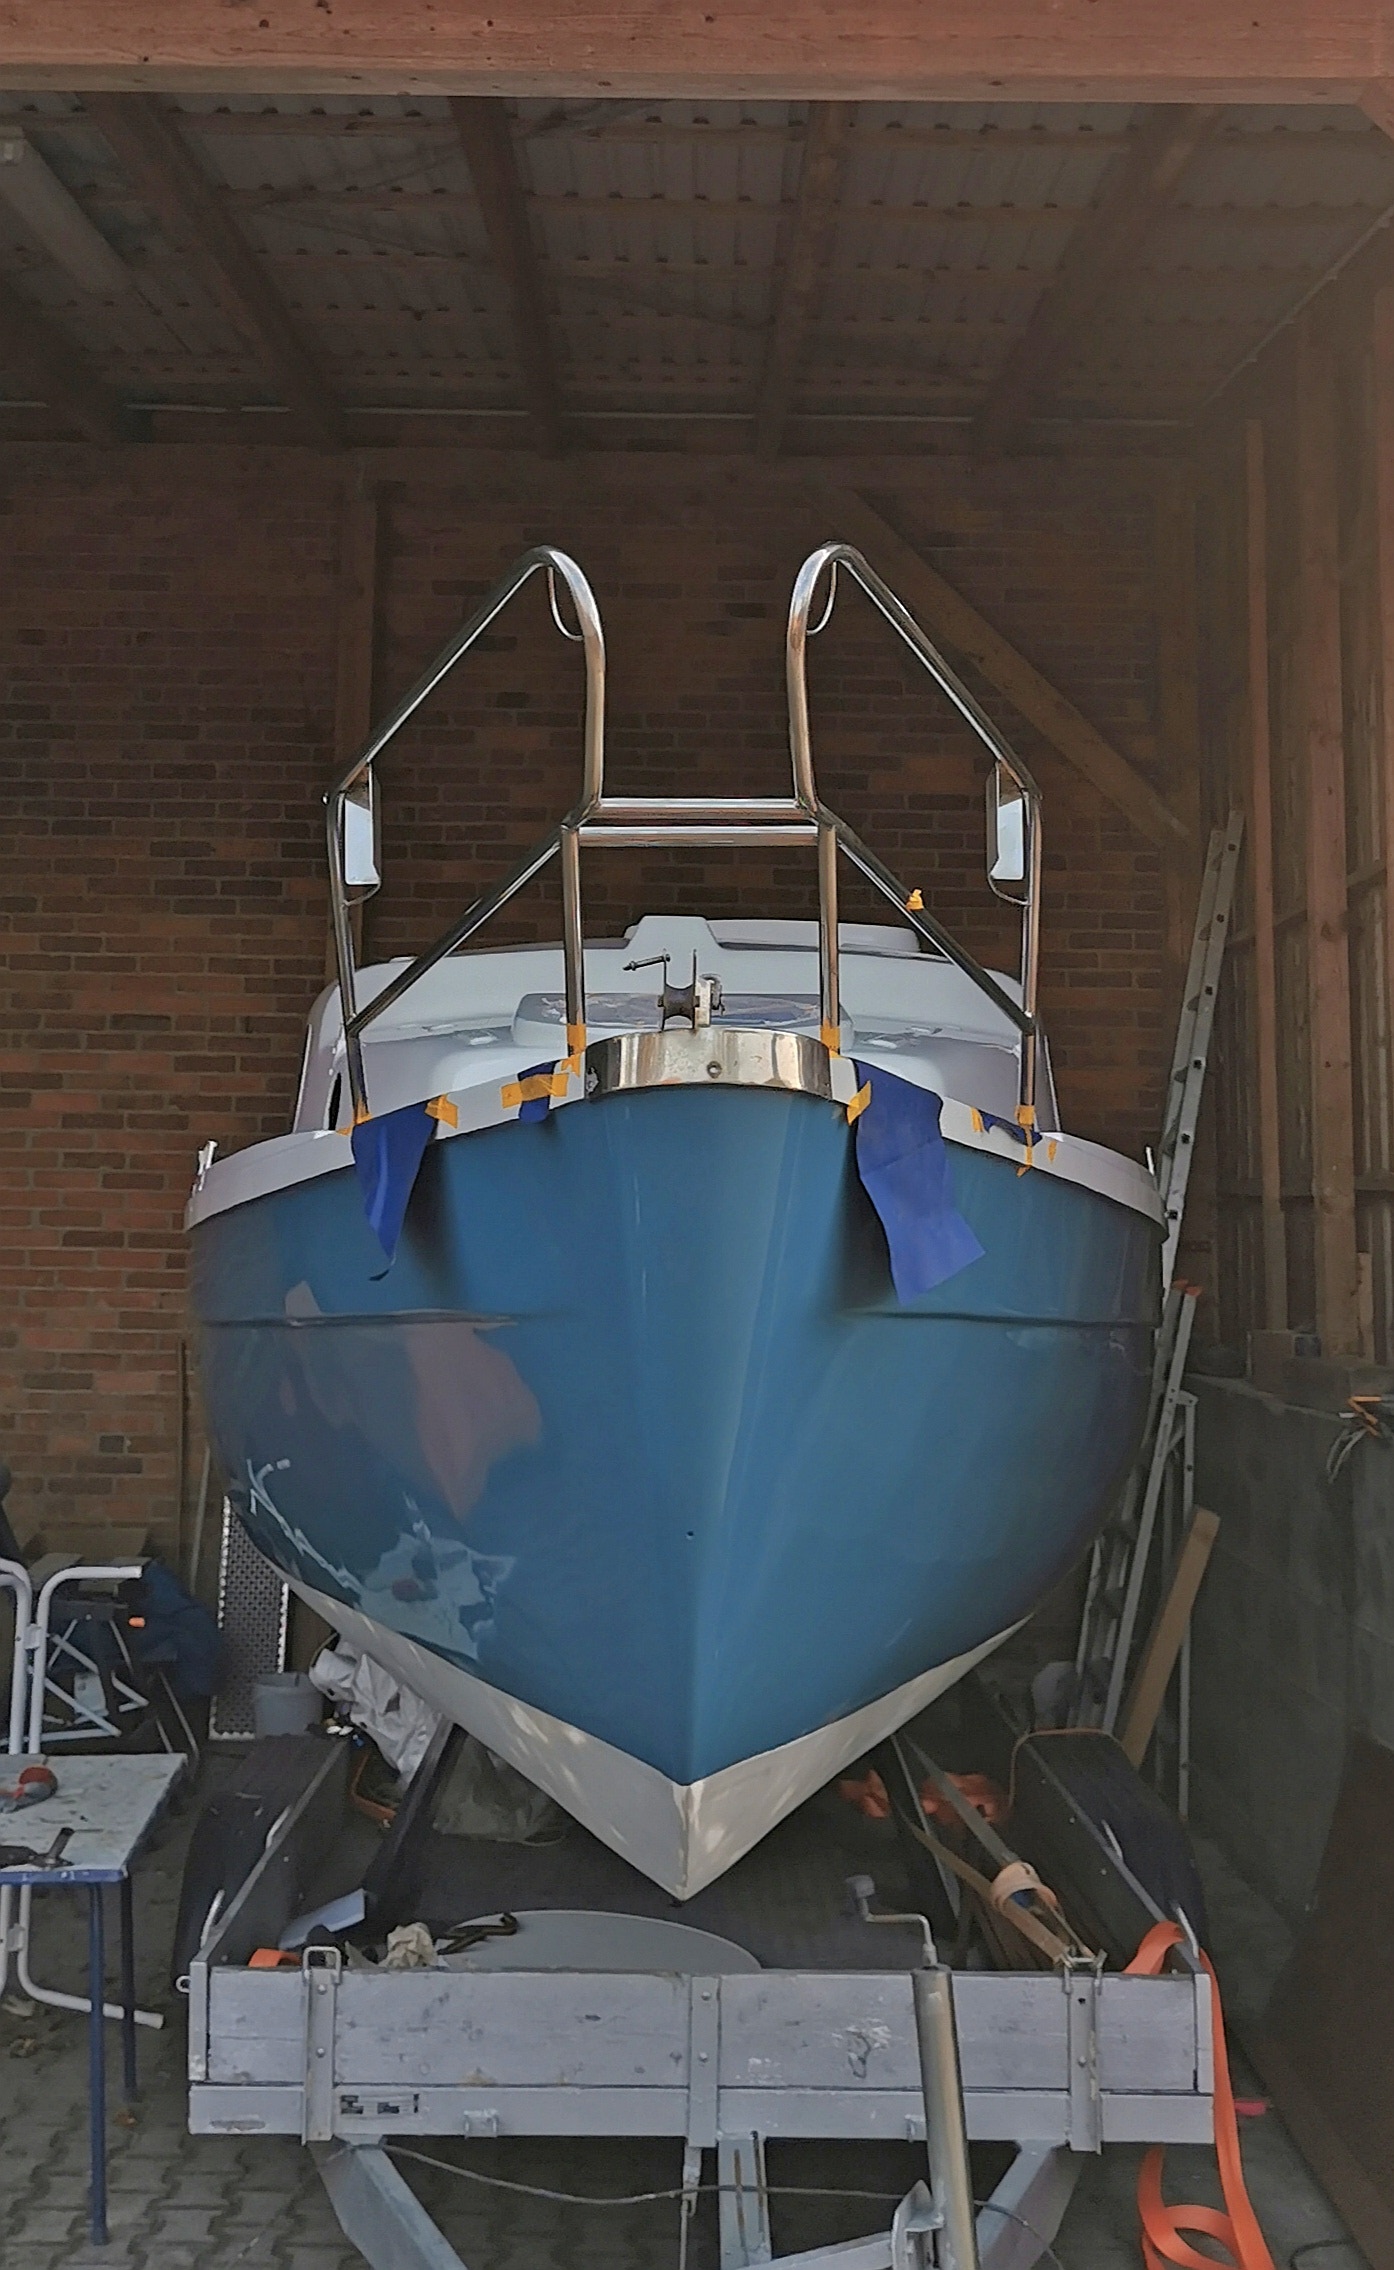
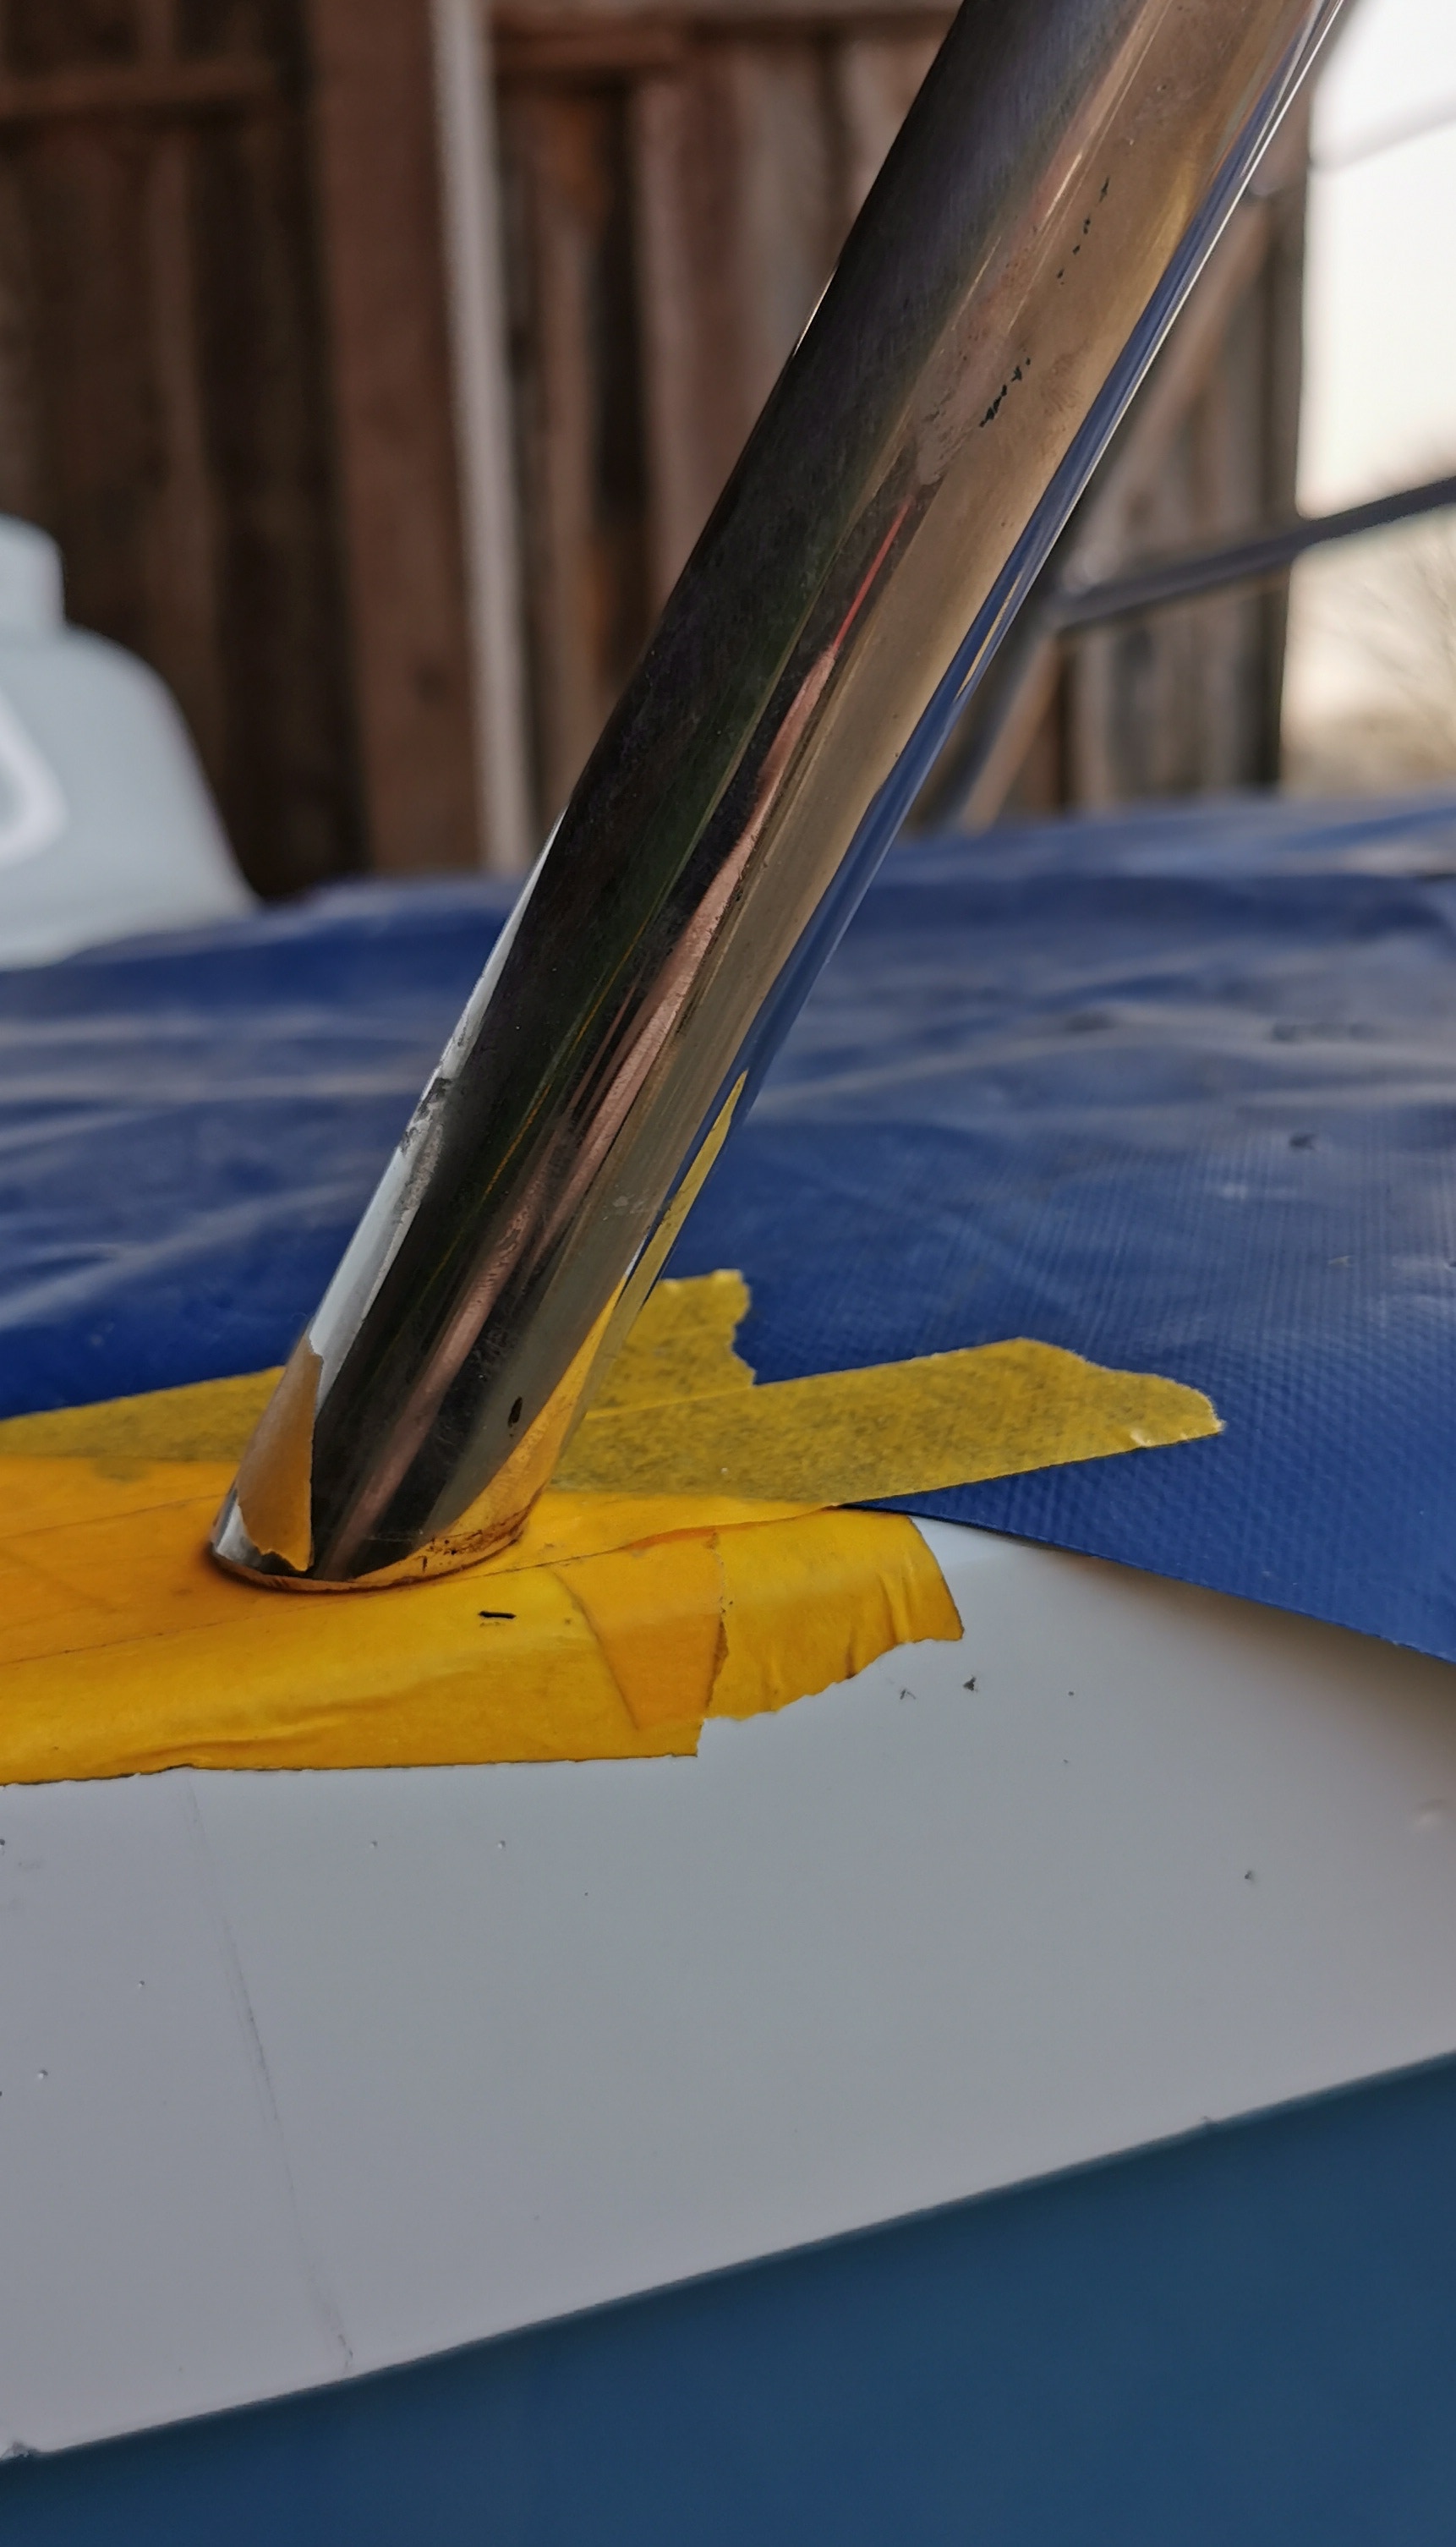
... The pulpit and the pushpit have to go down.
Preparatory work outdoors.
... look like this ;-)
Warm up and work dry soon
3.12.2019
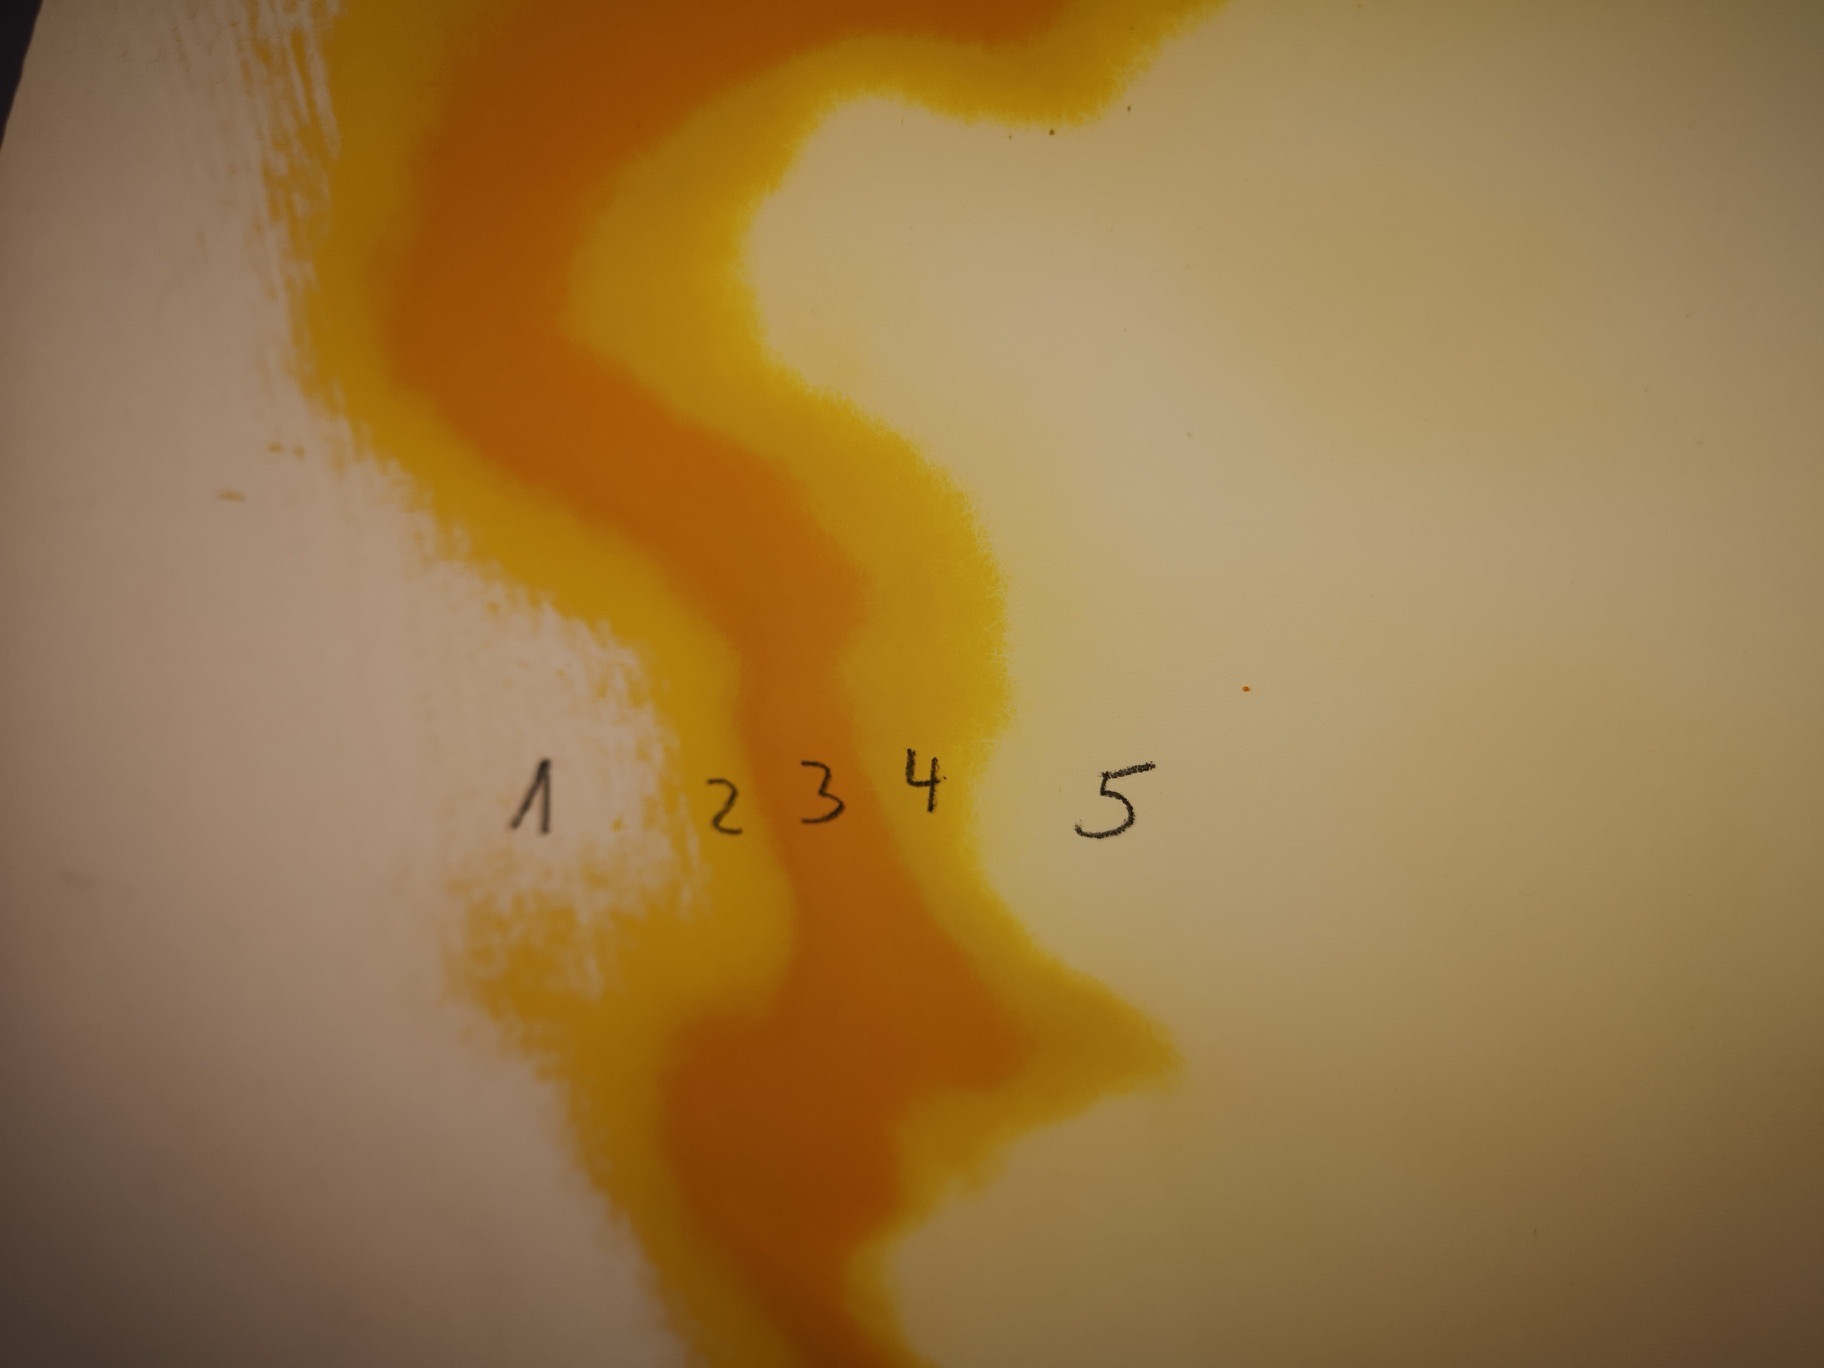
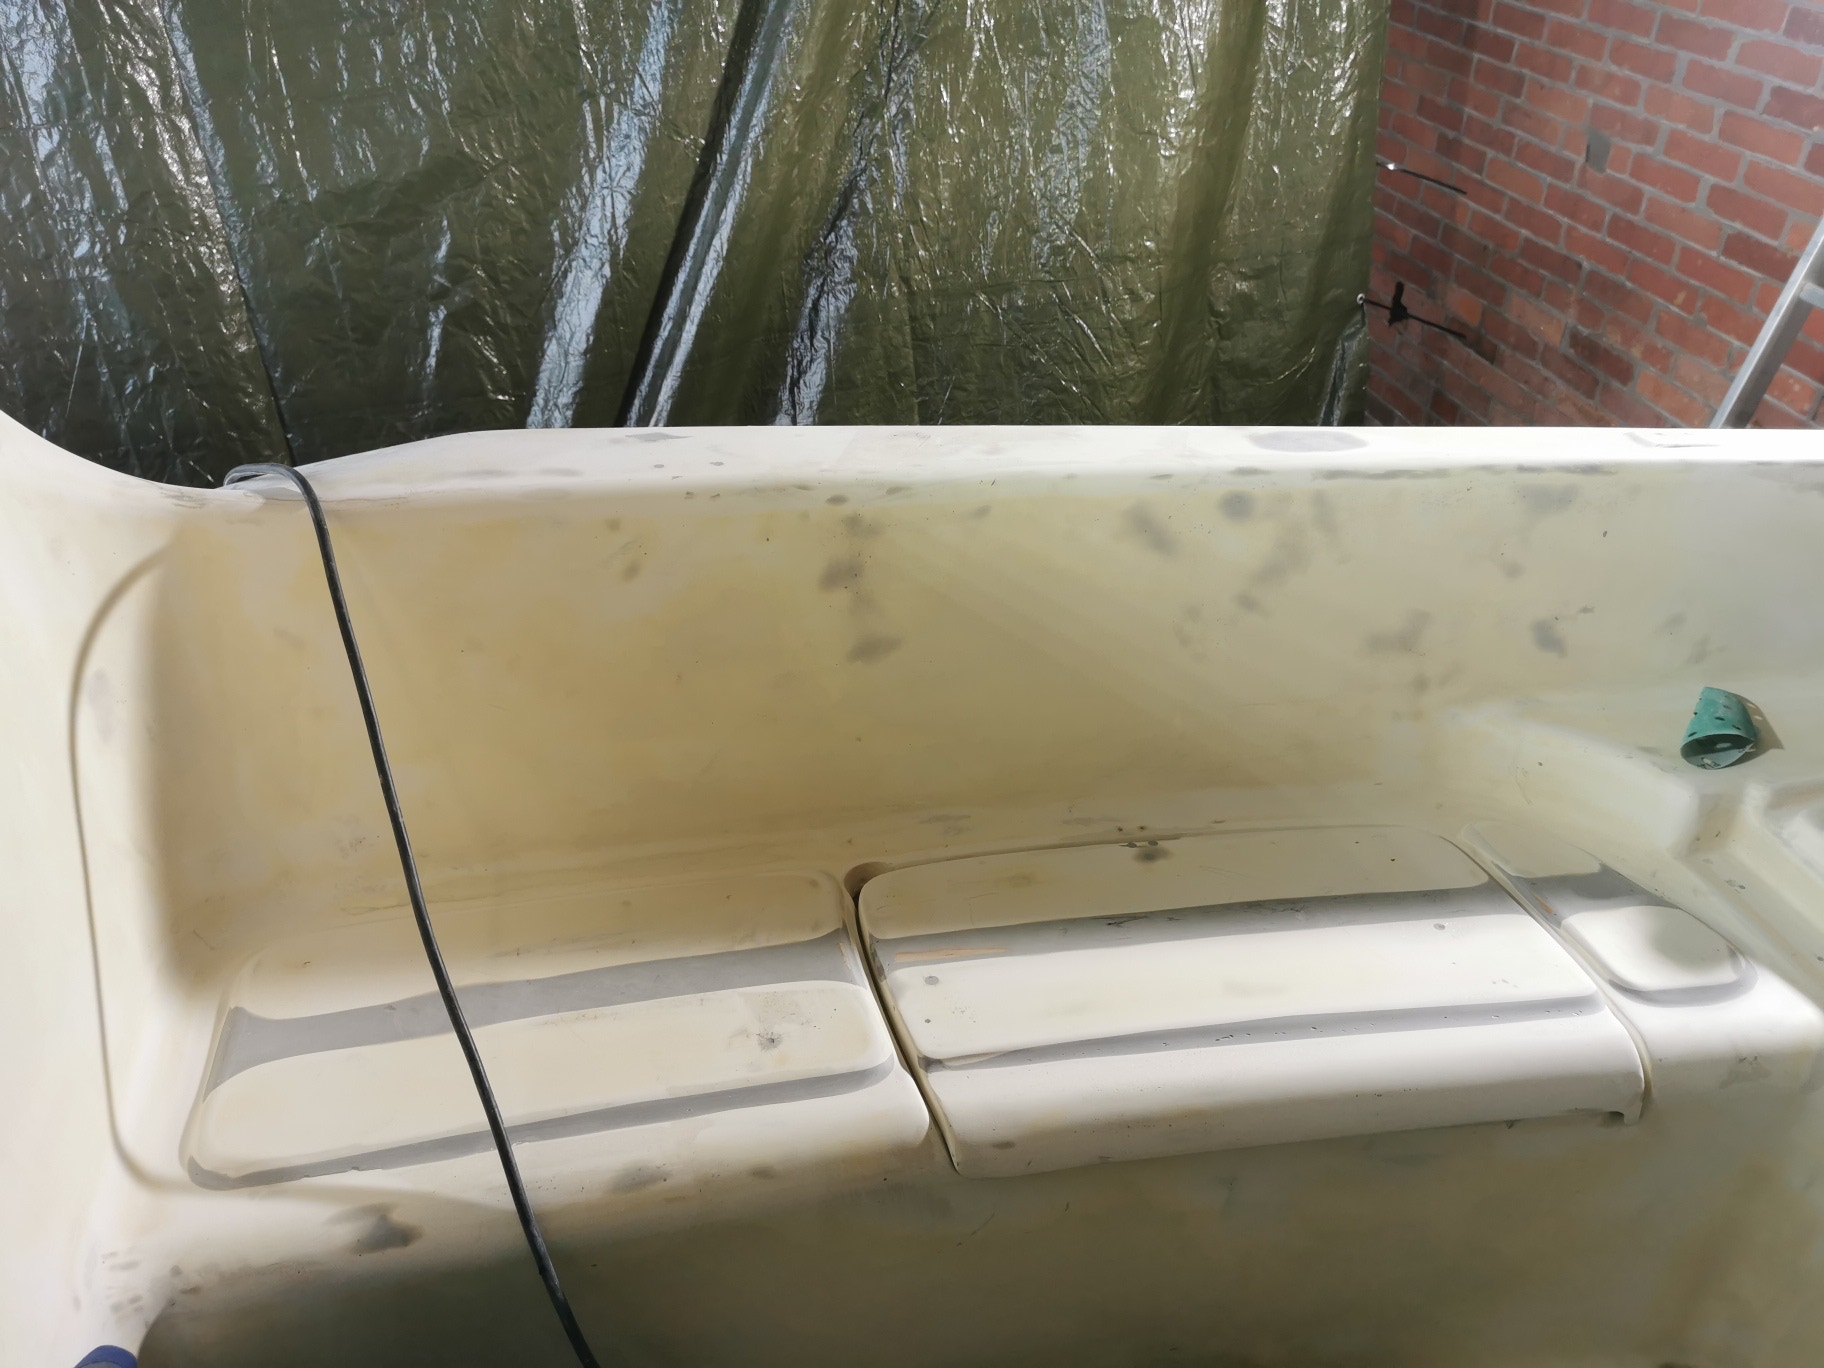
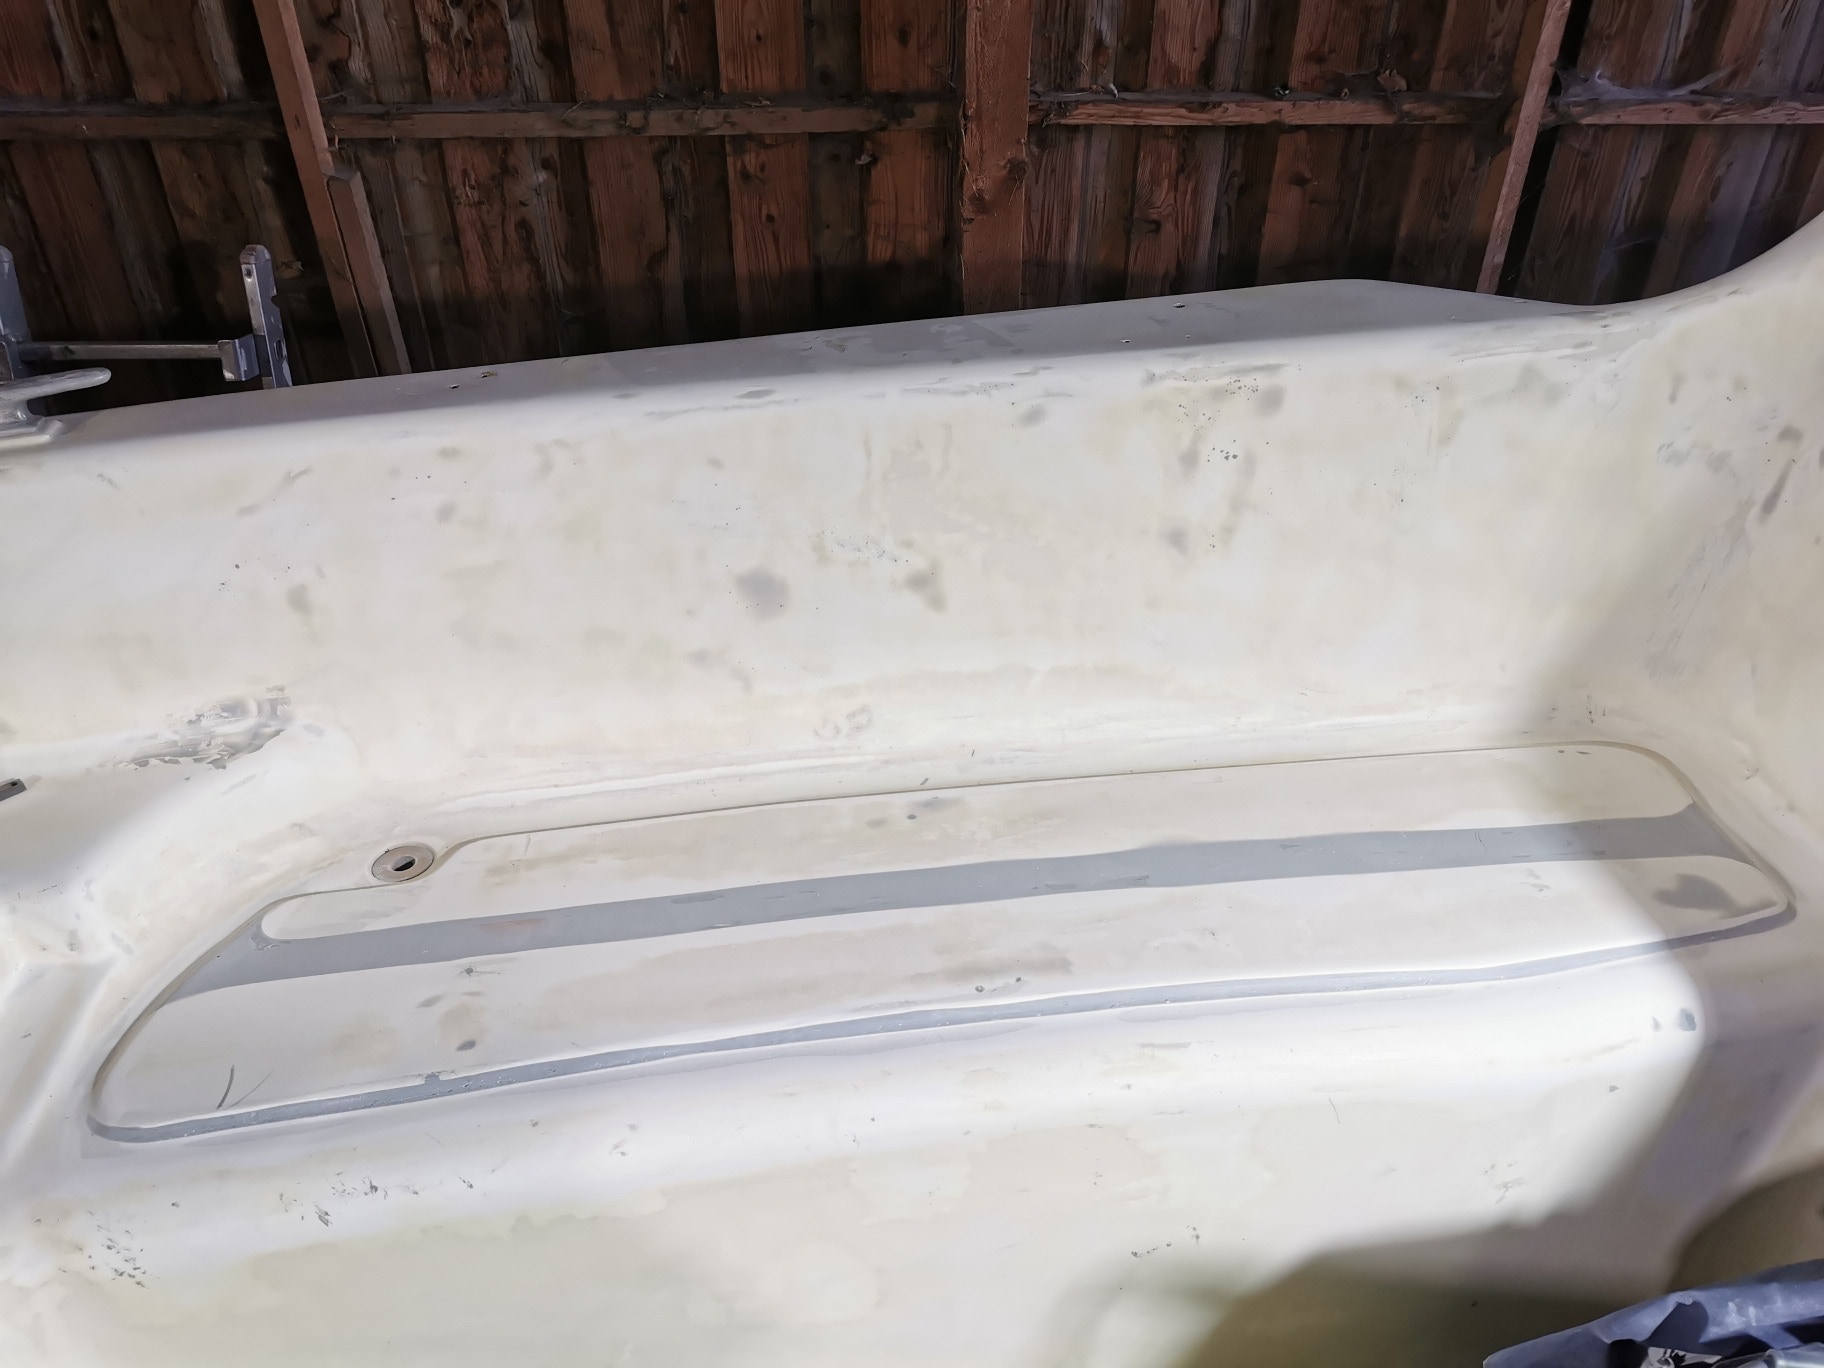
Today I sanded the paint with my orbital sander to the test. There are a total of 5 layers of paint appeared.
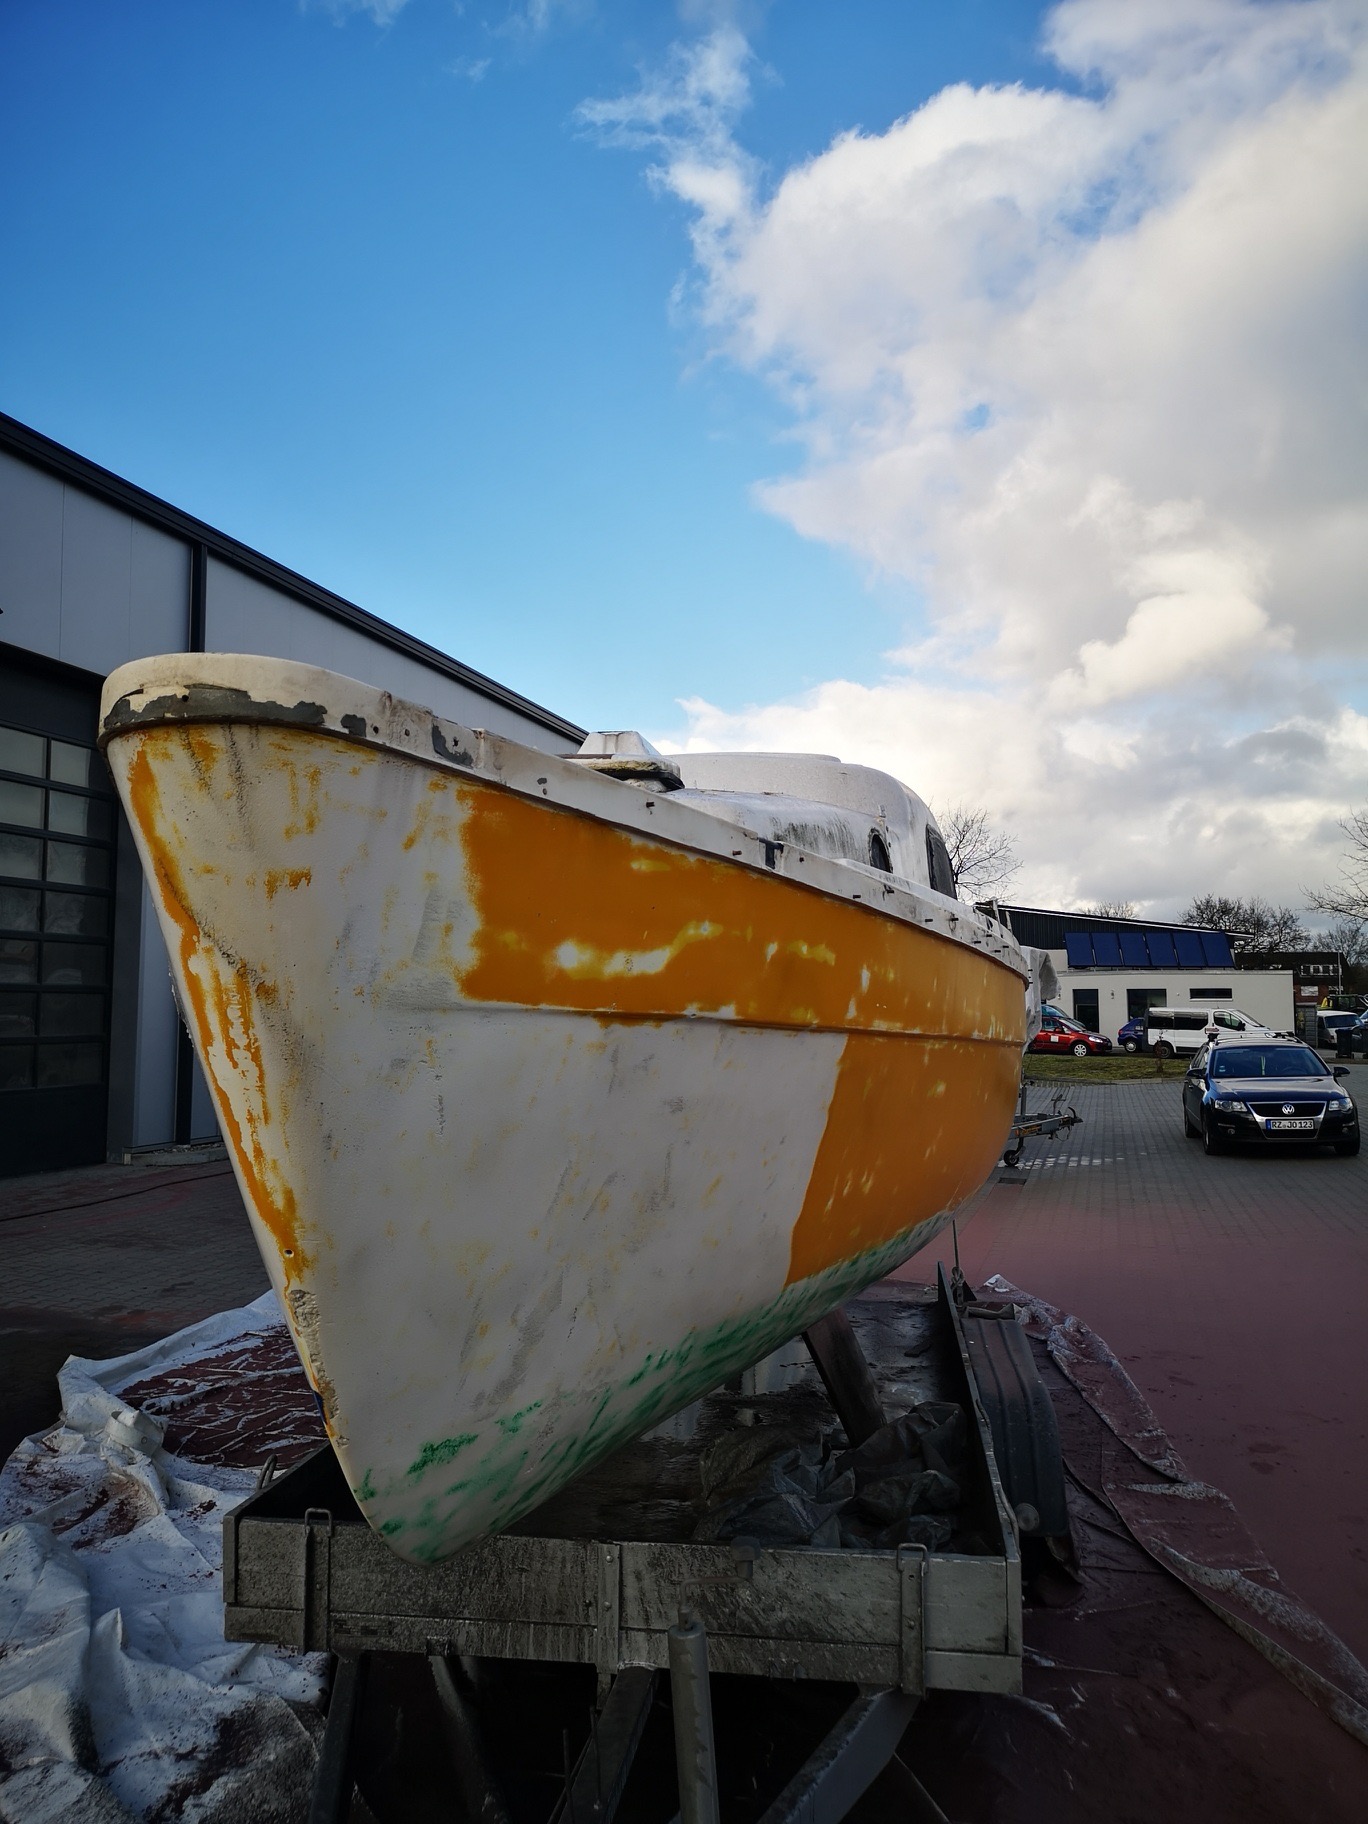
22.02.2020


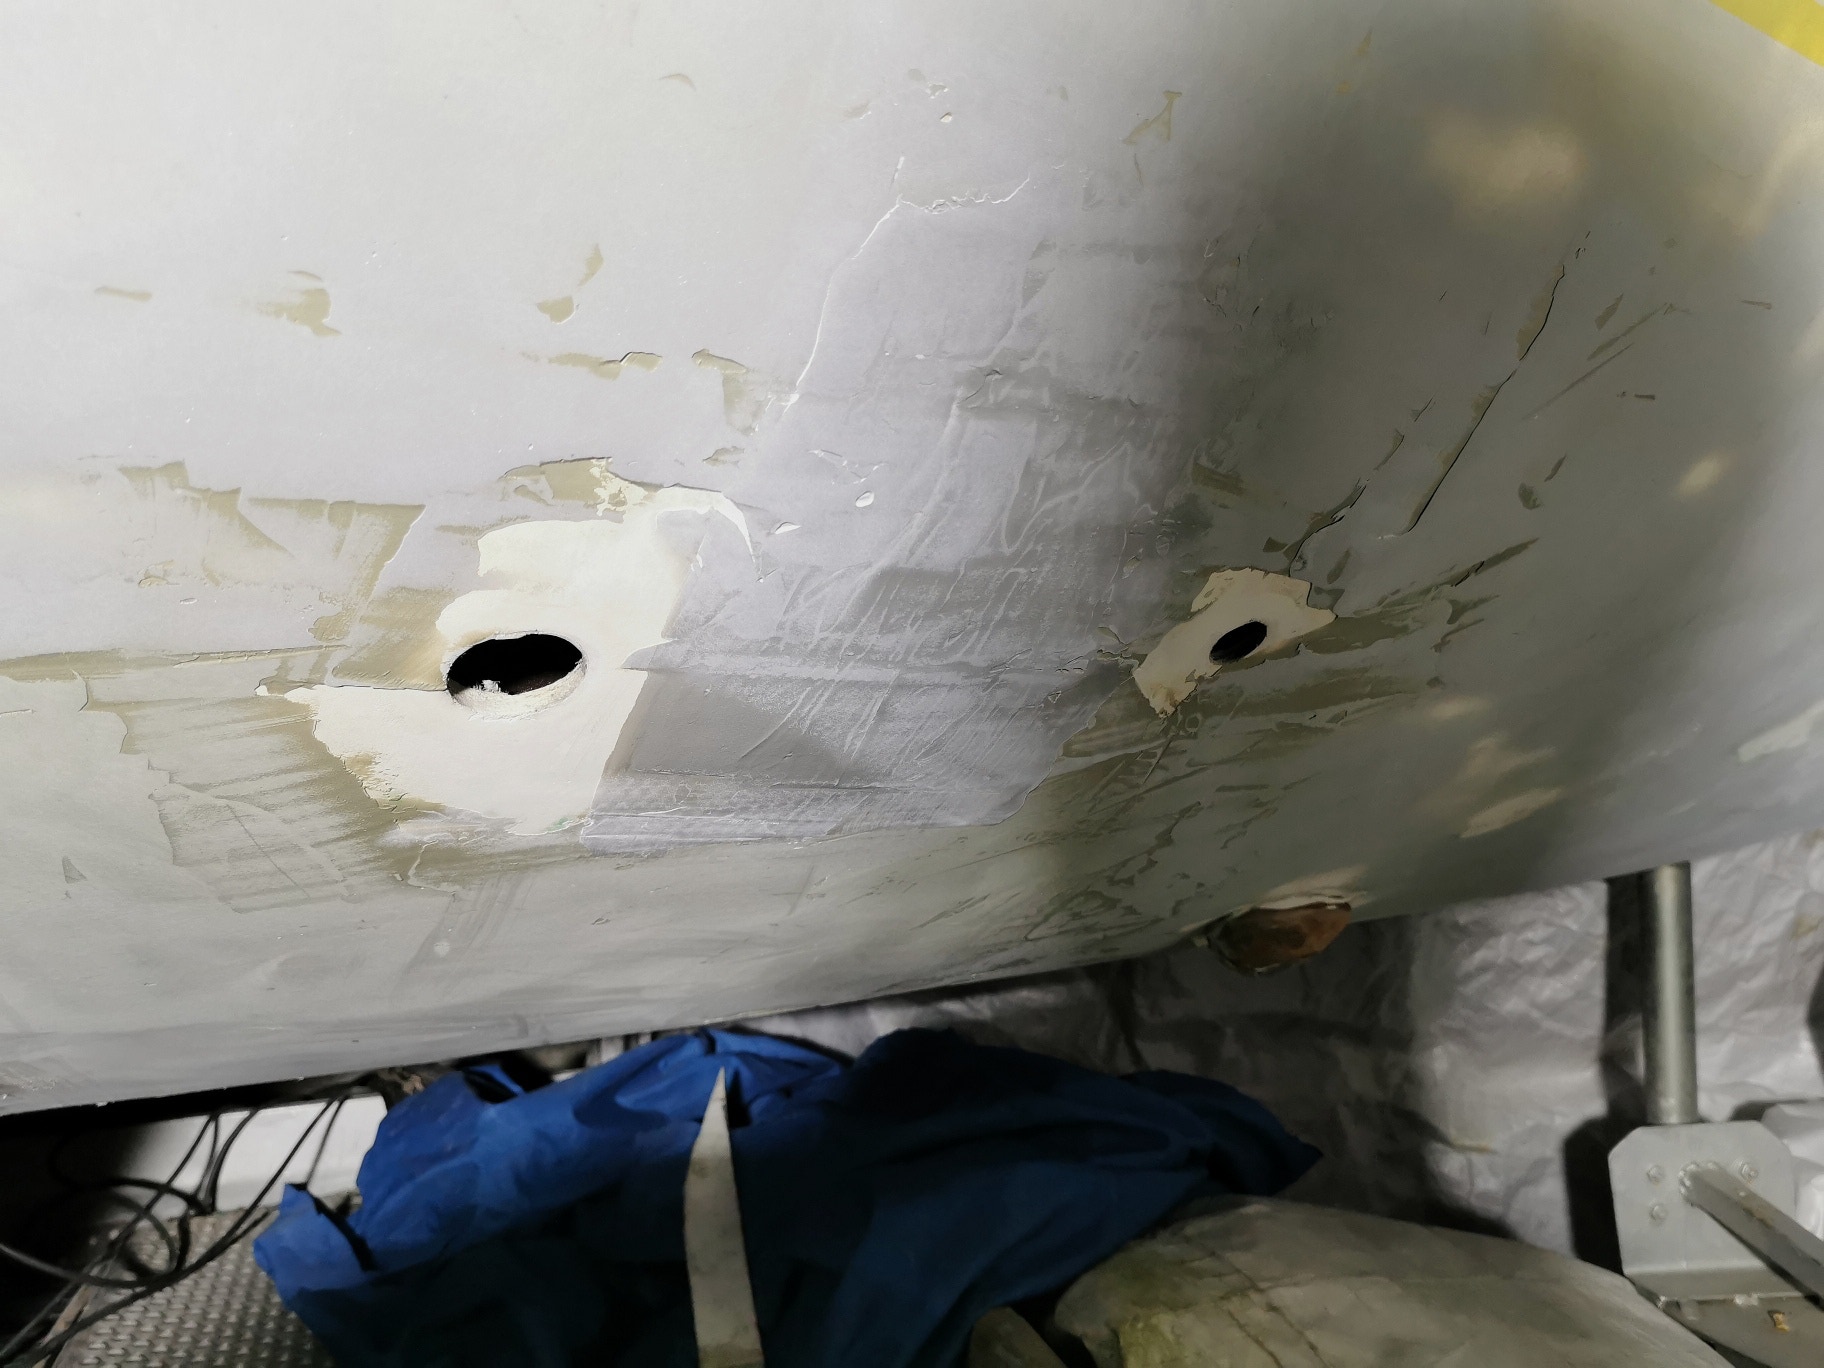
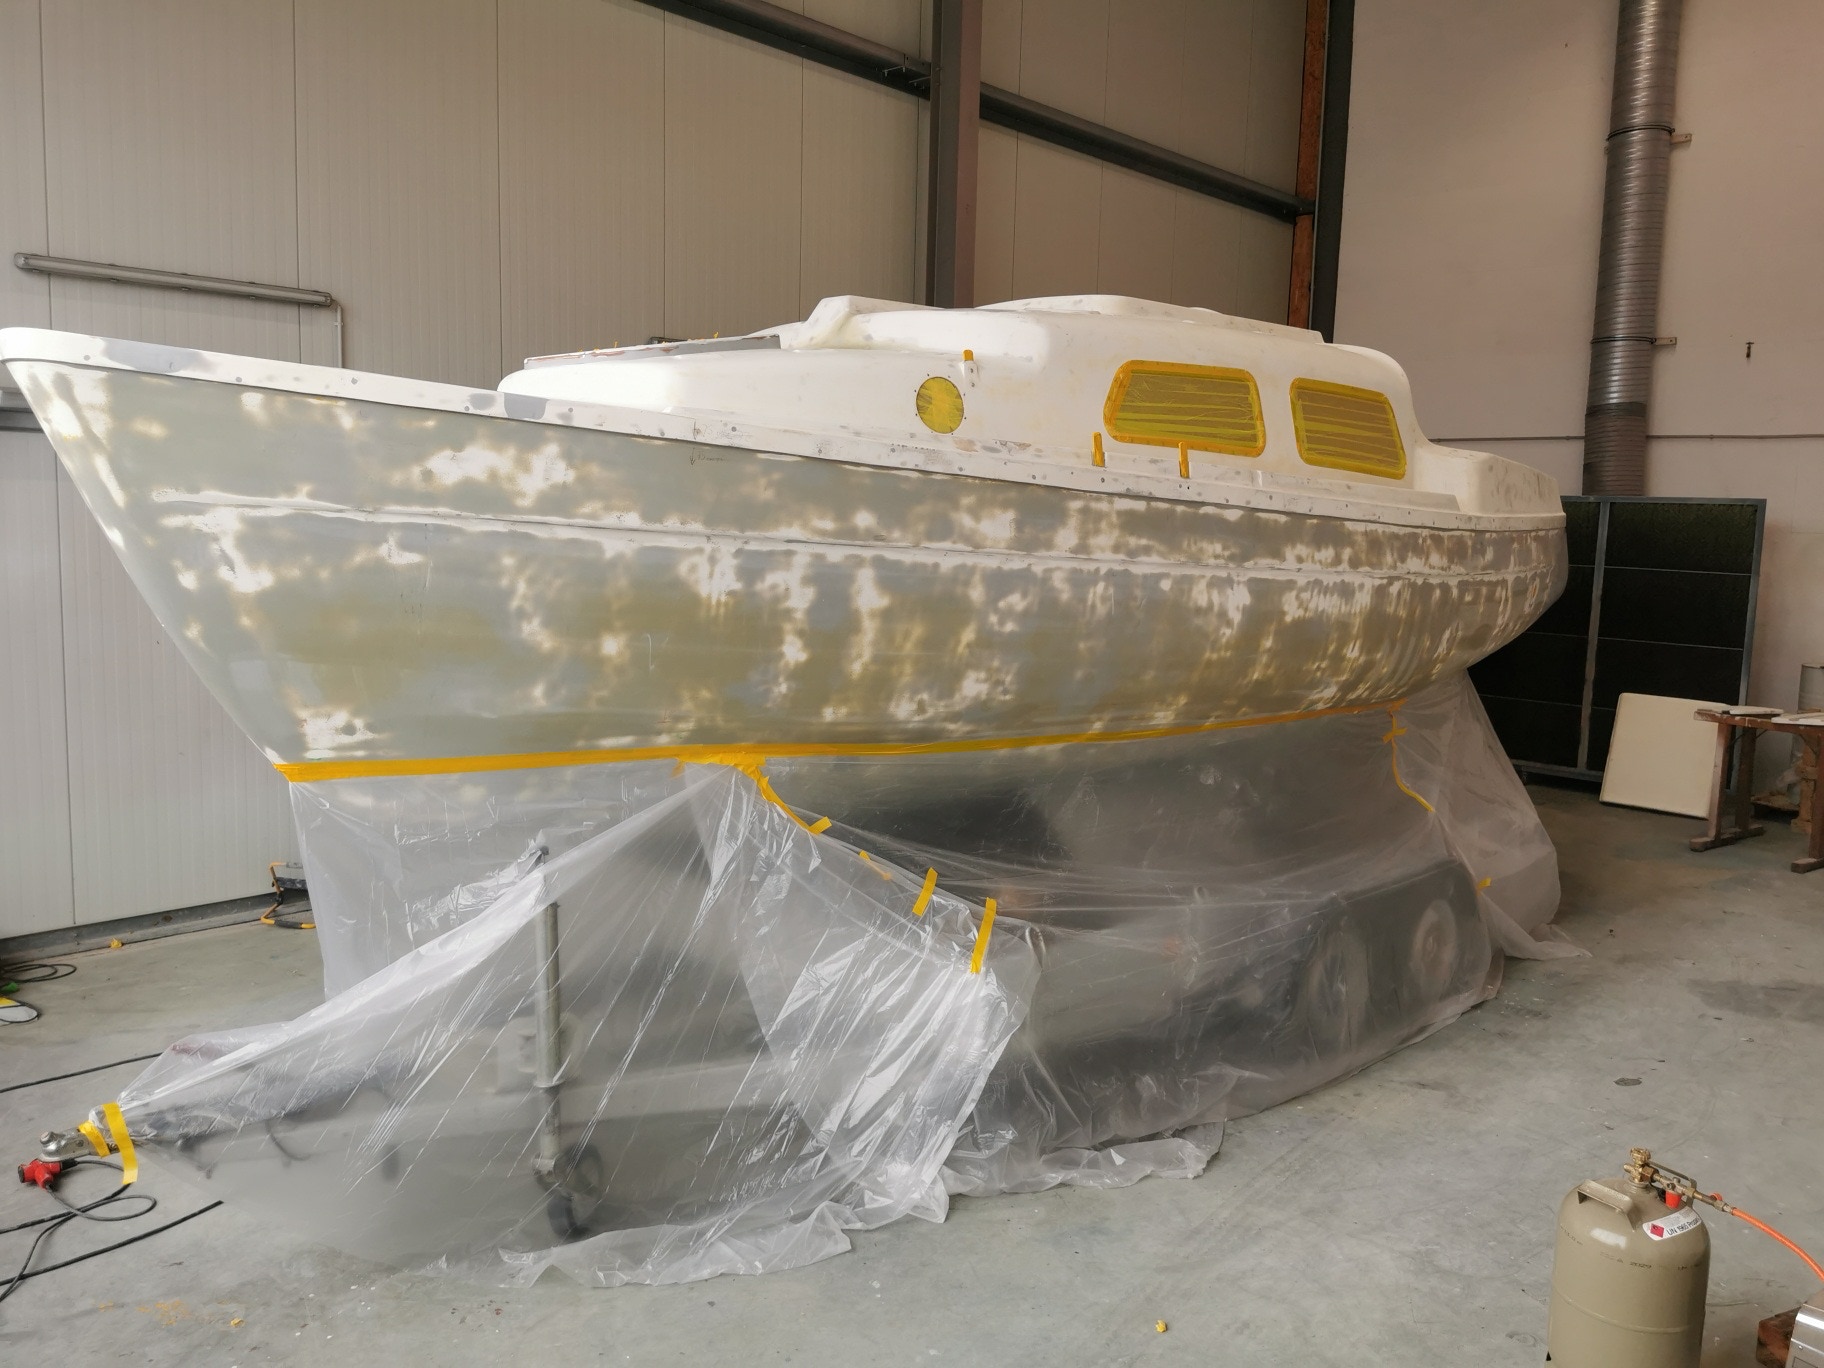
Since the hull and the deck will be sandblasted in the coming week, everything that disturbs must be dismantled. The 50-year-old rub rail is ramshackle and I simply flexed off all the screw heads and just pulled off the old molding. There was a lot of dirt behind the bar.
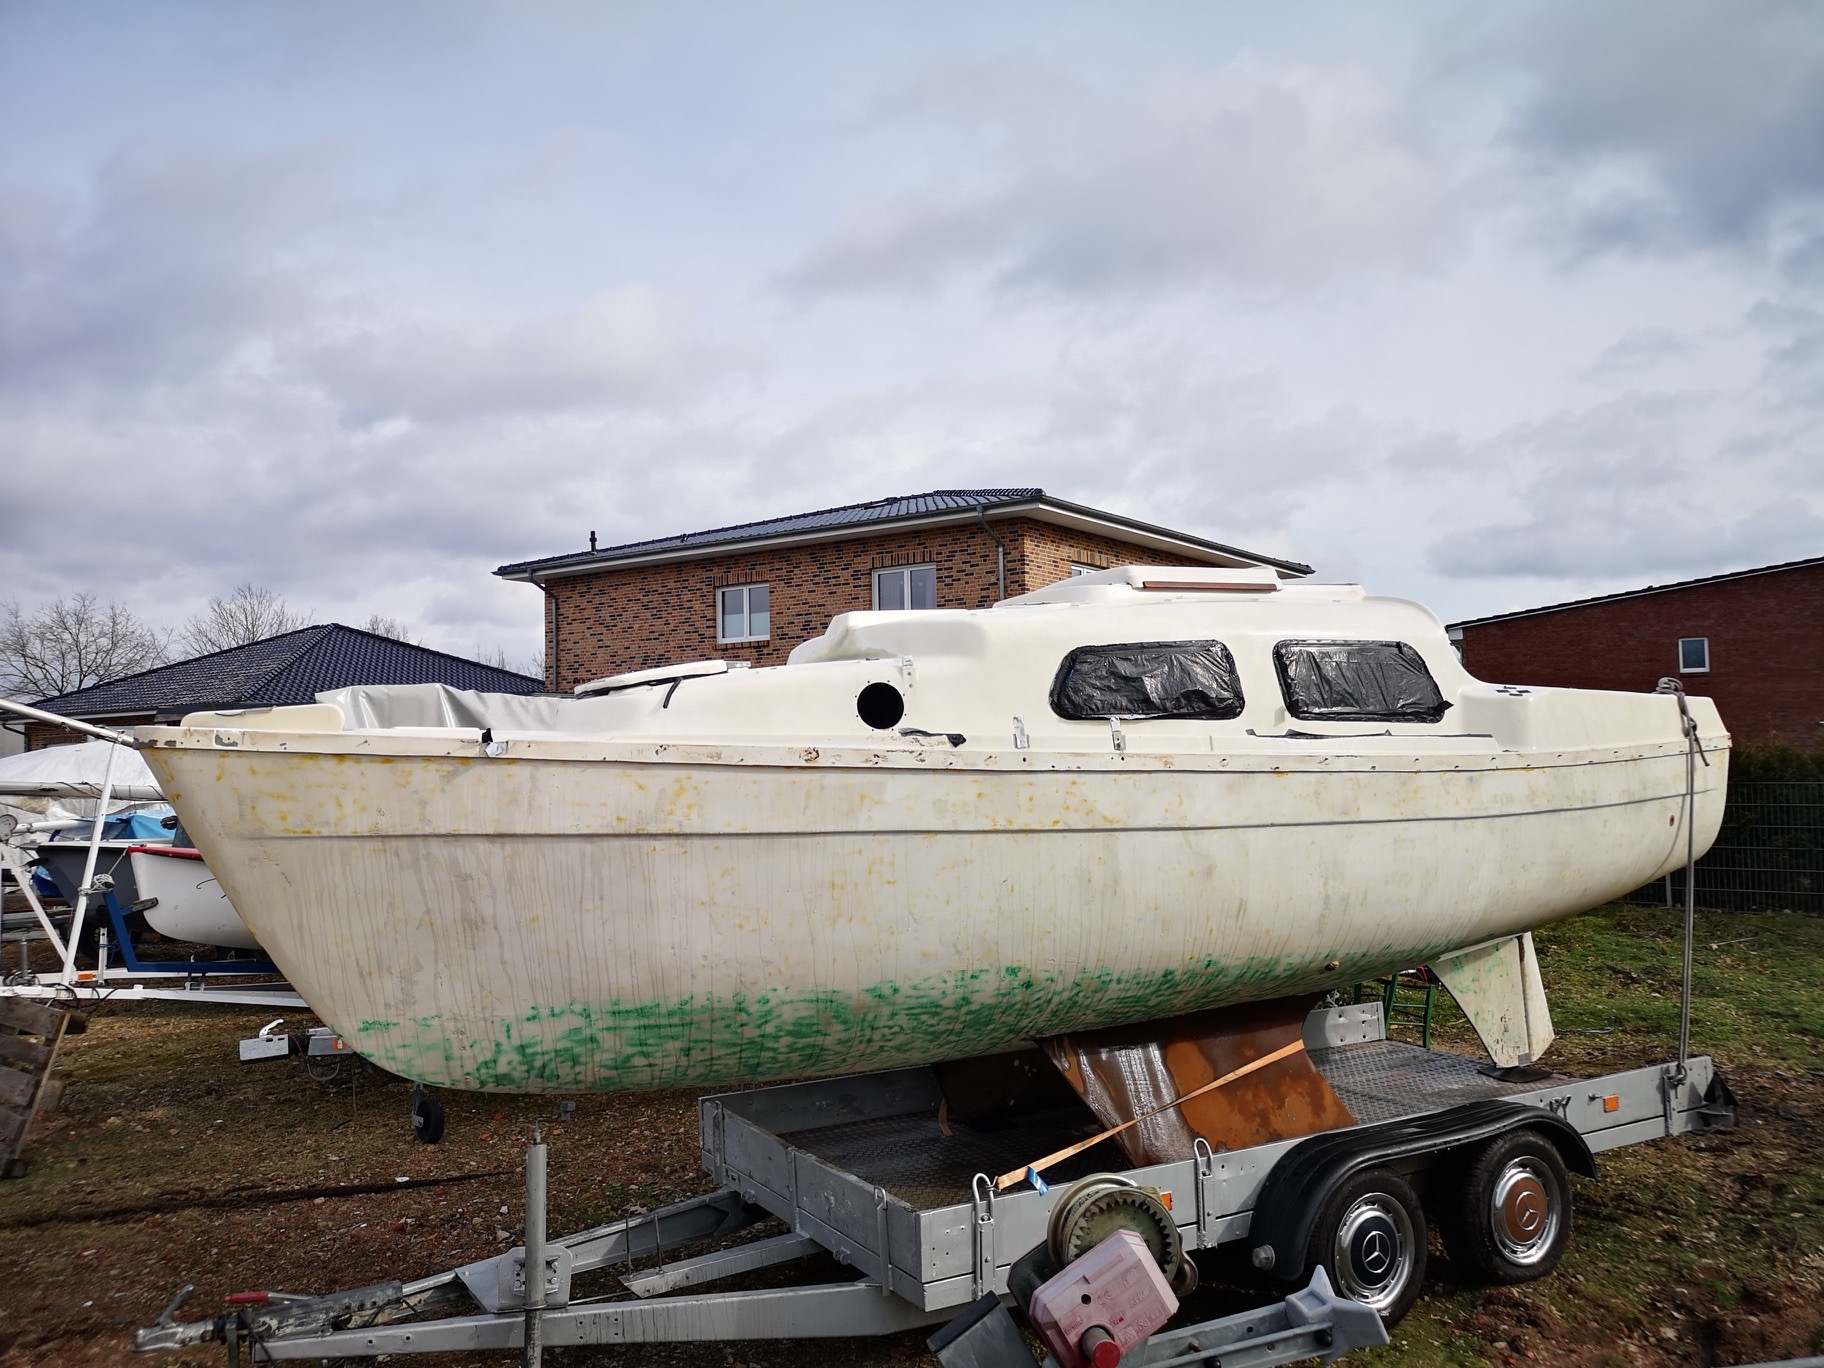
25.02.2020
The Leisure has been sandblasted since yesterday and the exterior work on the ship now takes up most of the time. The outside of the ship will look fresh again.
27.02.2020

So, the varnish is blown off and in the next step I have to fill in the osmosis and other damage in the gel coat. I let the boat dry again for now.


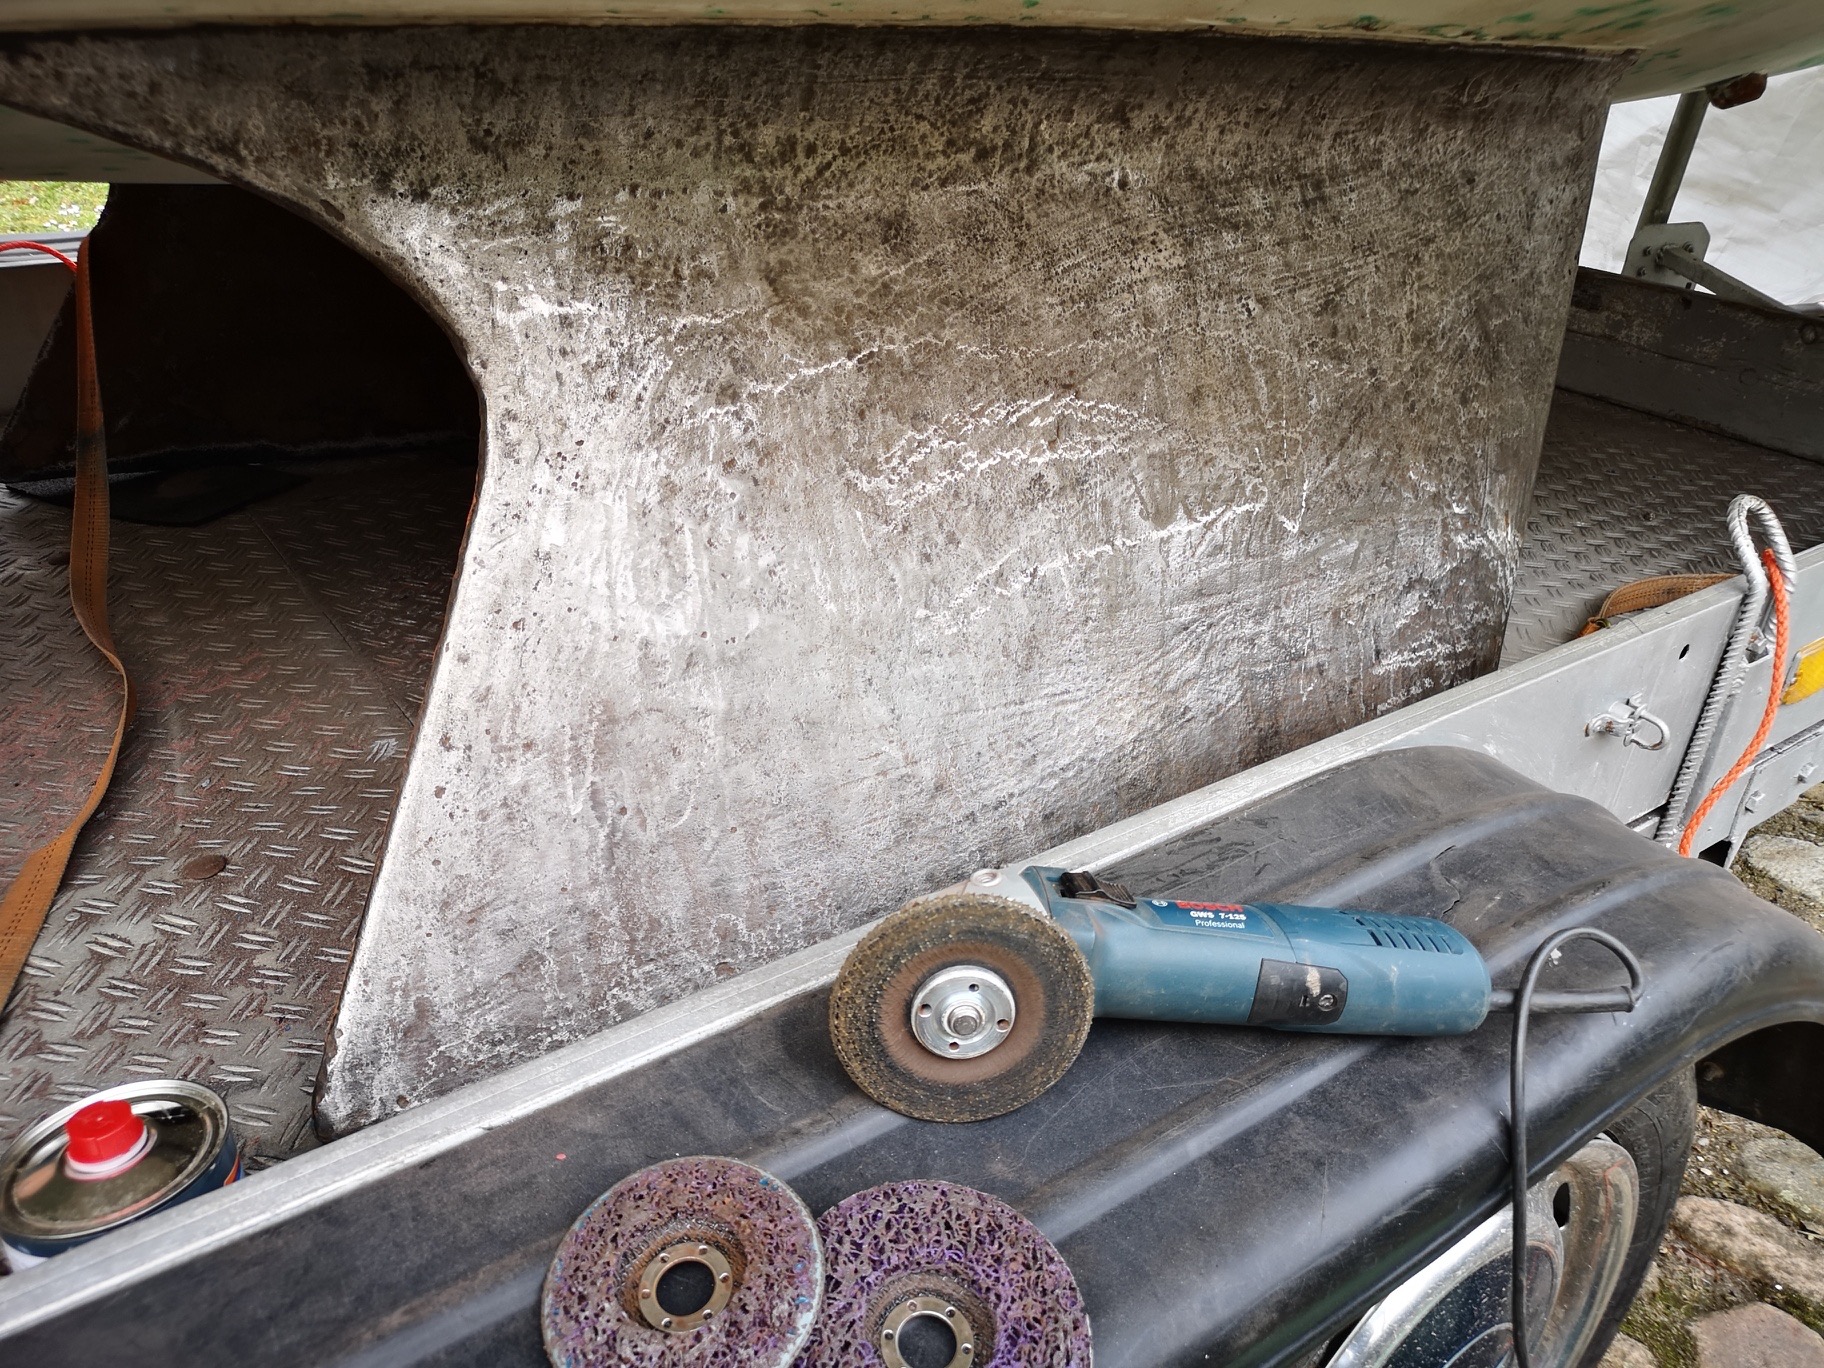
20.3.2020
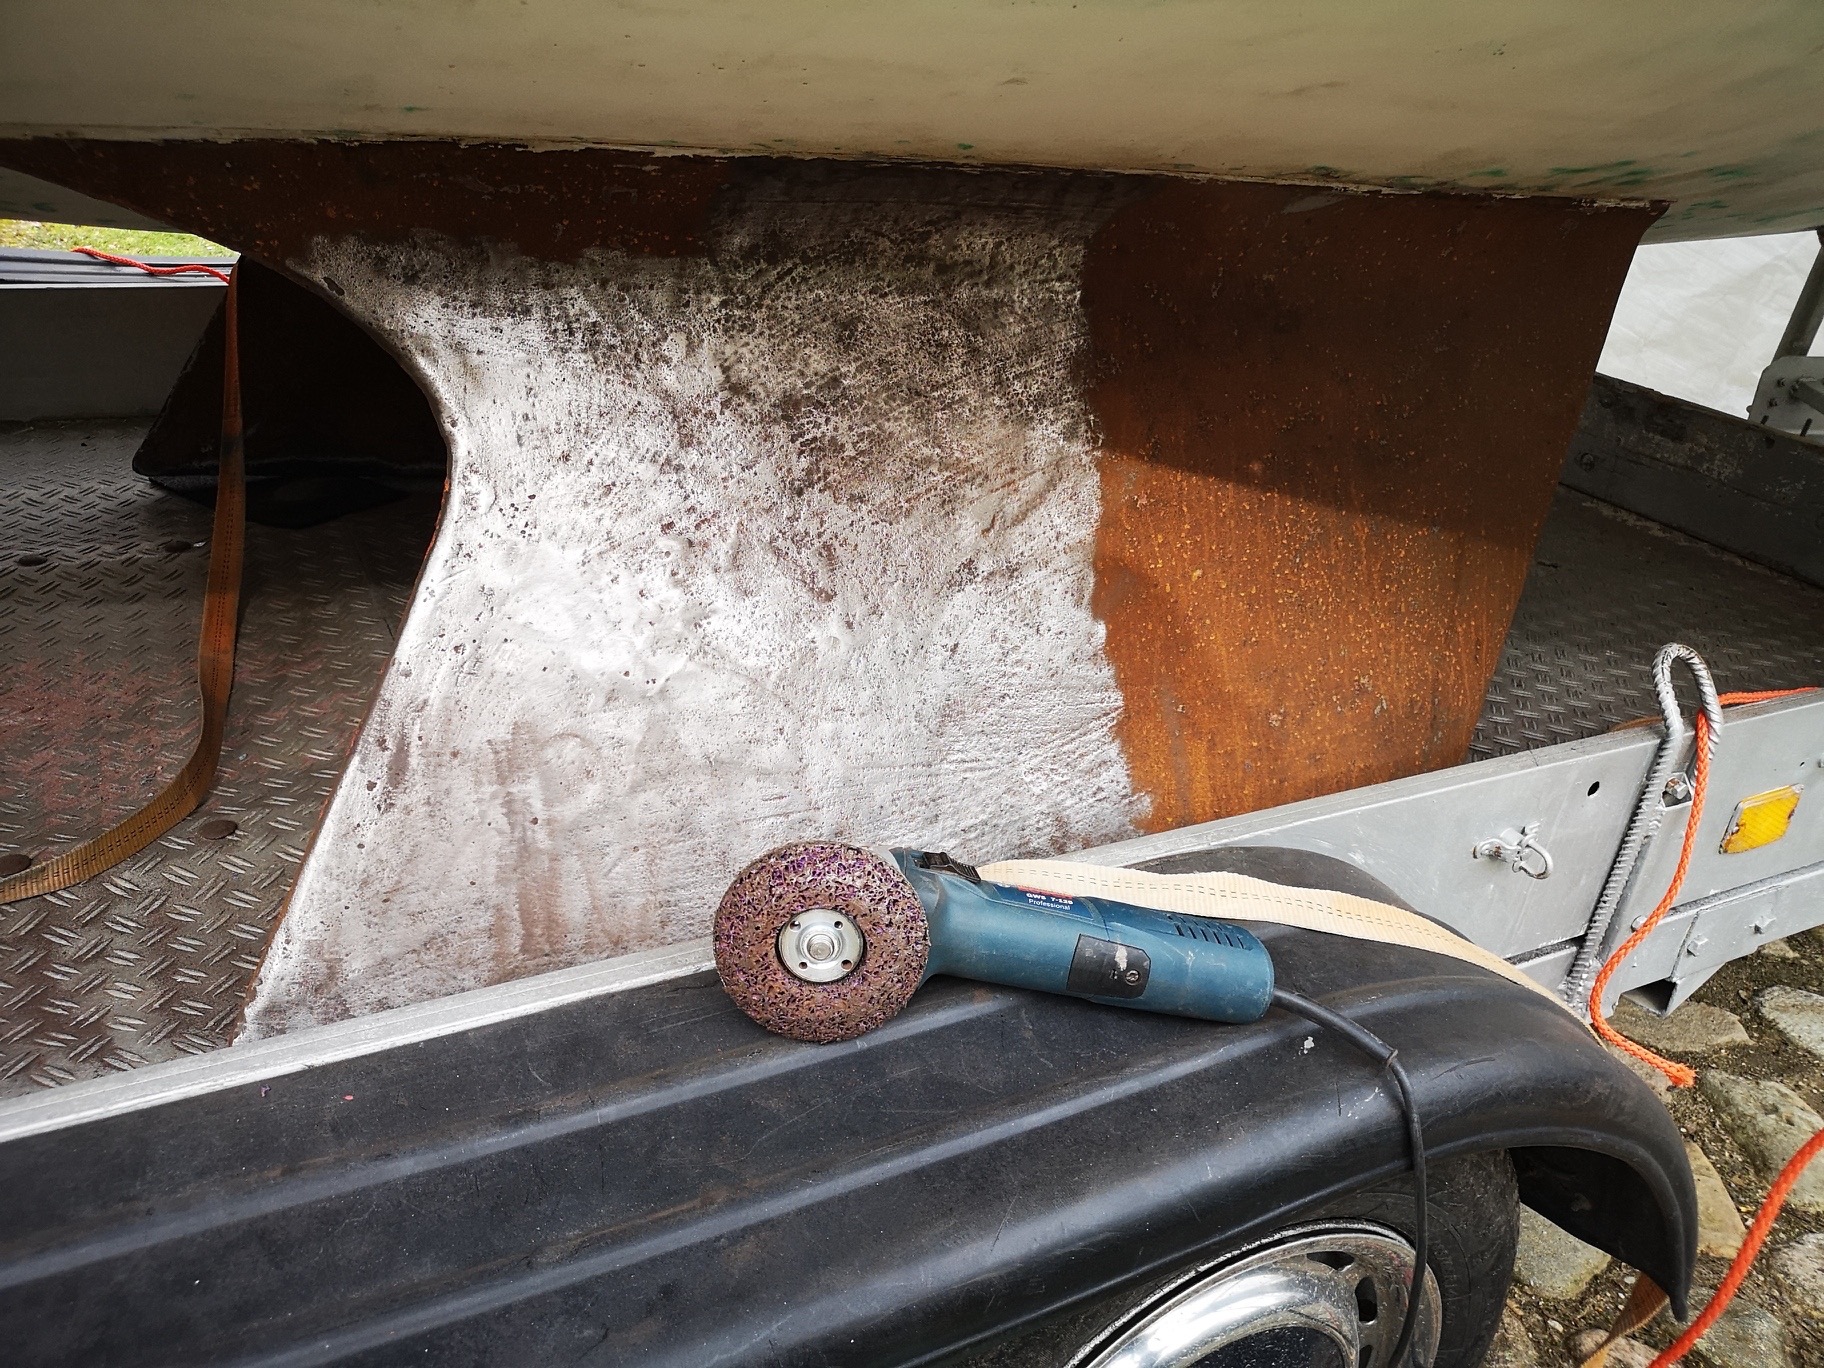
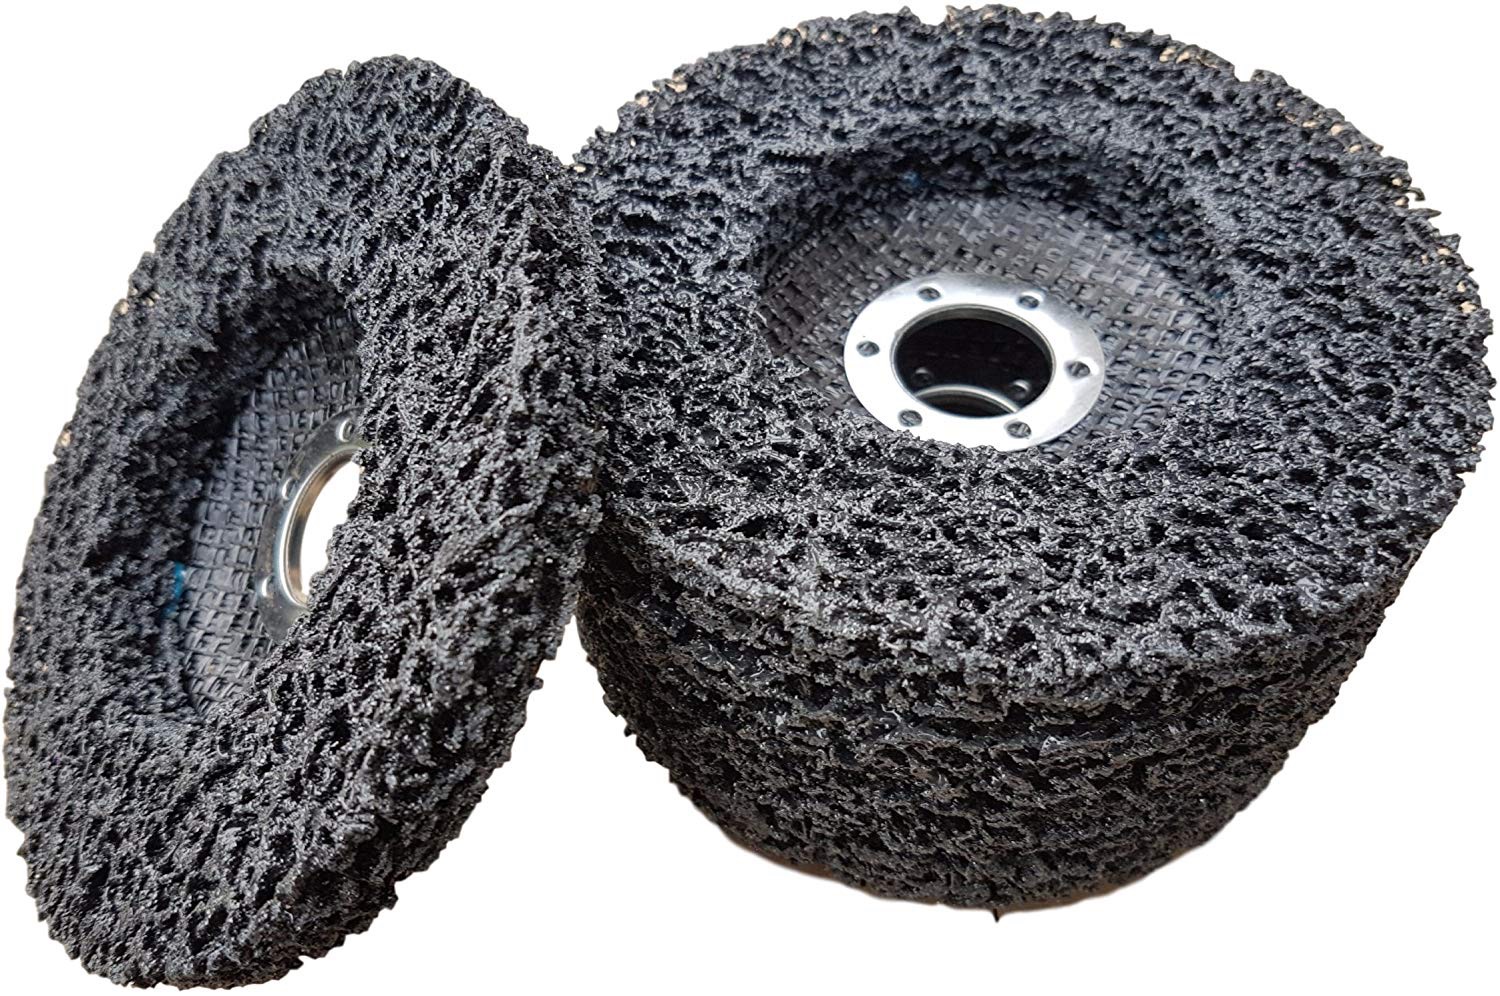
Of course, the grate has to get off the keels before they can be painted with epoxy primer (VC-TAR2). I got cleaning discs (see photo) for the Flex to grind off. Then I roughened the surface with a scrubbing disc so that the primer holds better.
6.4.2020

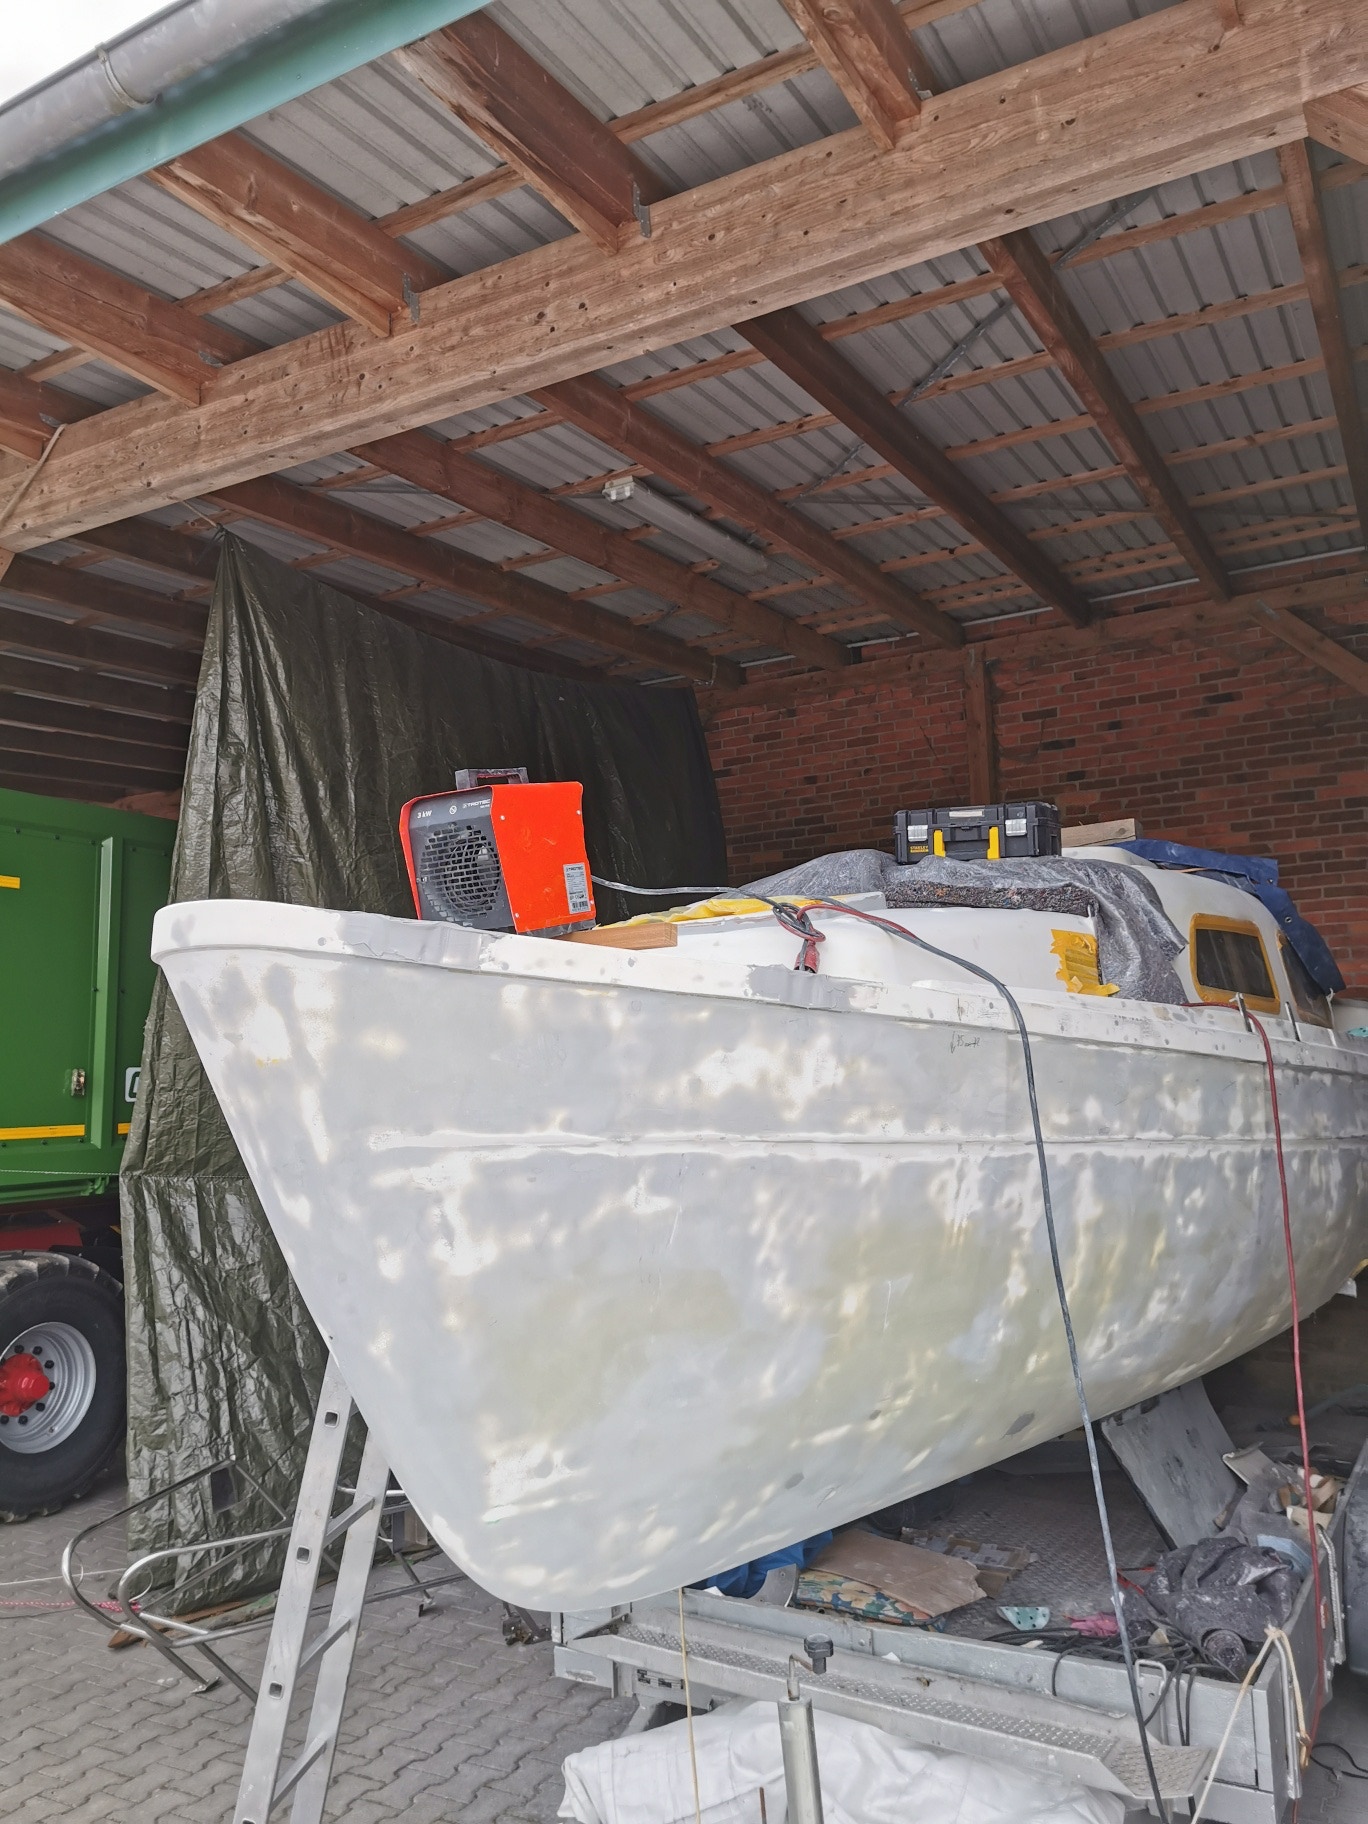
The outside temperatures are around 20 degrees Celsius and that is the best condition, to work without a hall on the hull.
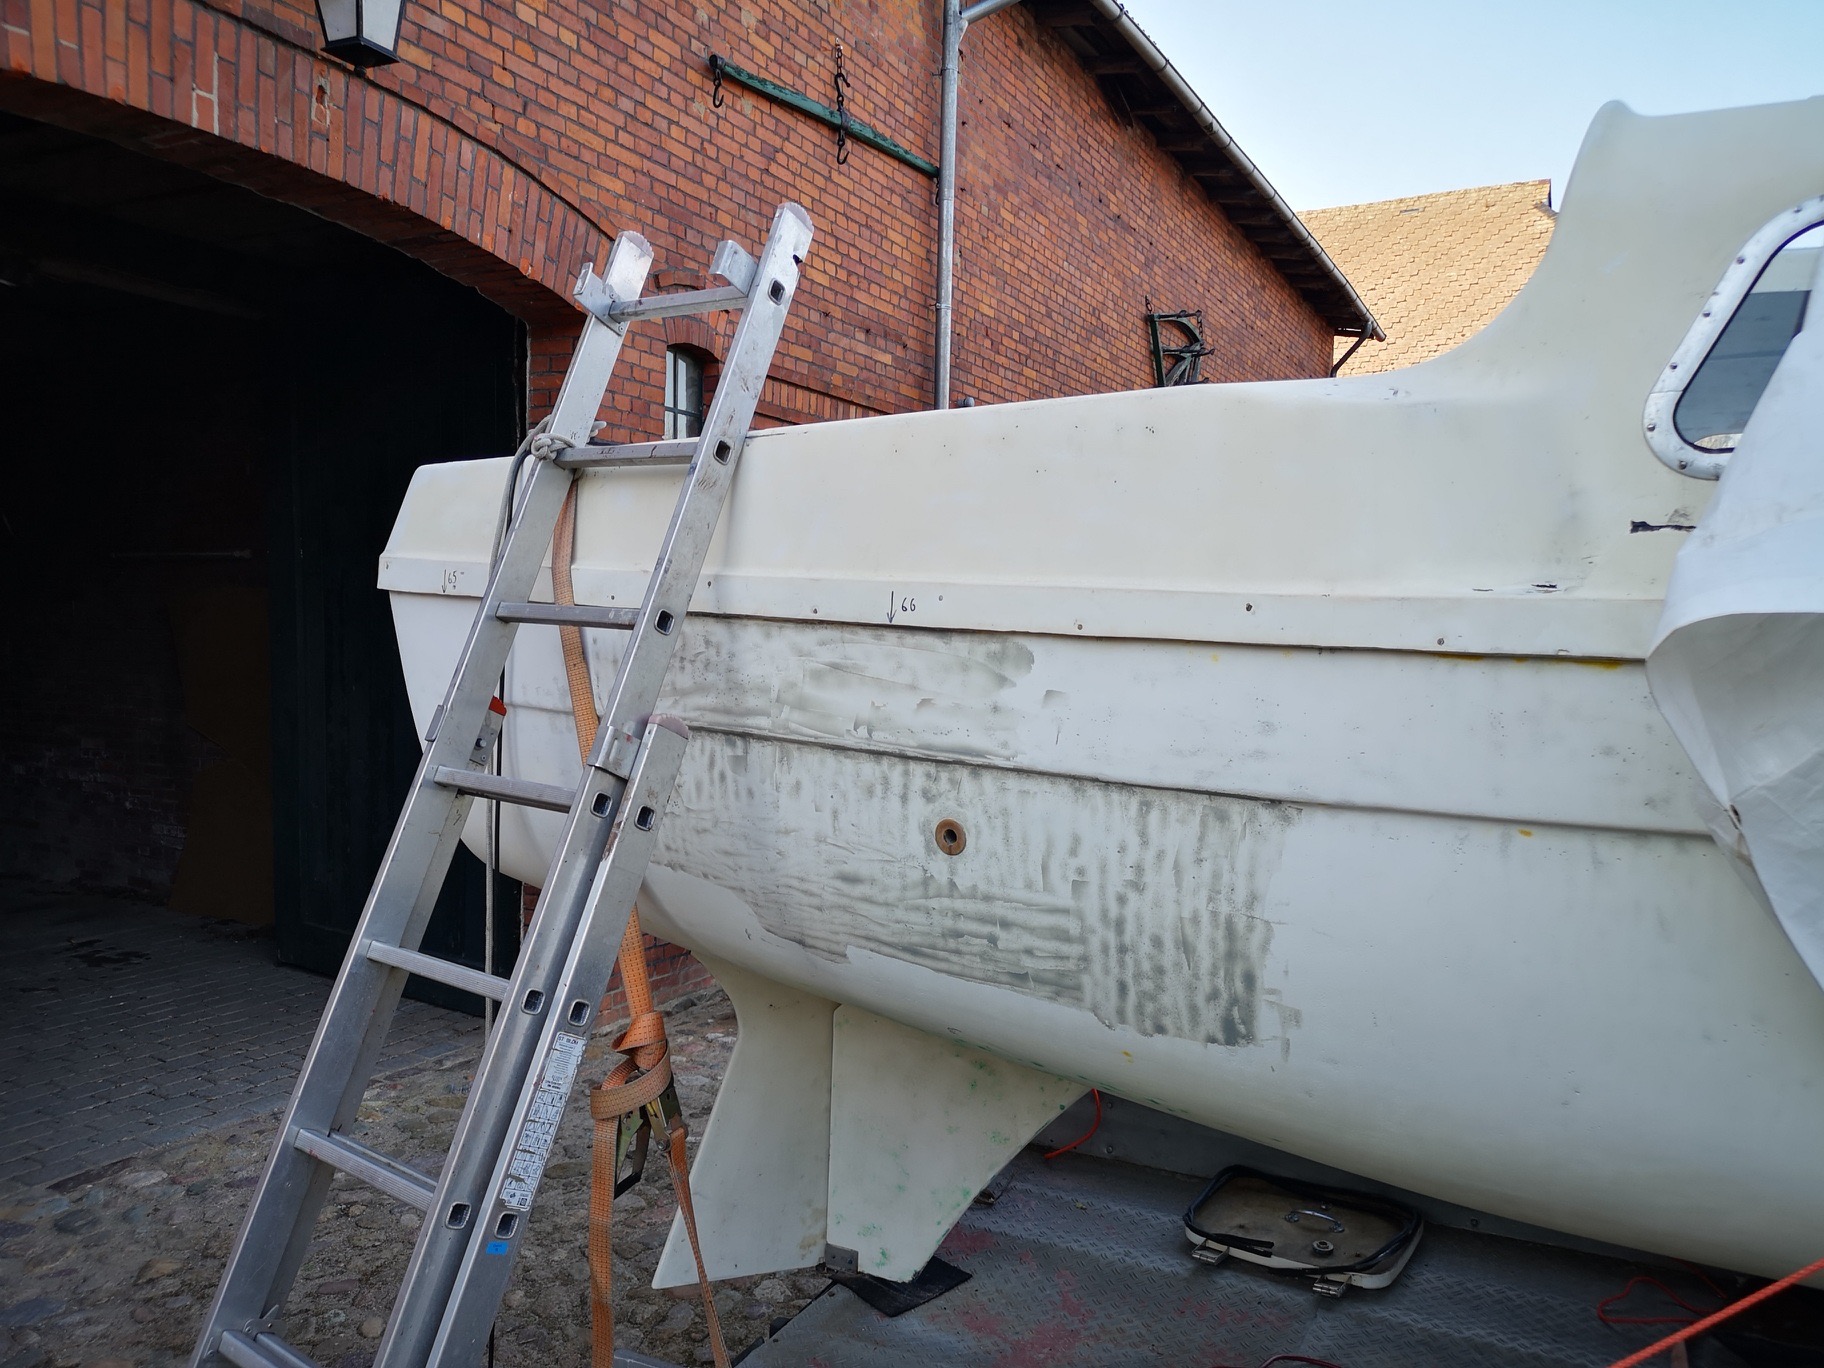
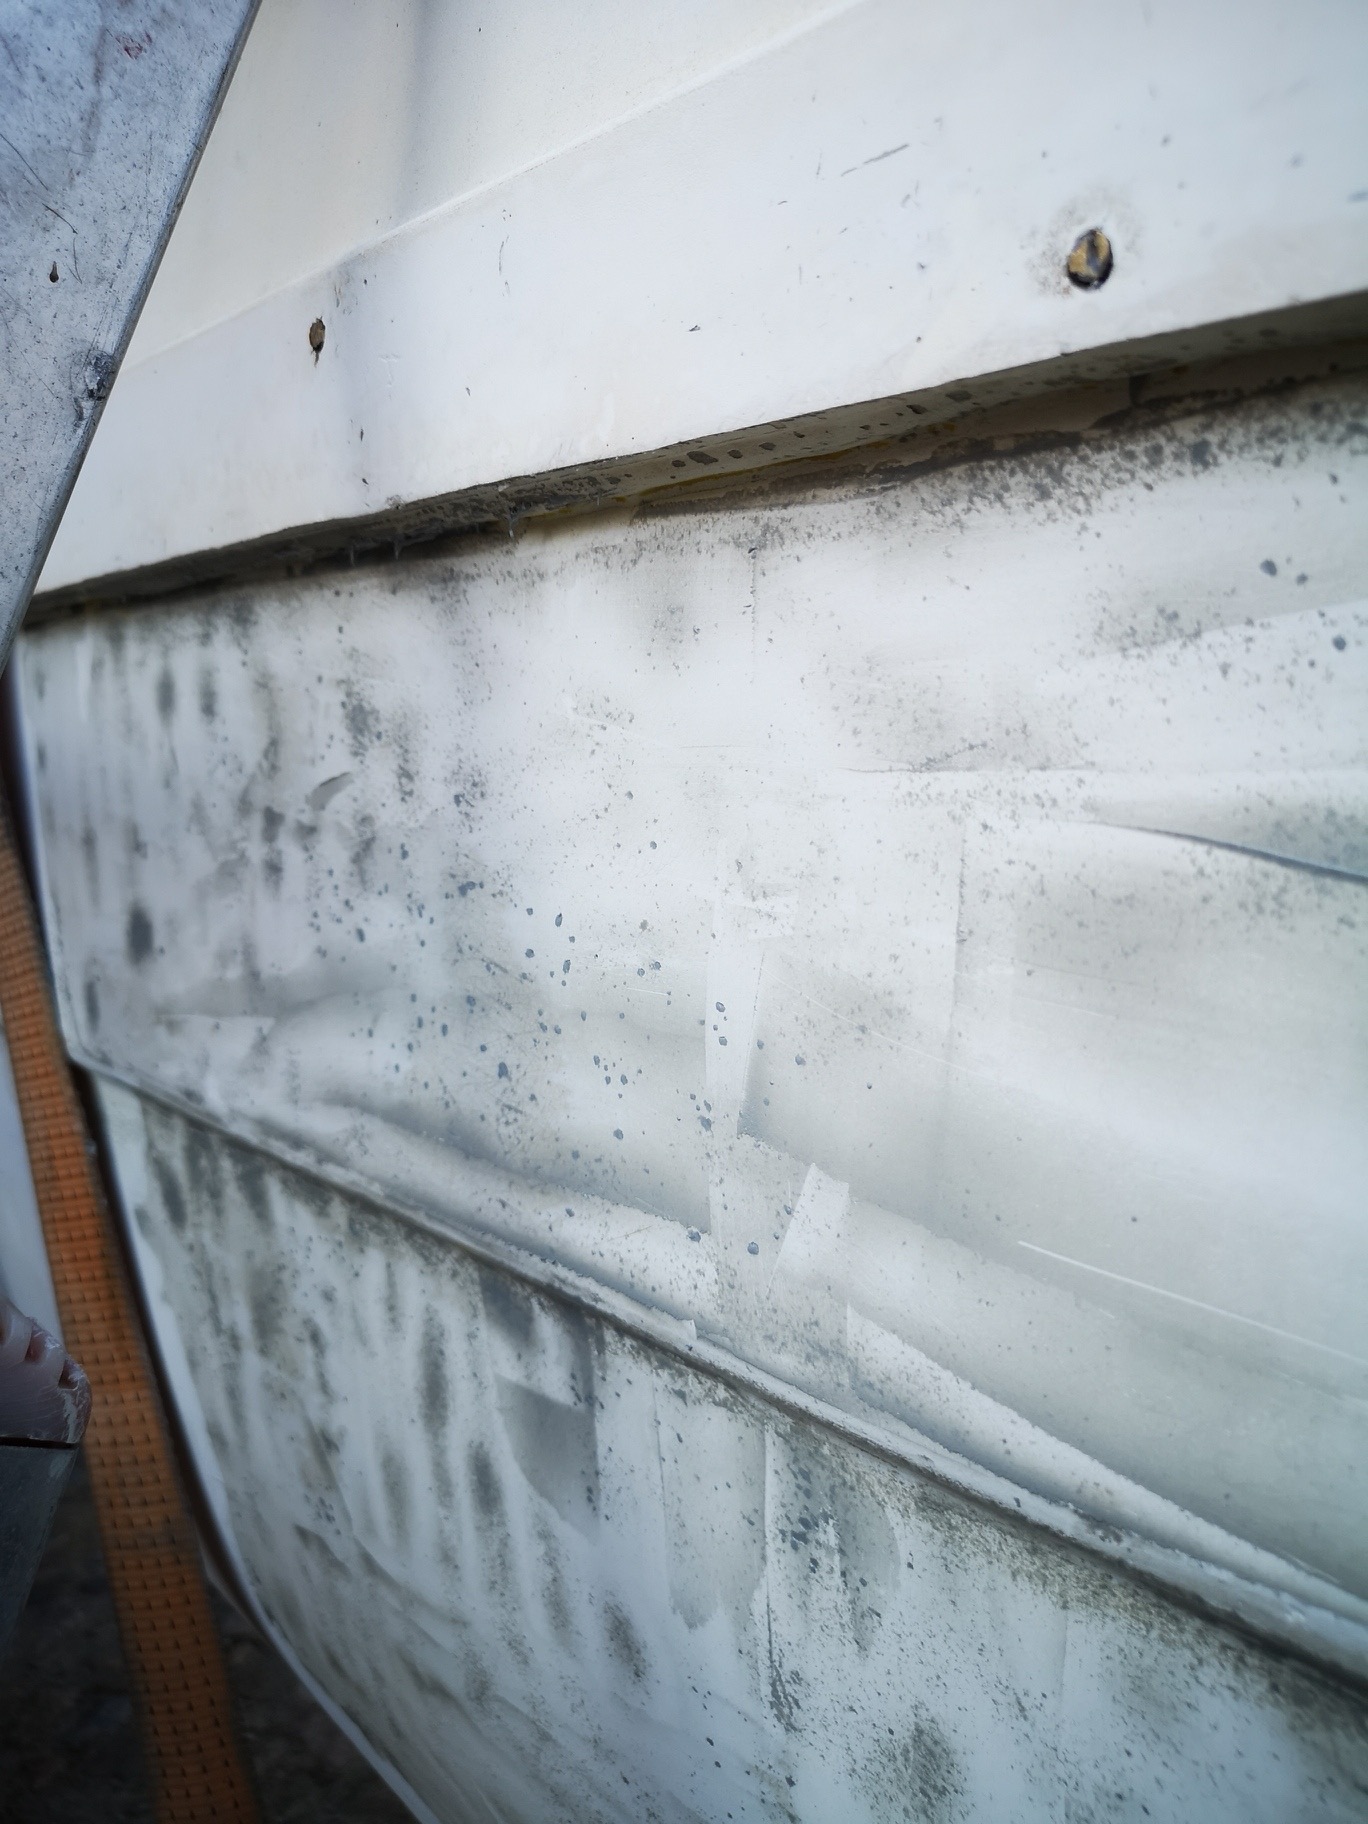
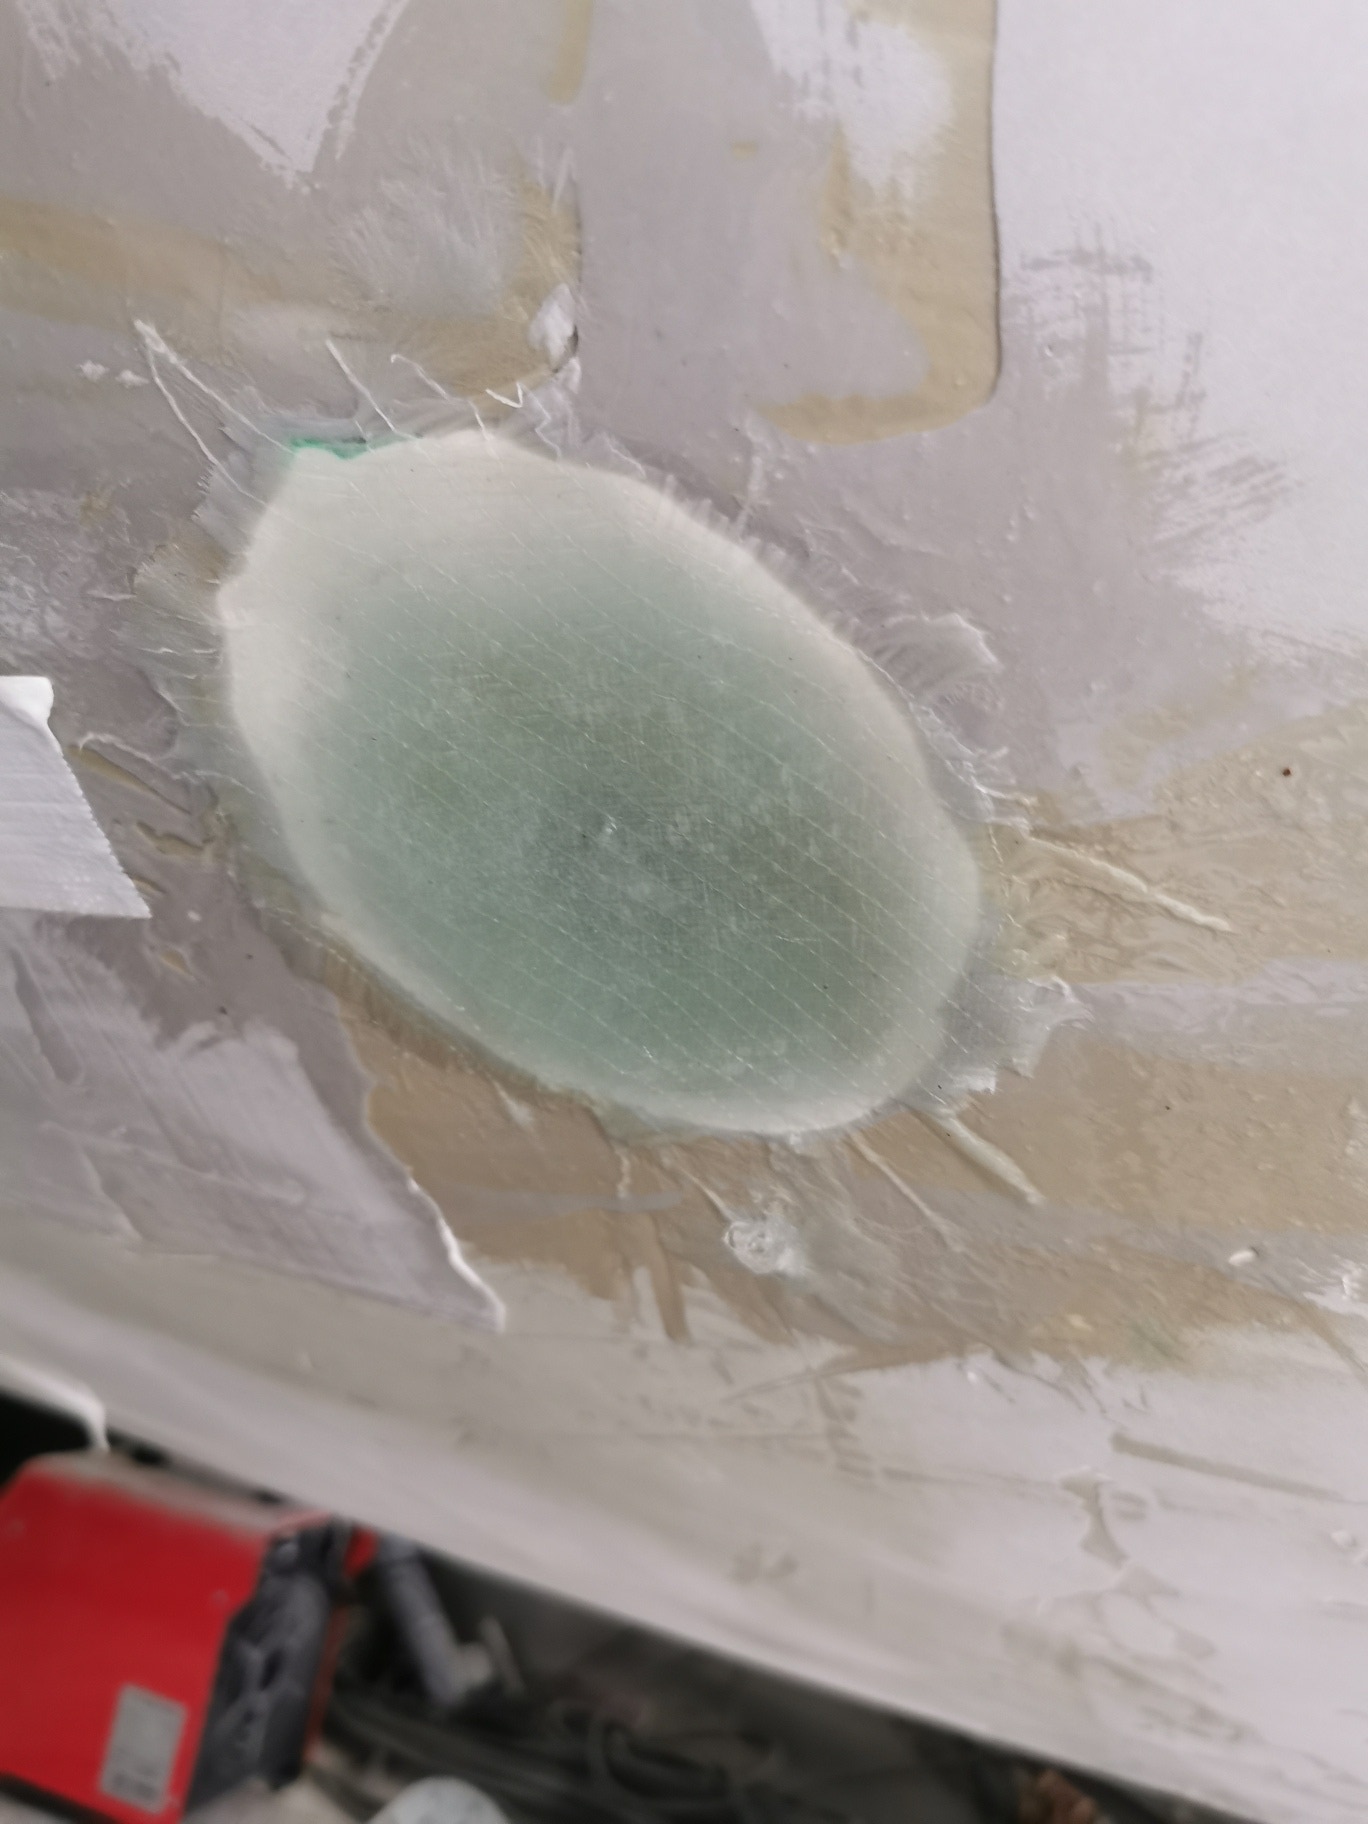
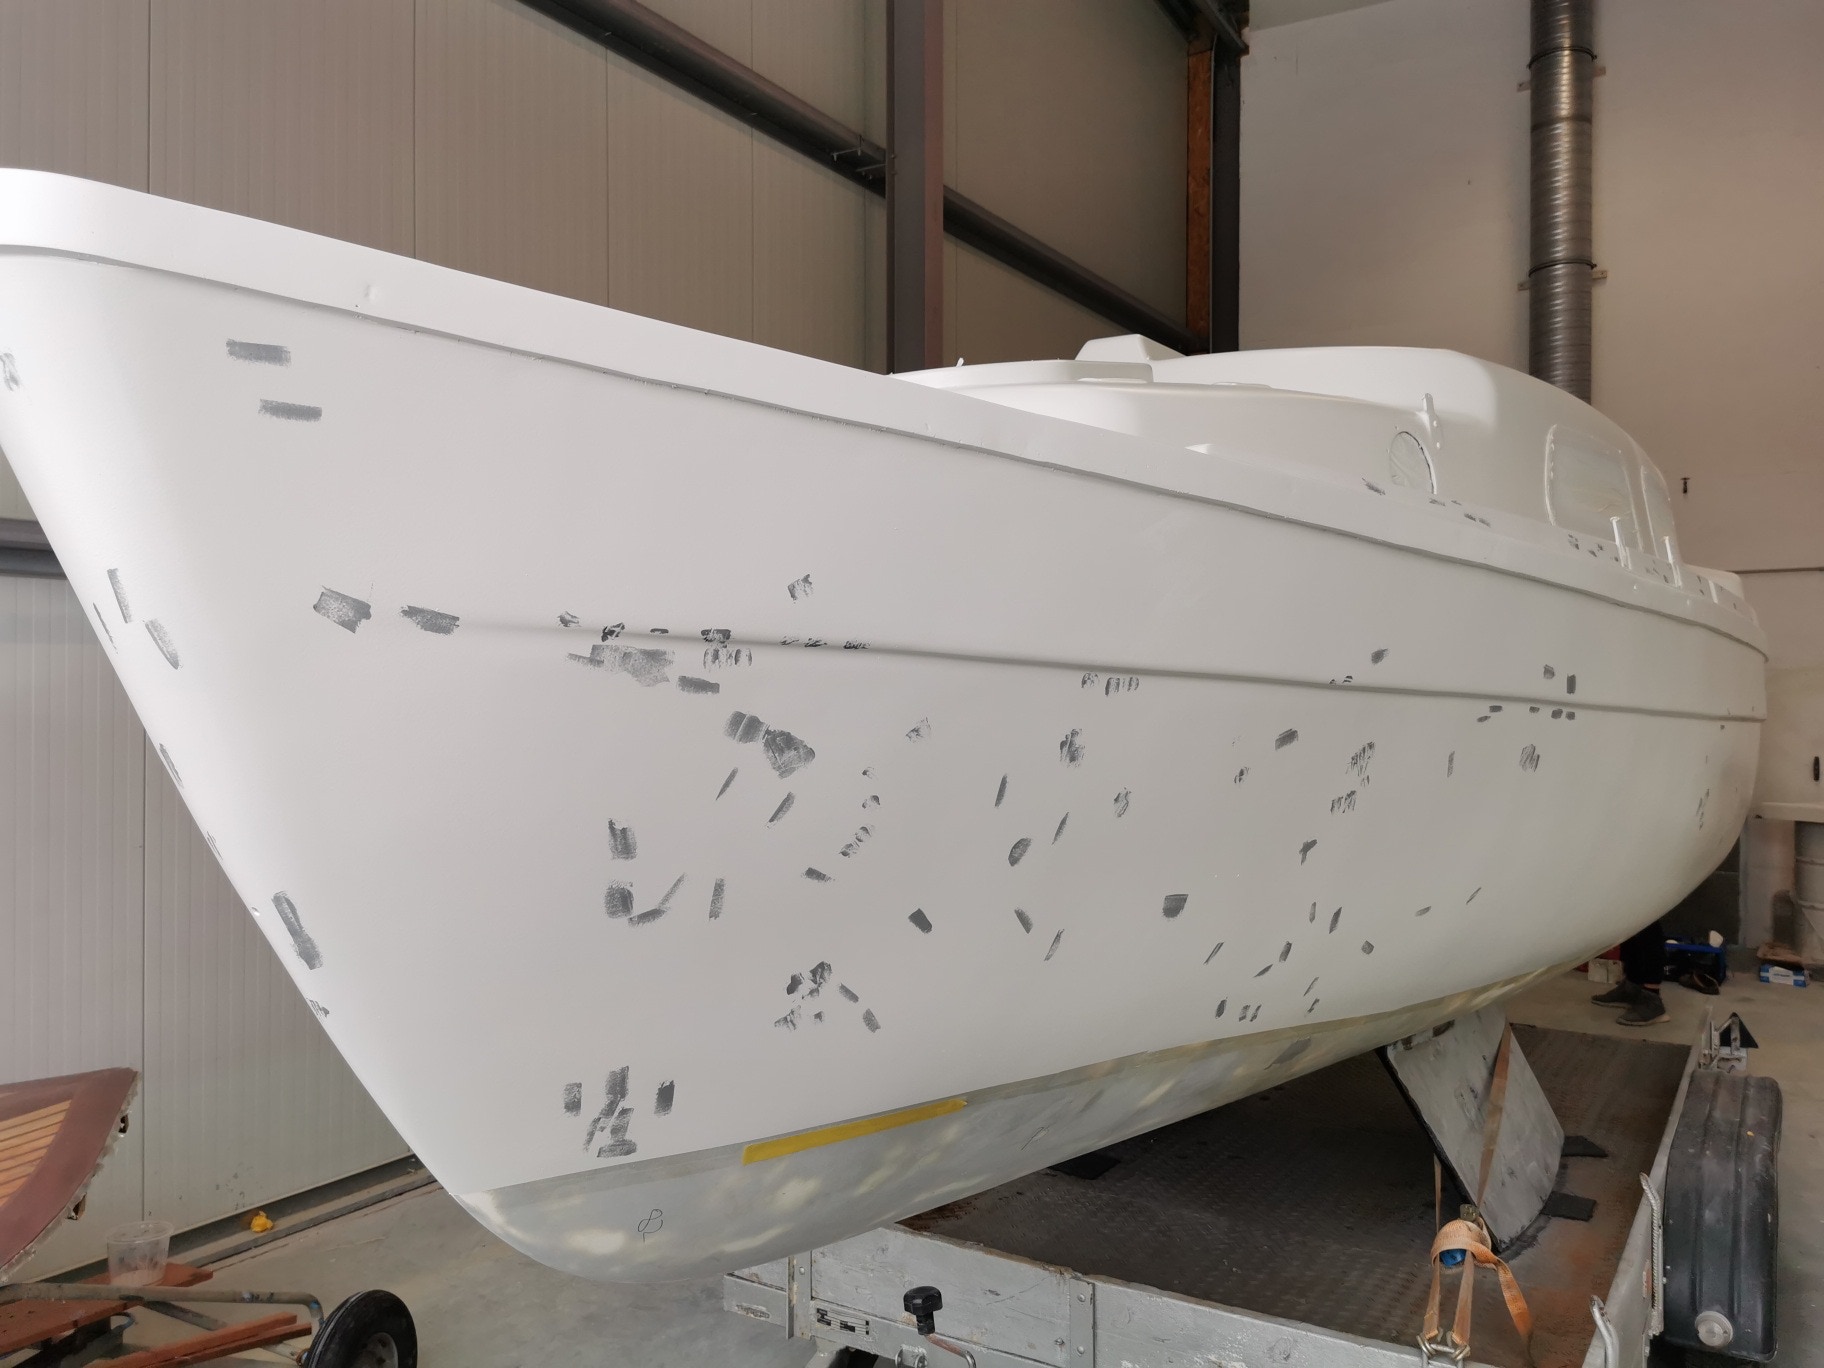
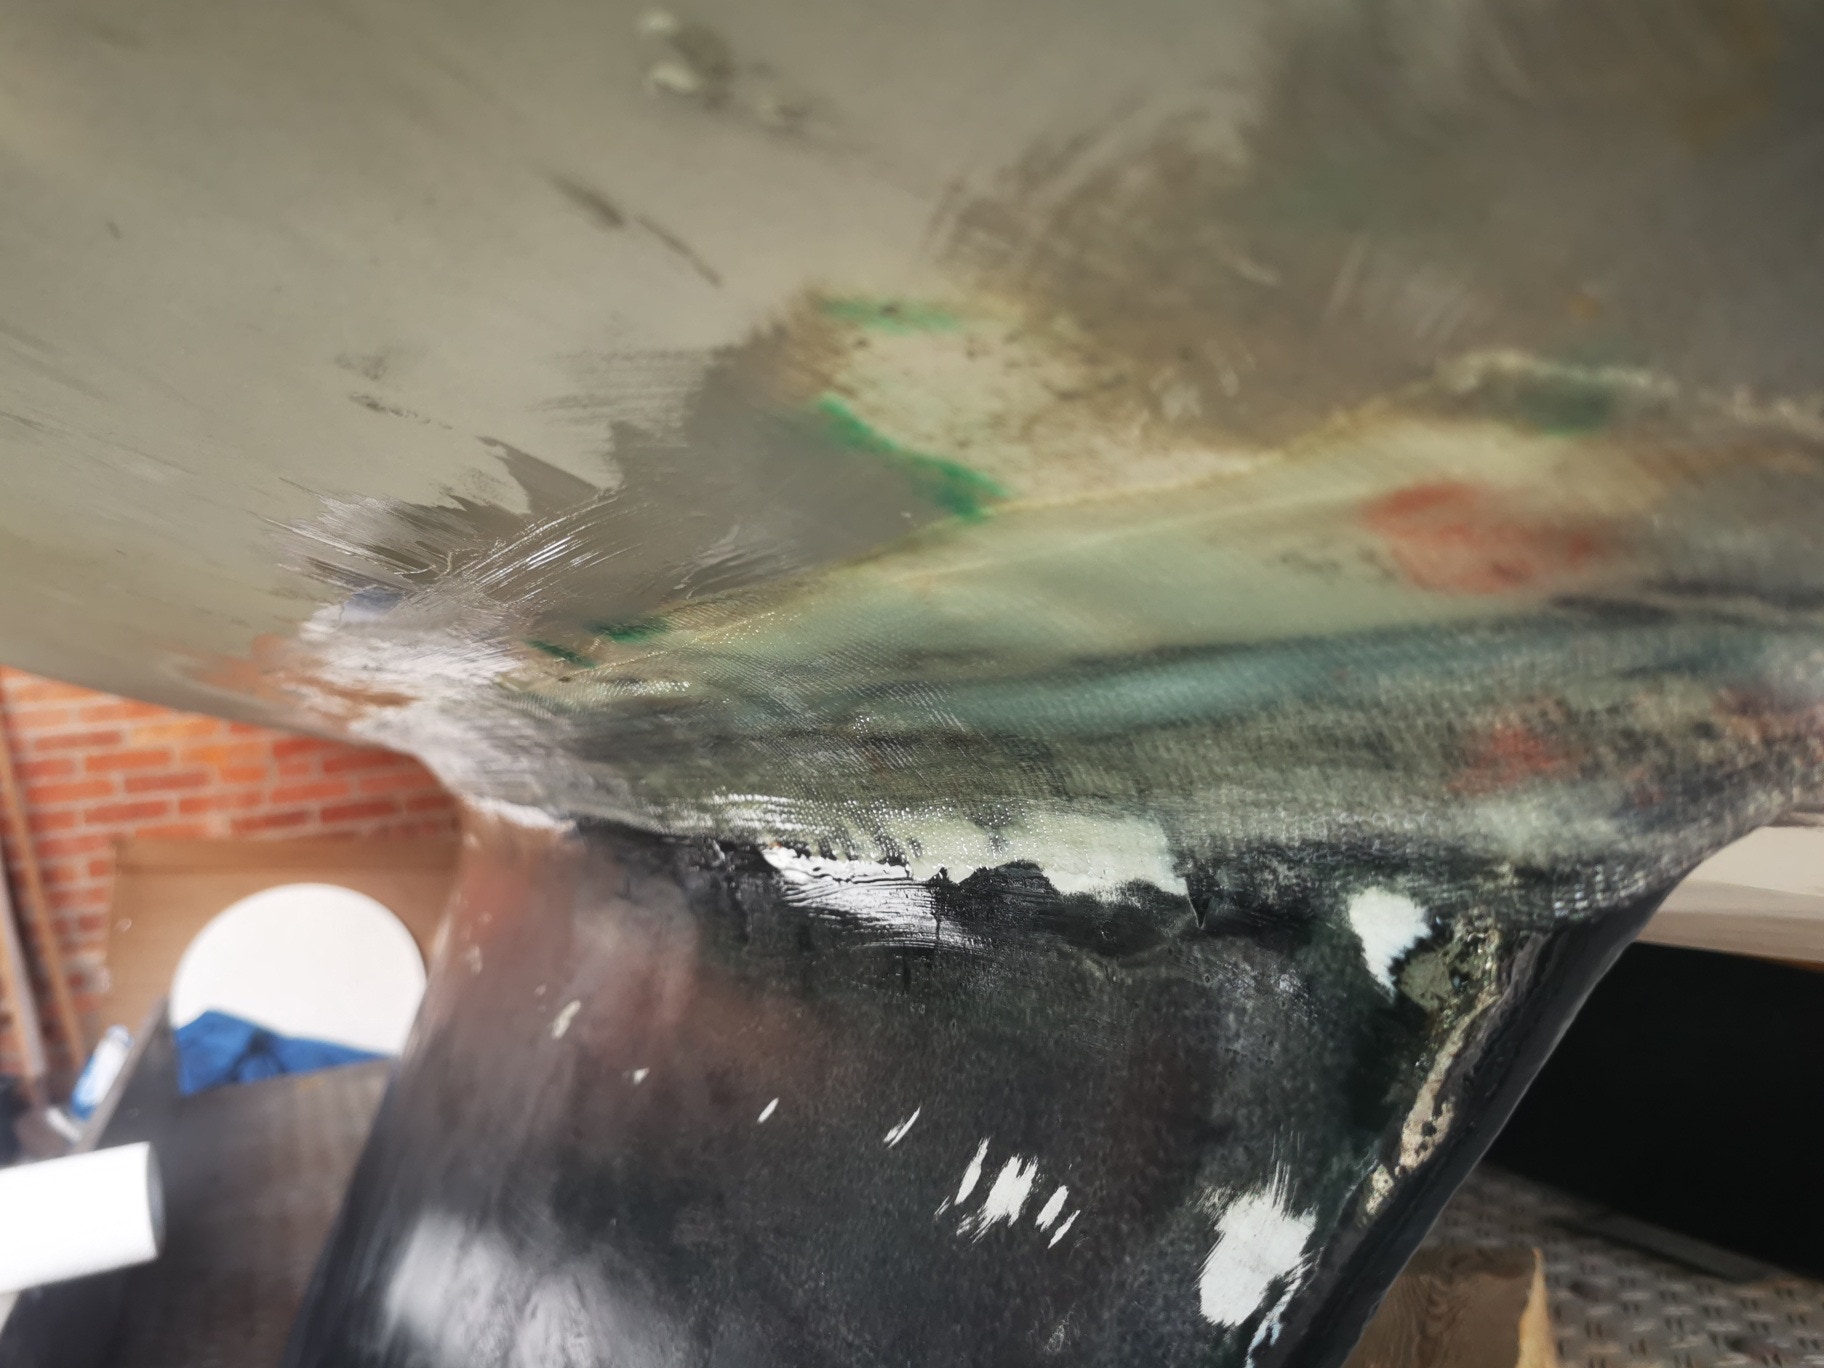
By sandblasting the hull revealed the slight osmosis damage in the gelcoat and the hull is covered with small holes.
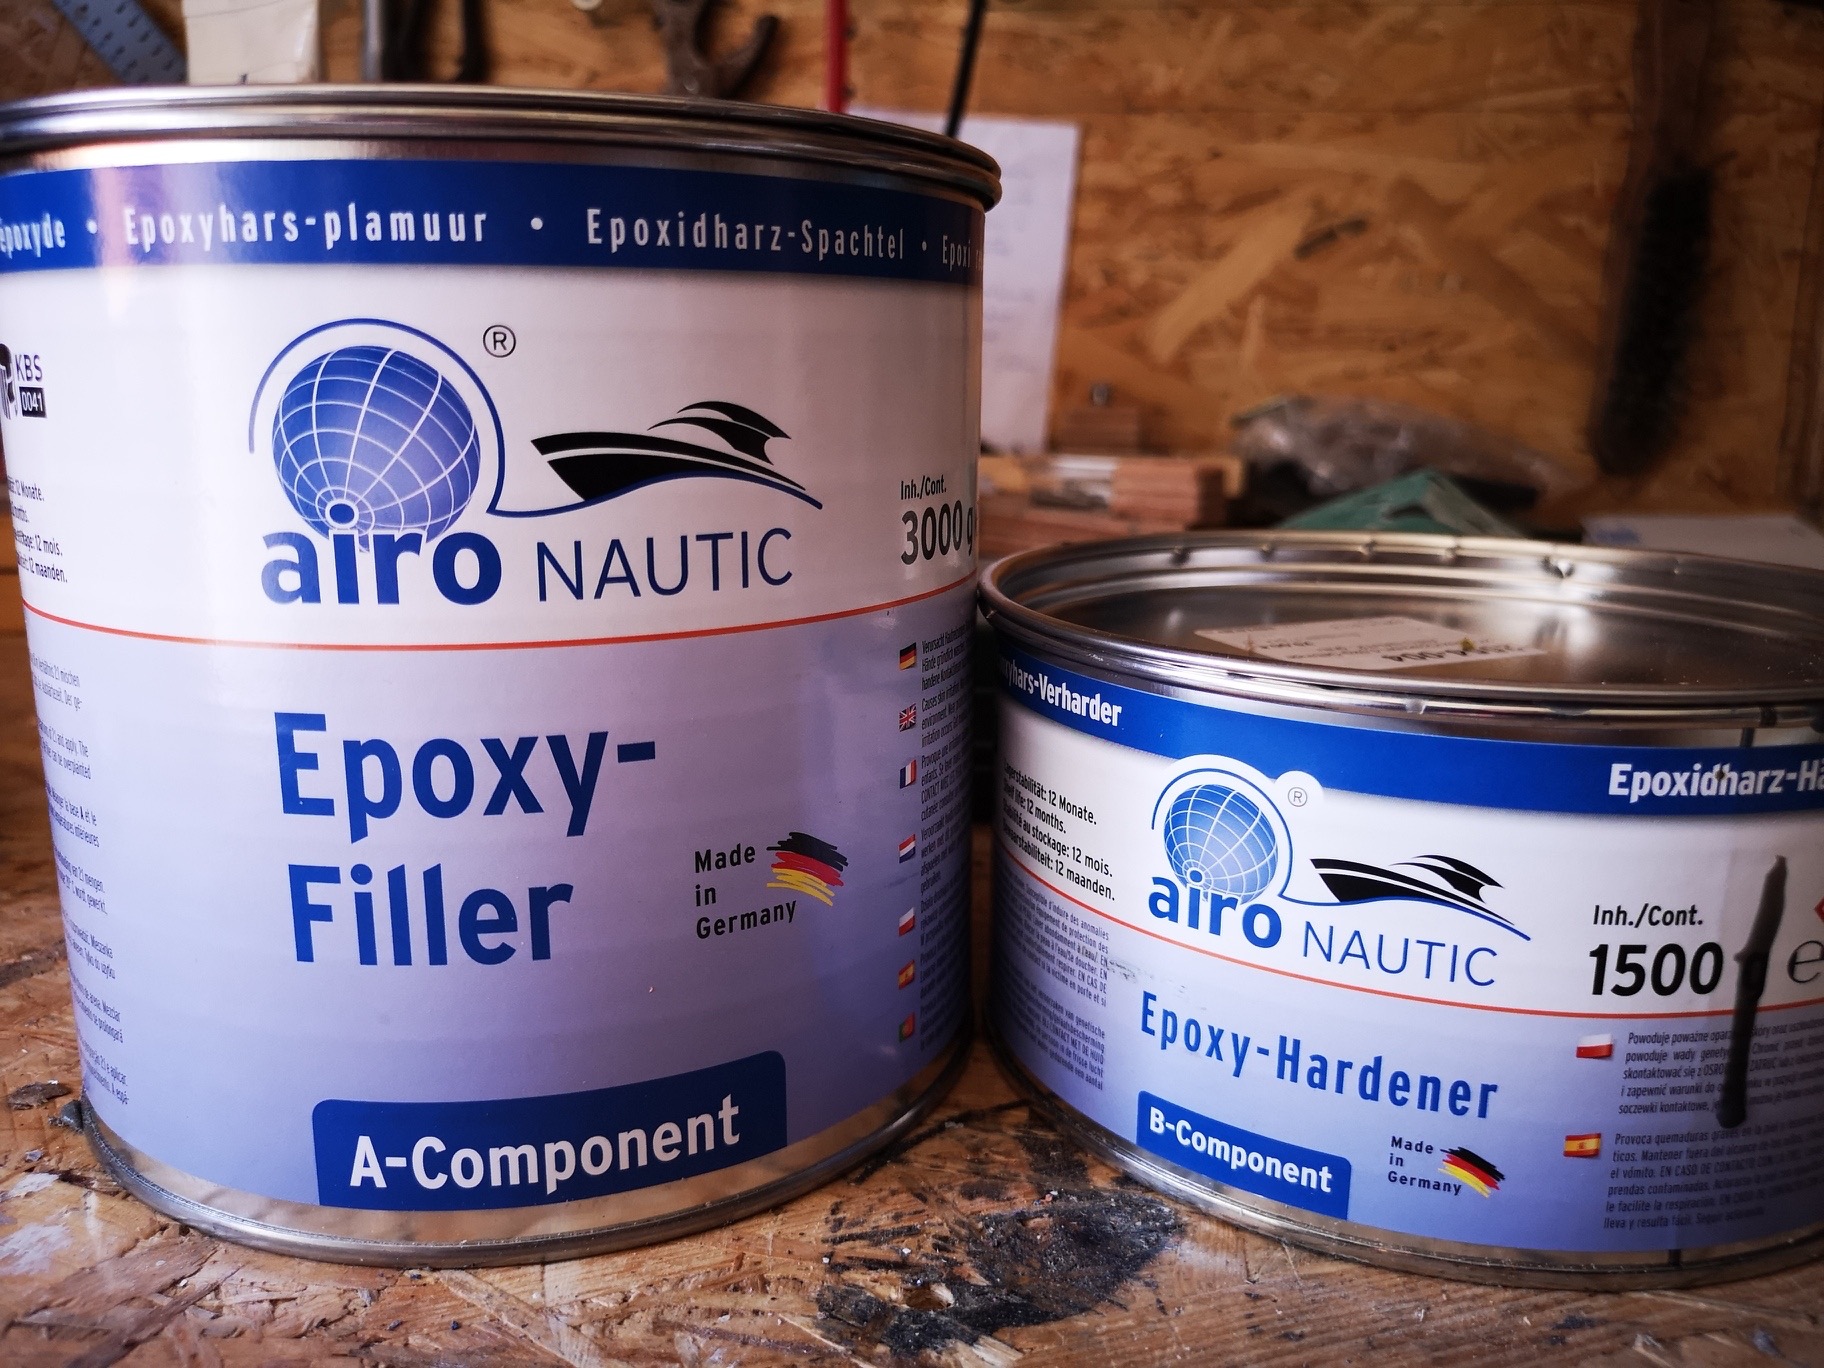
A special epoxy filler is now applied to the damaged areas with the spatula. The filler is very fine, dries quickly and does not shrink.
Wait a moment, the images are loading!
1.5.2020
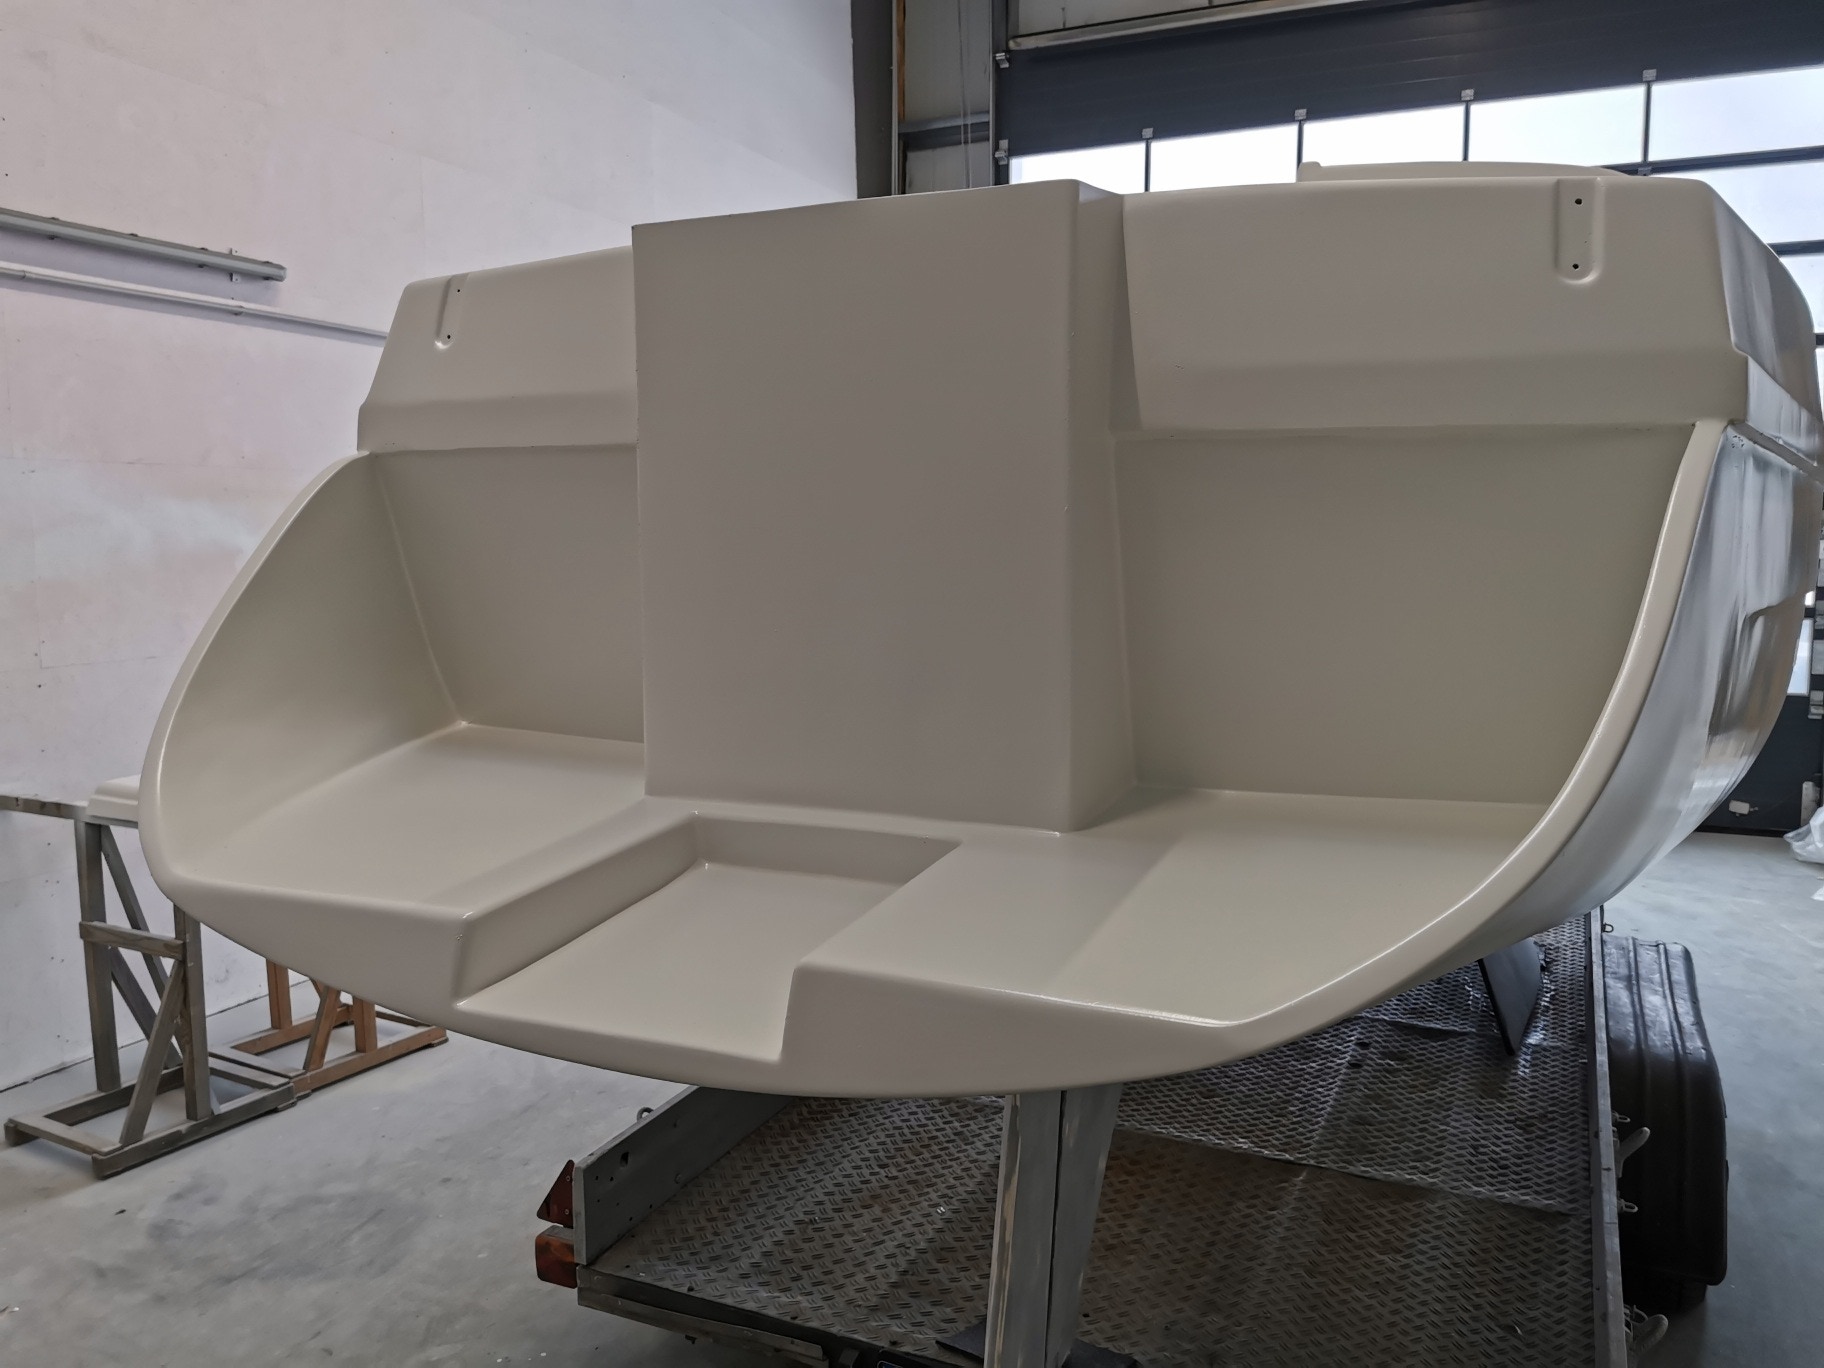
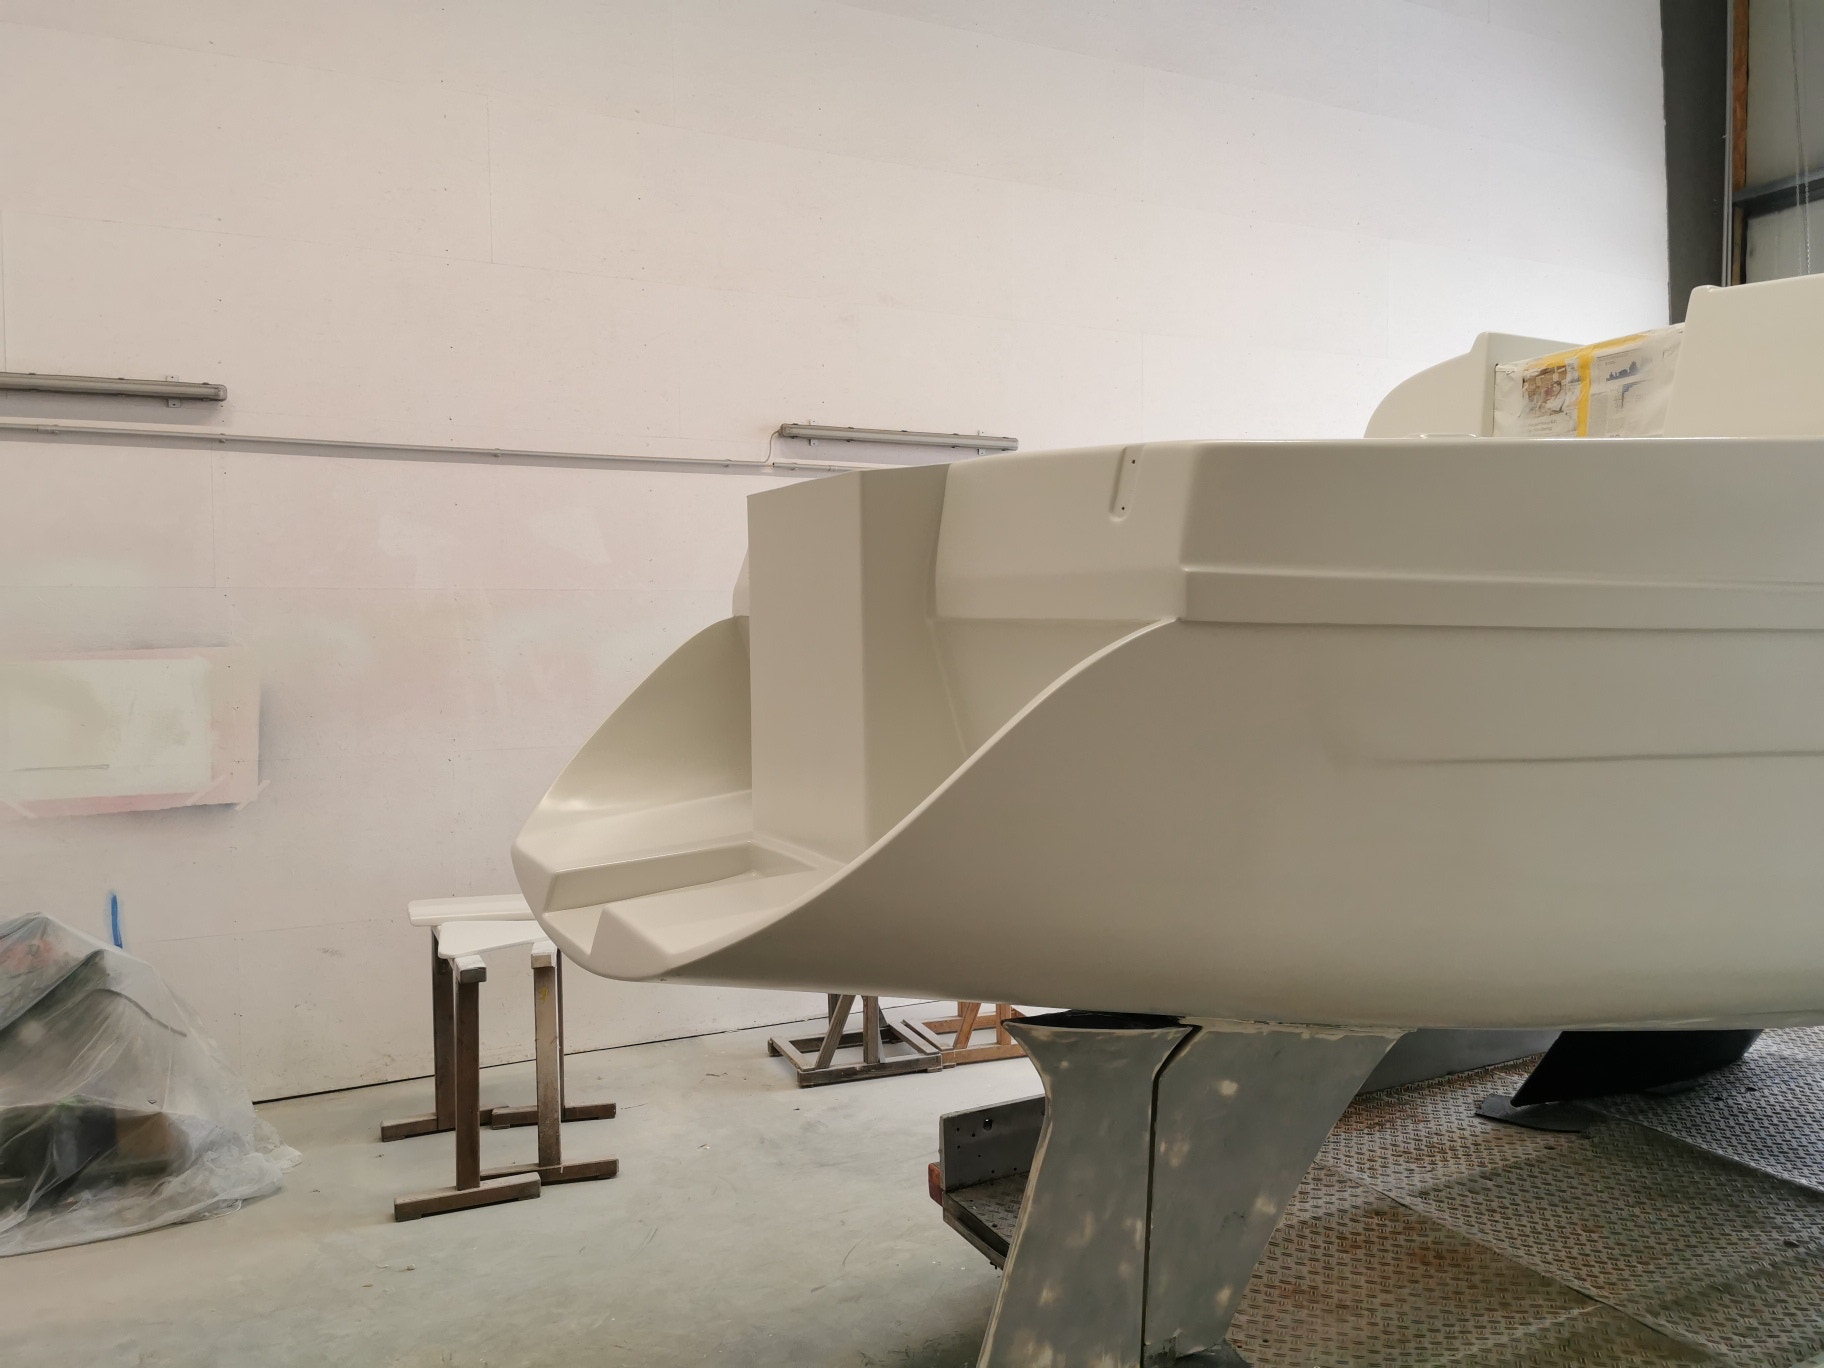
Building a outboard well
Finally rain again after the much to dry April. The ship is covered and I've started building the engine bay.
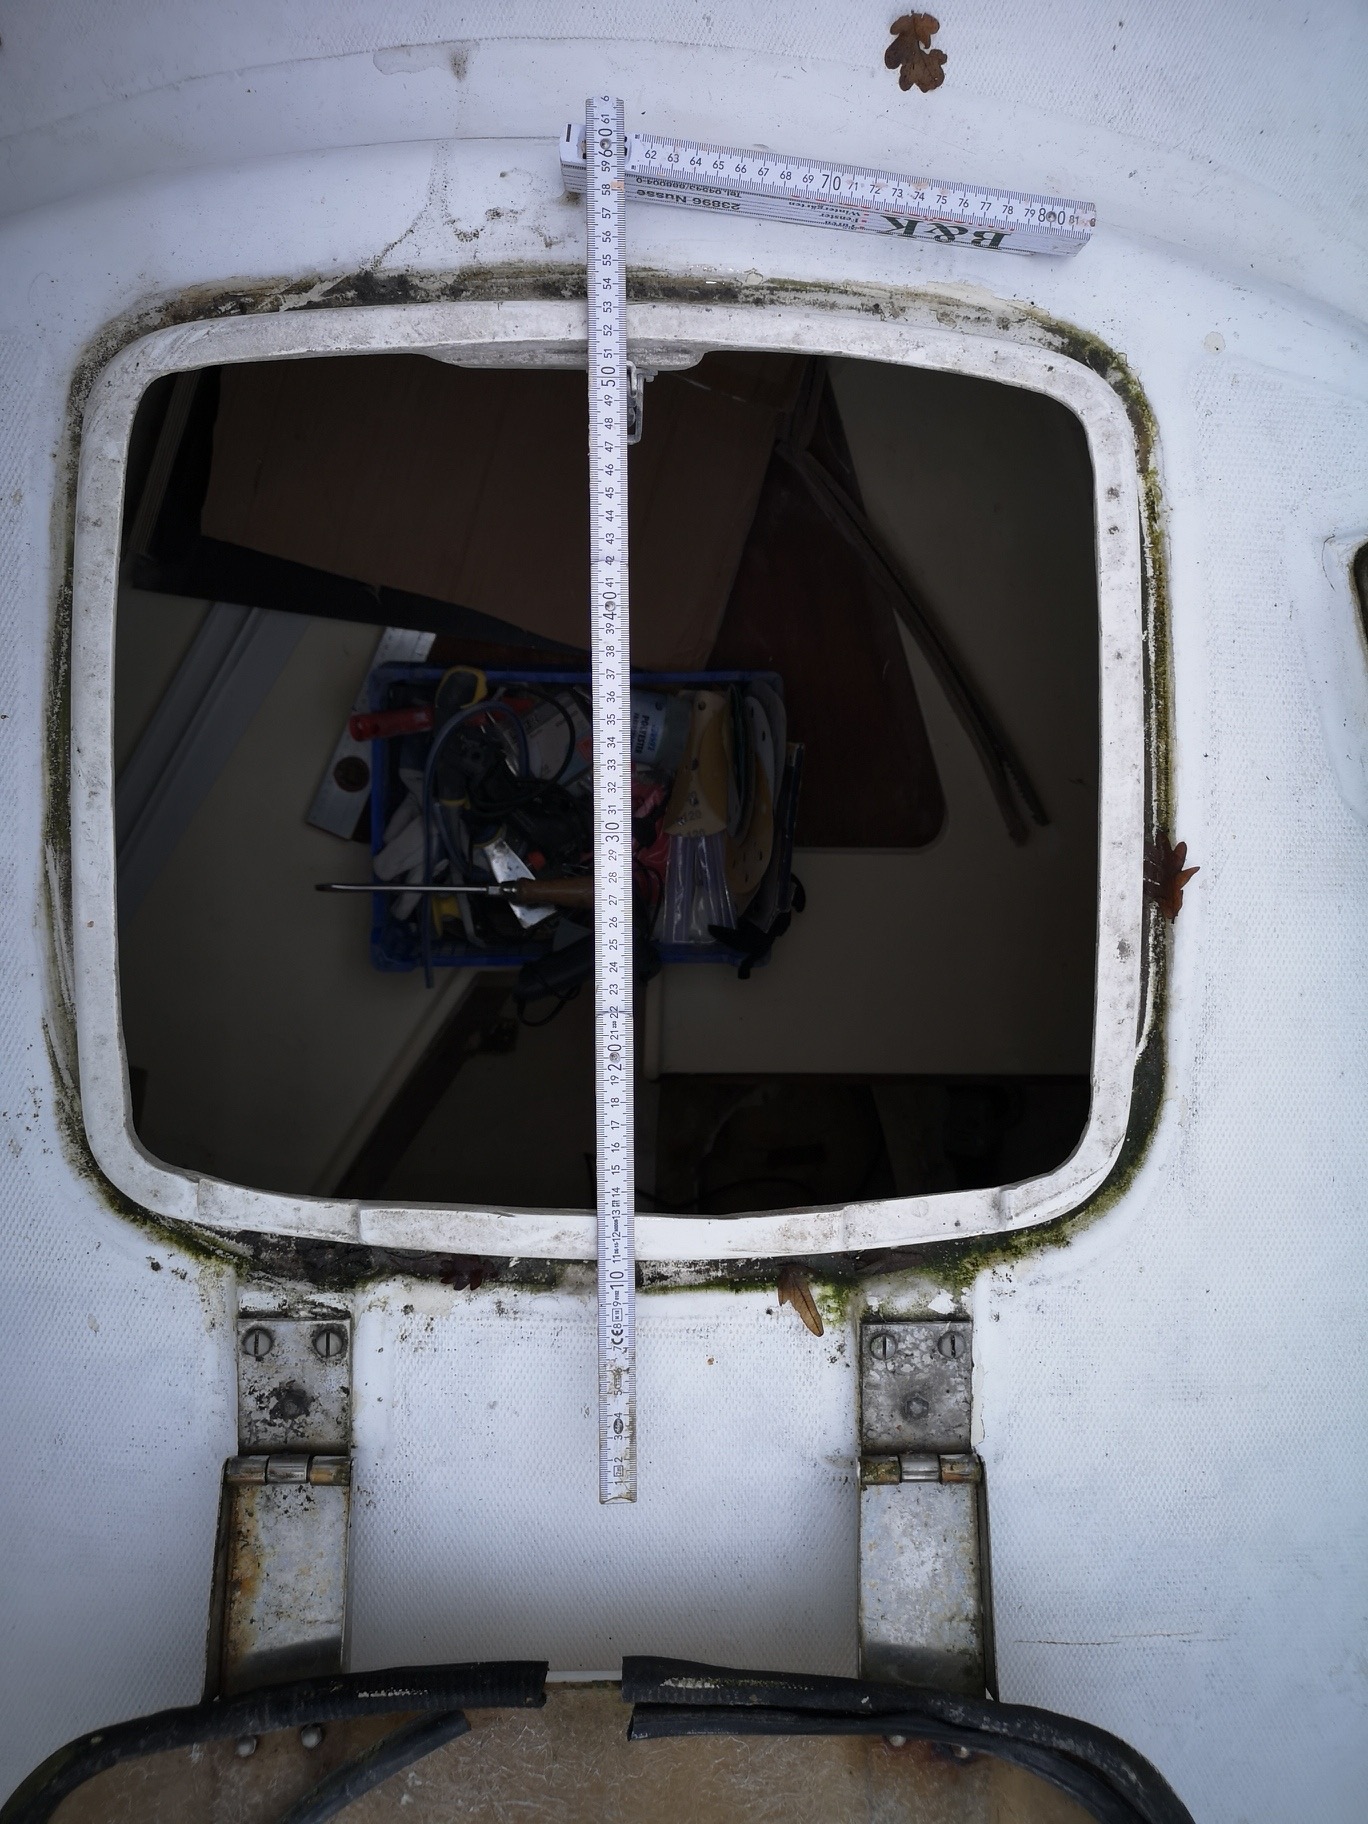
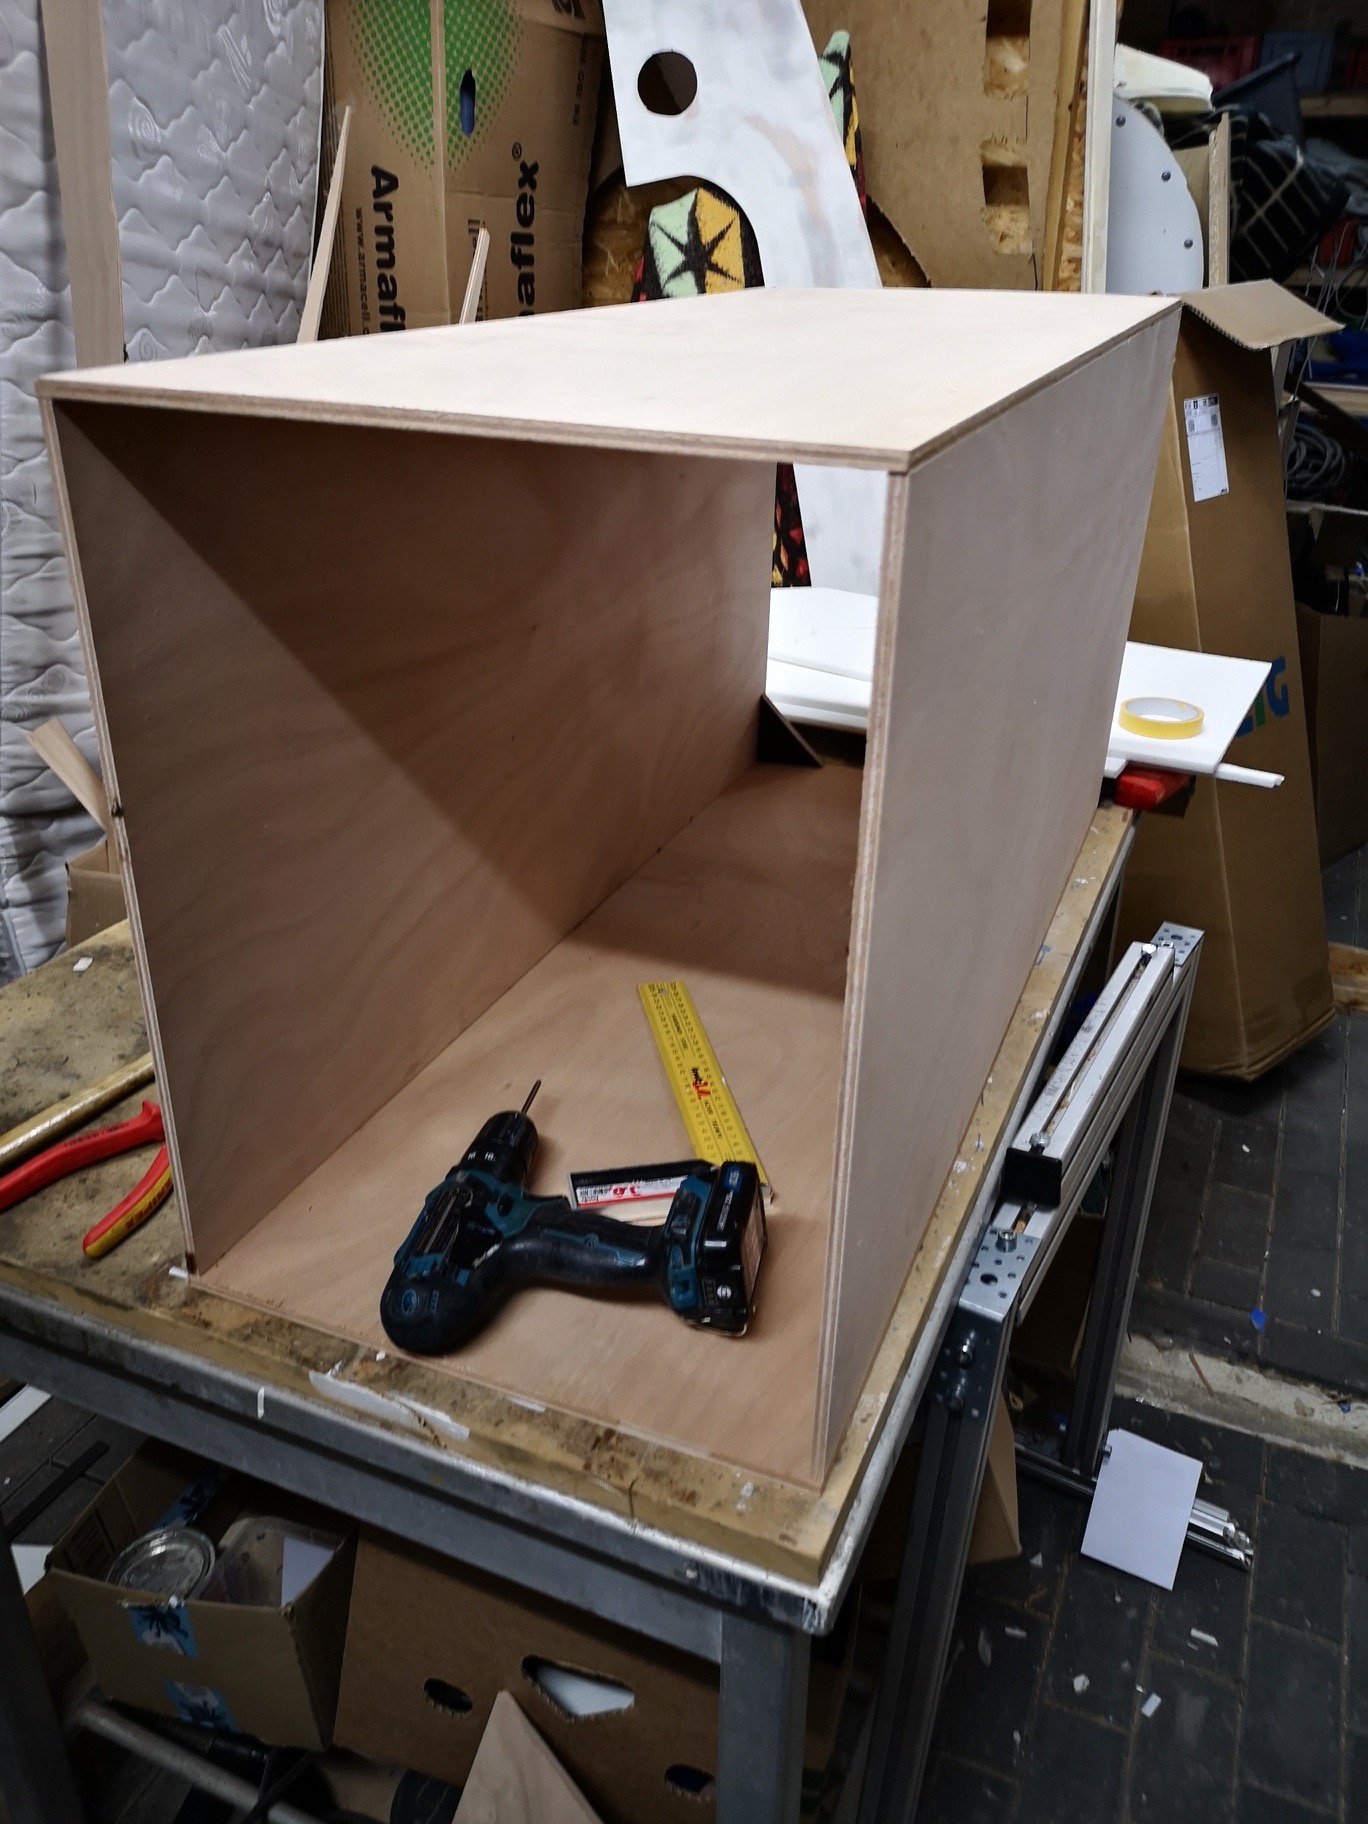
It has the dimensions 40 x 50 cm. here it should later be possible to attach an 8 HP ultra-long shaft outboard so that it can still be operated with the tiller from the cockpit.
The outboard well will insert approximately in the middle of the stern locker. To do this, I have to open the stern and saw a rectangular cutout in the brand new stern extension. The outboard engine cover and the engine itself will then be in the rear area of the cockpit and the propeller at about the lower end of the old stern.
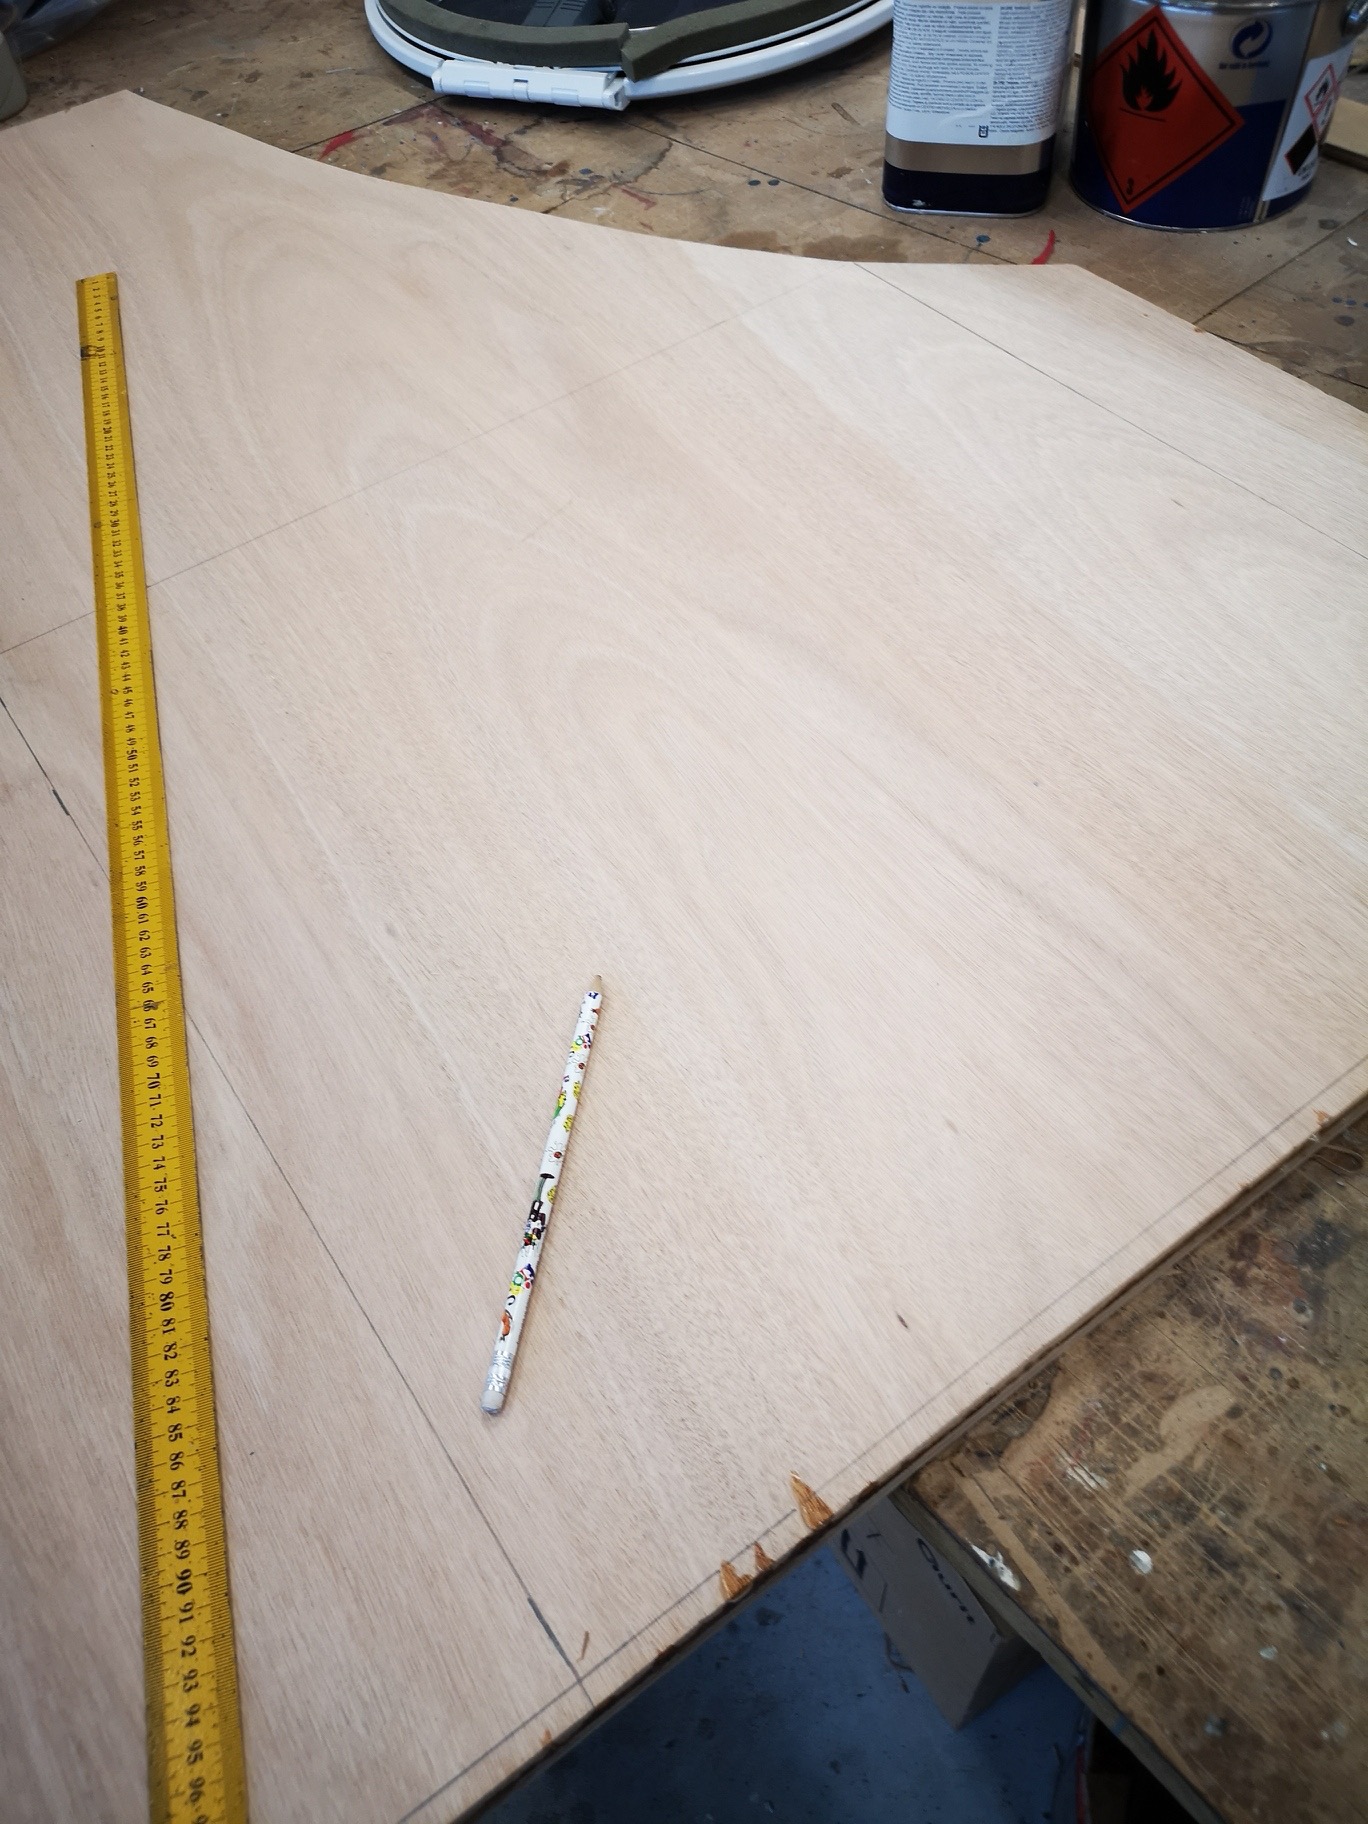
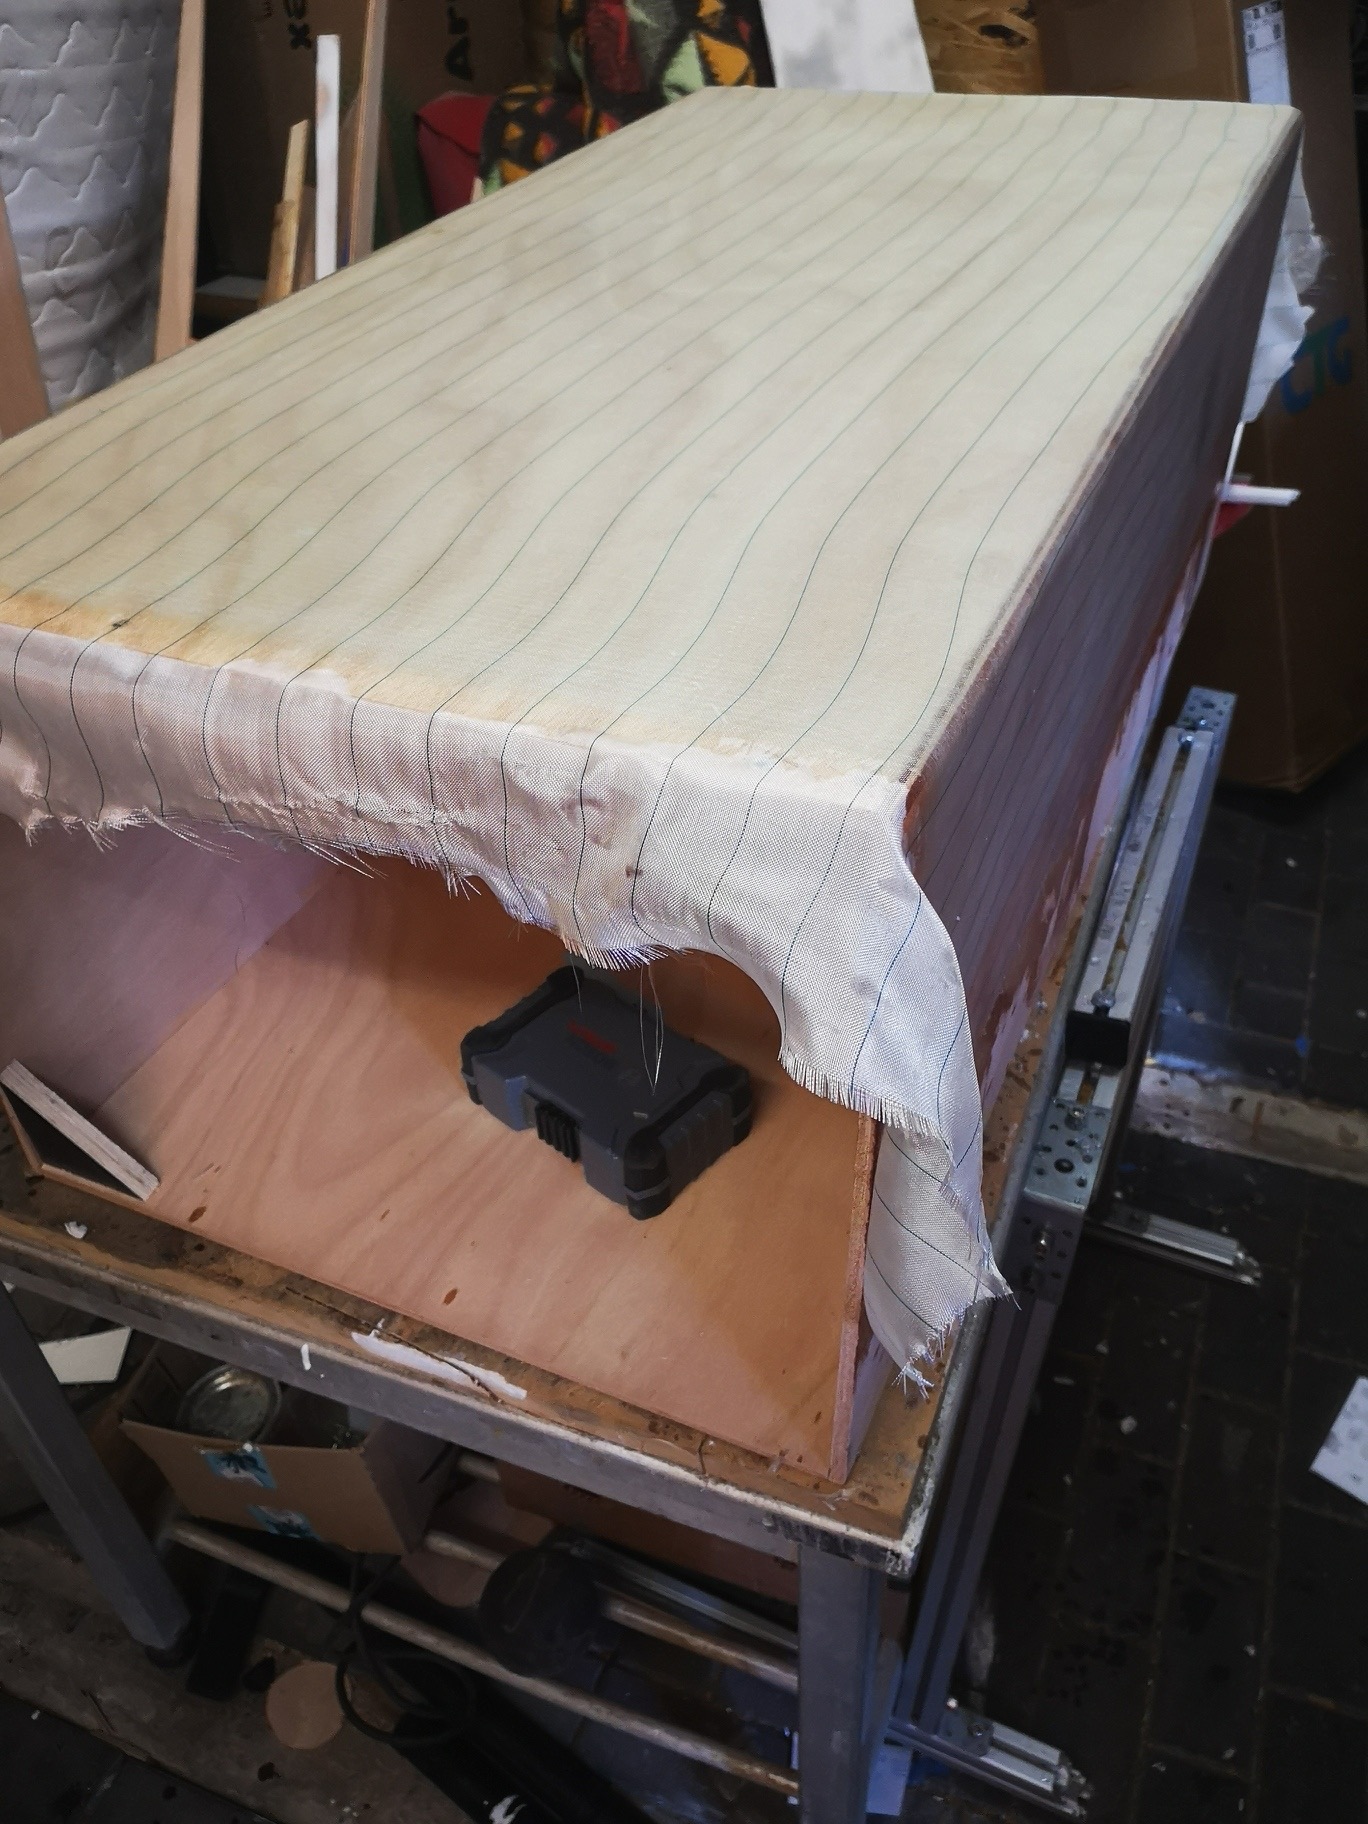
The box consists of 0.8 cm (0,32 Inch) boat building plywood and was covered ,inside and outside, with approx. 1.5 mm epoxy resin and fiberglass.
Exciting thing ;-)
3.5.2020
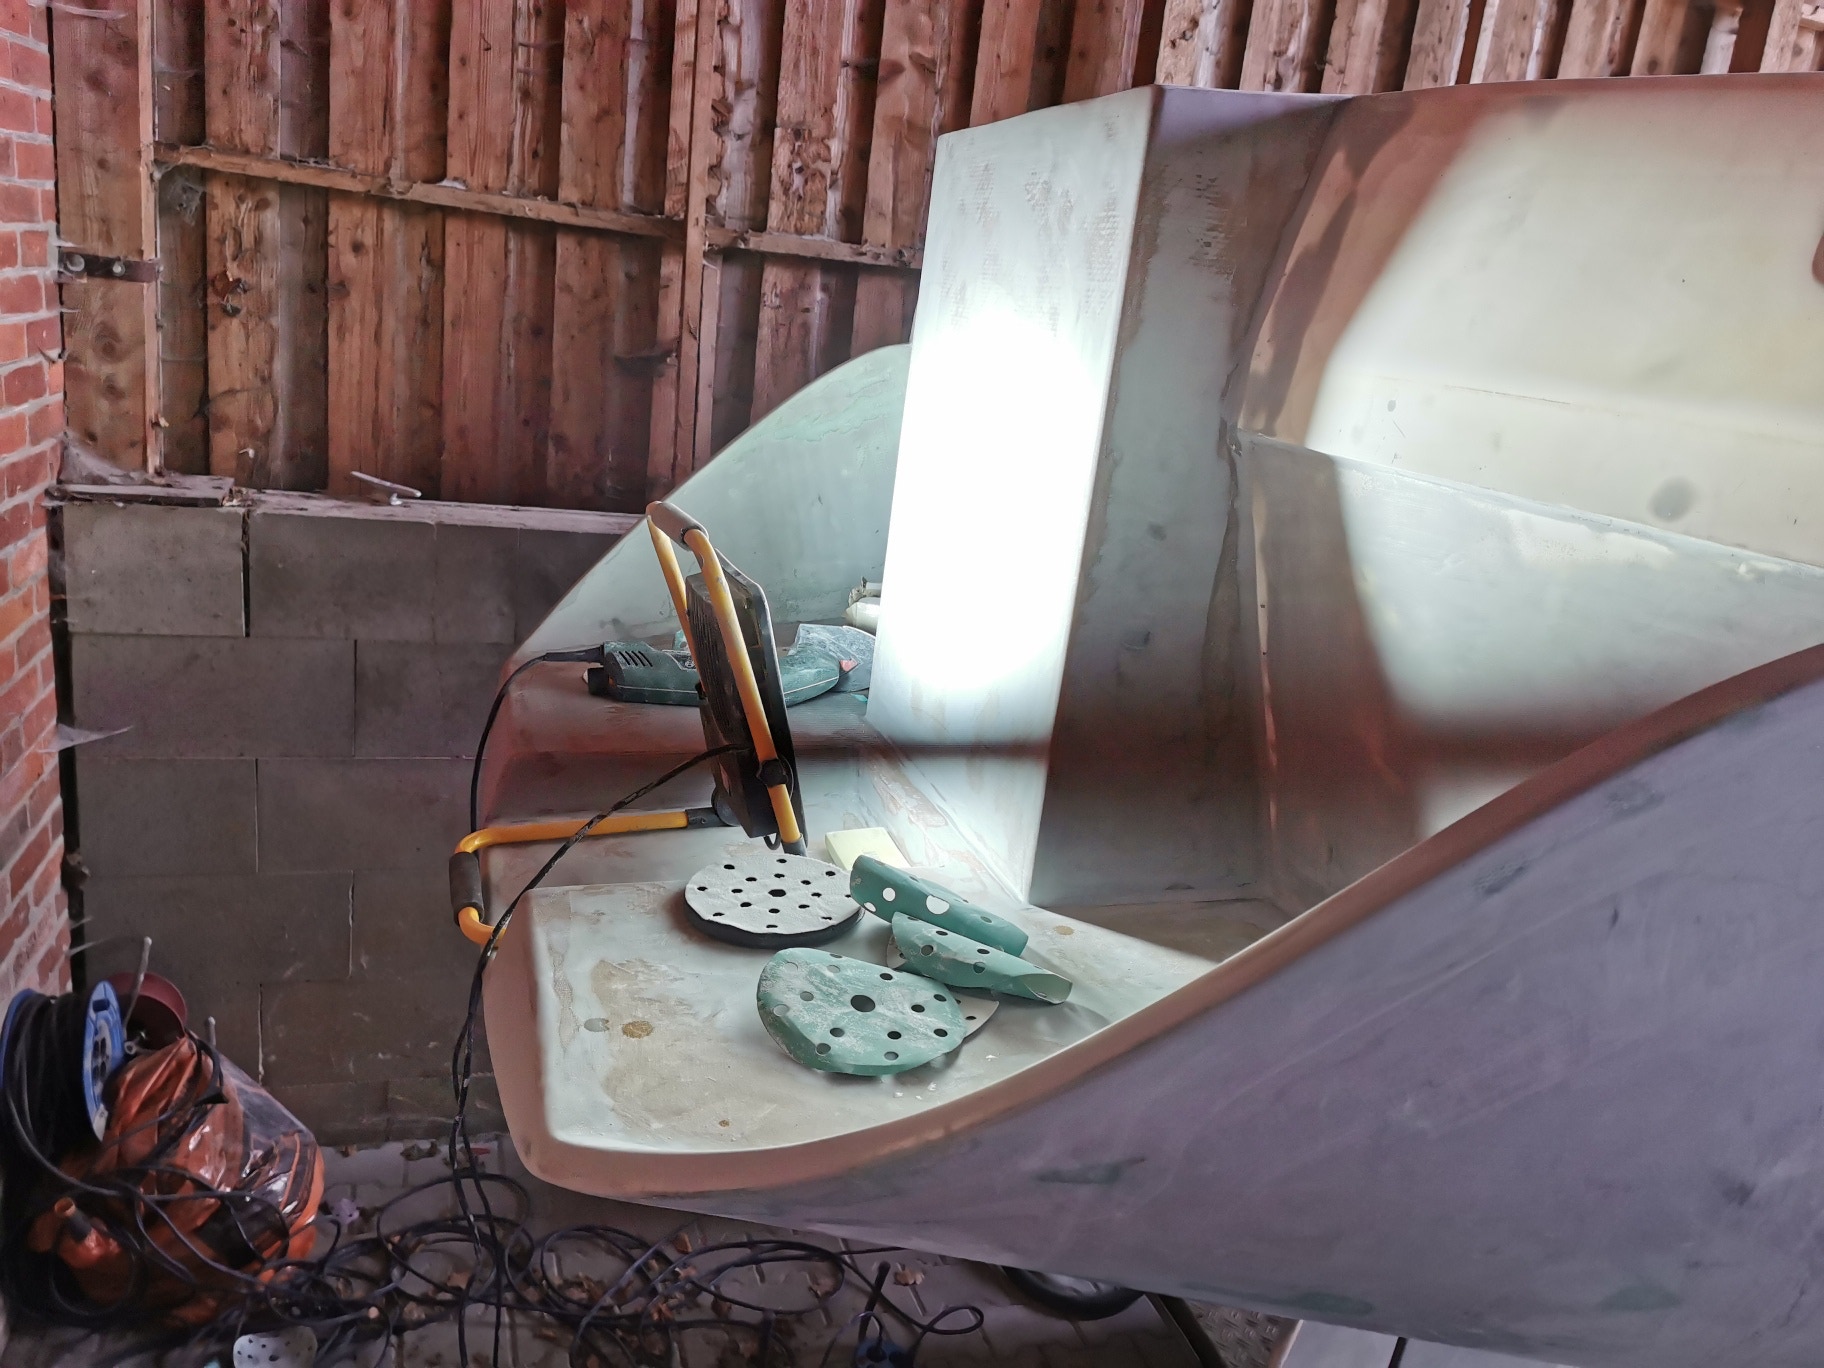
The hull is now filled to 80%. In the next step, it has to be ground. ... I start with 60 sandpaper, and than getting finer and finer.
17.10.2020
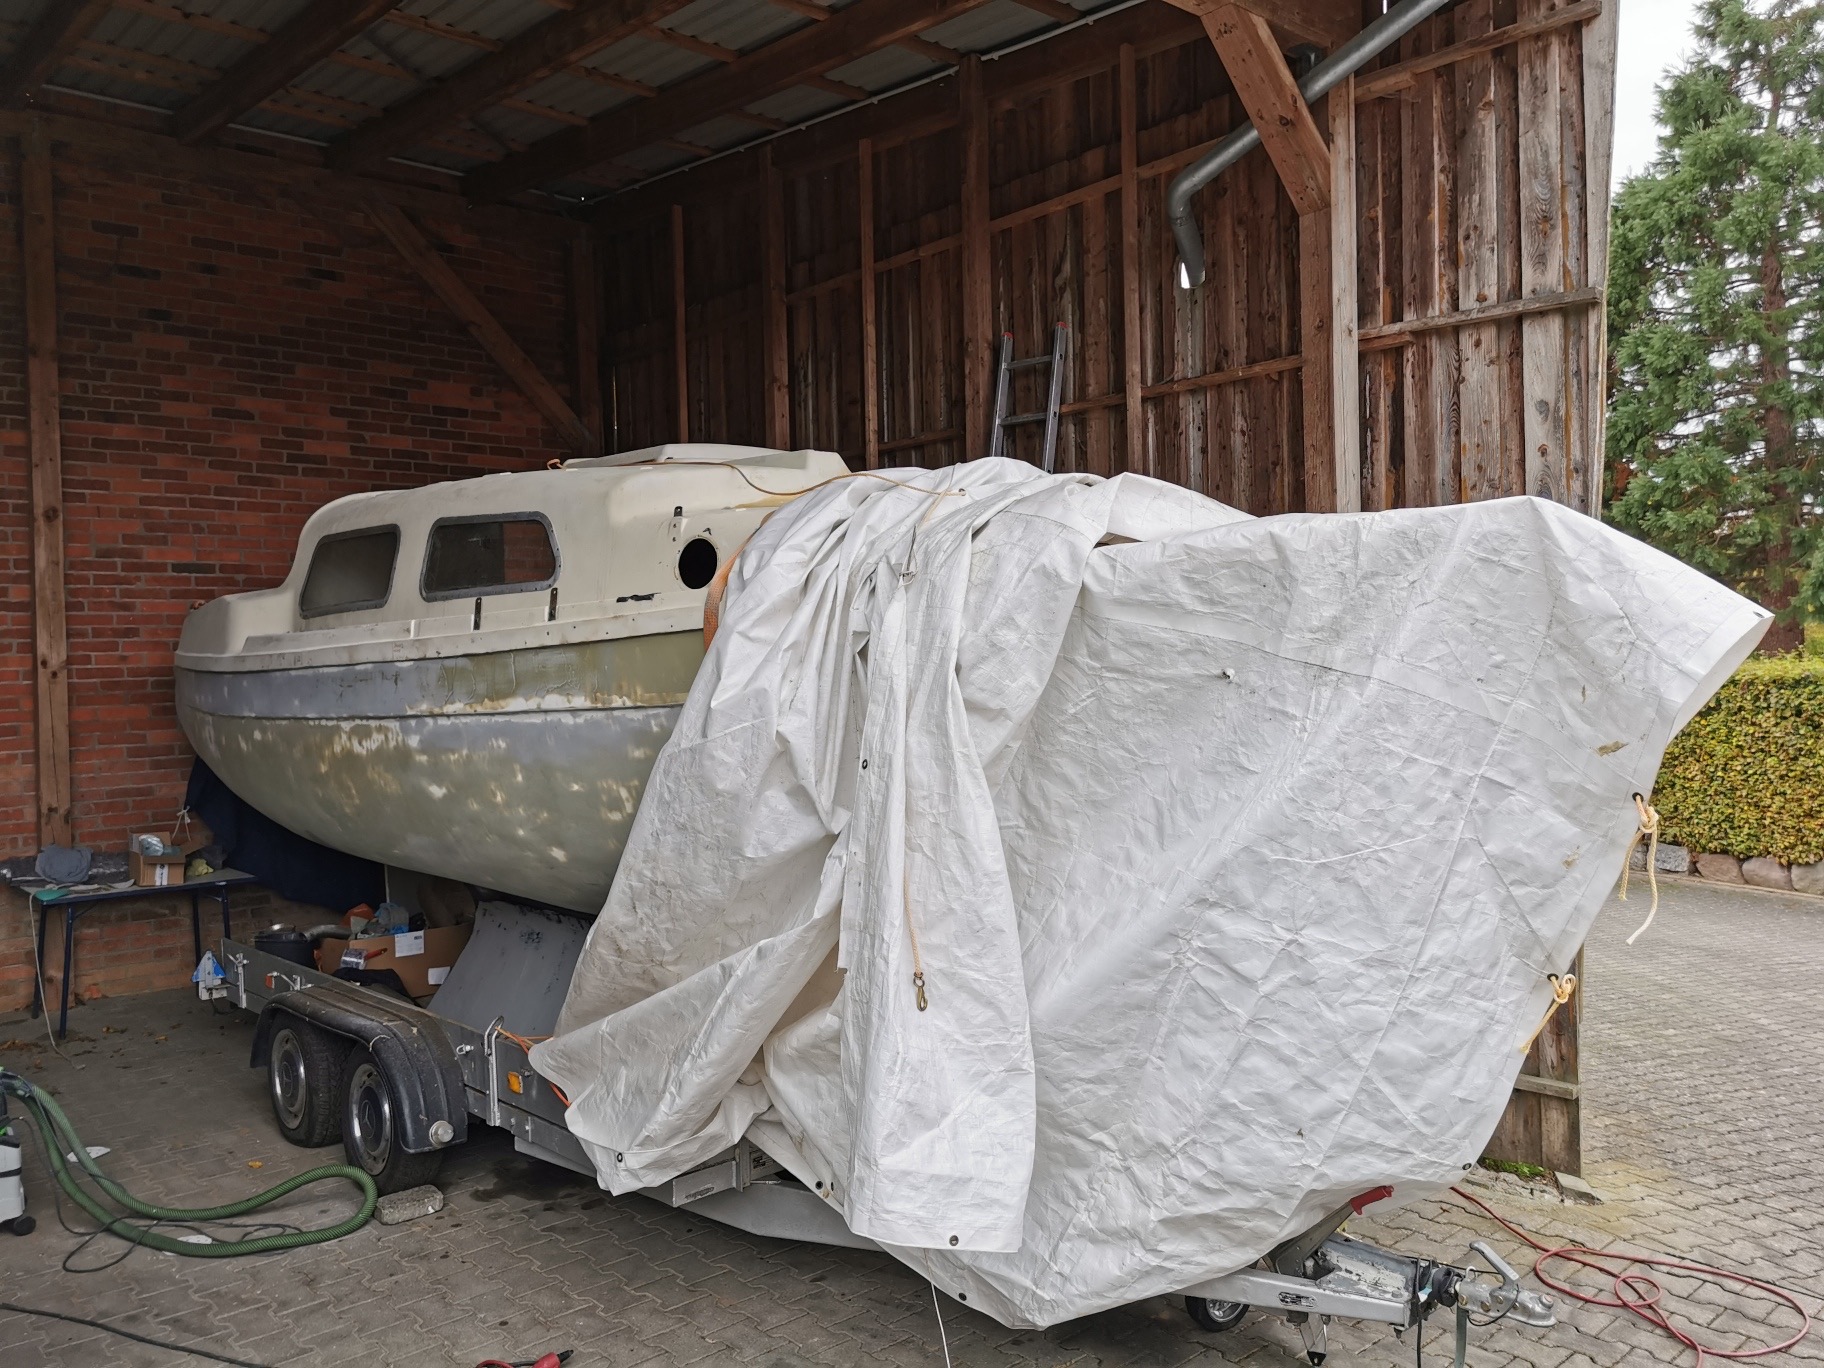
After one month of compulsory pause, the filling and sanding work on the hull and deck continues.
Very pleasant when you have a covered place in the dark and humid season ;-)
4.11.2020
20.11.2020
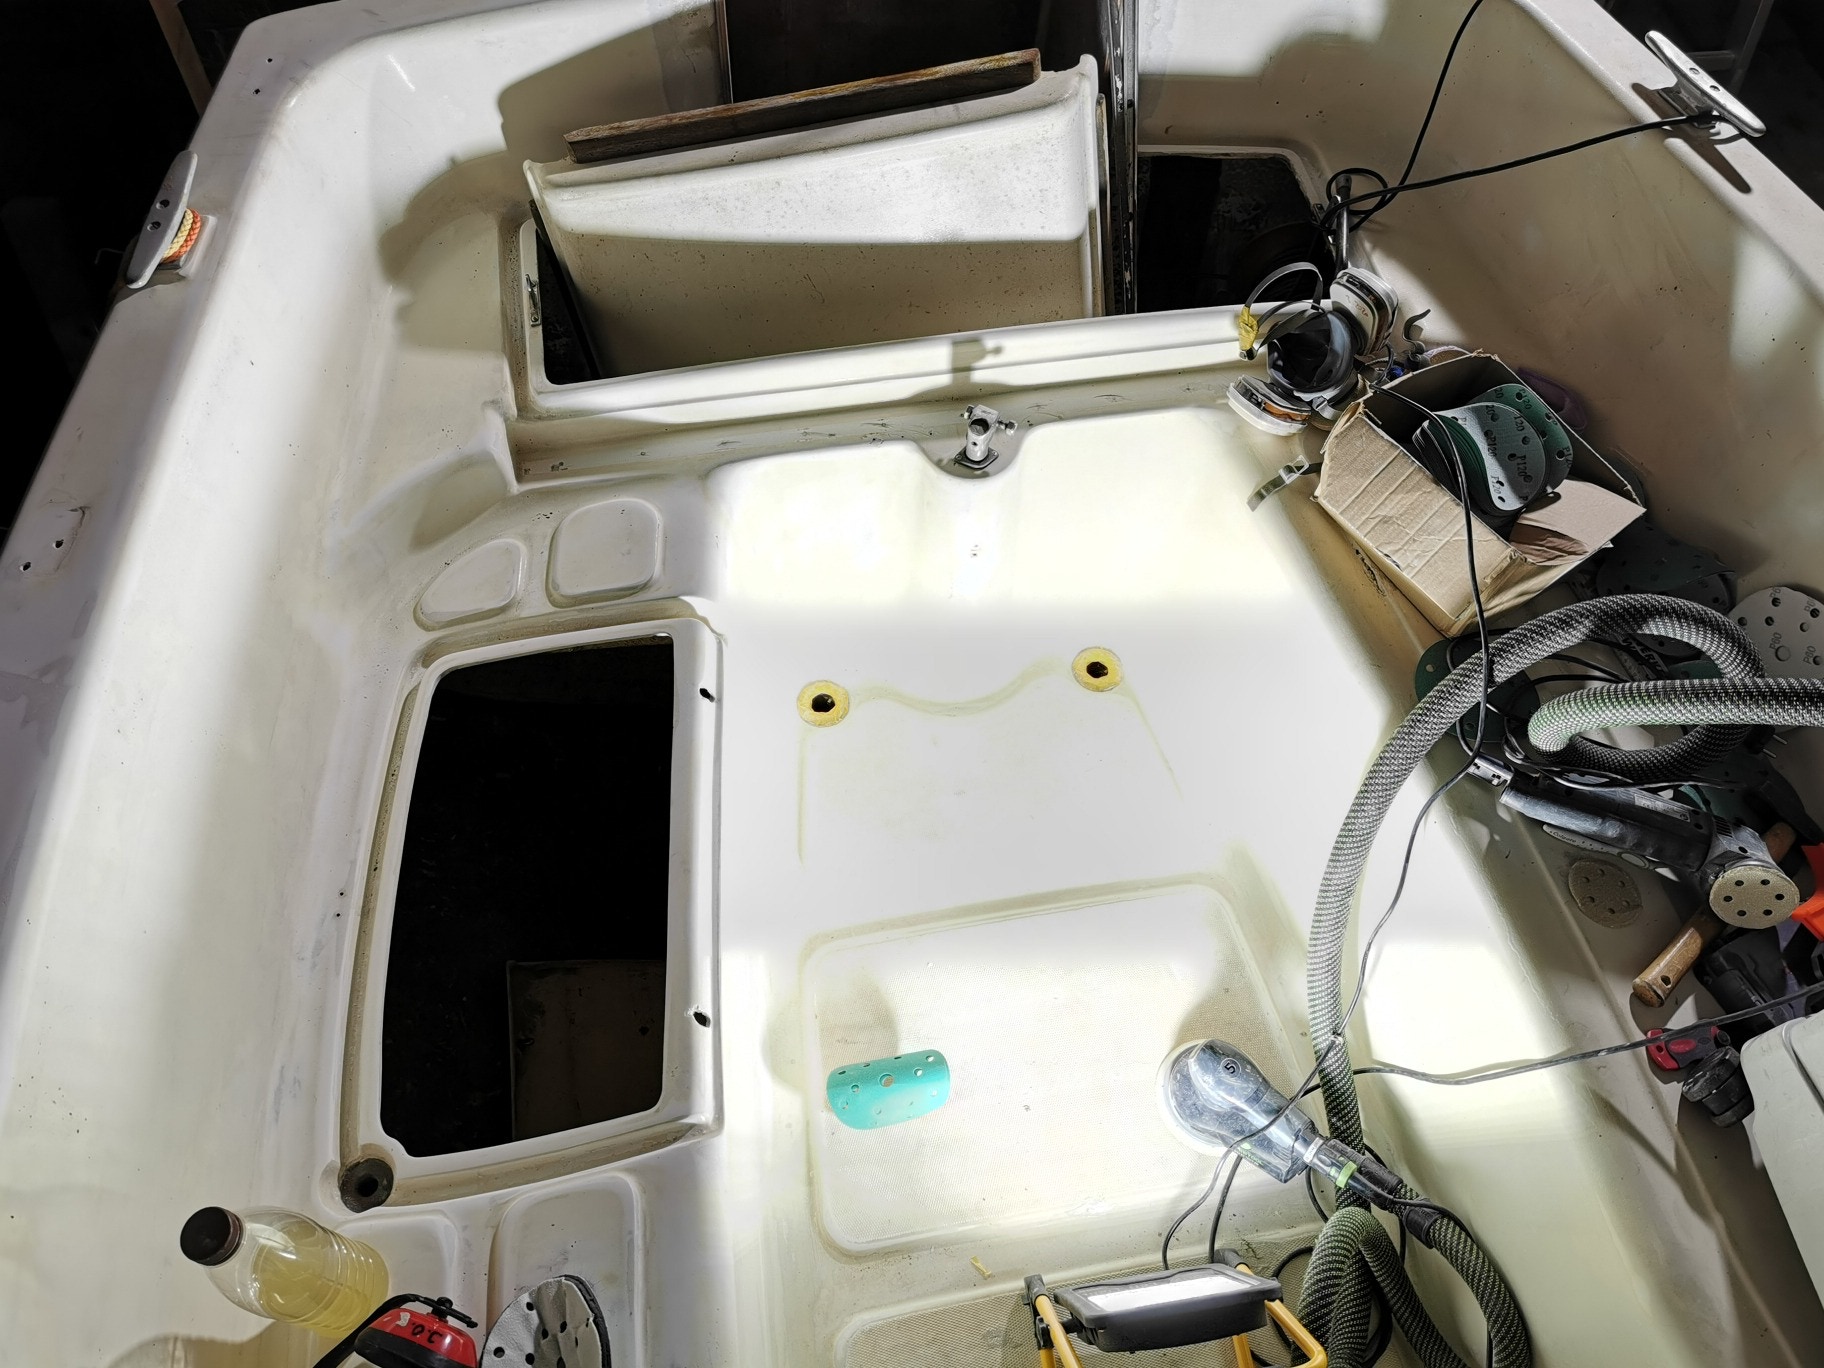
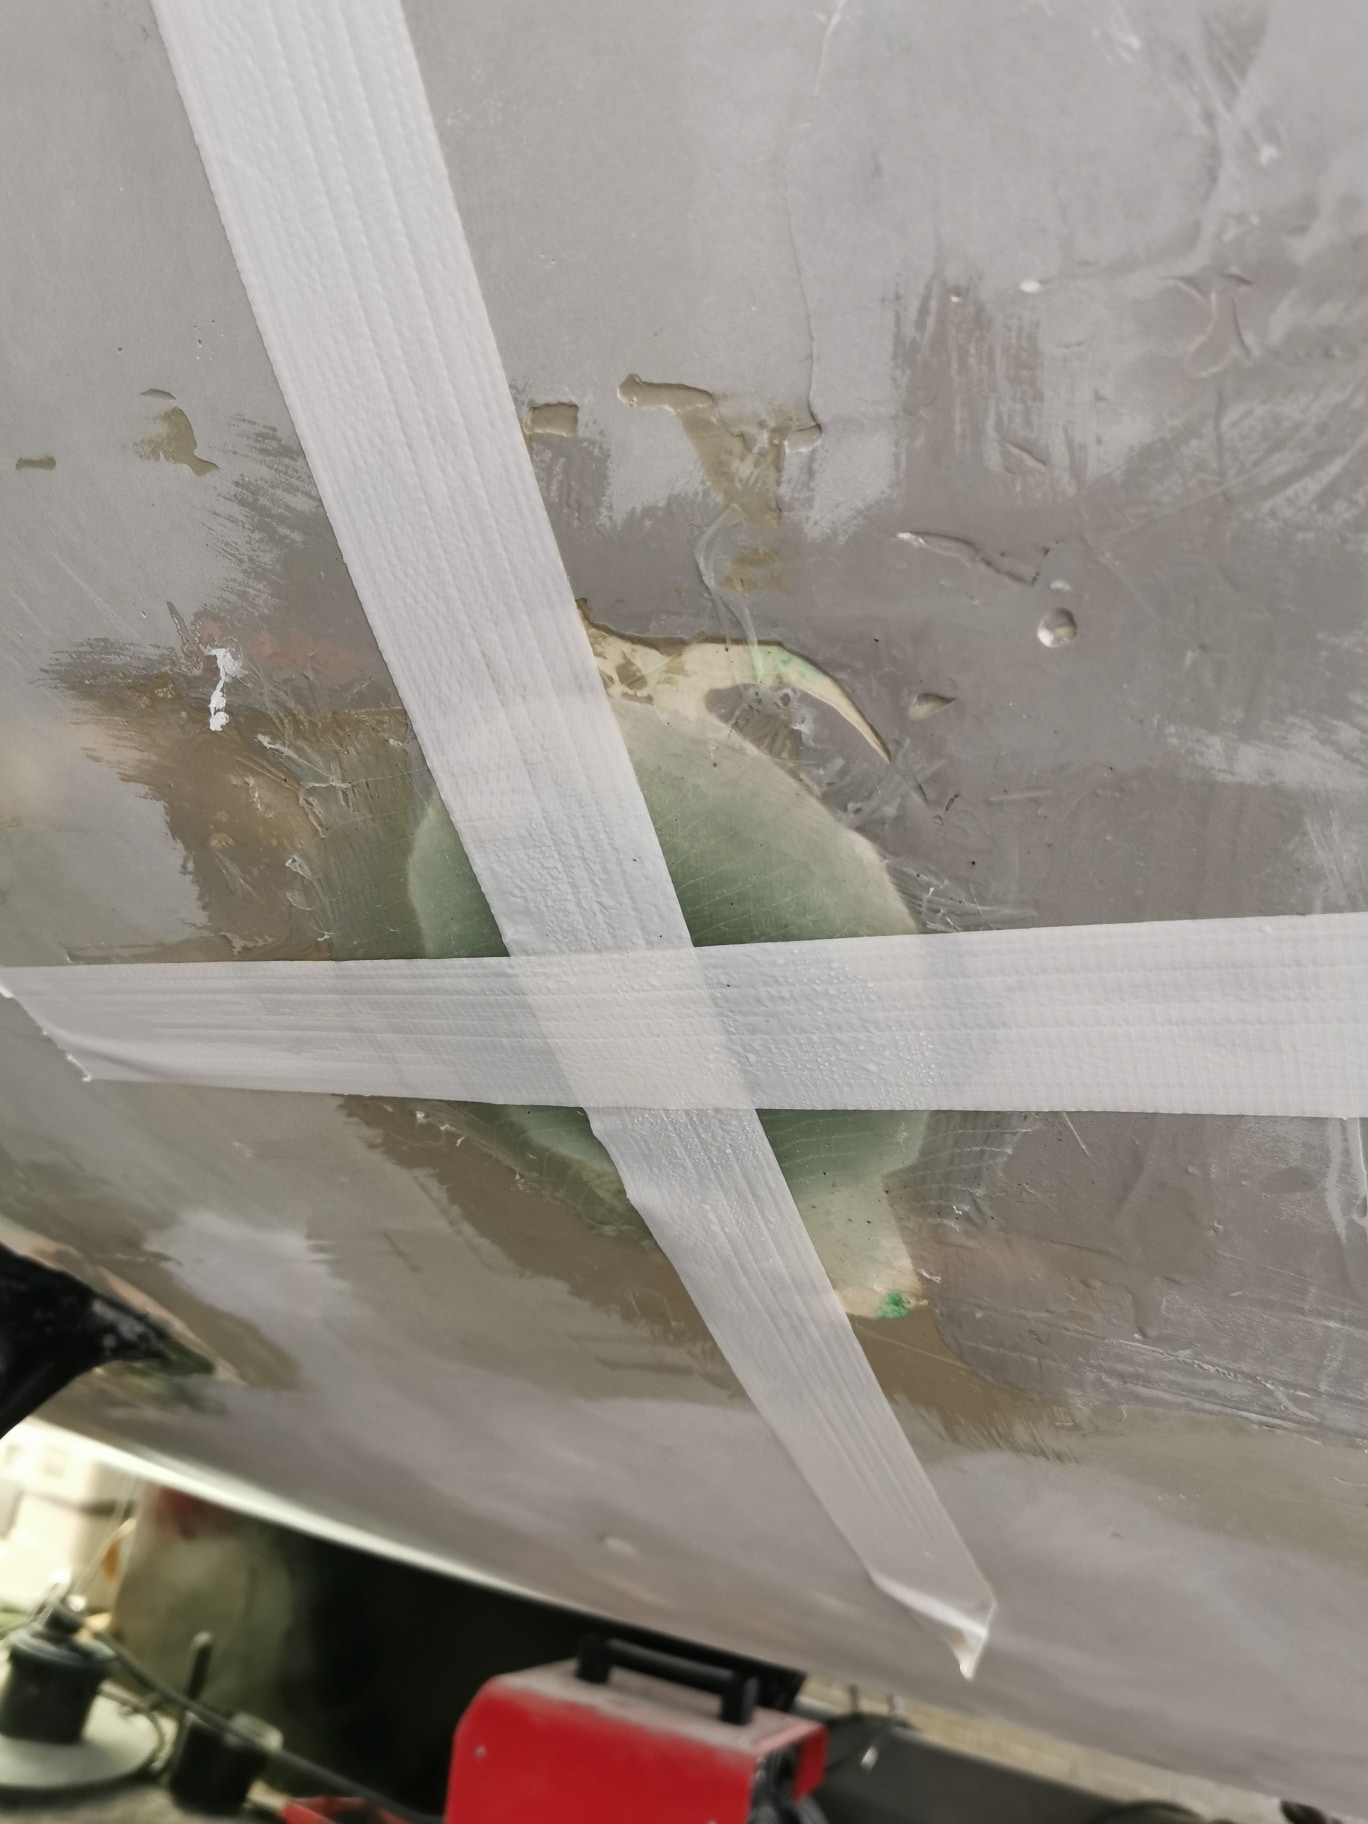
Because of the sandblasting, I have many very small and large areas in the surface that have to be filled and sanded. The filling and sanding work on the hull and deck will take at least 2 months.
The hull and deck should be ready for painting by the end of January at the latest.
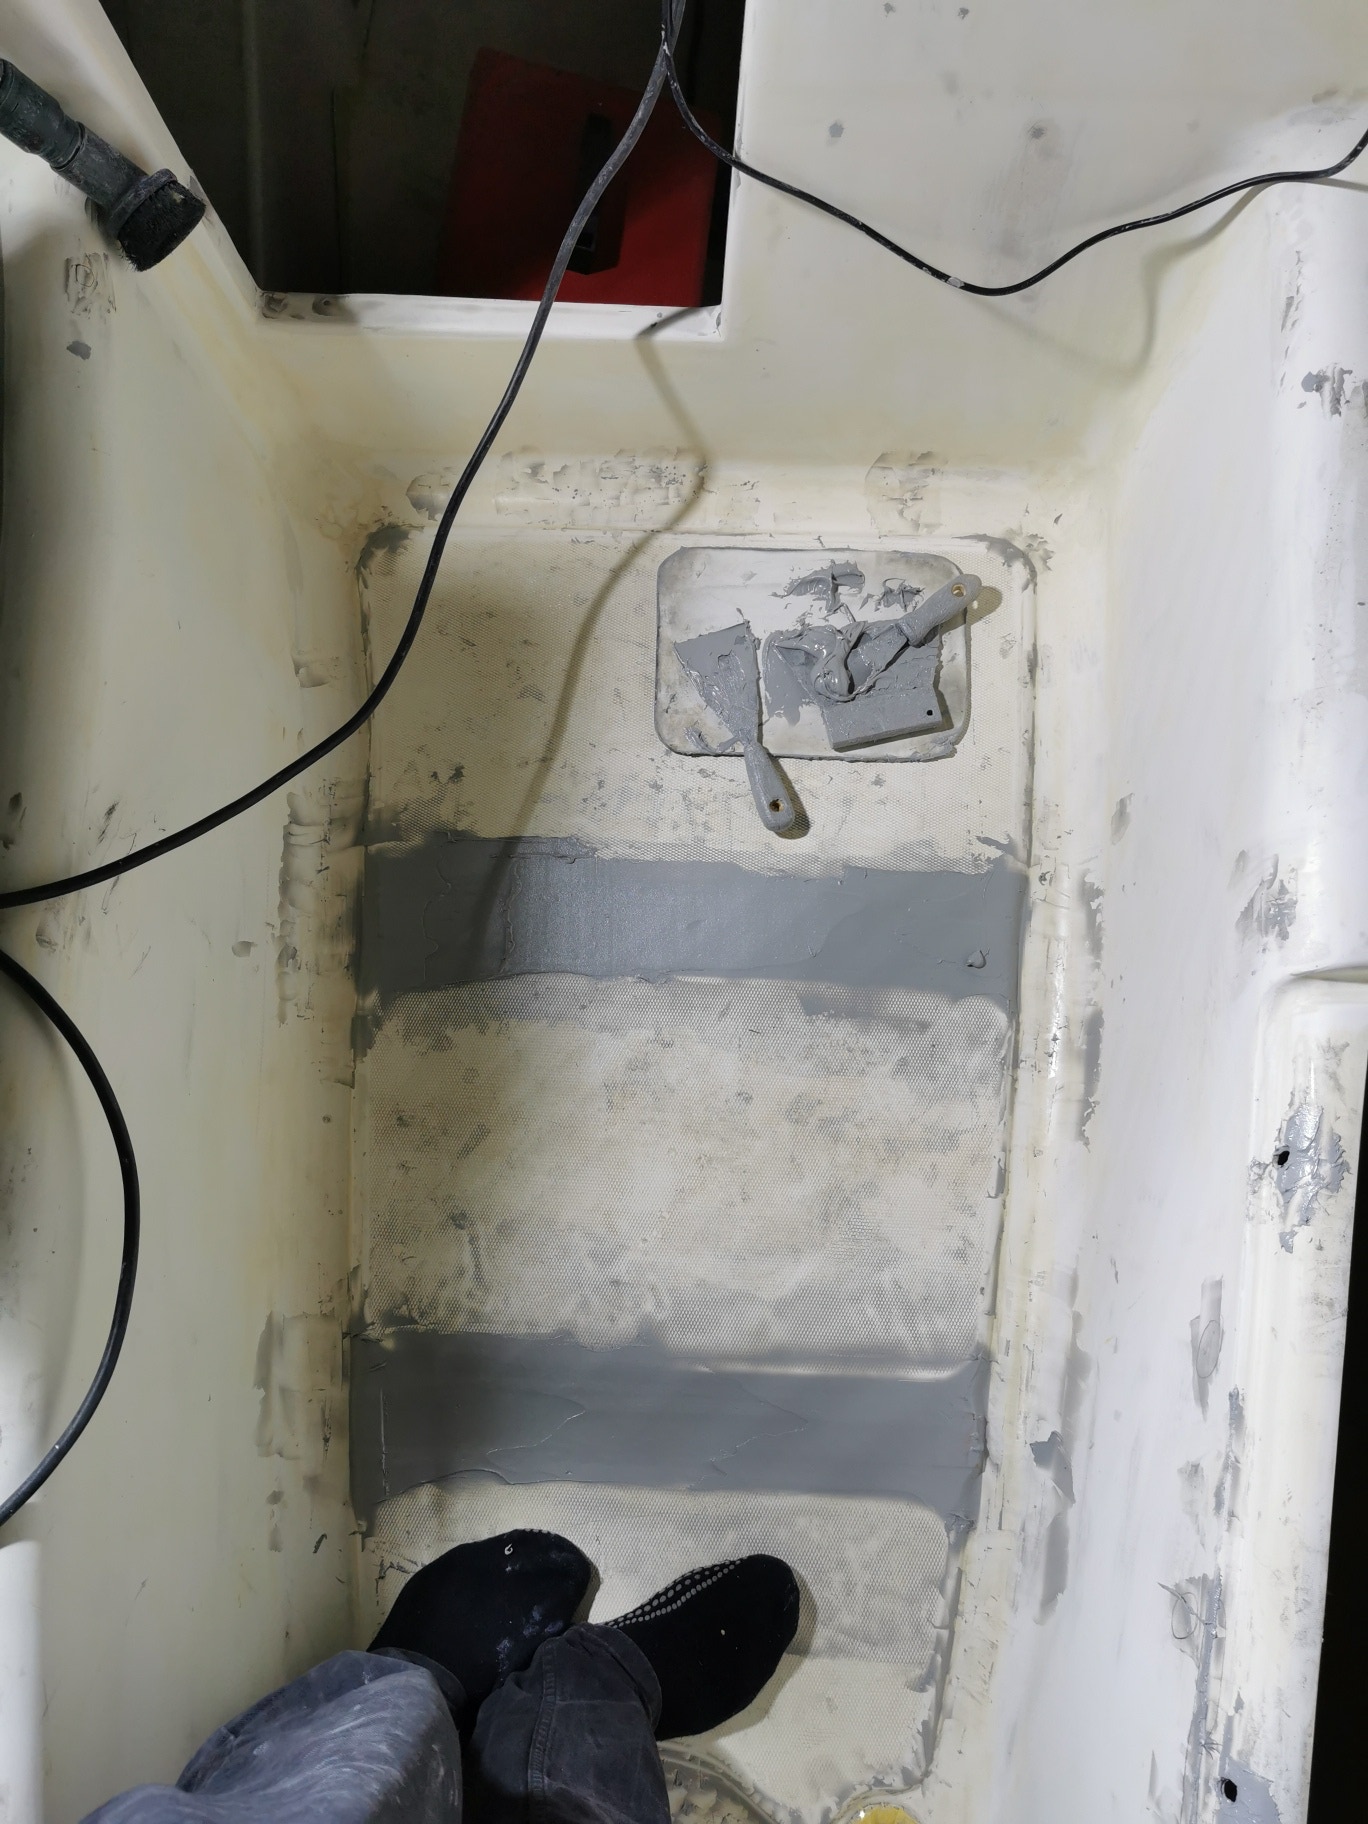
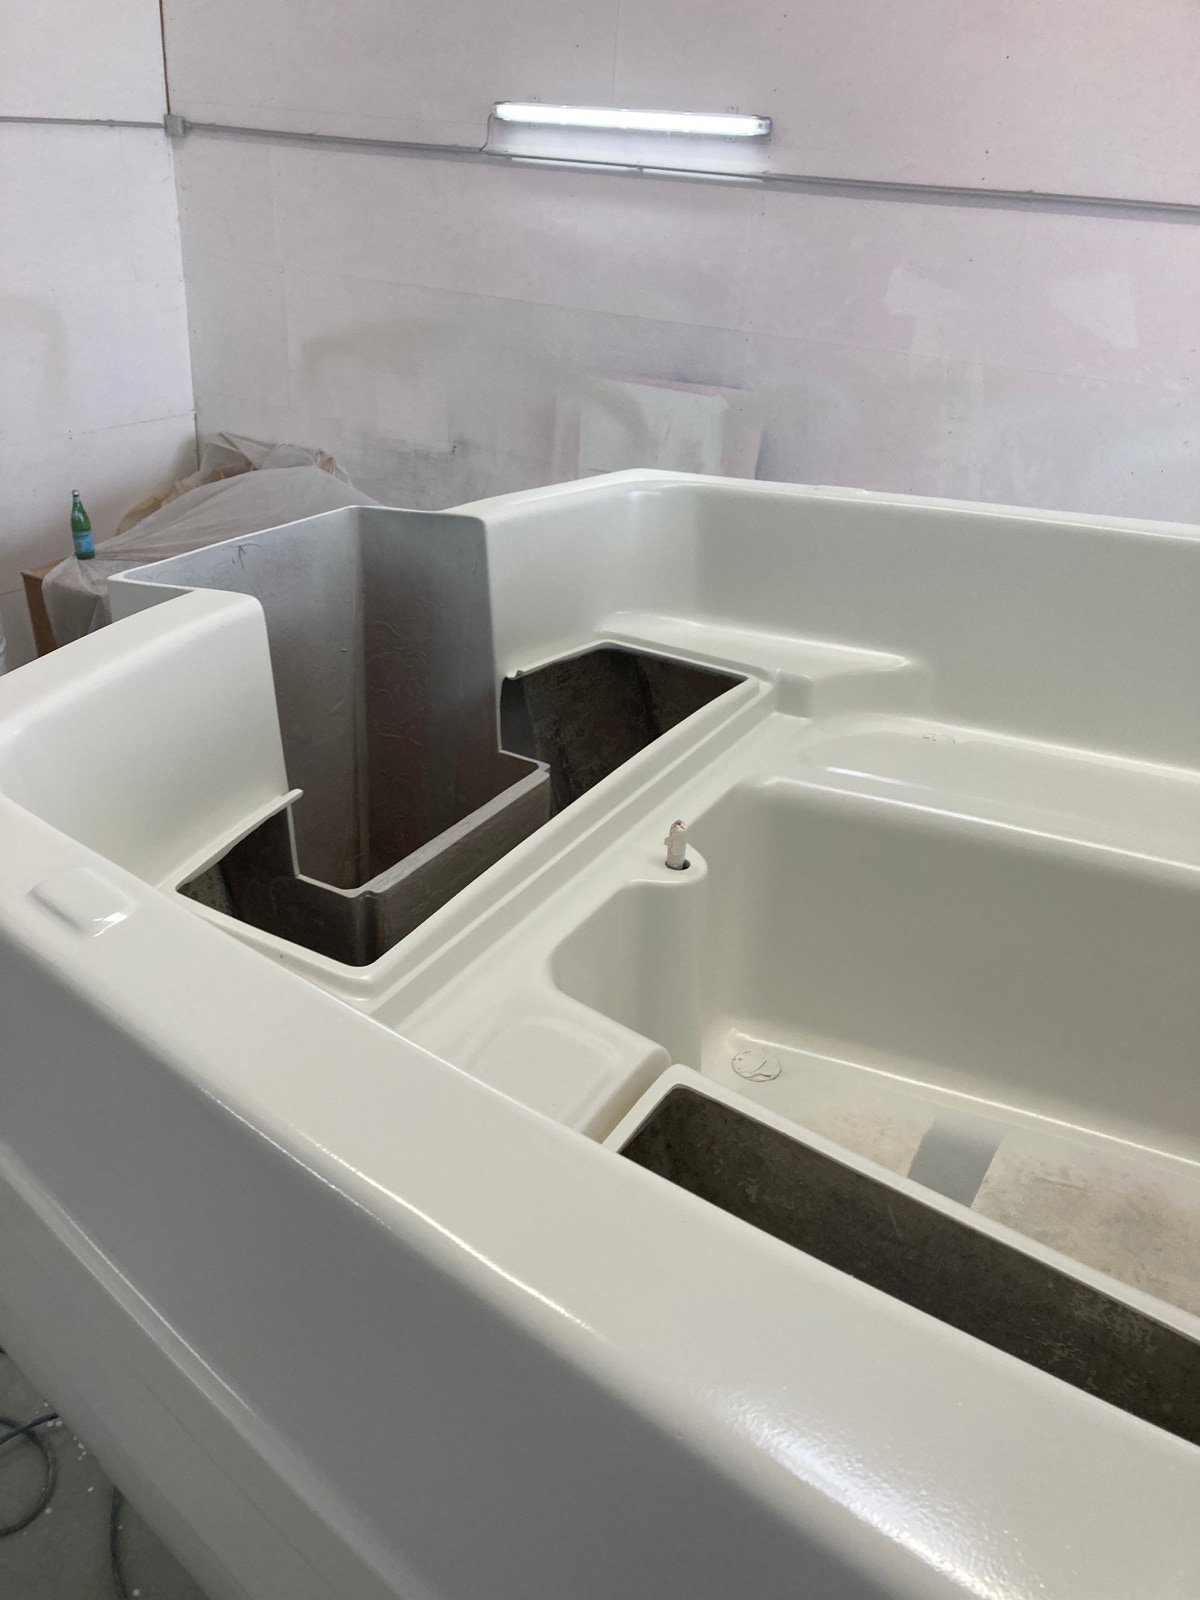
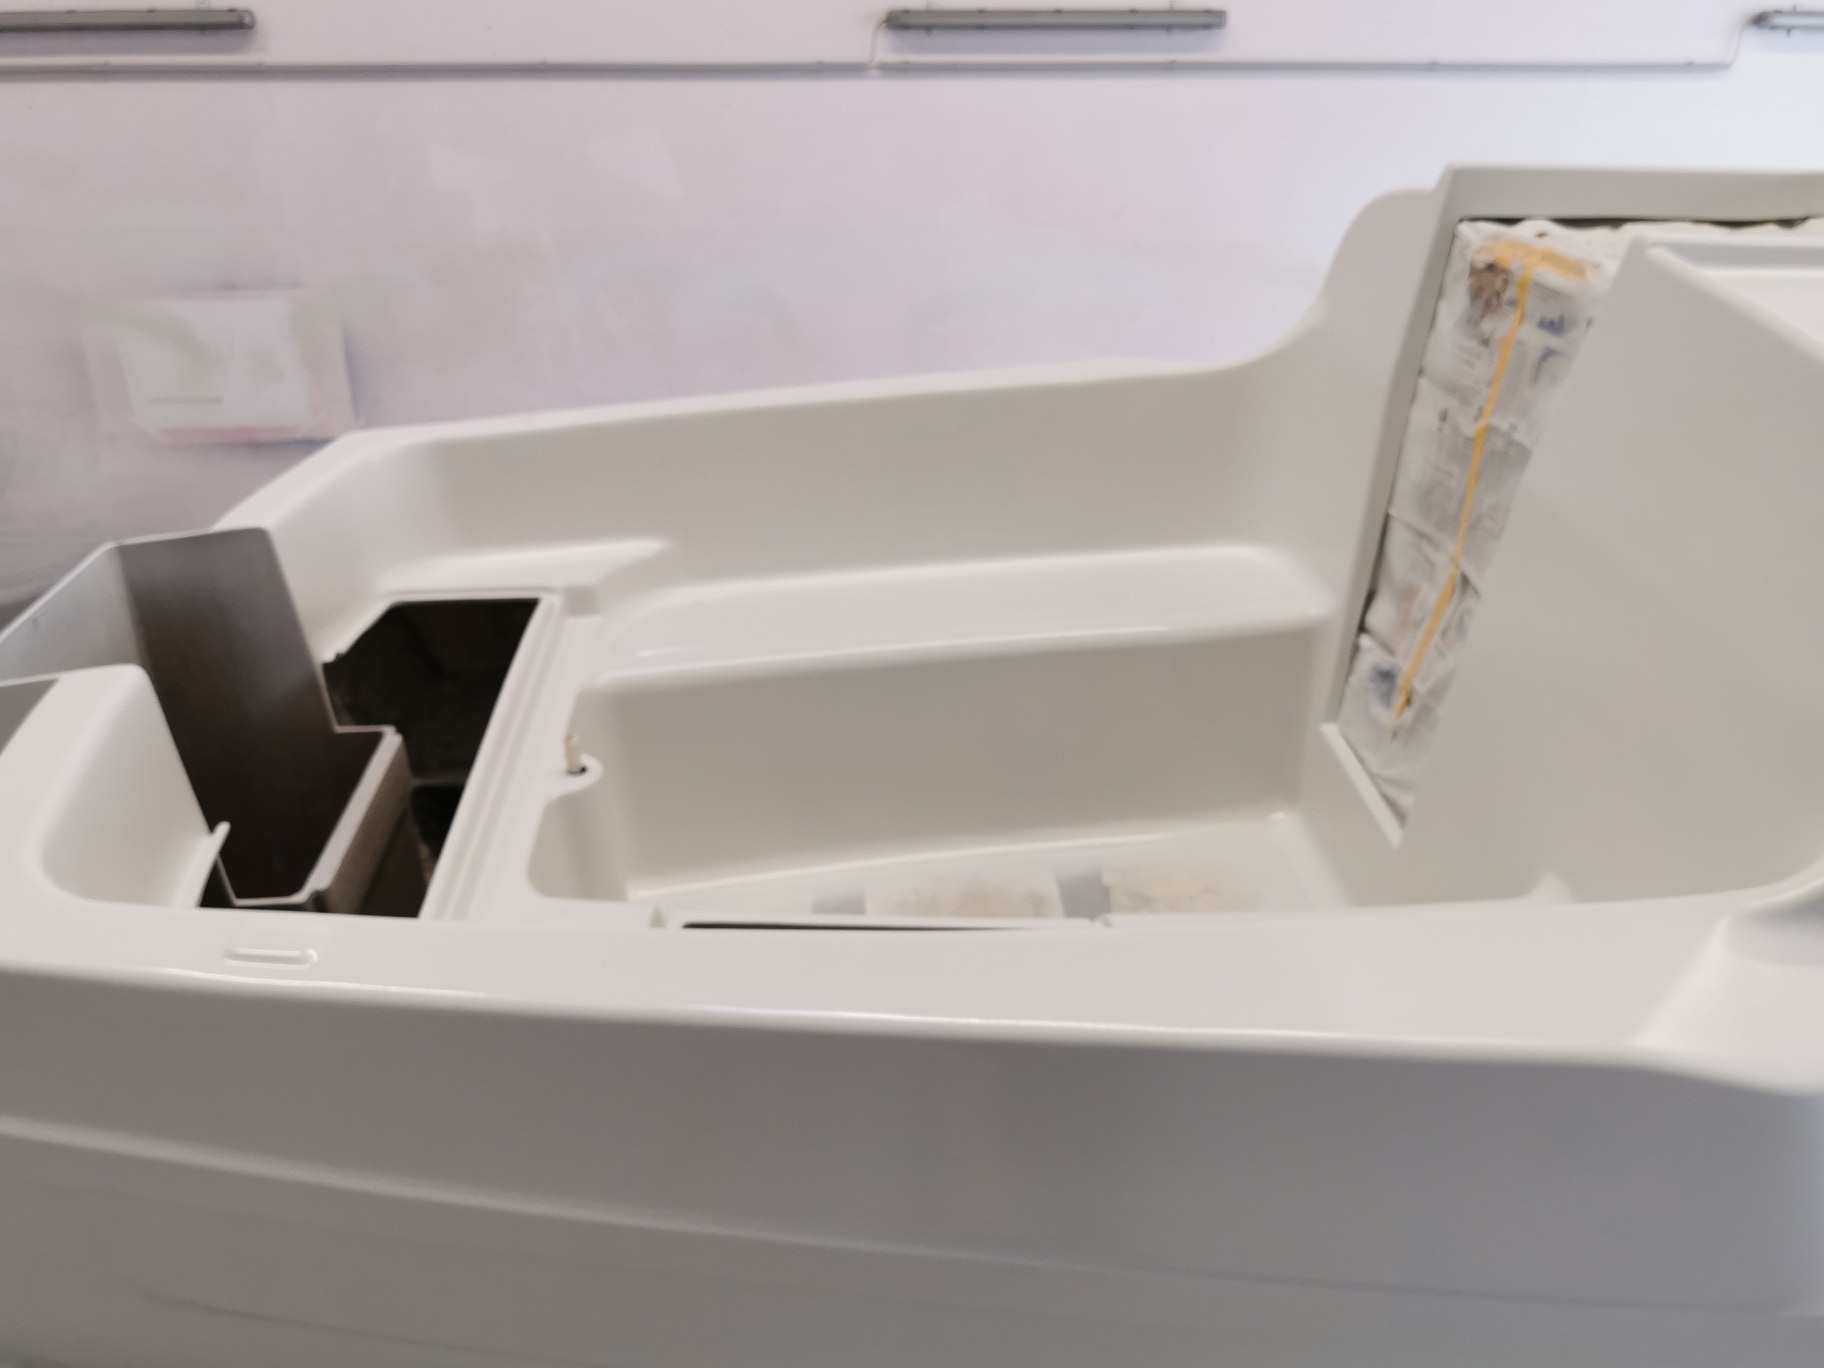
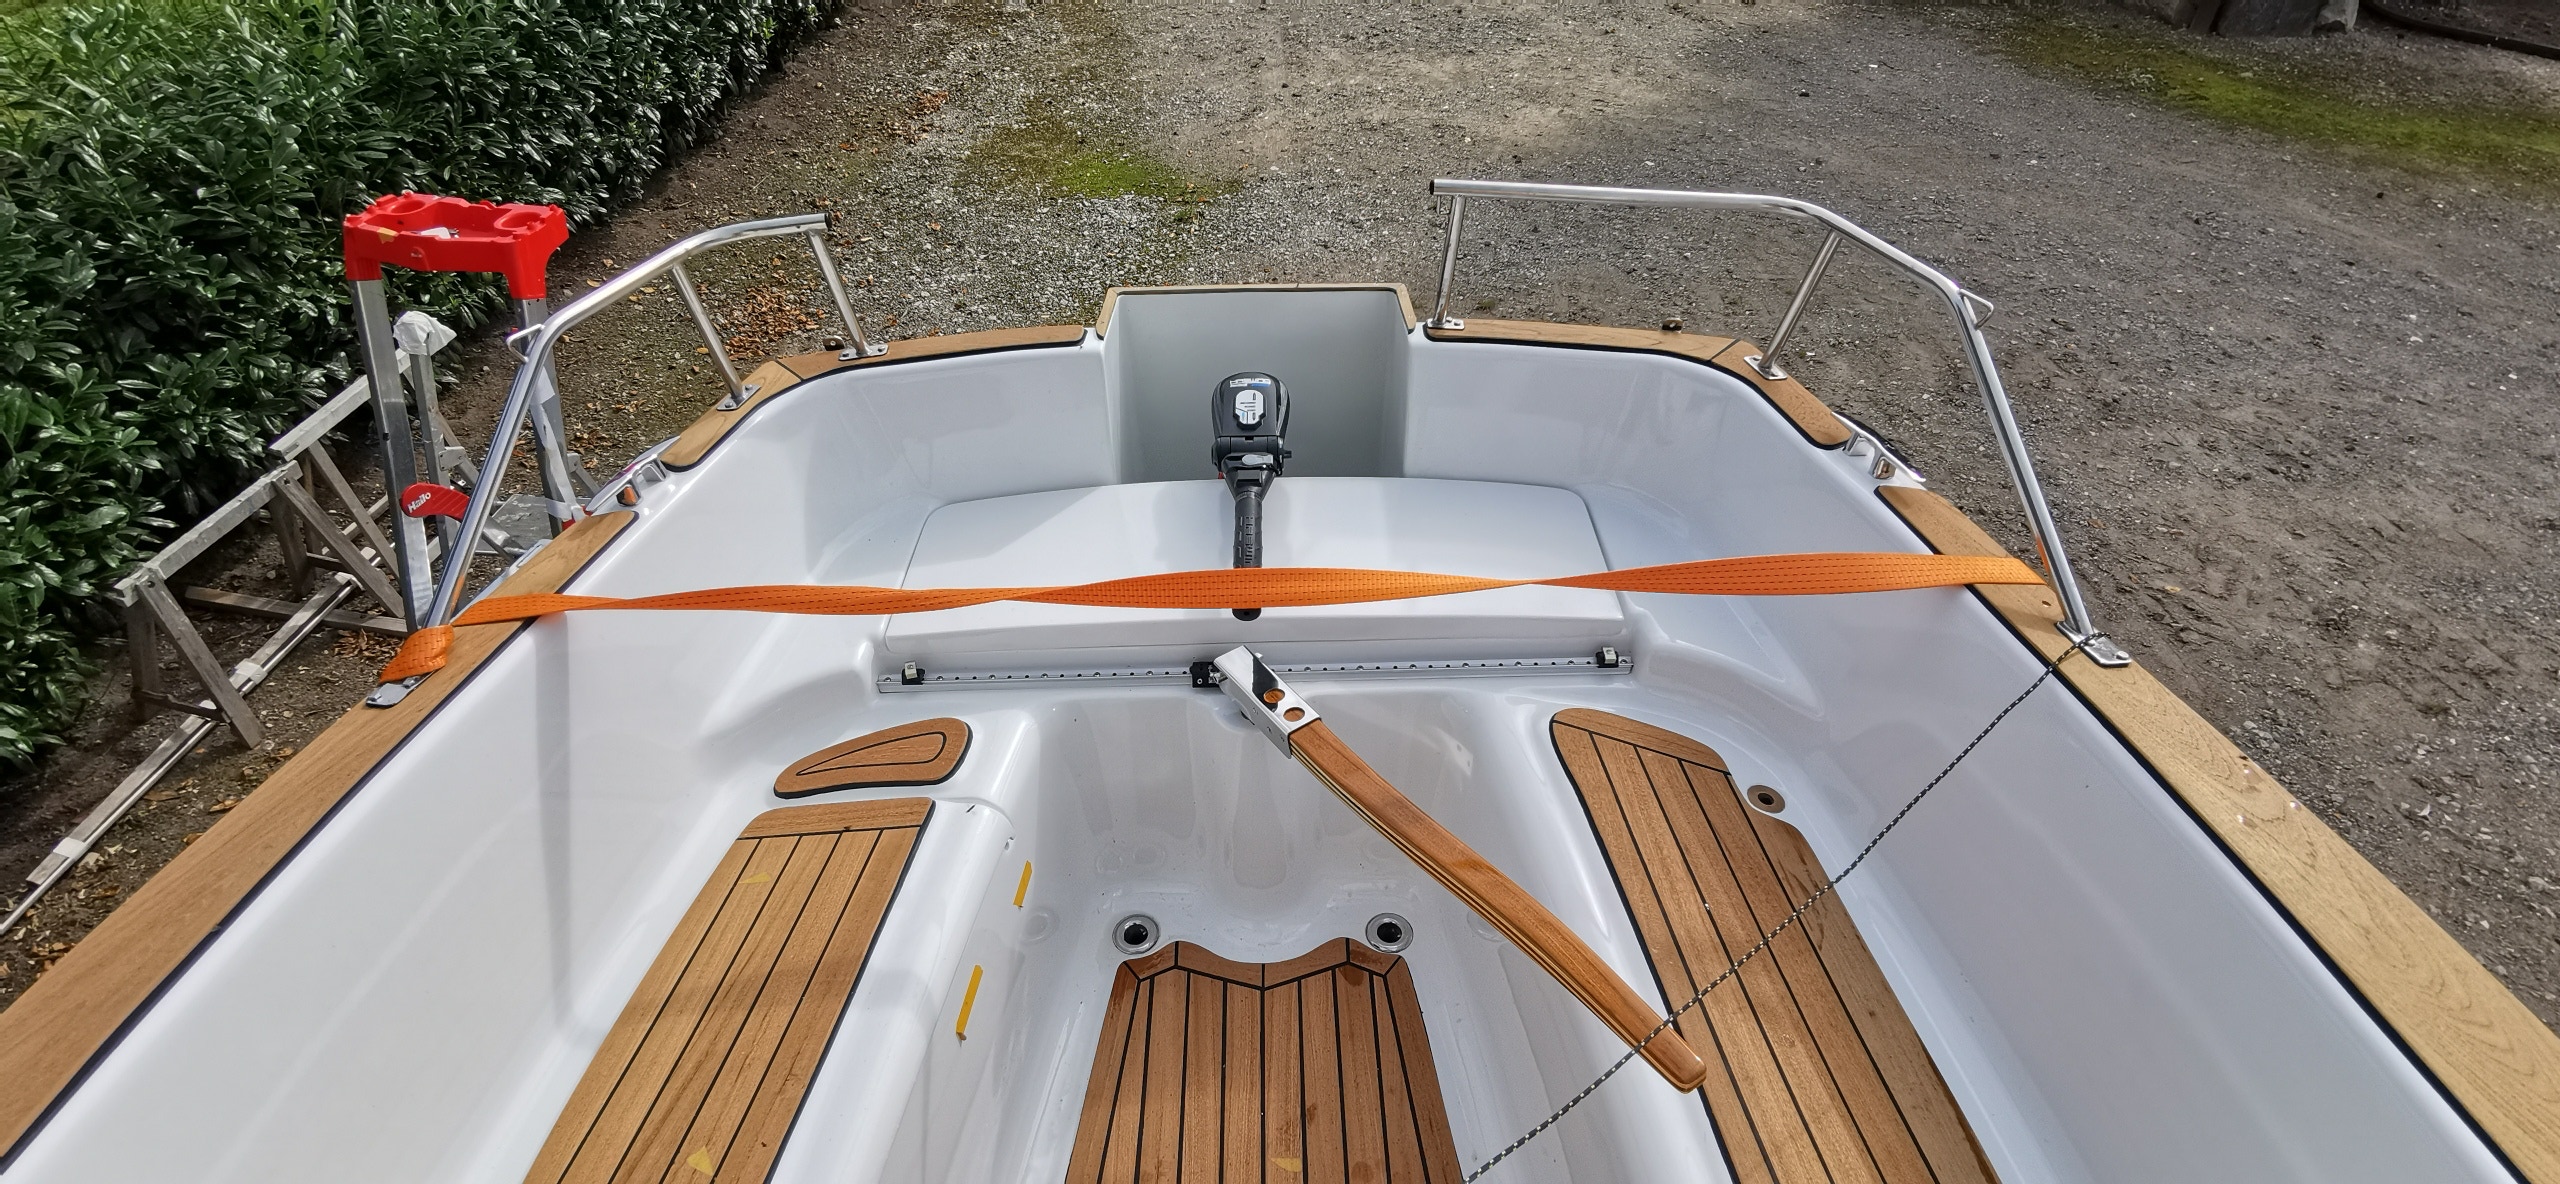
The grooves on the seats and the cockpit floor are closed because teak should be on them.
30.11.2020
12.12.2020
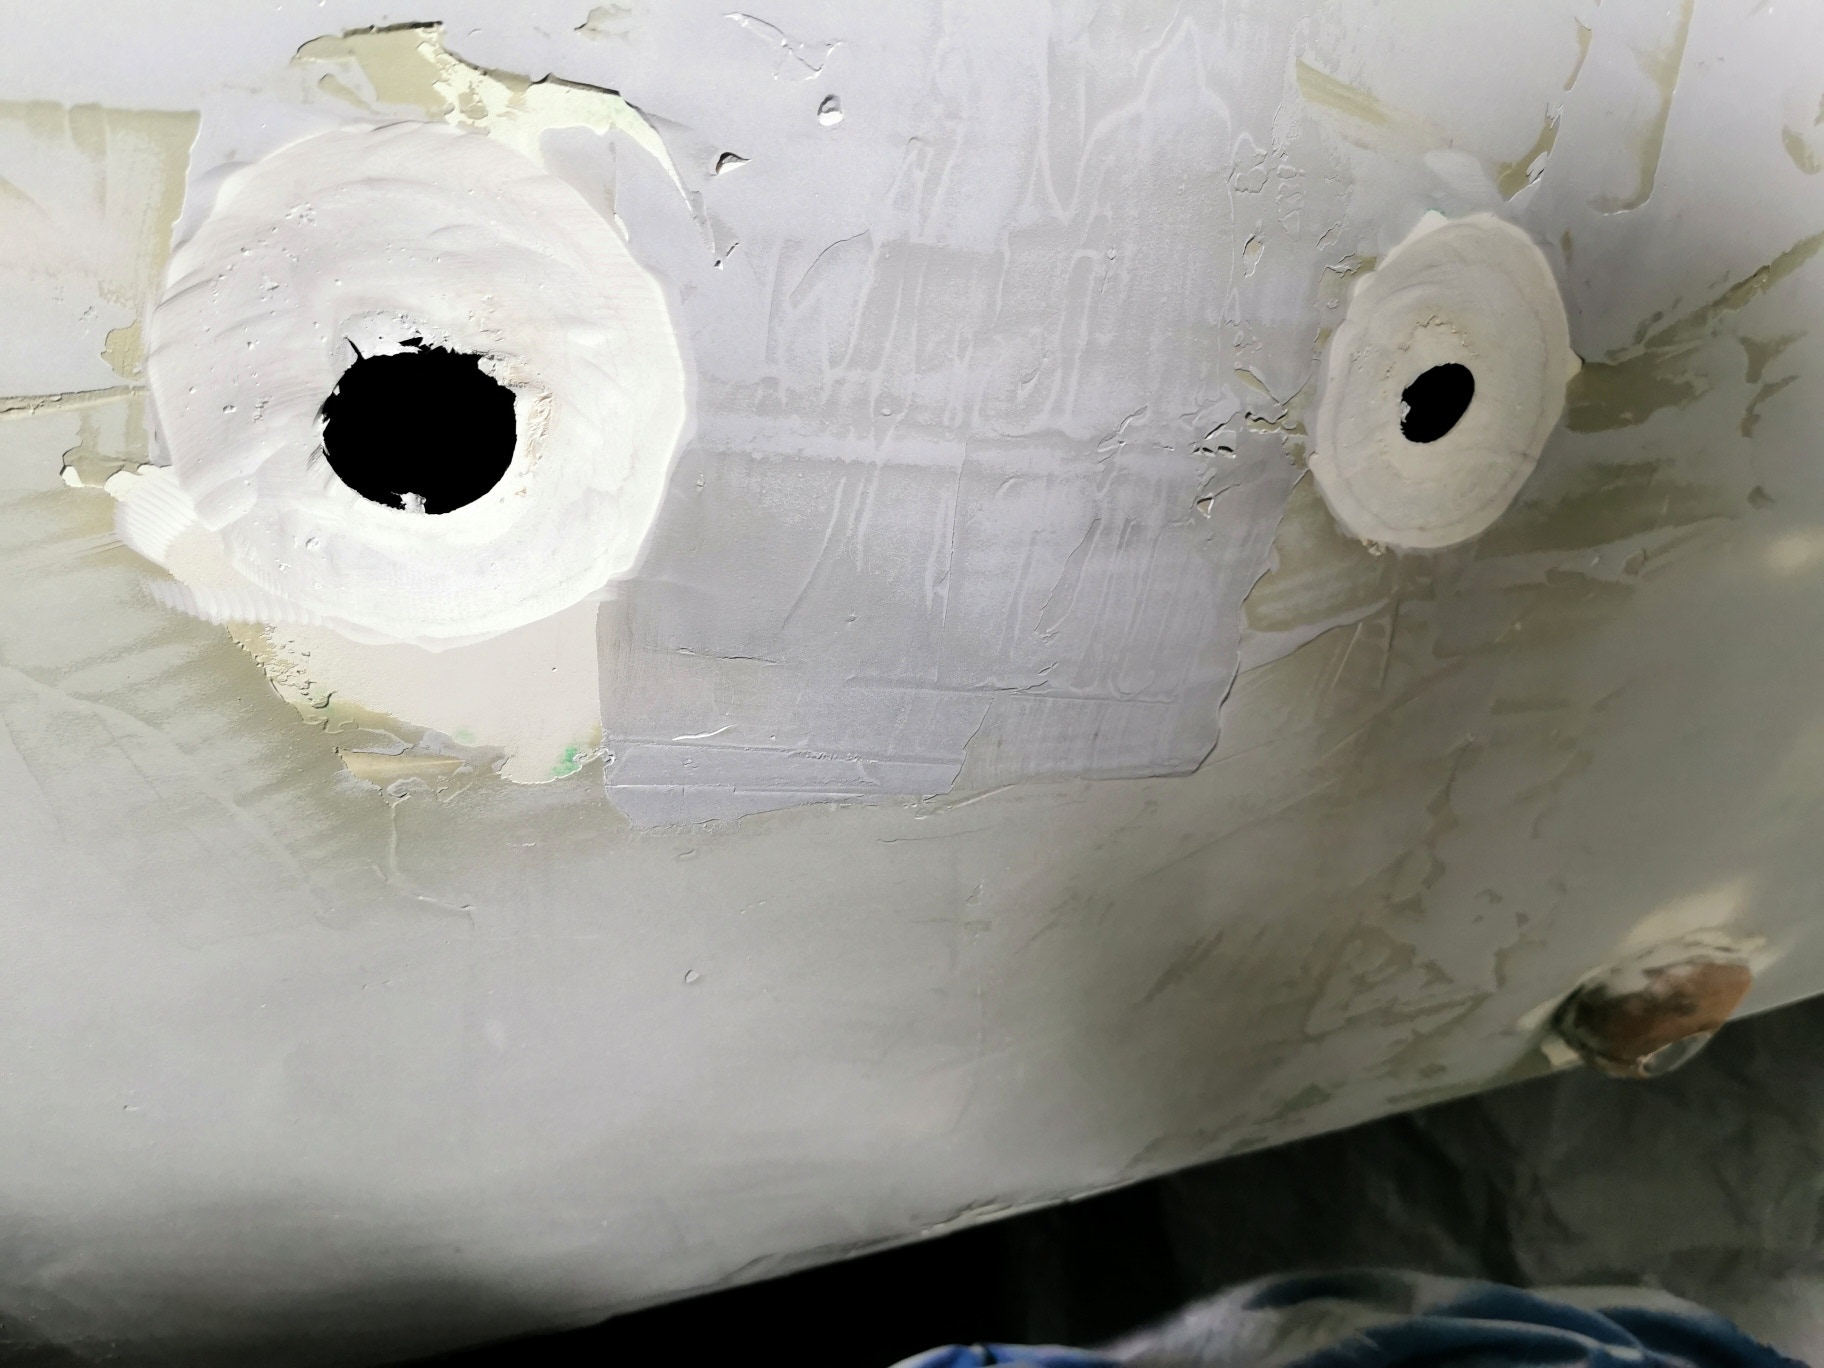
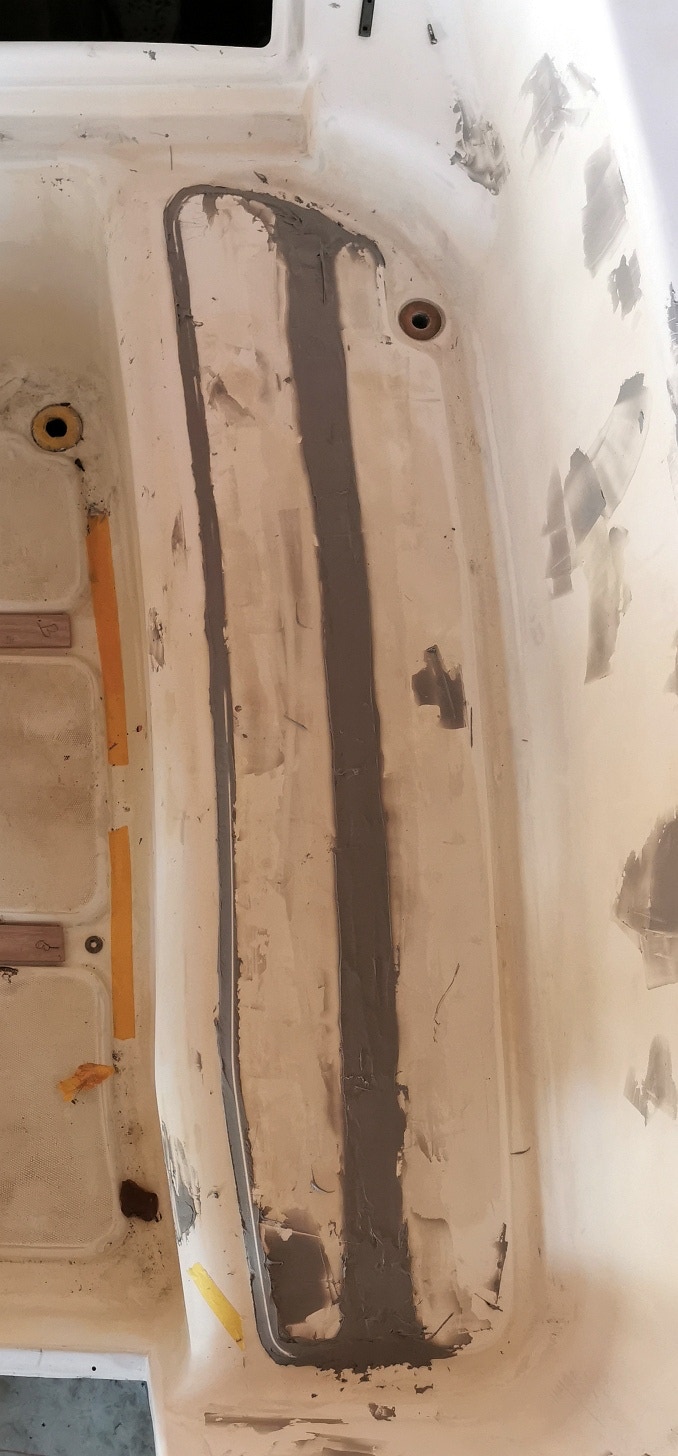
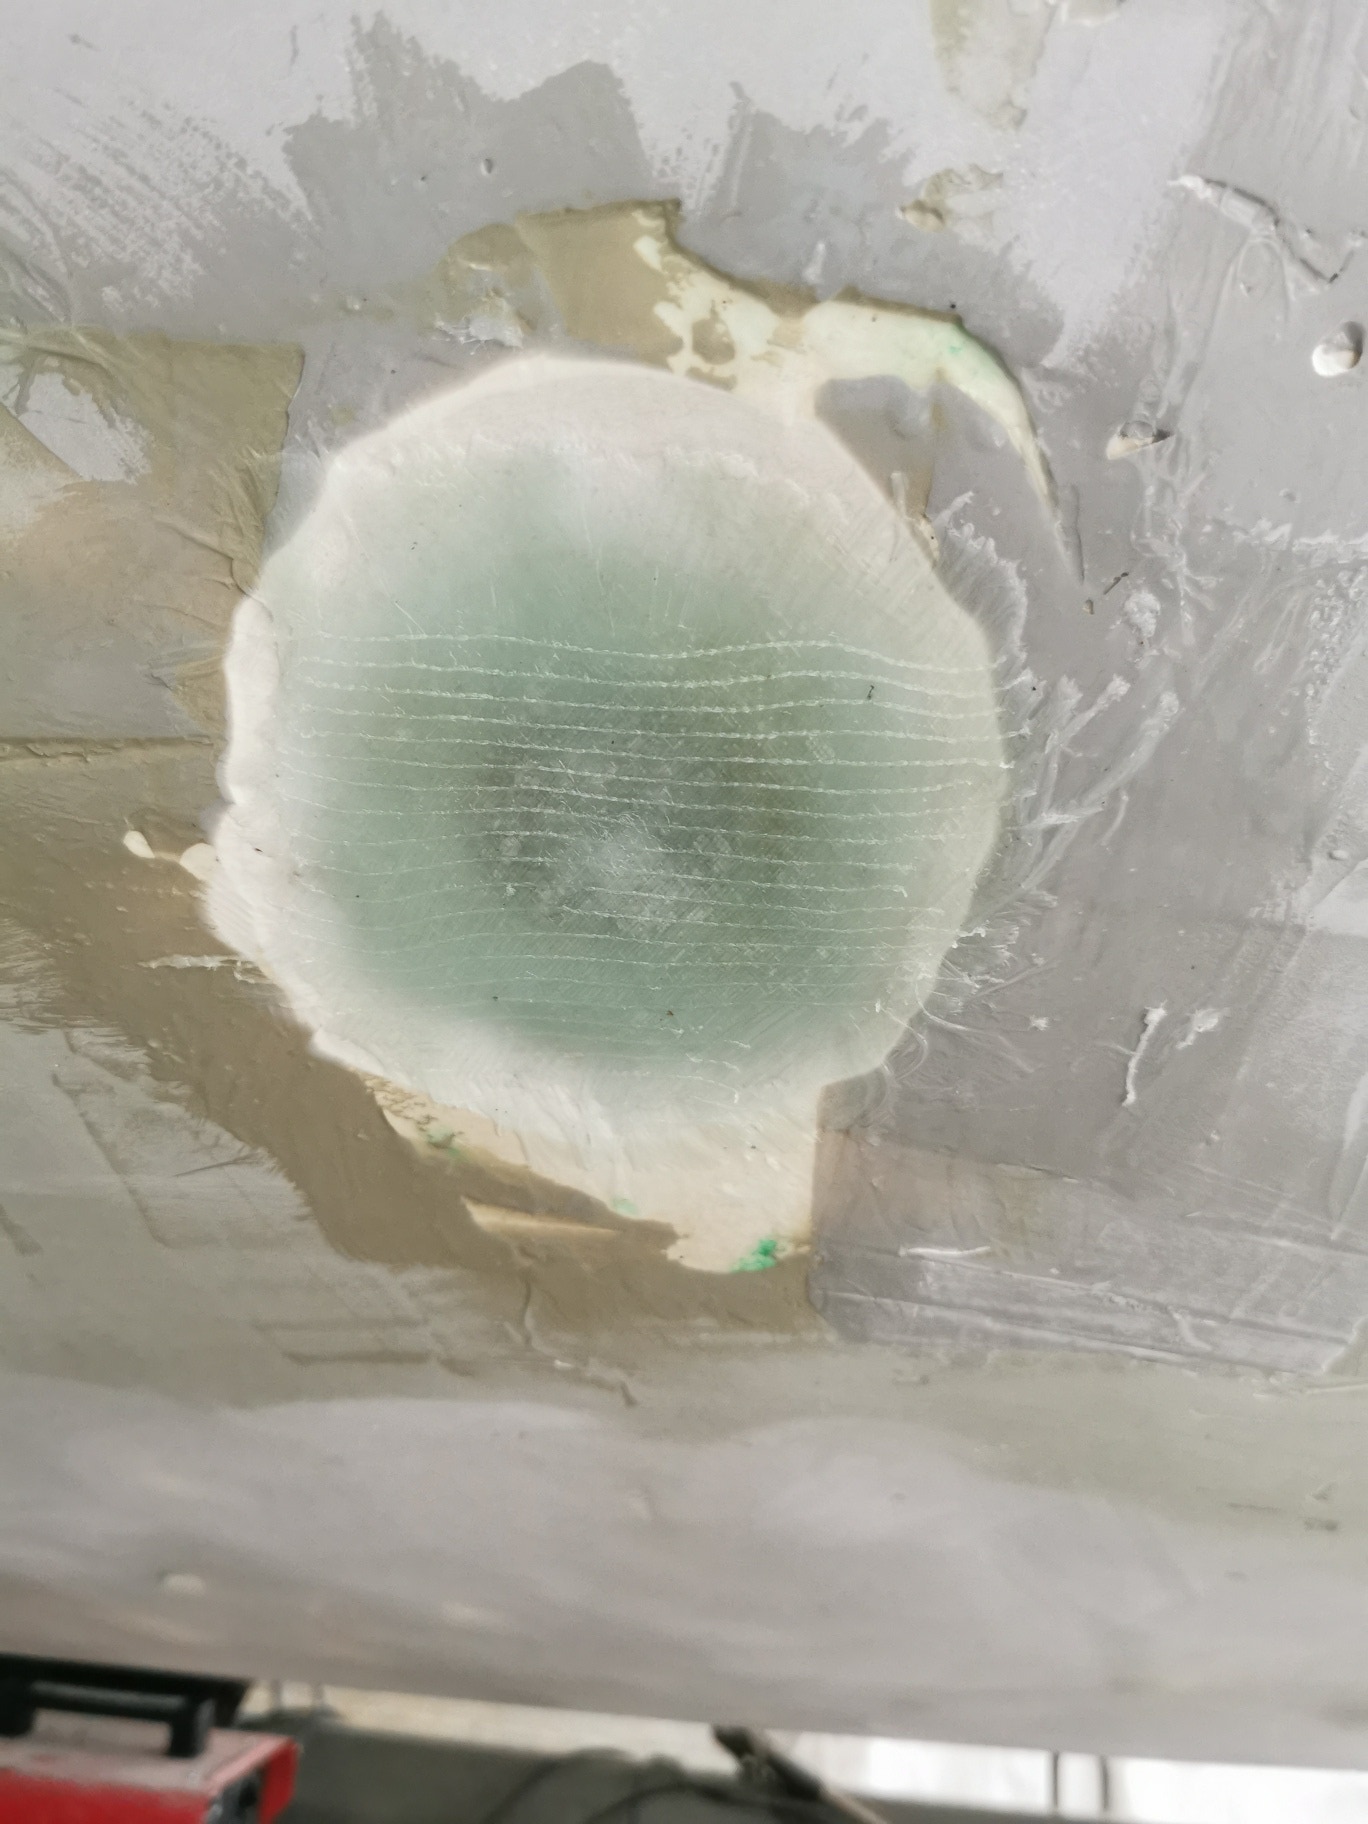
Layer by layer, the glass fiber mats soaked with epoxy resin are getting bigger and bigger, I sealed the concave depressions a few days ago.
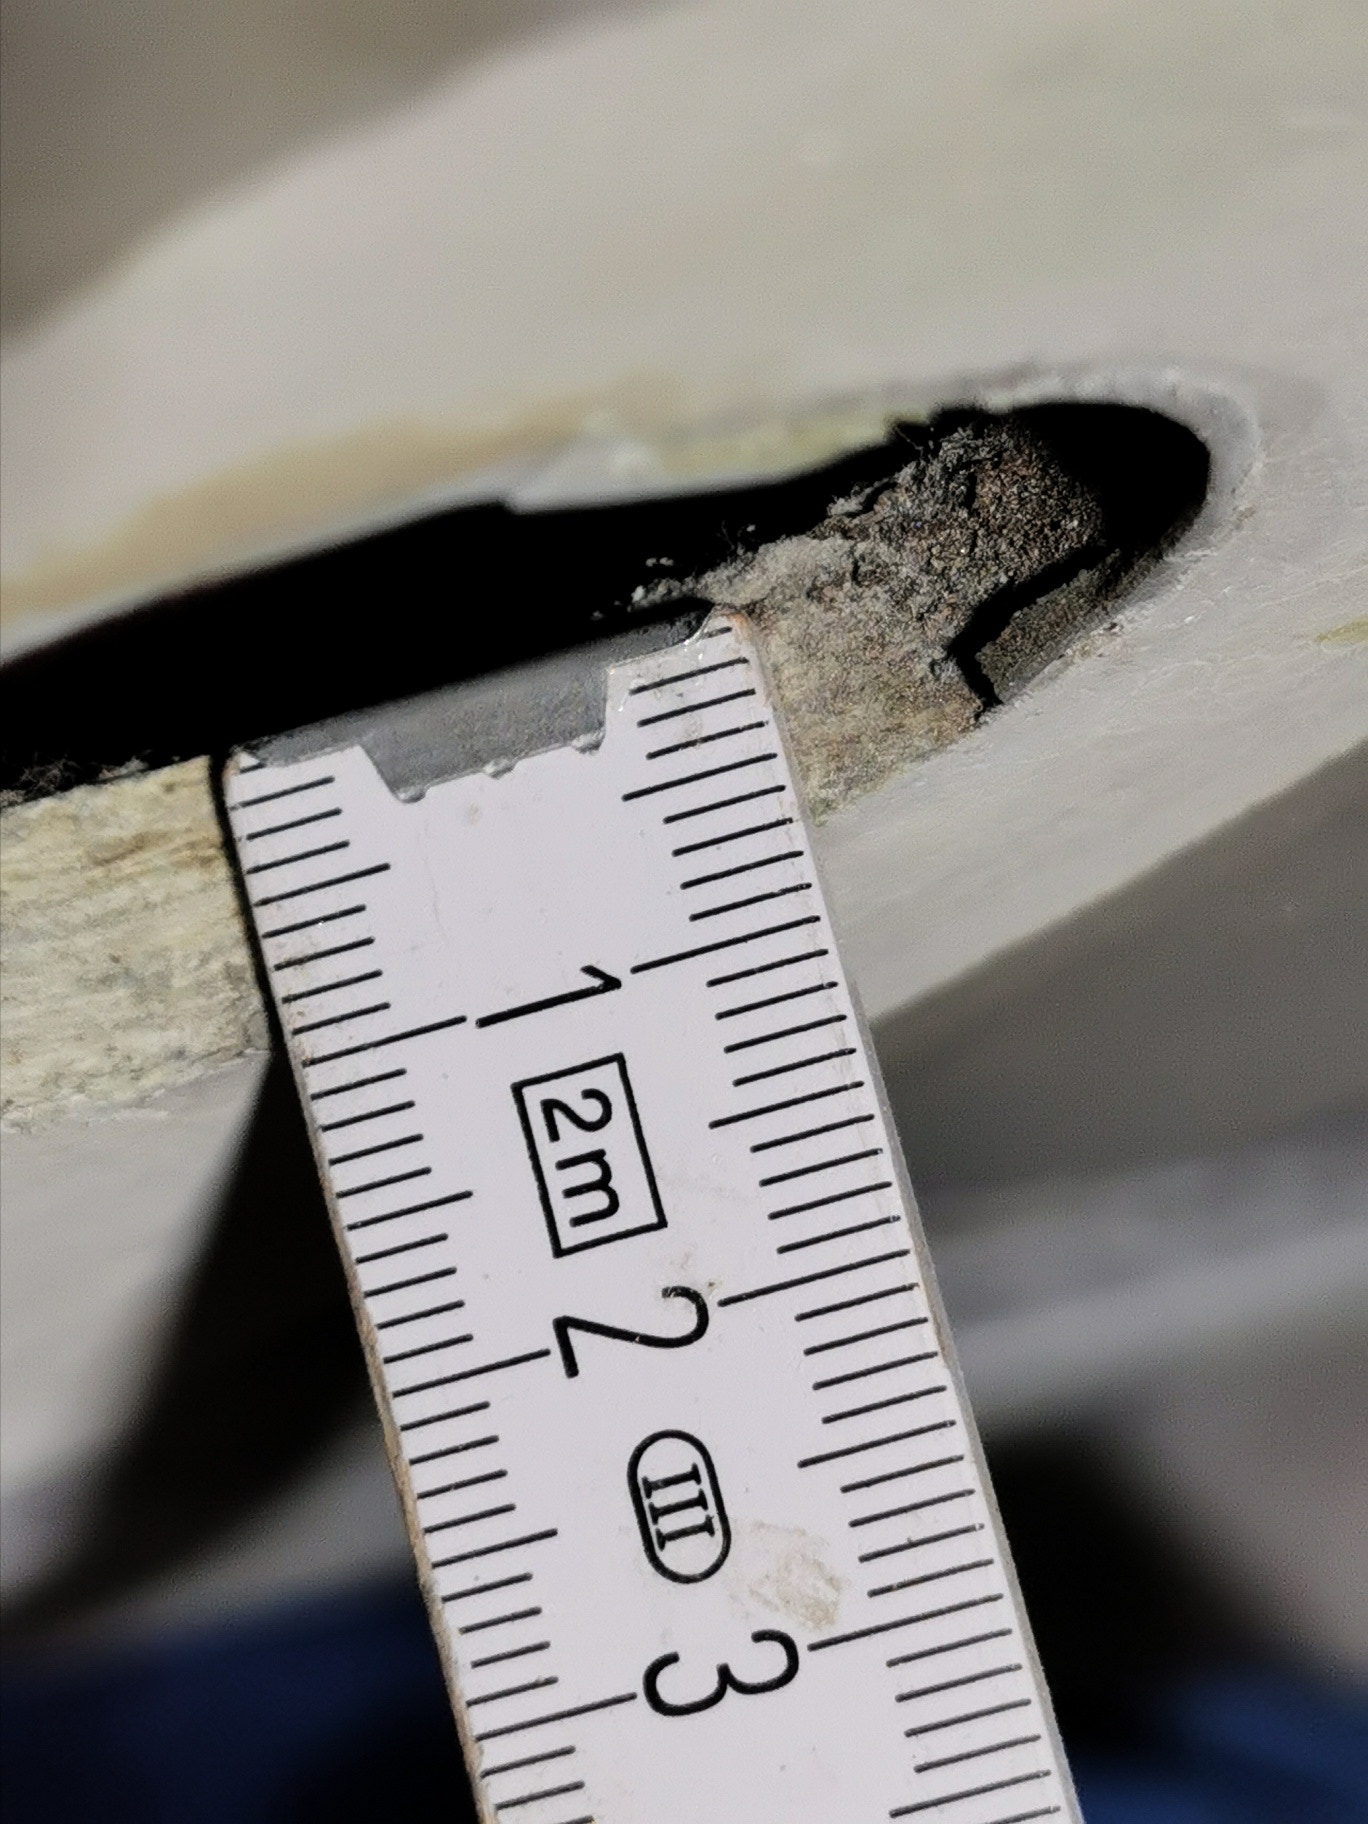
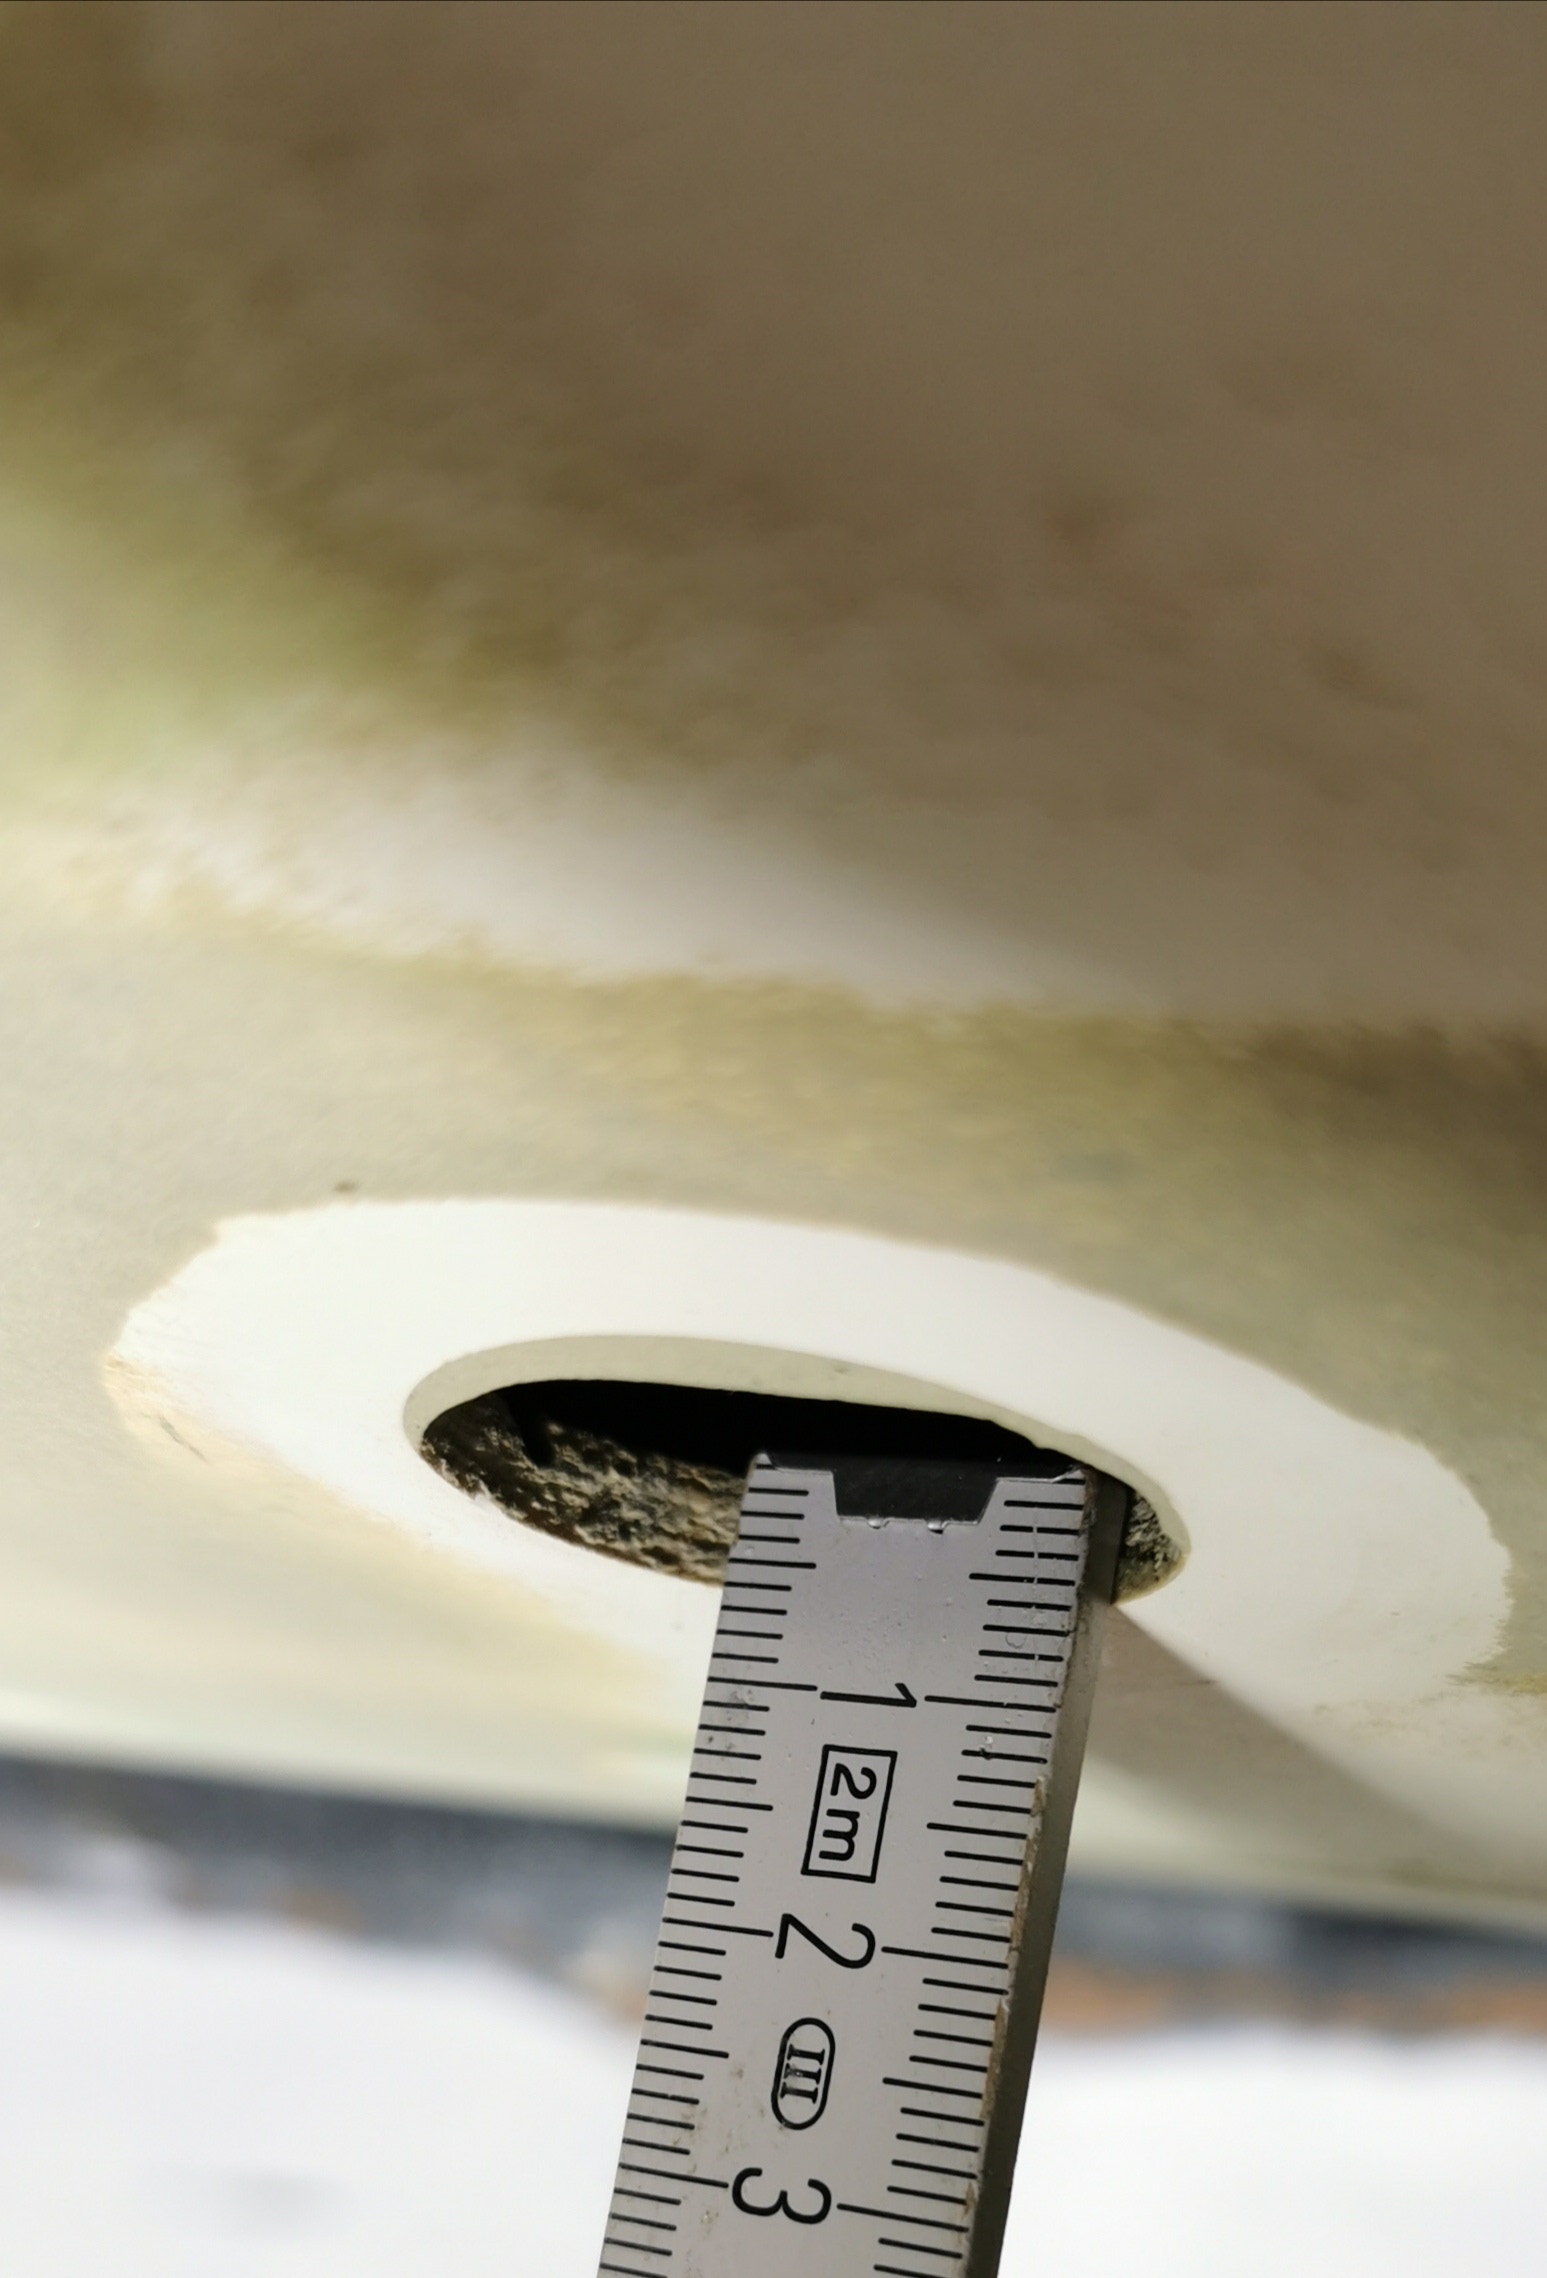
In addition to the grinding work, the open boat outlets also have to be closed. Before I can apply several layers of epoxy-soaked fiberglass mats, the area around the holes has to be sanded concave.
The bow and the stern have a wall thickness of 10mm.
In the middle of the boat the wall thickness is only 5mm.
26.12.2020

13.1.2021
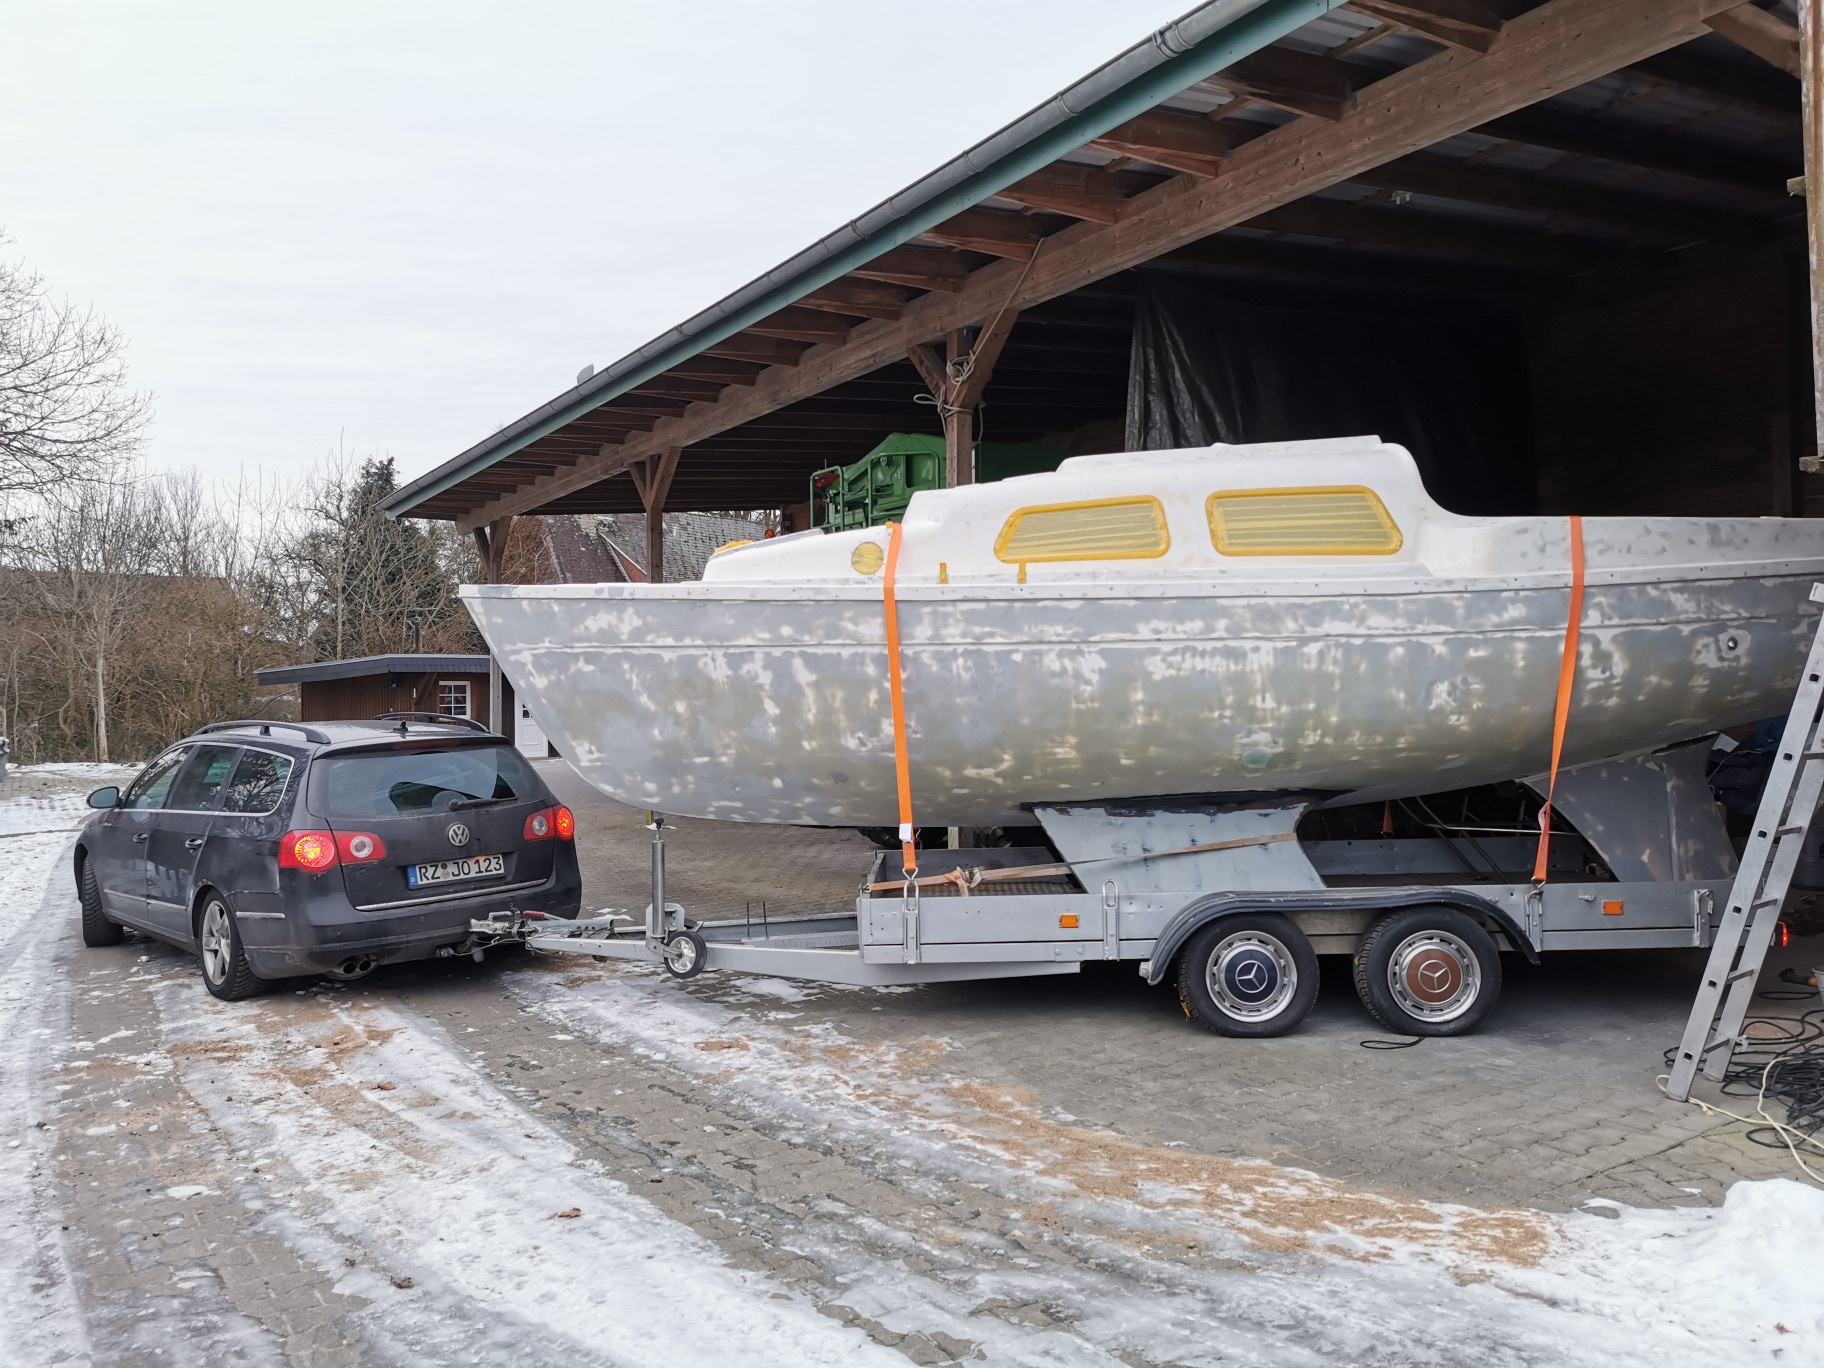
I have the painting appointment on February 8, 2021 and now work as often as I can on the hull and deck to properly prepare the surface.
Unfortunately, at the moment I have little to report about the rather uniform work. But that will change again in February.
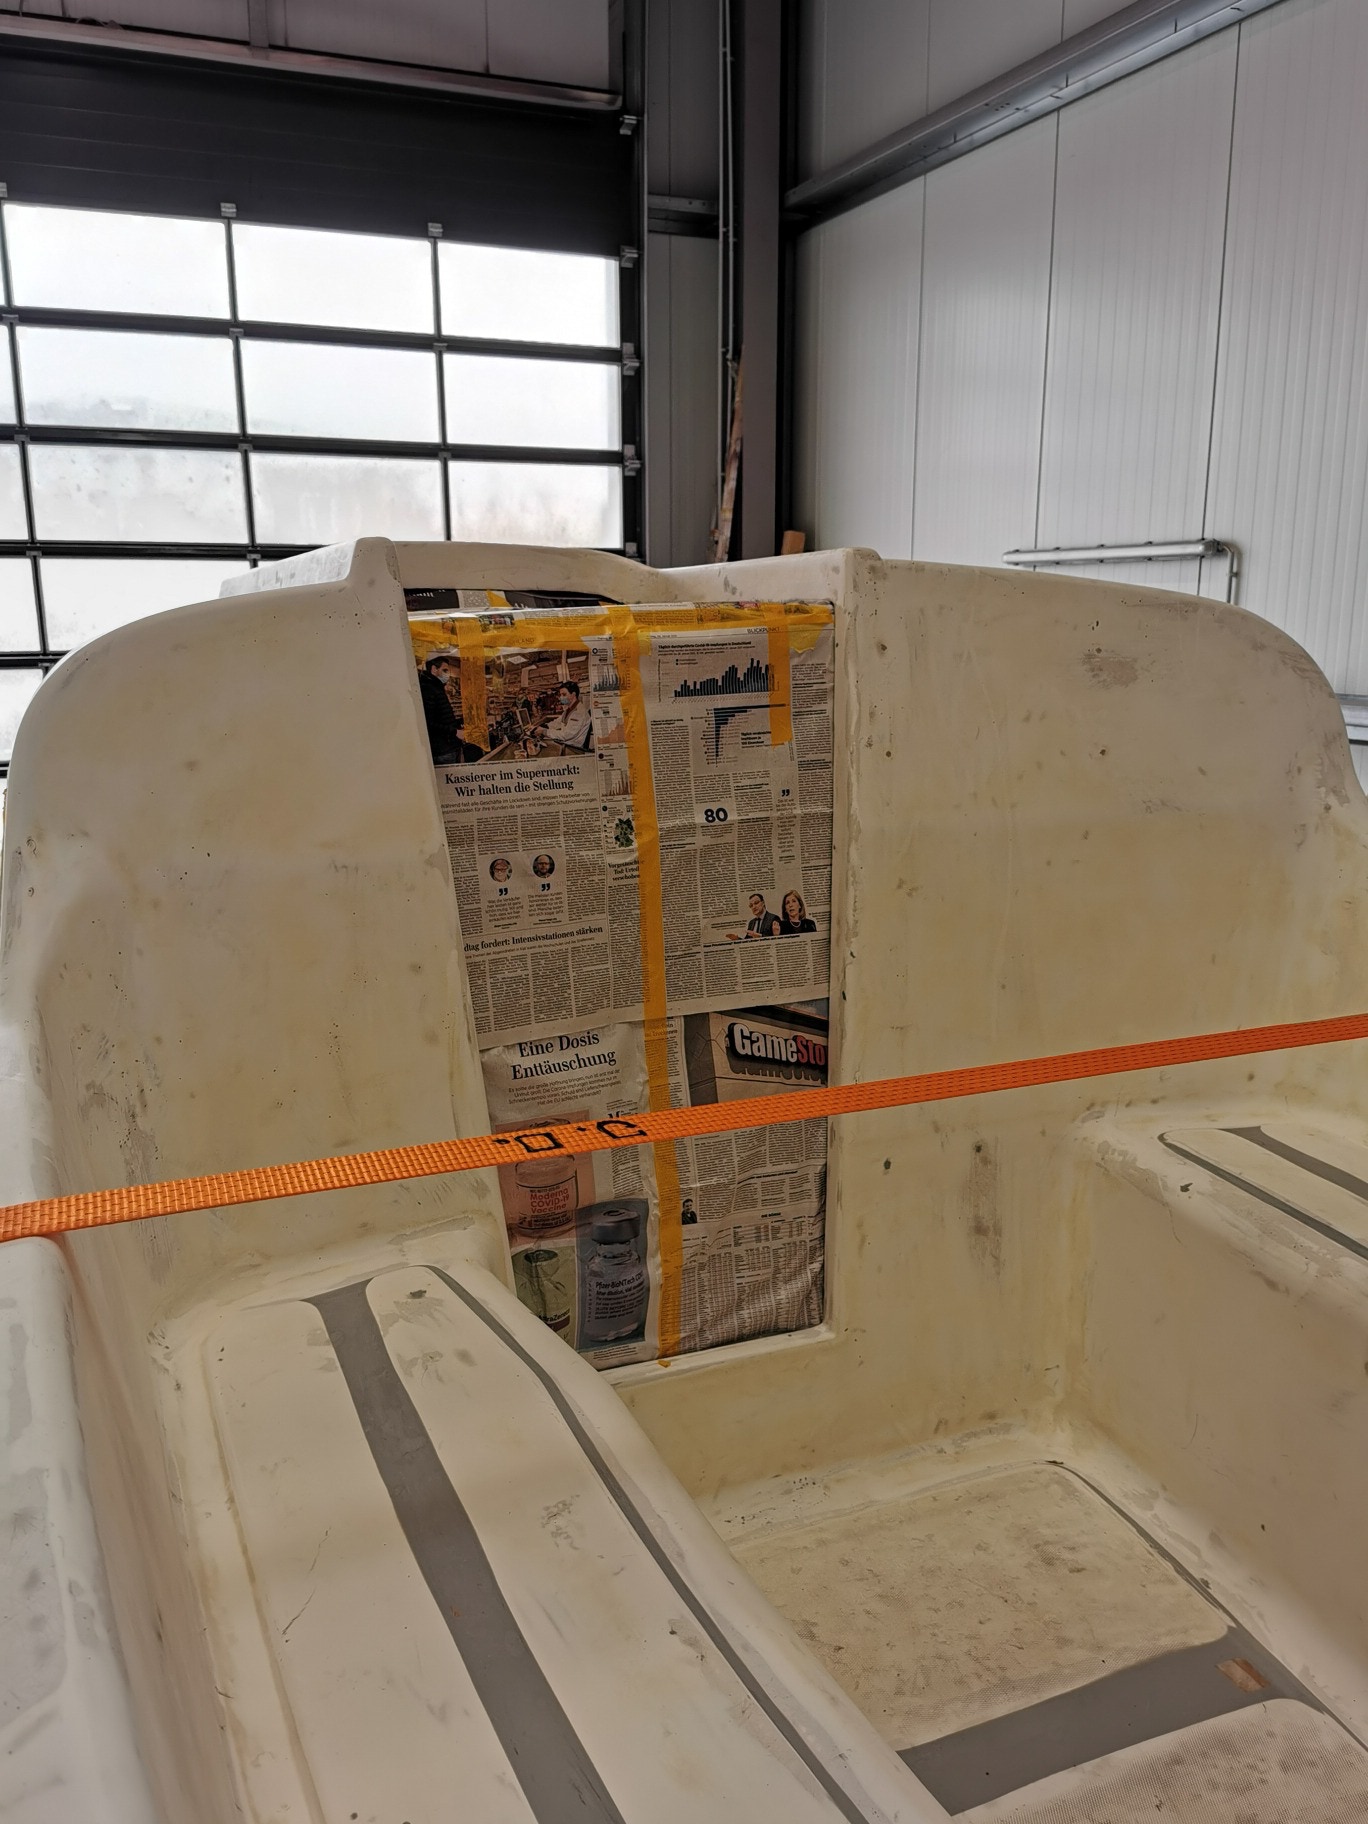
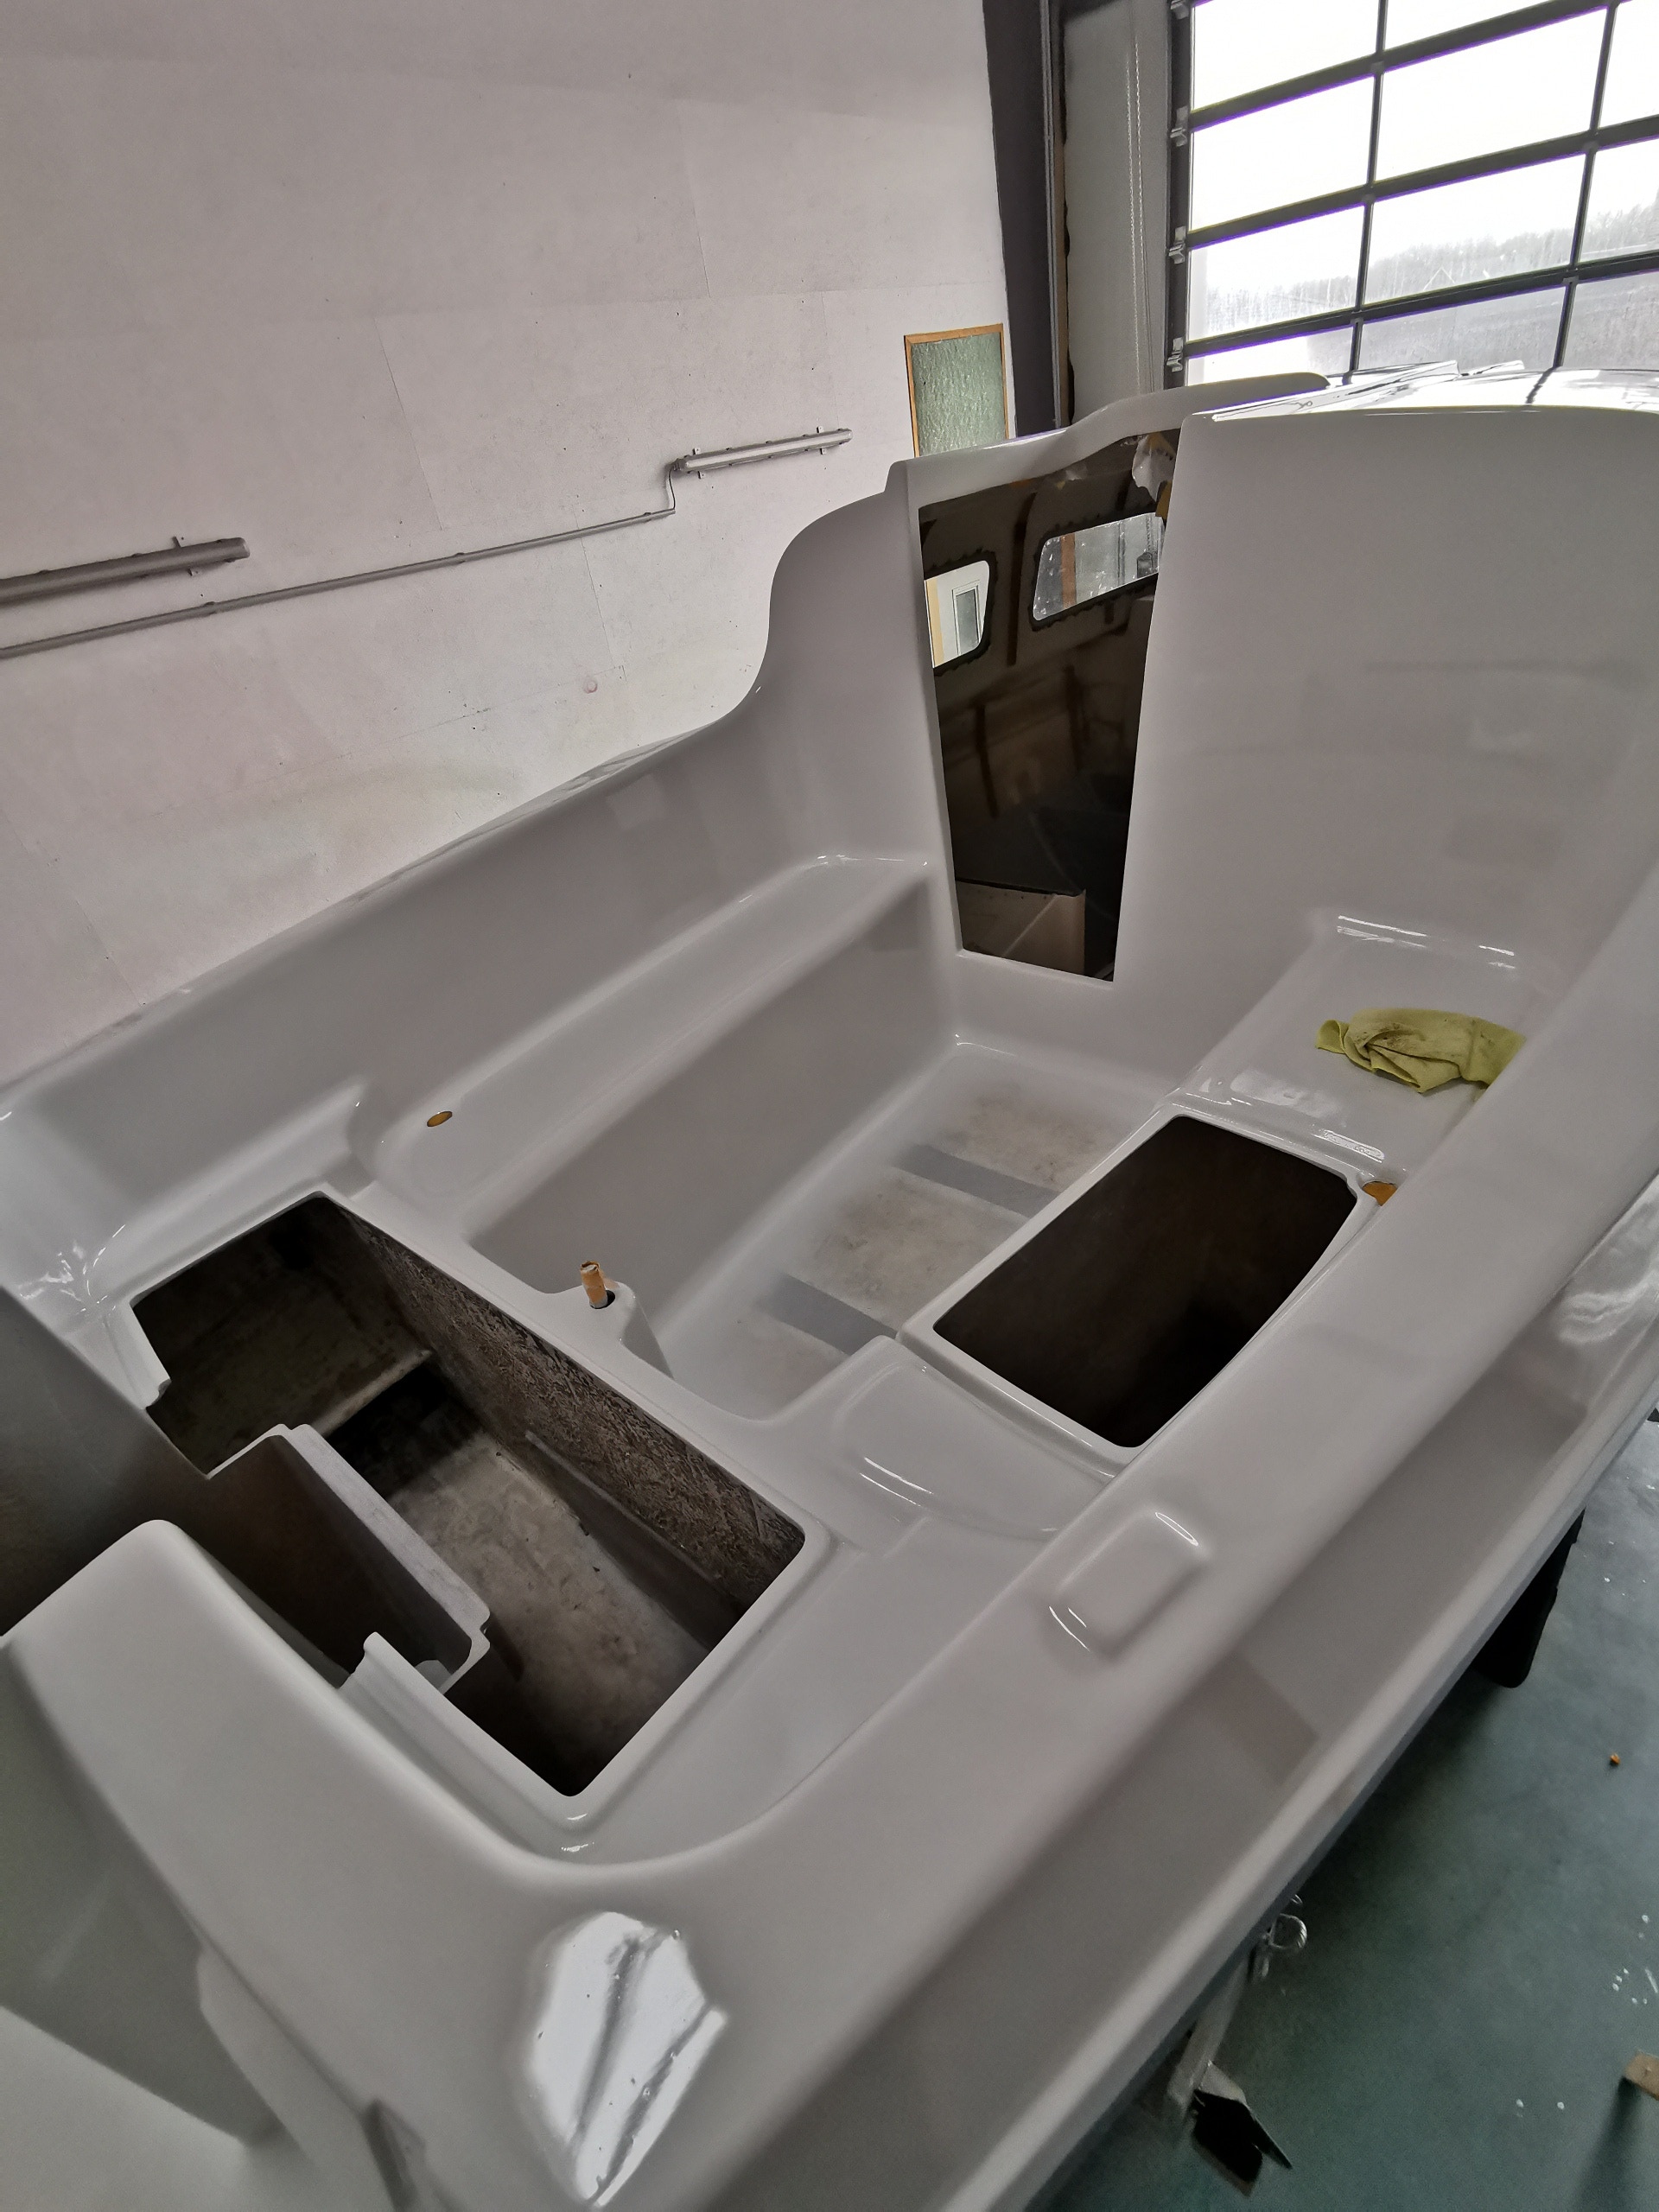
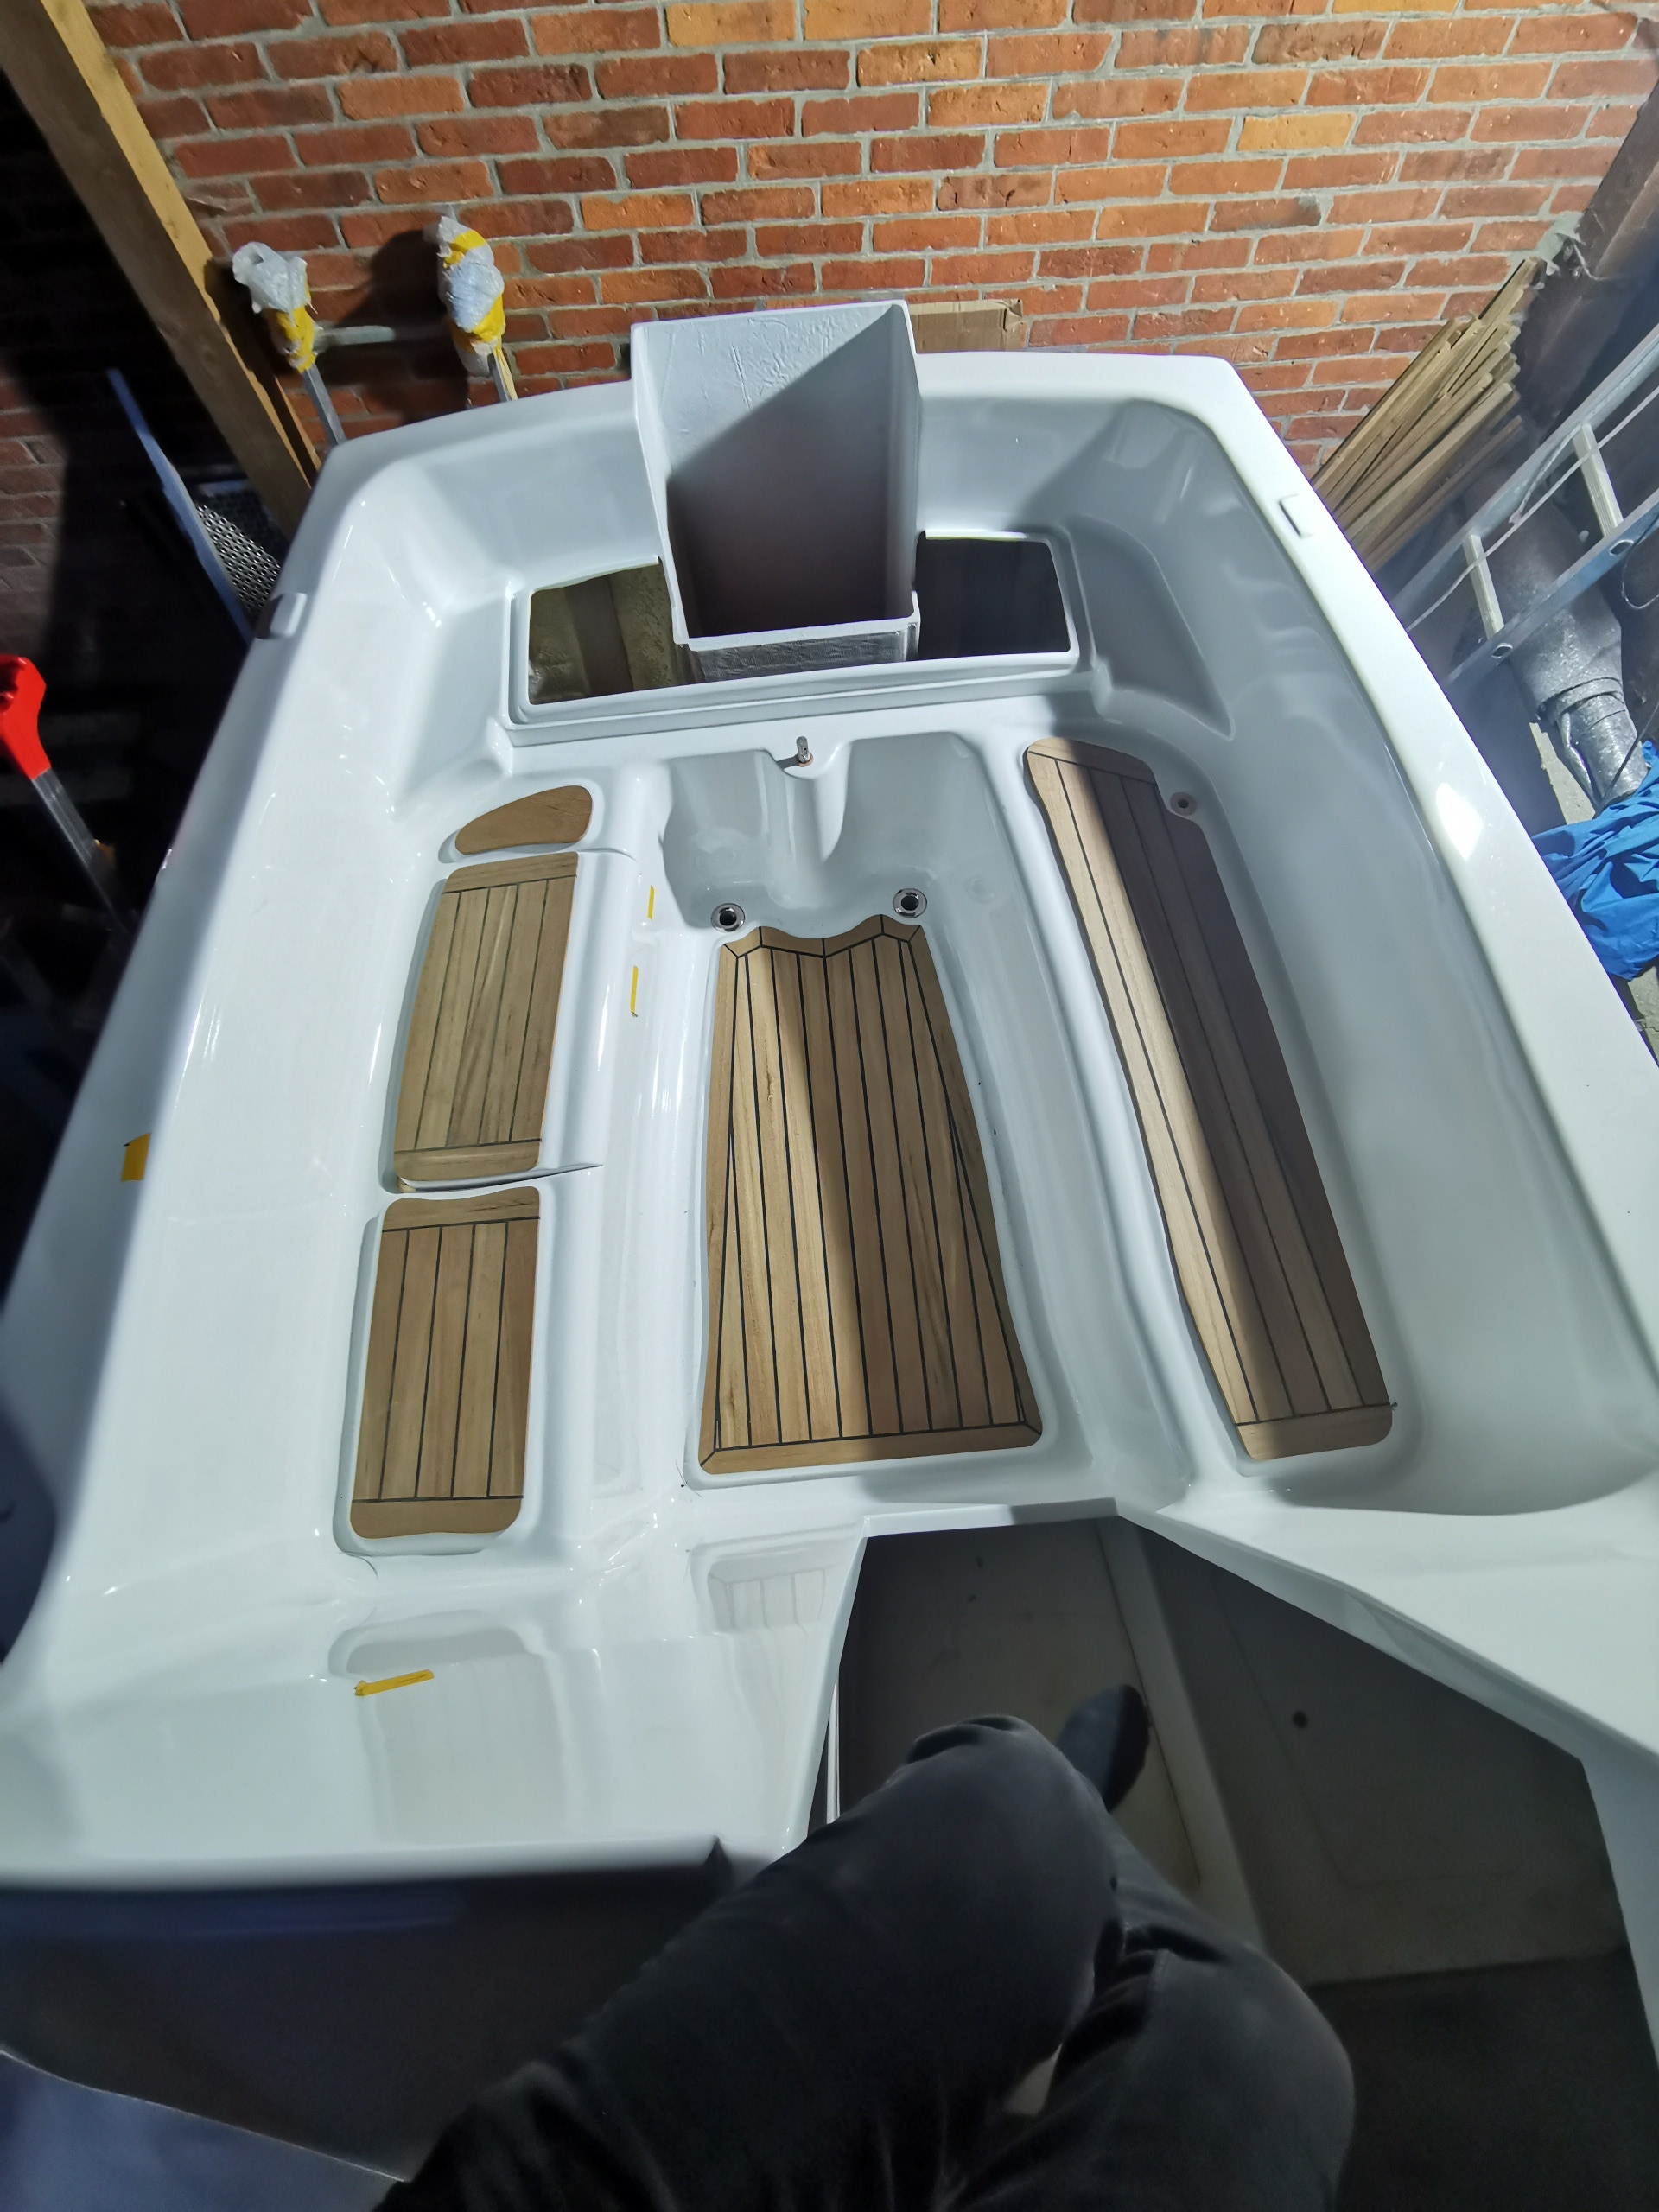
I am currently restoring the cockpit and closing two recesses in the floor as teak will be on it later.

30.1.2021

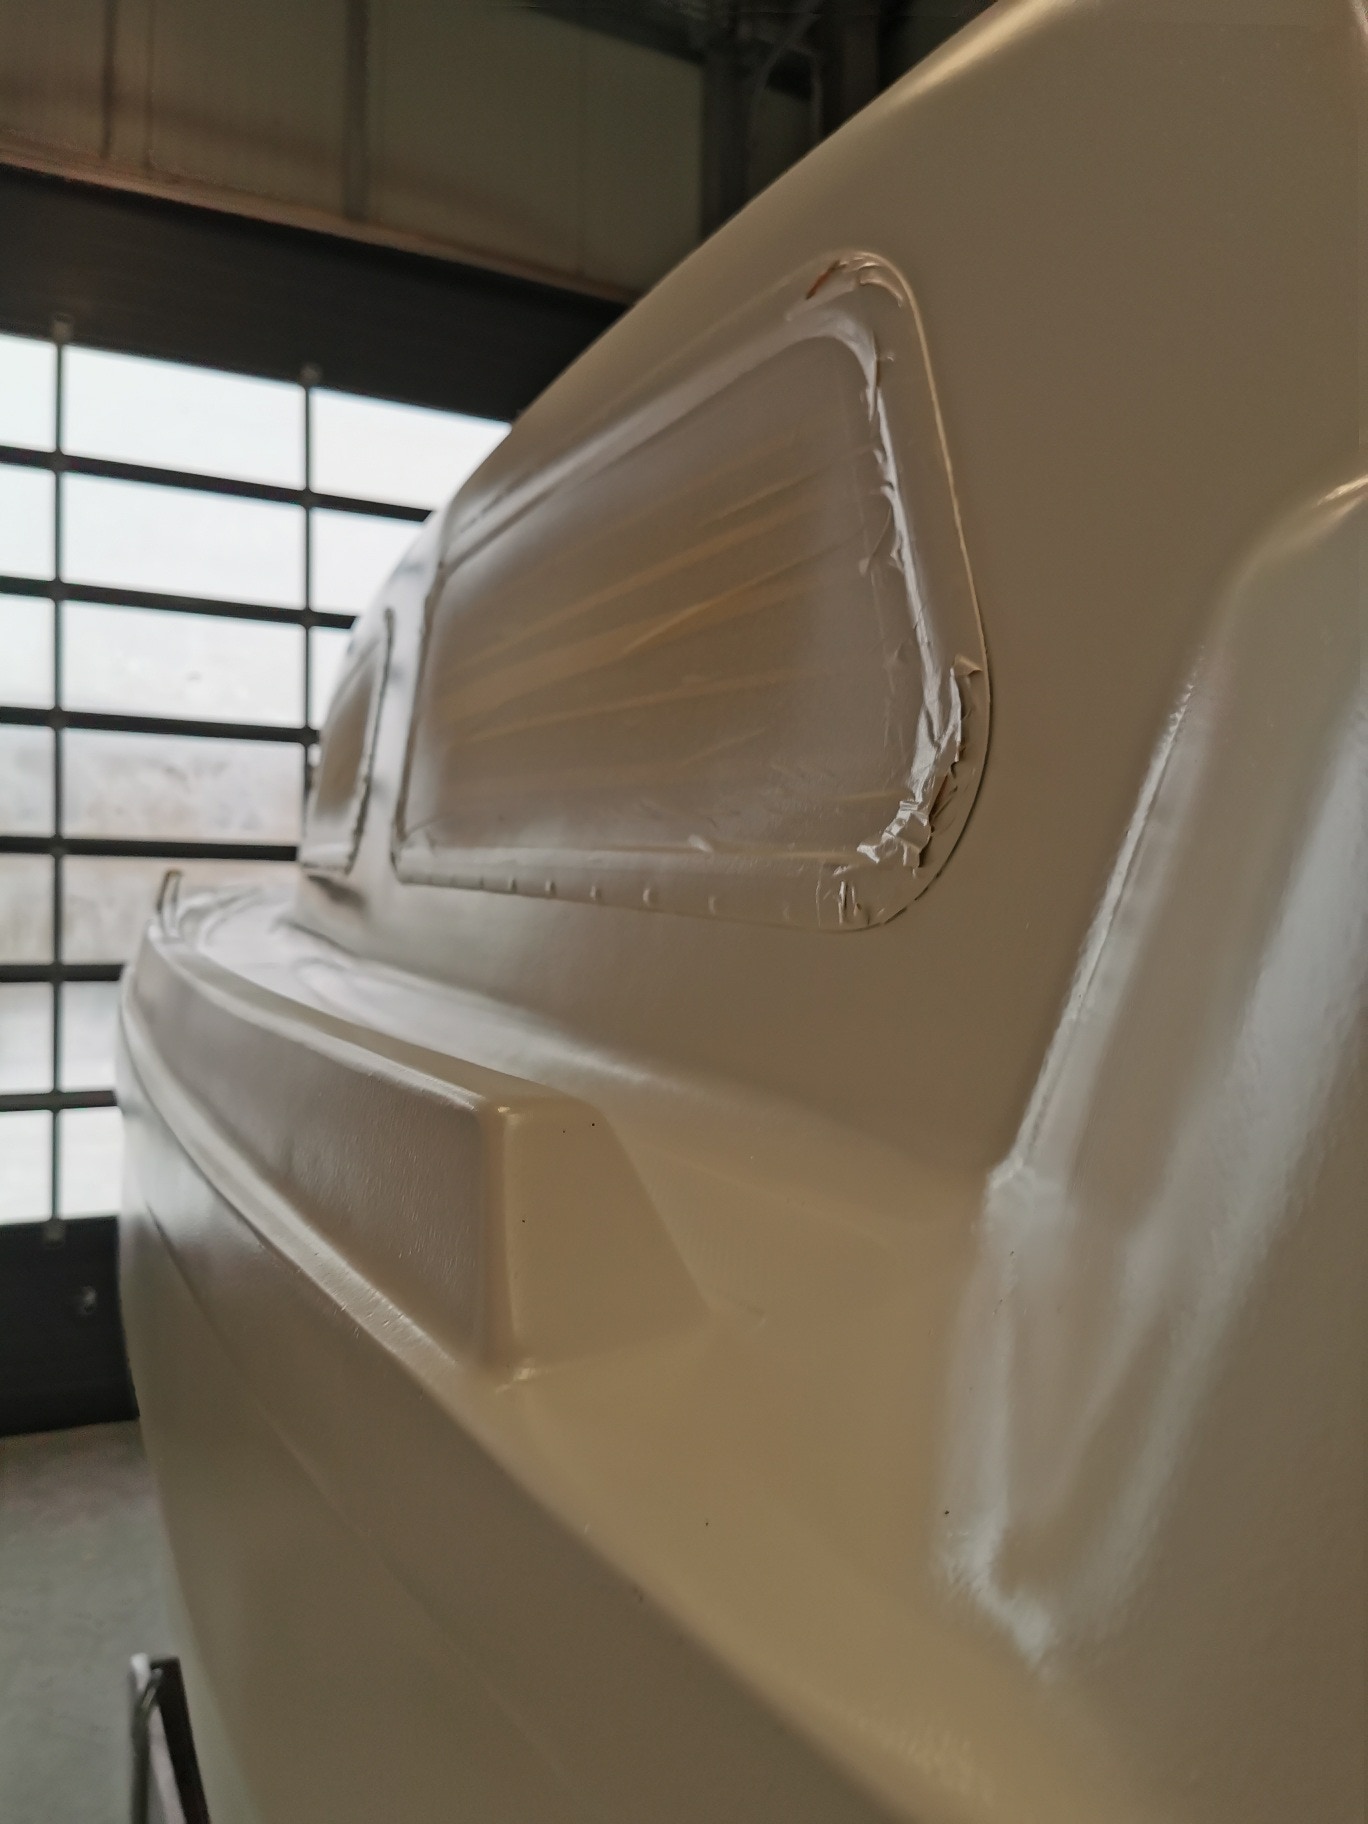
Before I started painting, I sanded the ALU window frames. Before that, the area around the frame was of course properly masked off, in order to then polish the frame more and more finely with increasingly finer sandpaper (180 - 1200).

7.2.2021
Final filling and sanding work at temperatures down to -5 degrees Celsius.
8.2.2021
The boat was finally brought to the Davidswerft today for painting. Really exciting ;-) ... Once there, the boat had to warm up first, as we are currently -4 degrees Celsius outside. Then mask everything that was not masked off and finally clean the entire surface of adhesive residues etc. with a special cleaner and a lint-free cloth. Then the primer comes on.
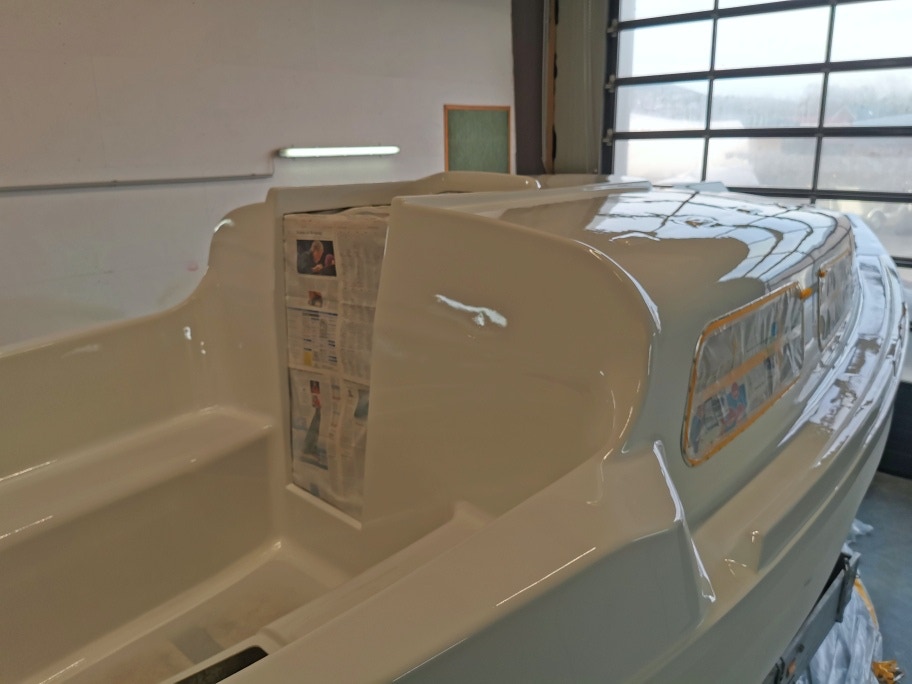
I can't get enough of the pre-painted rear extension ;-)
9.2.2021

READY AT LAST !!! Yesterday and today the boat got at least 3 layers of Hempel's Lightprimer, a total of 10 liters, with the paint spray gun. Now everything has to dry for 2 days.
When everything is dry, the visible indentations have to be filled again and then the primer has to be sanded completely smooth with a 320er grit sandpaper.)

The primer cannot be sanded yet, so today all visible depressions are filled with Würth VAKU 60, but it is better to fill it with white polyester-filler !!!
18.2.2021
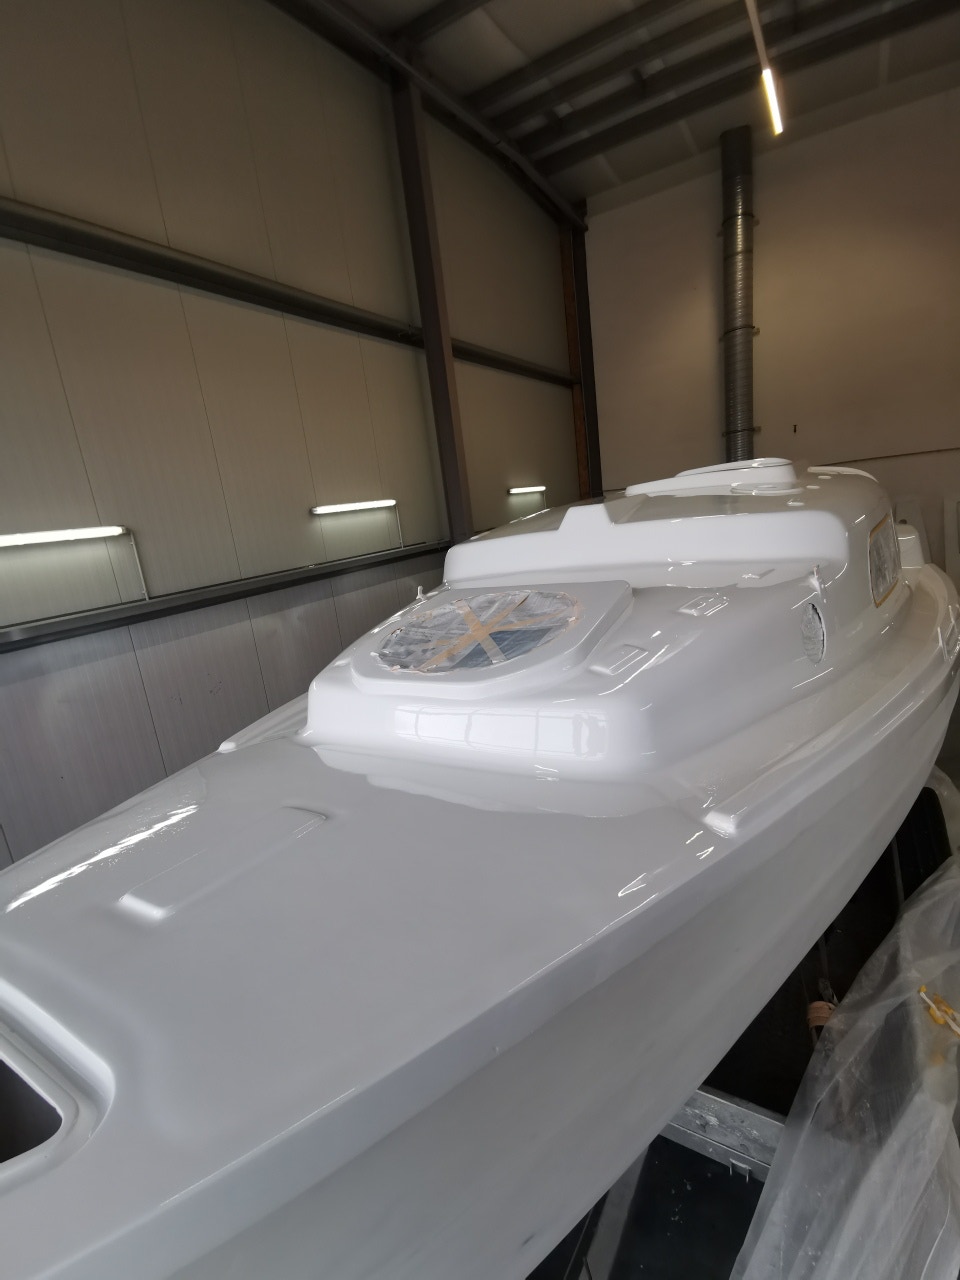

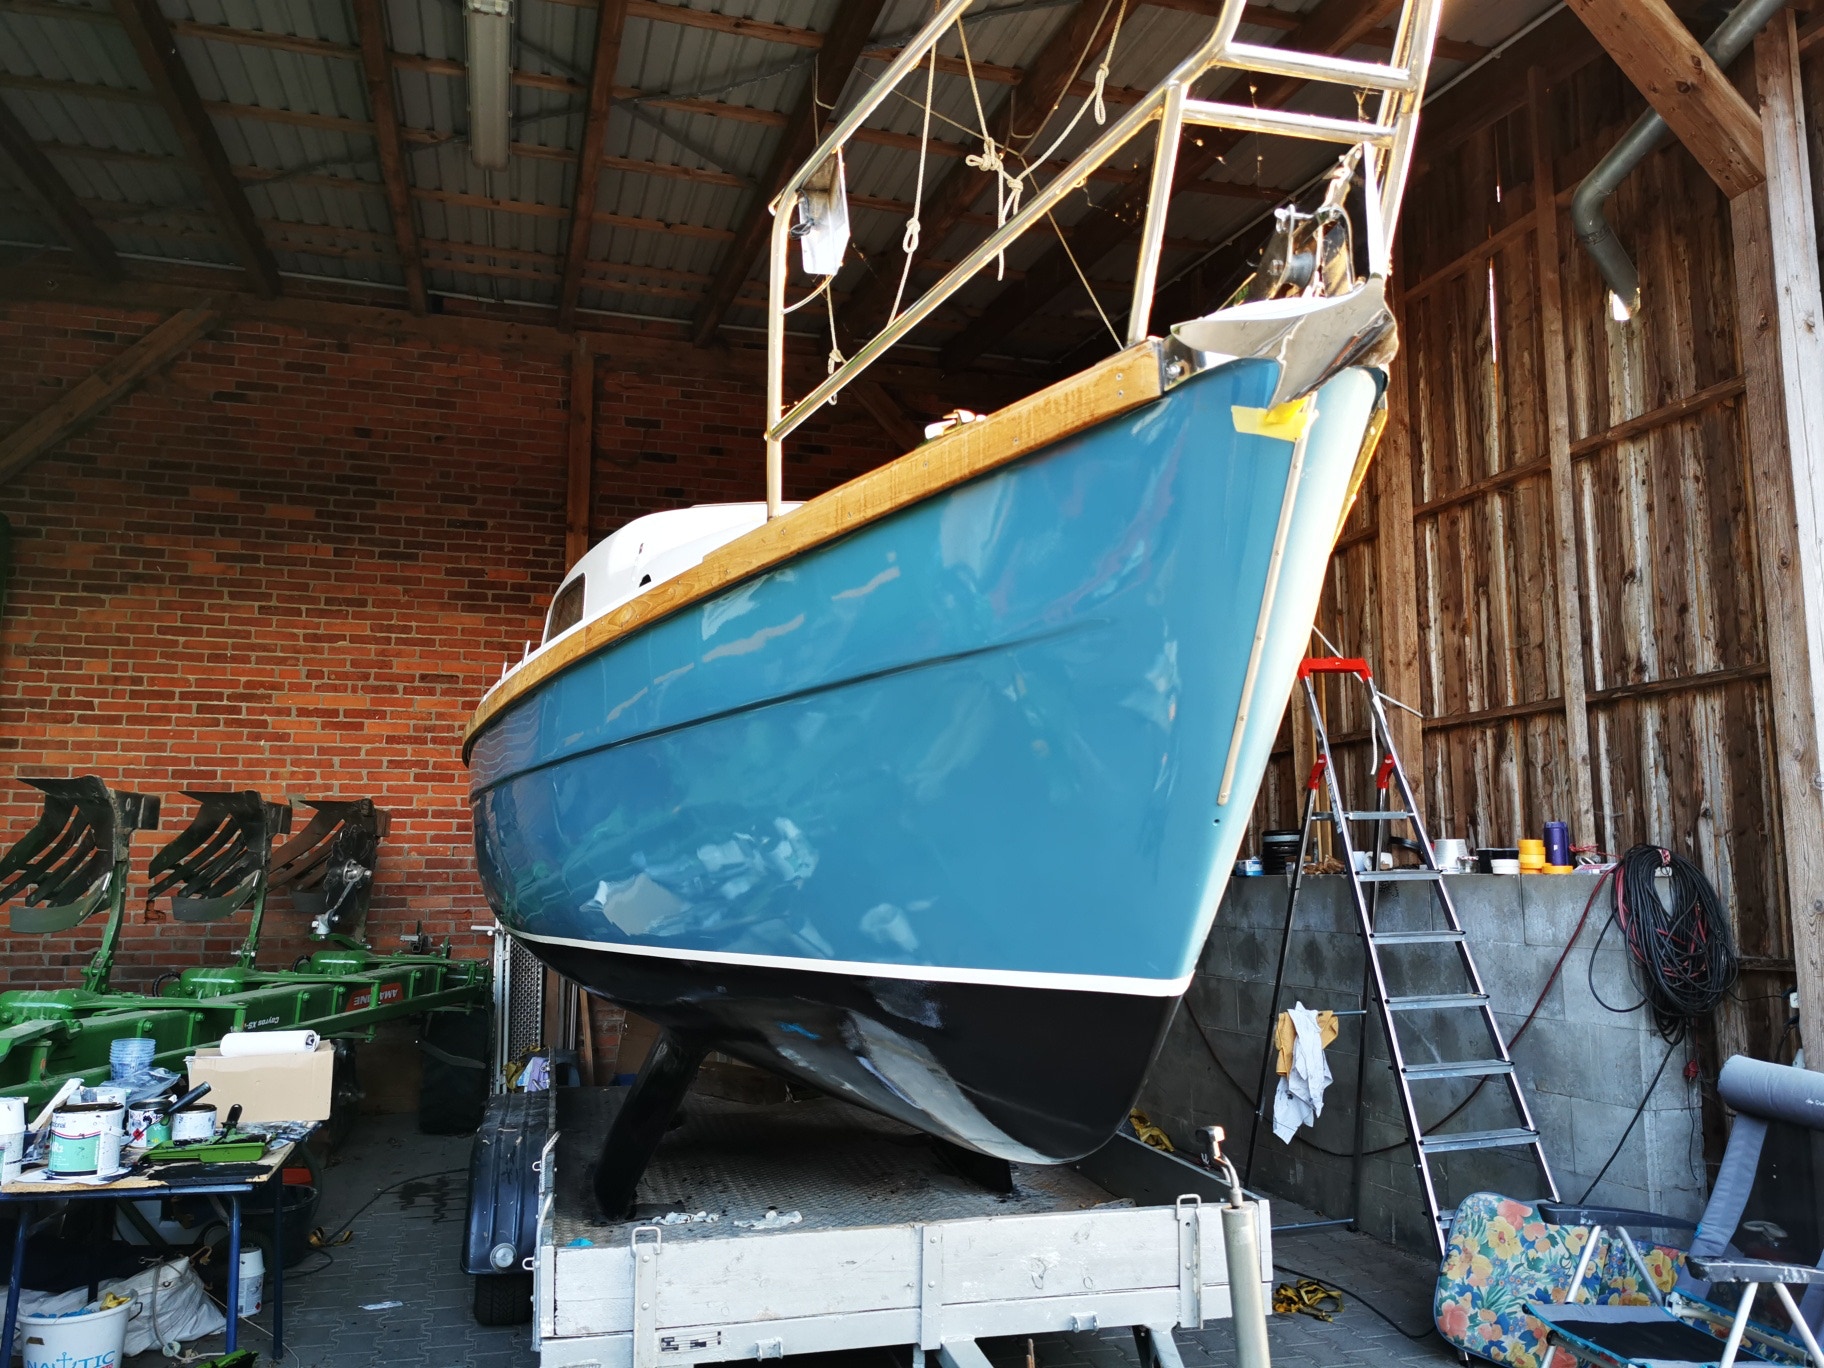
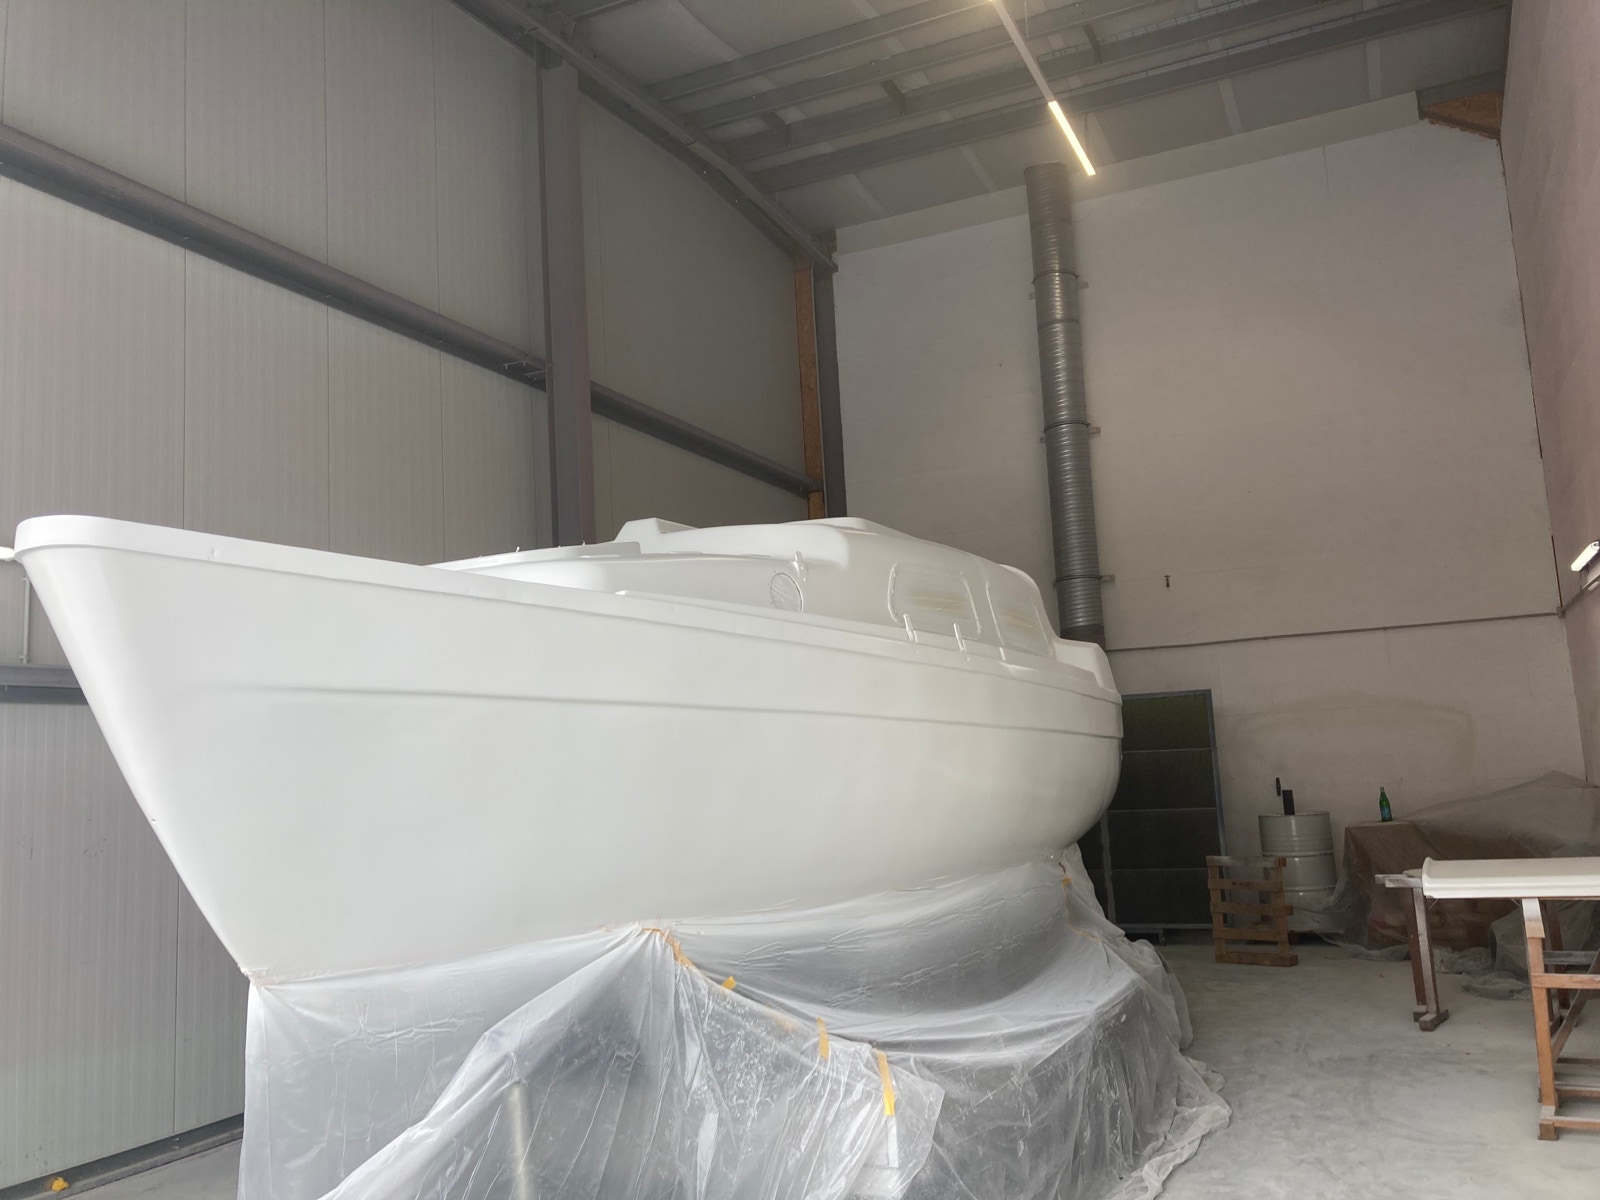
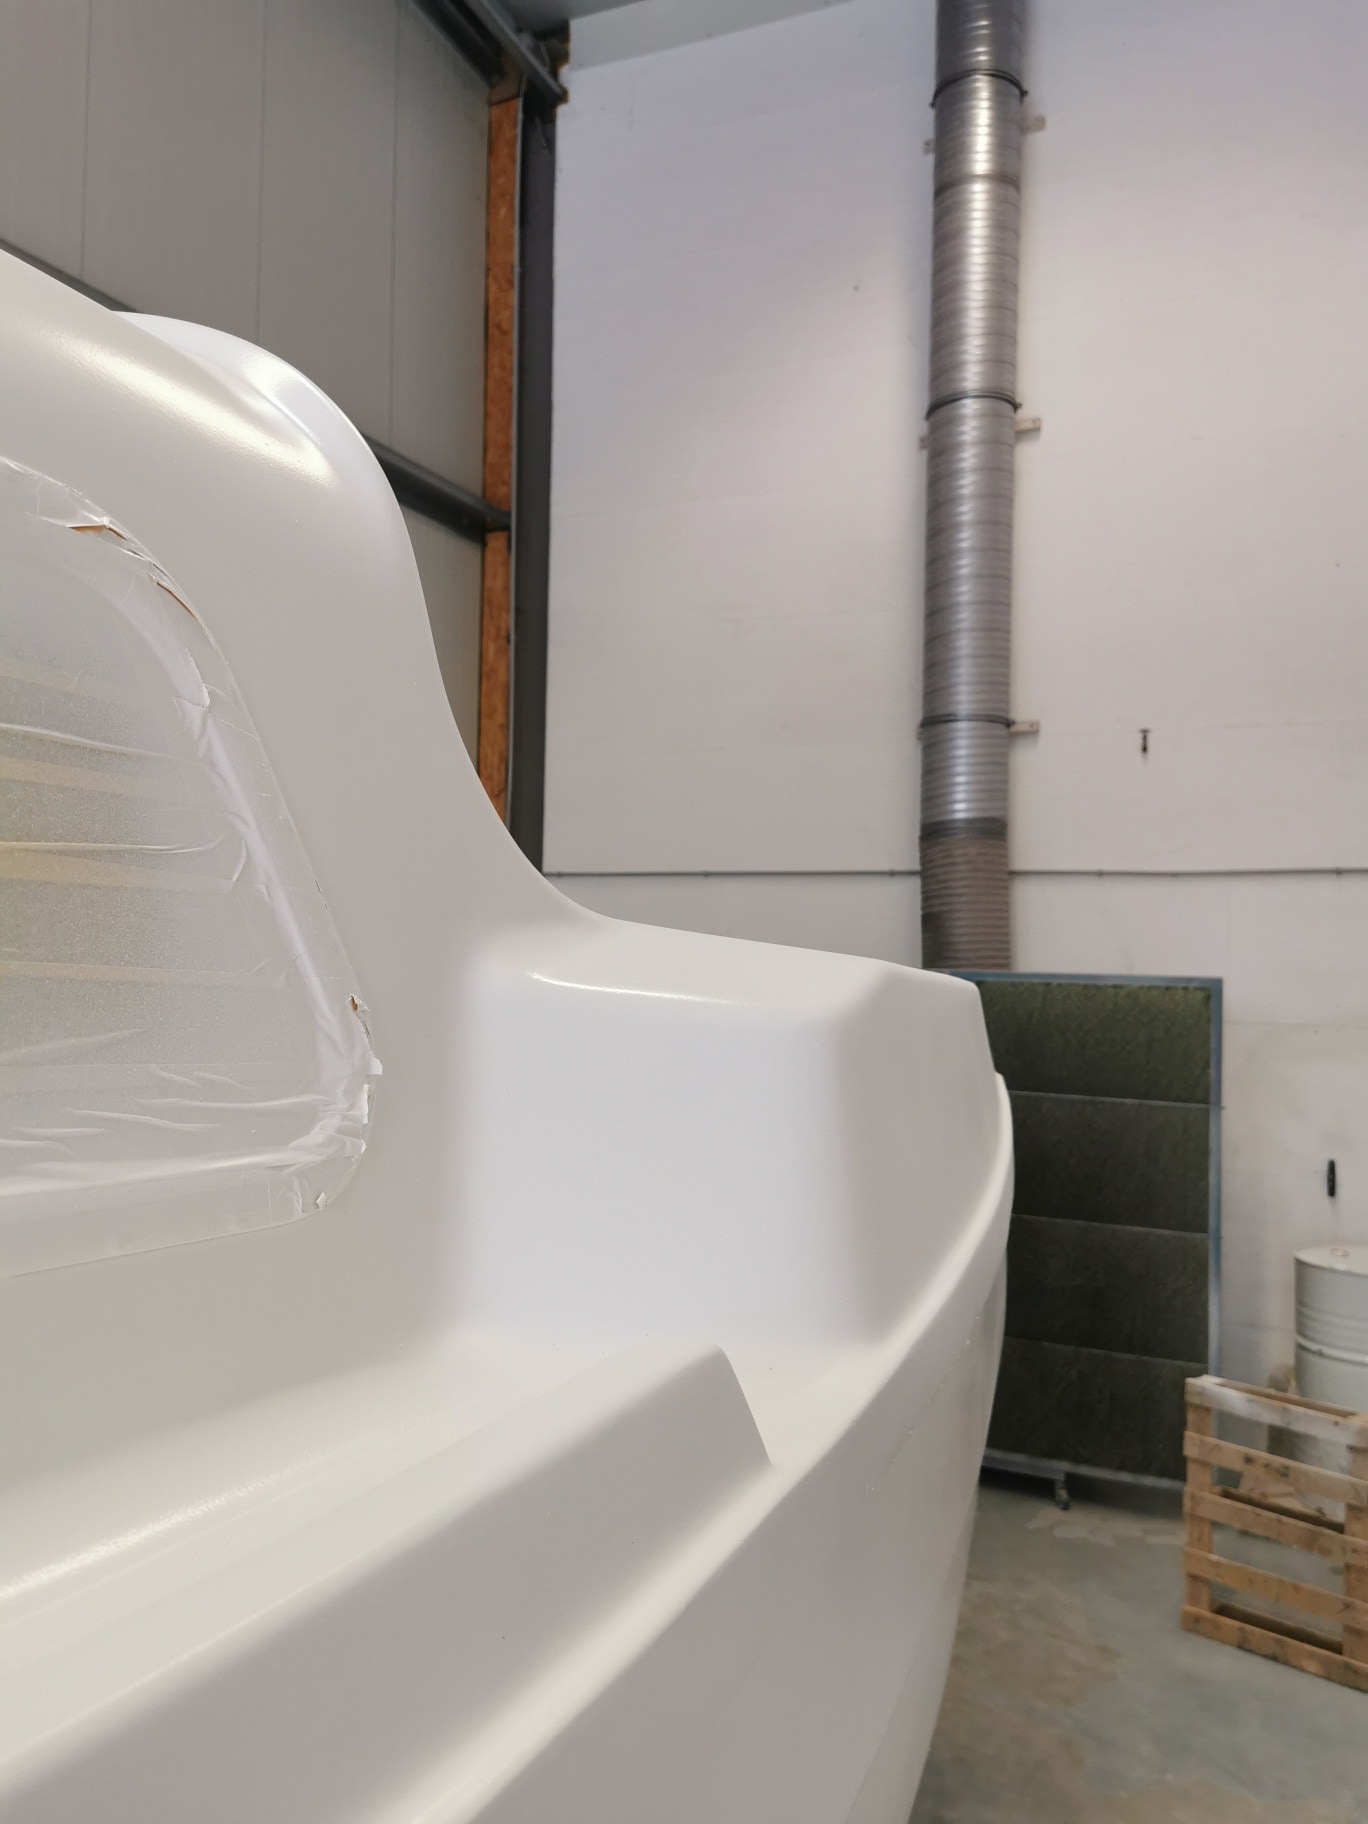
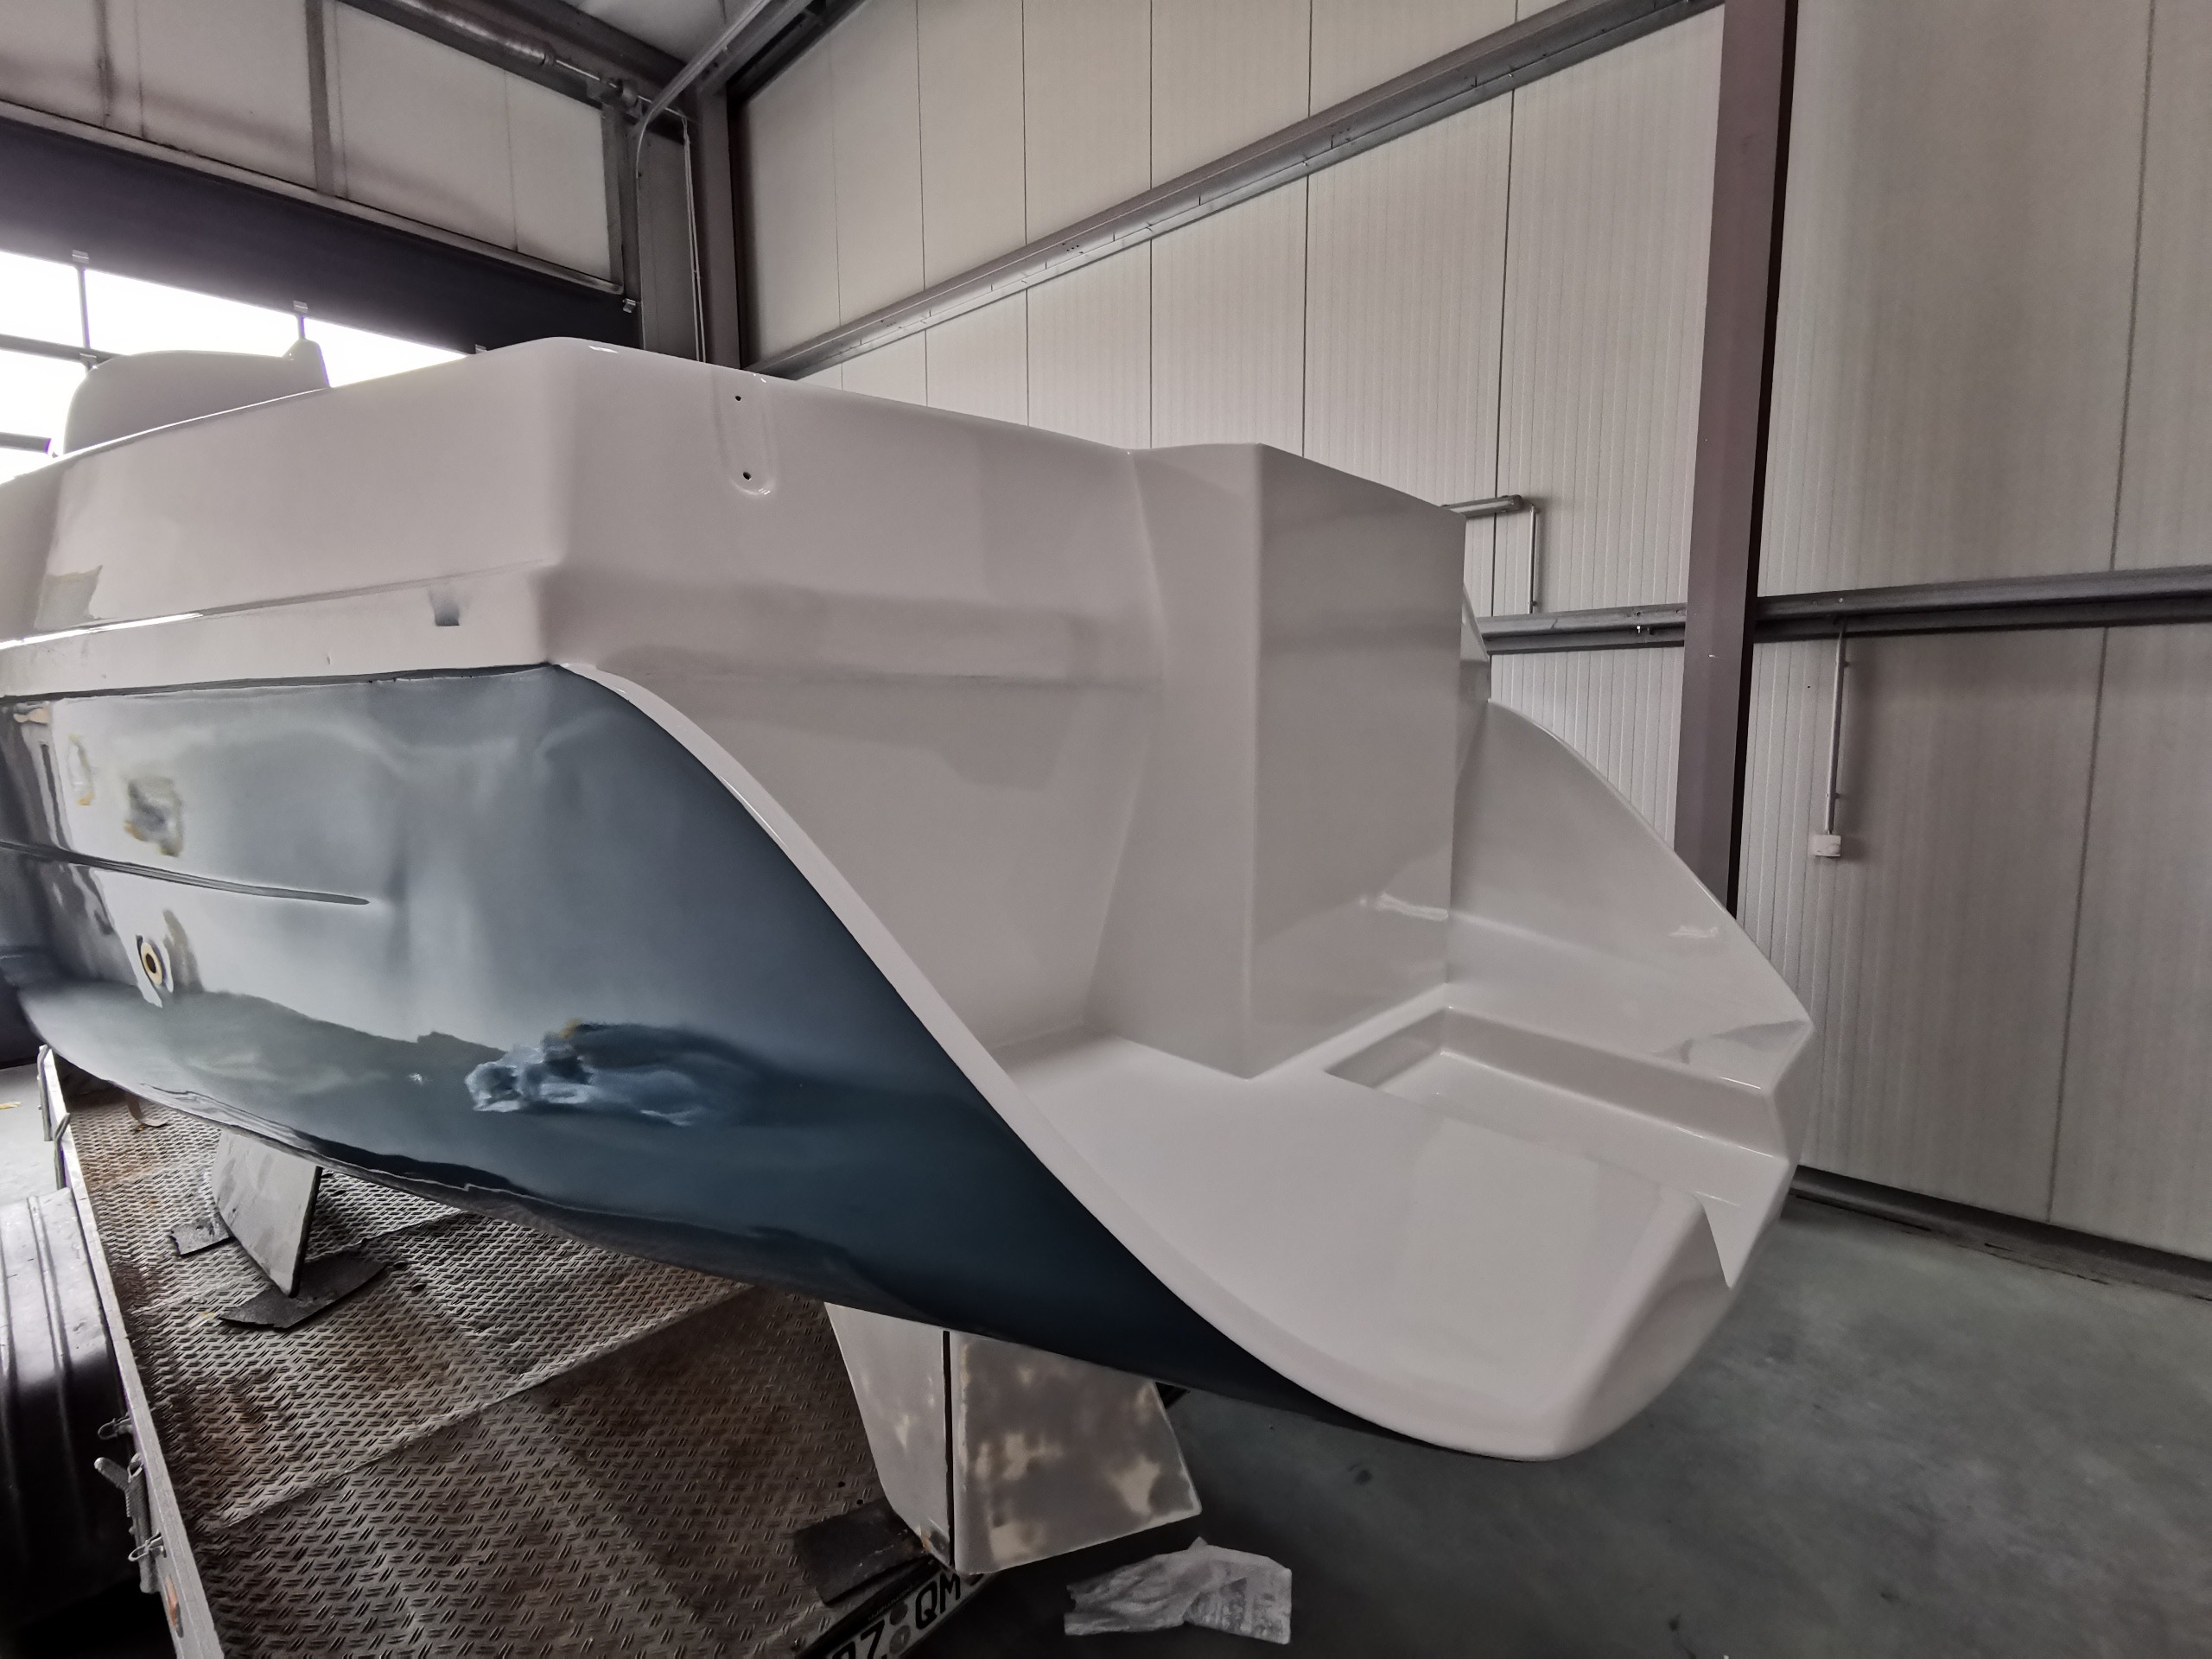
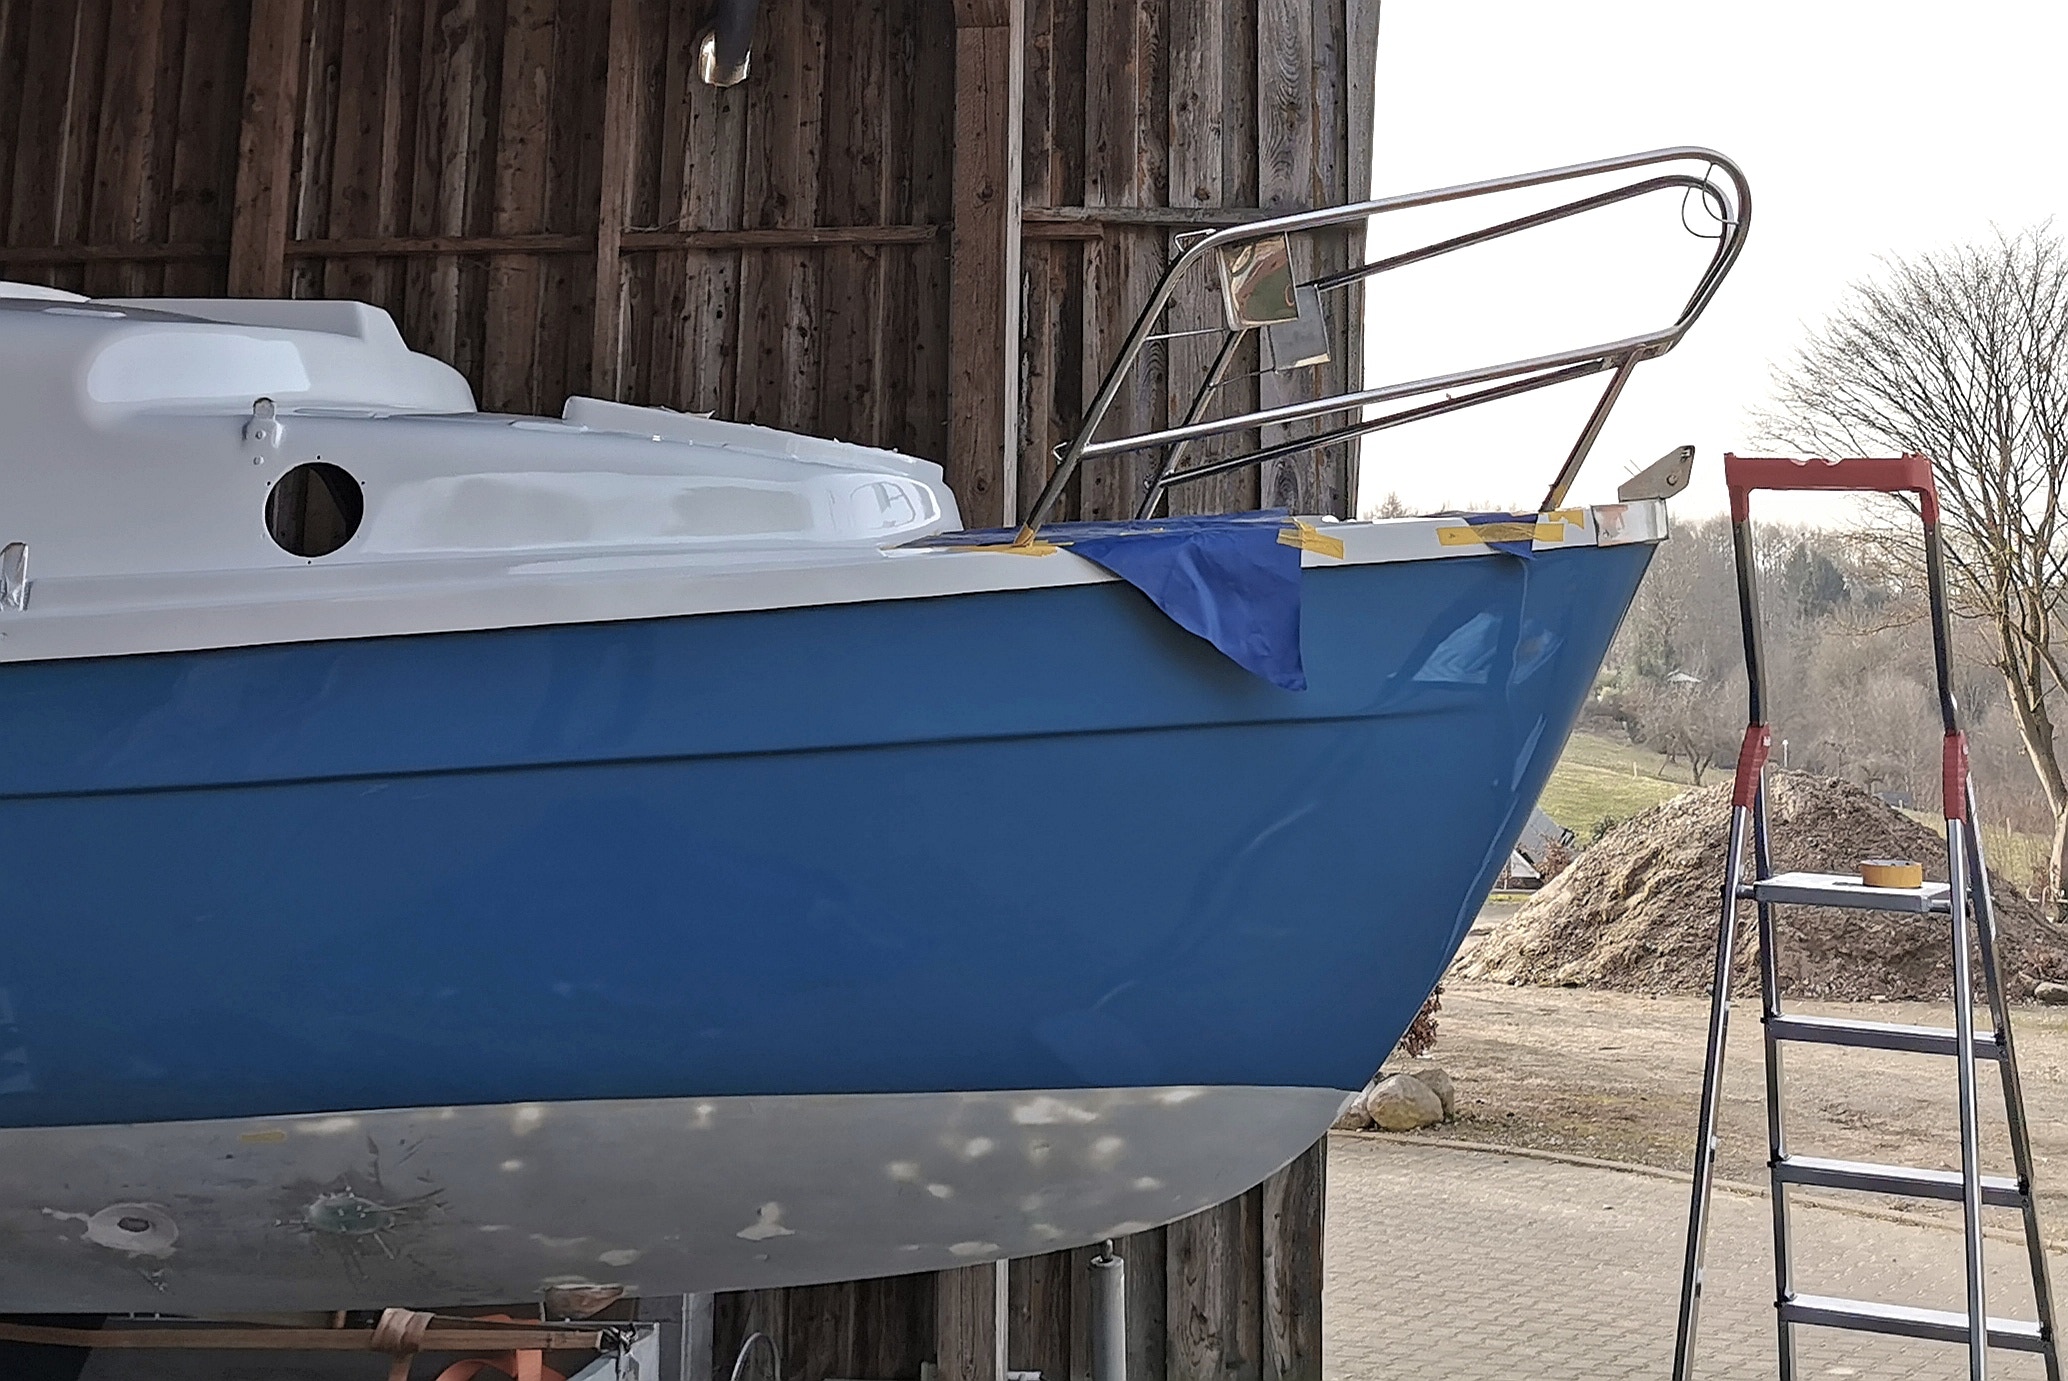
Today the deck was painted in signal white in the shipyard. I am very satisfied with the result.
22.2.2021
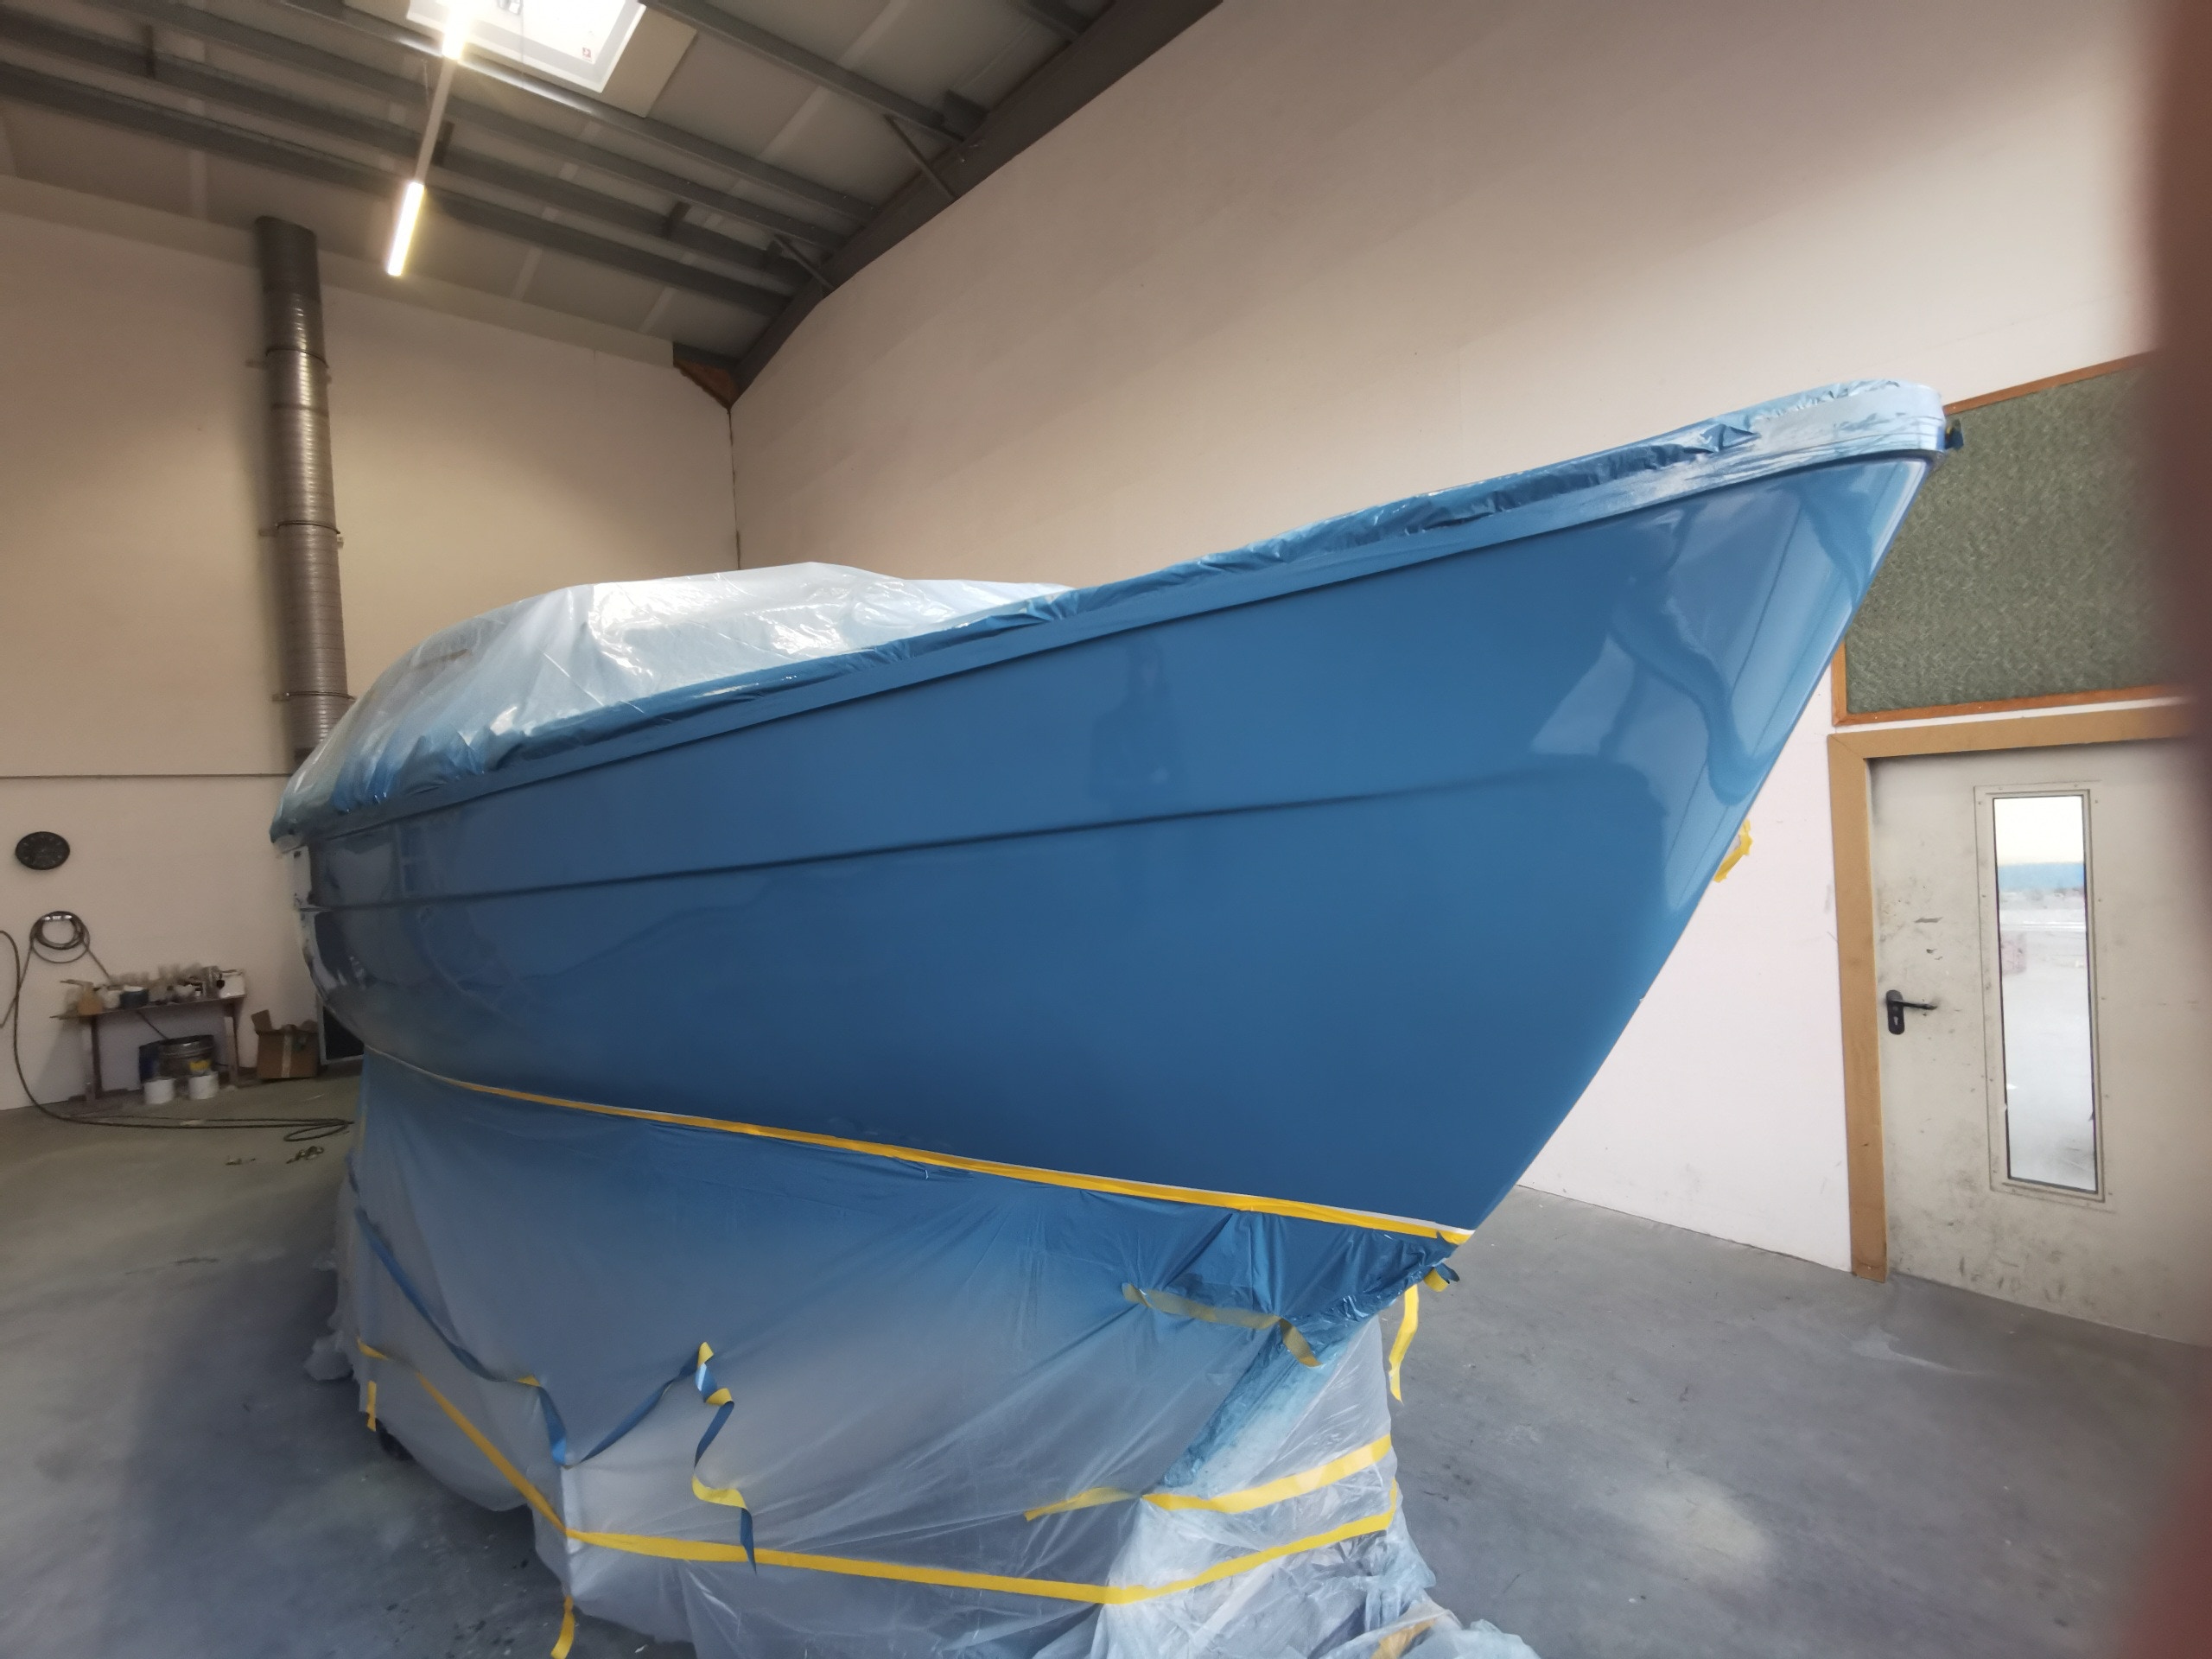
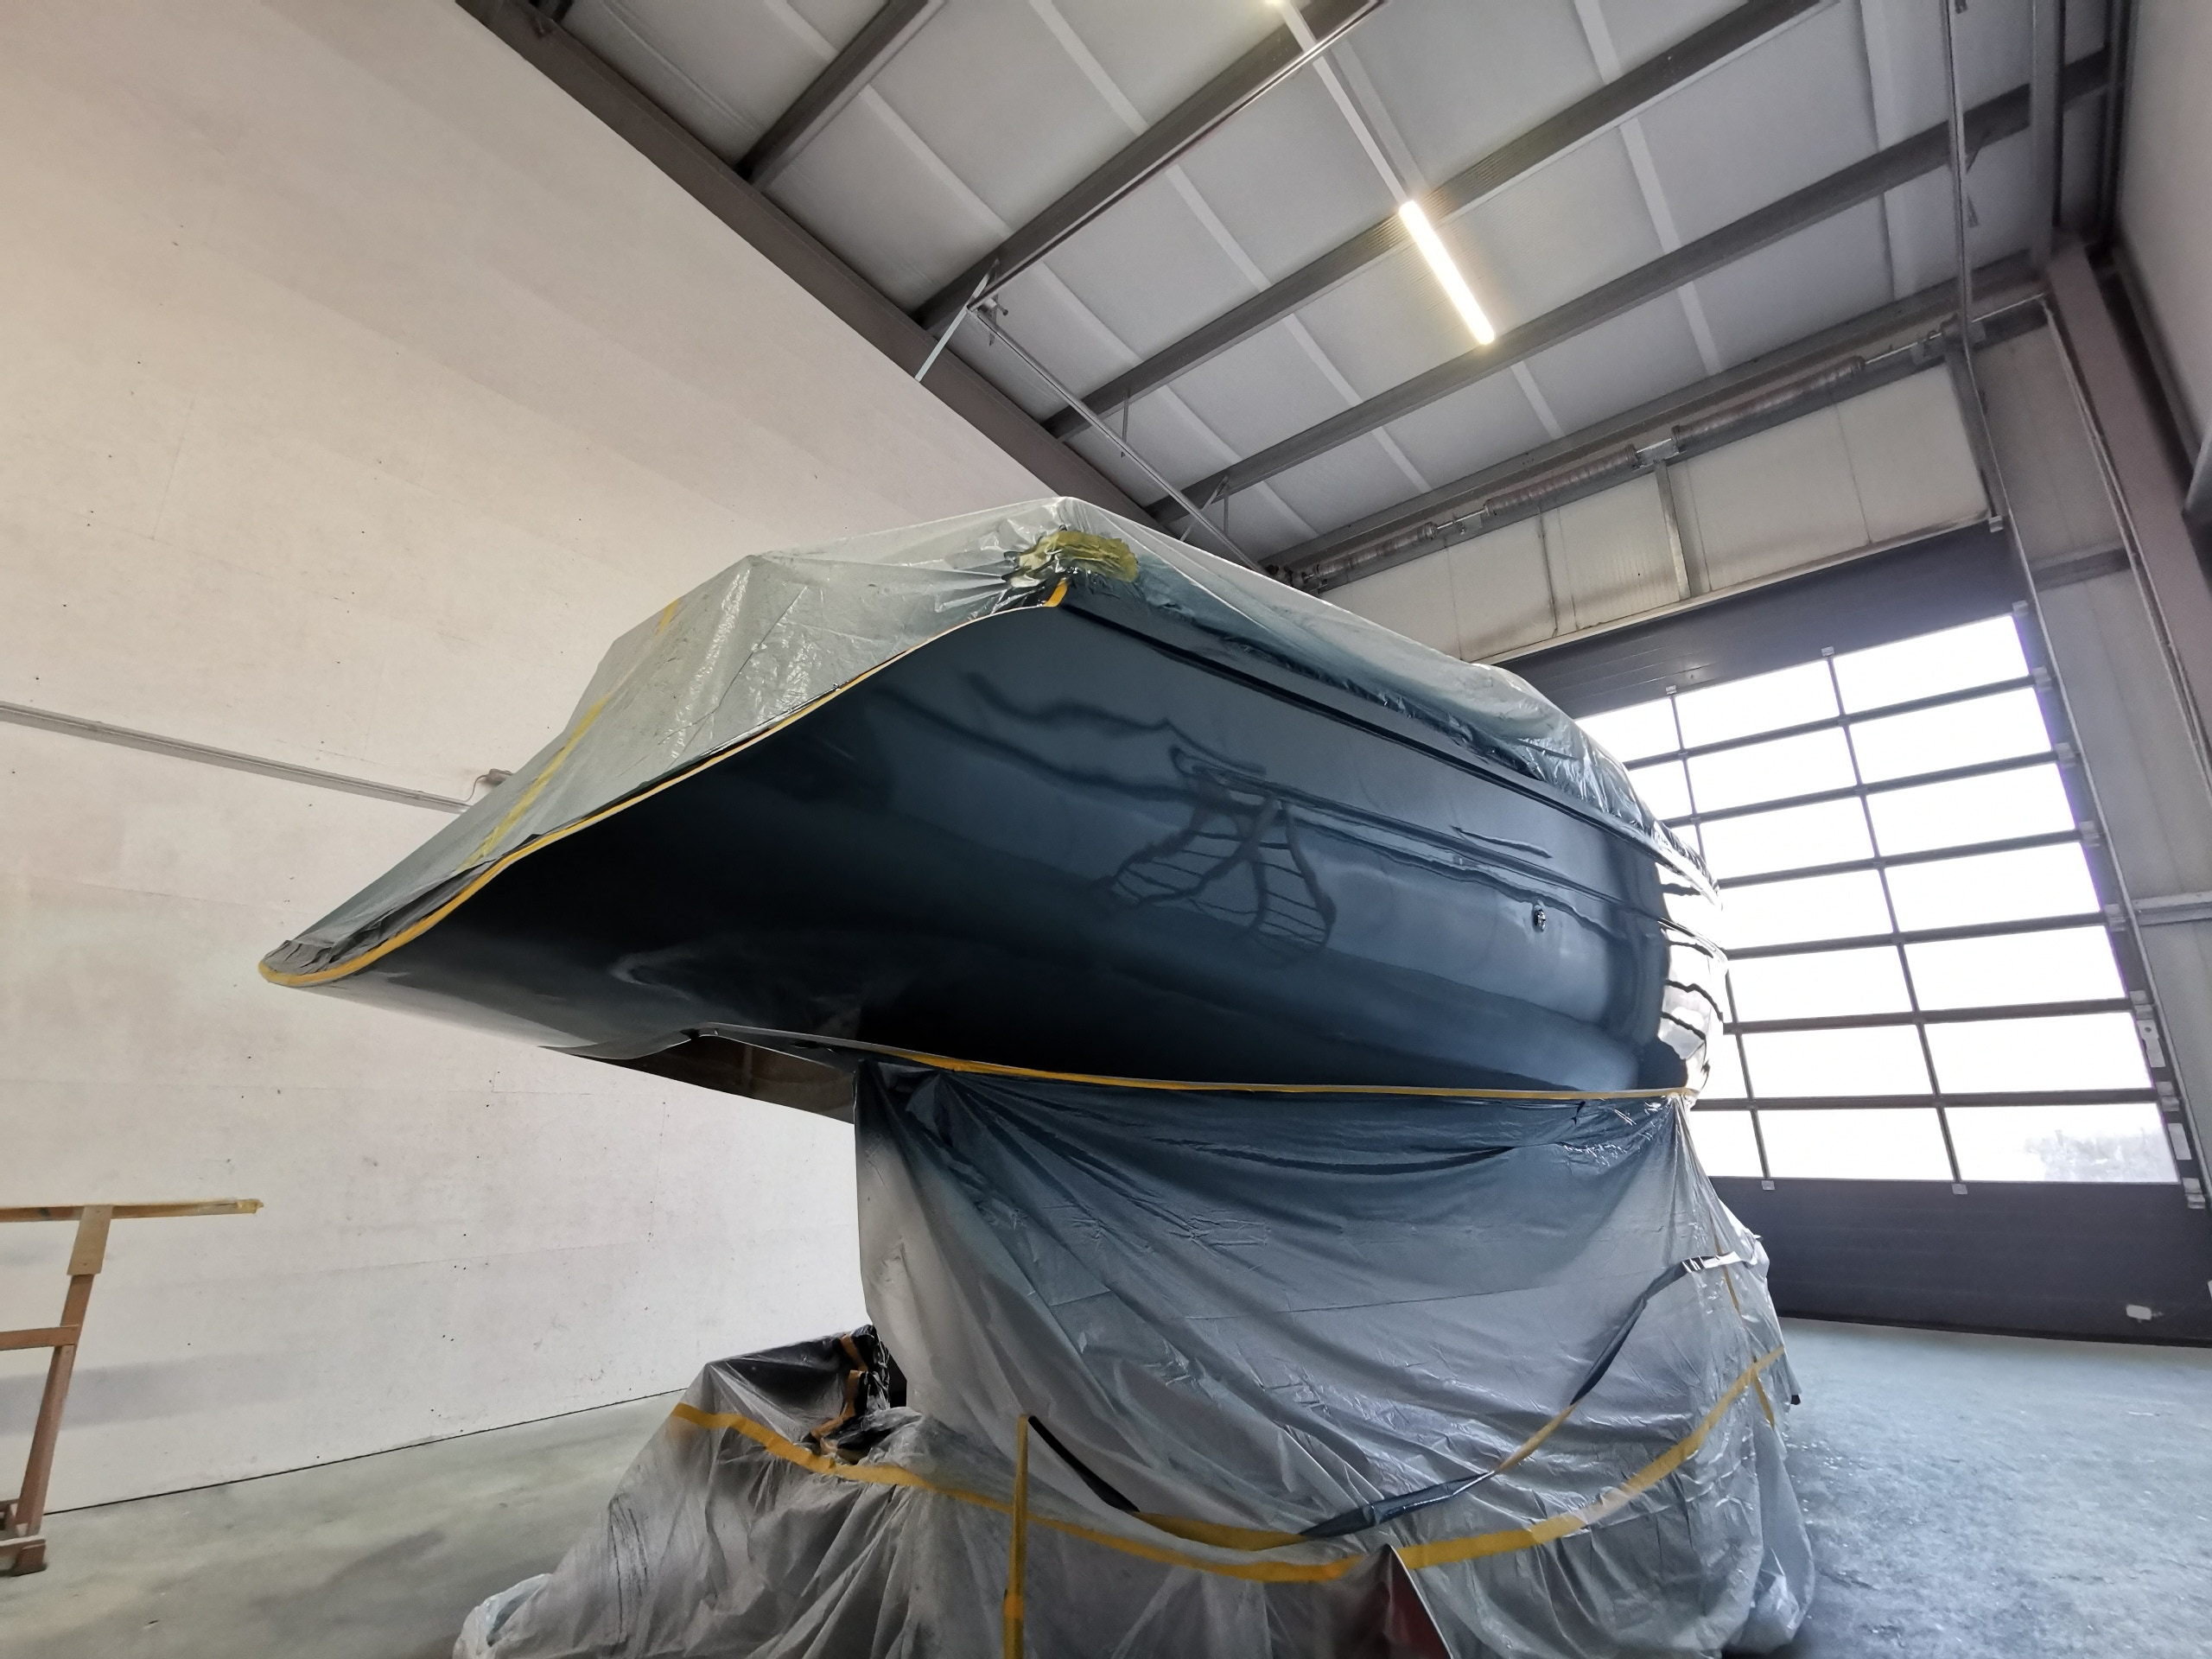
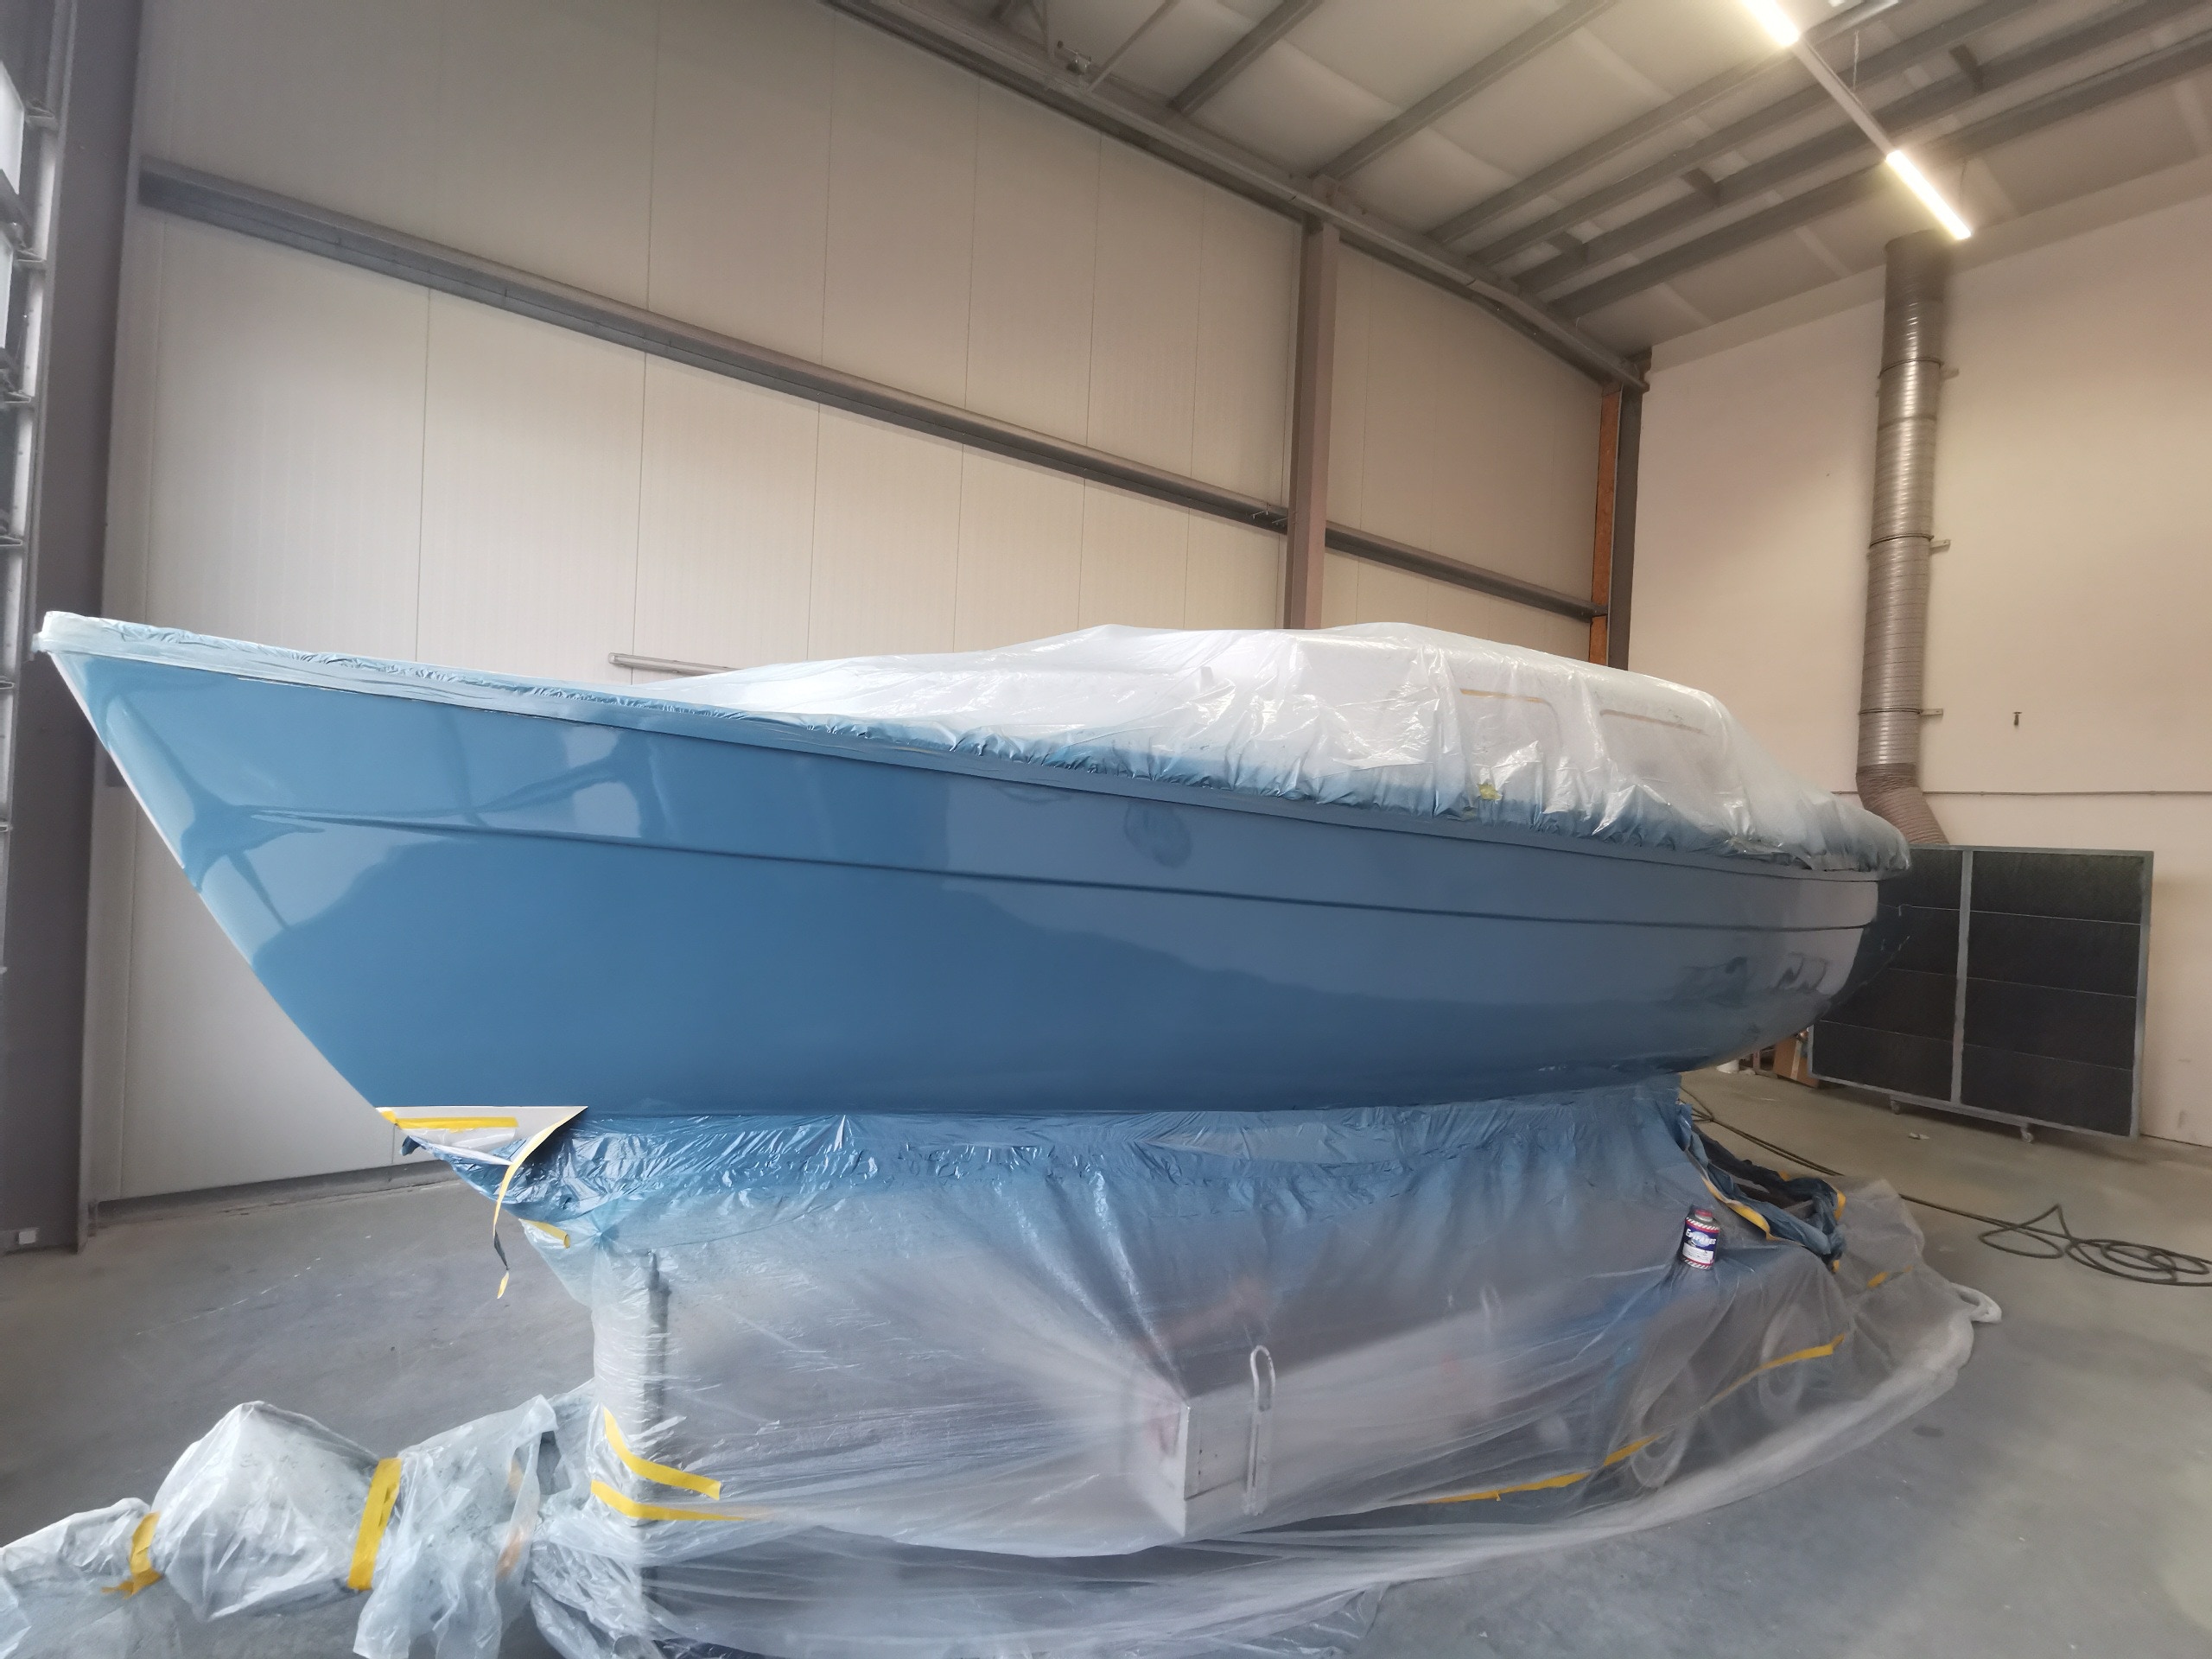
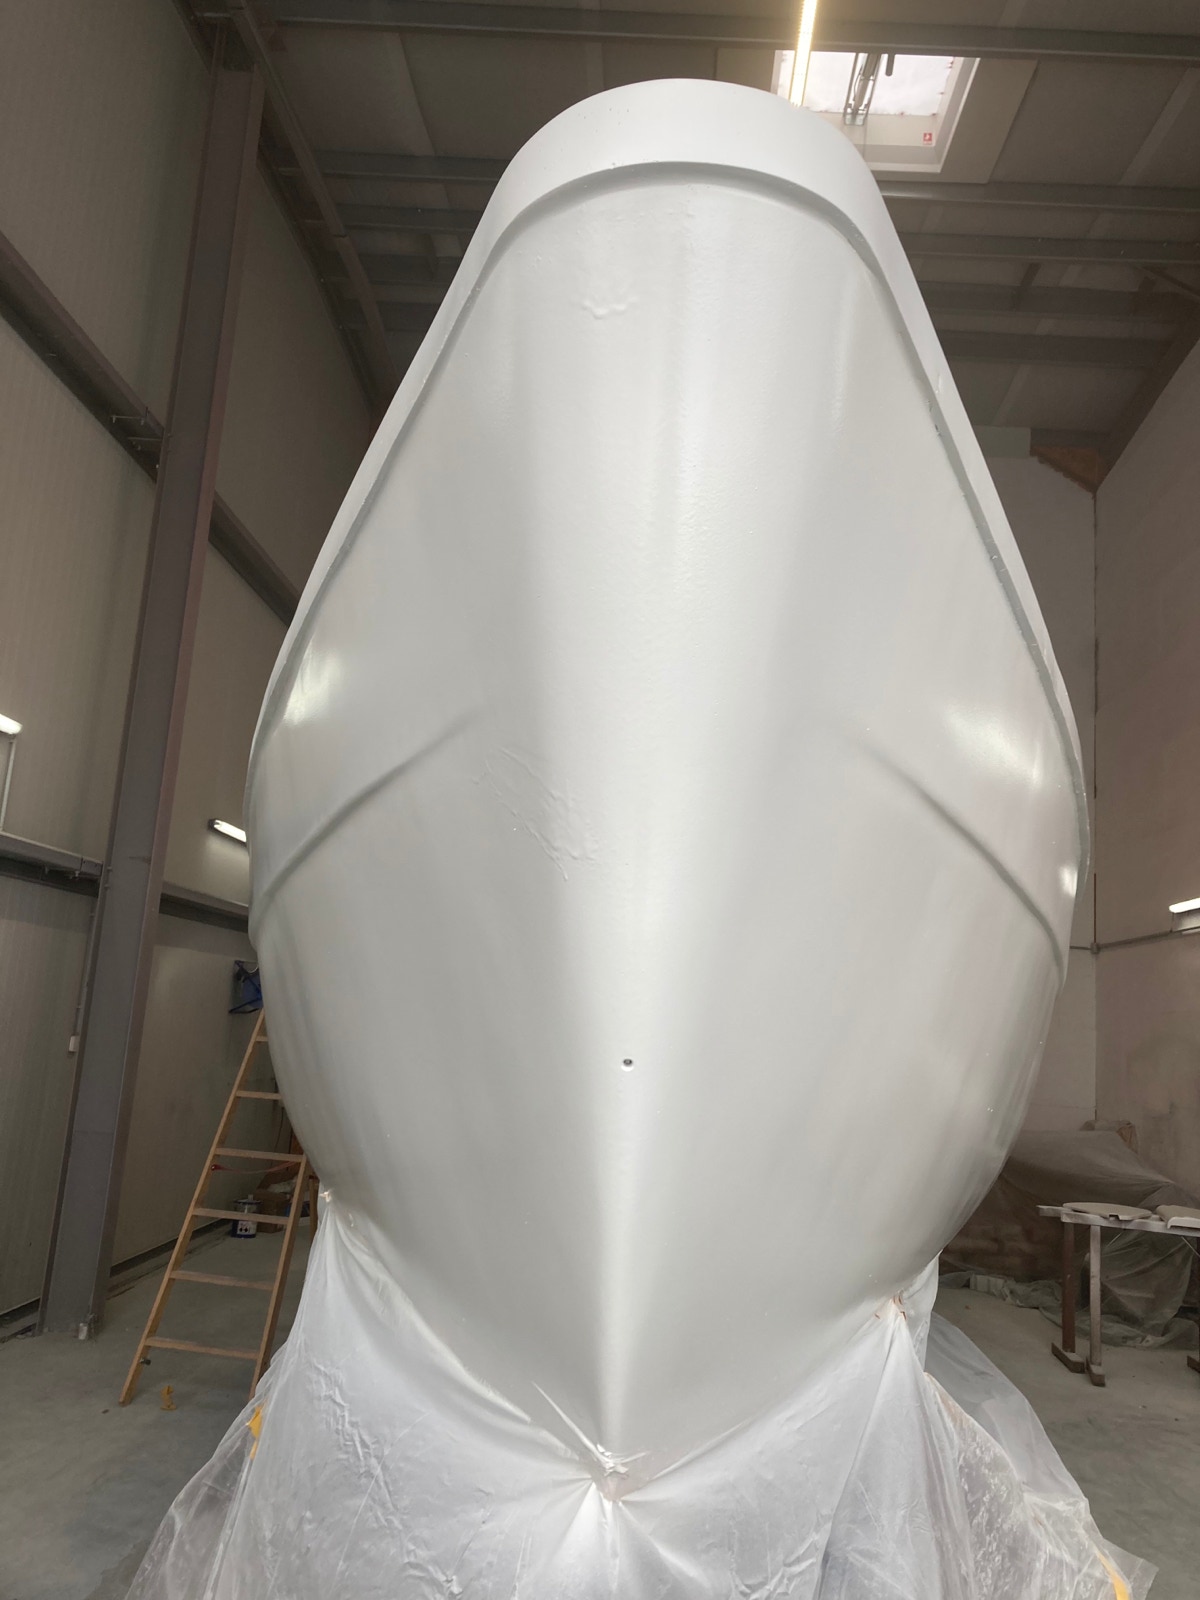
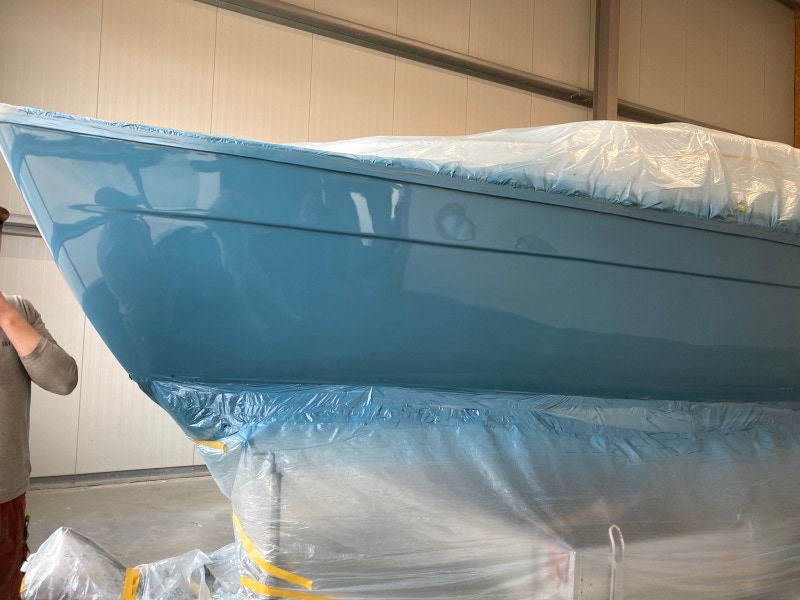
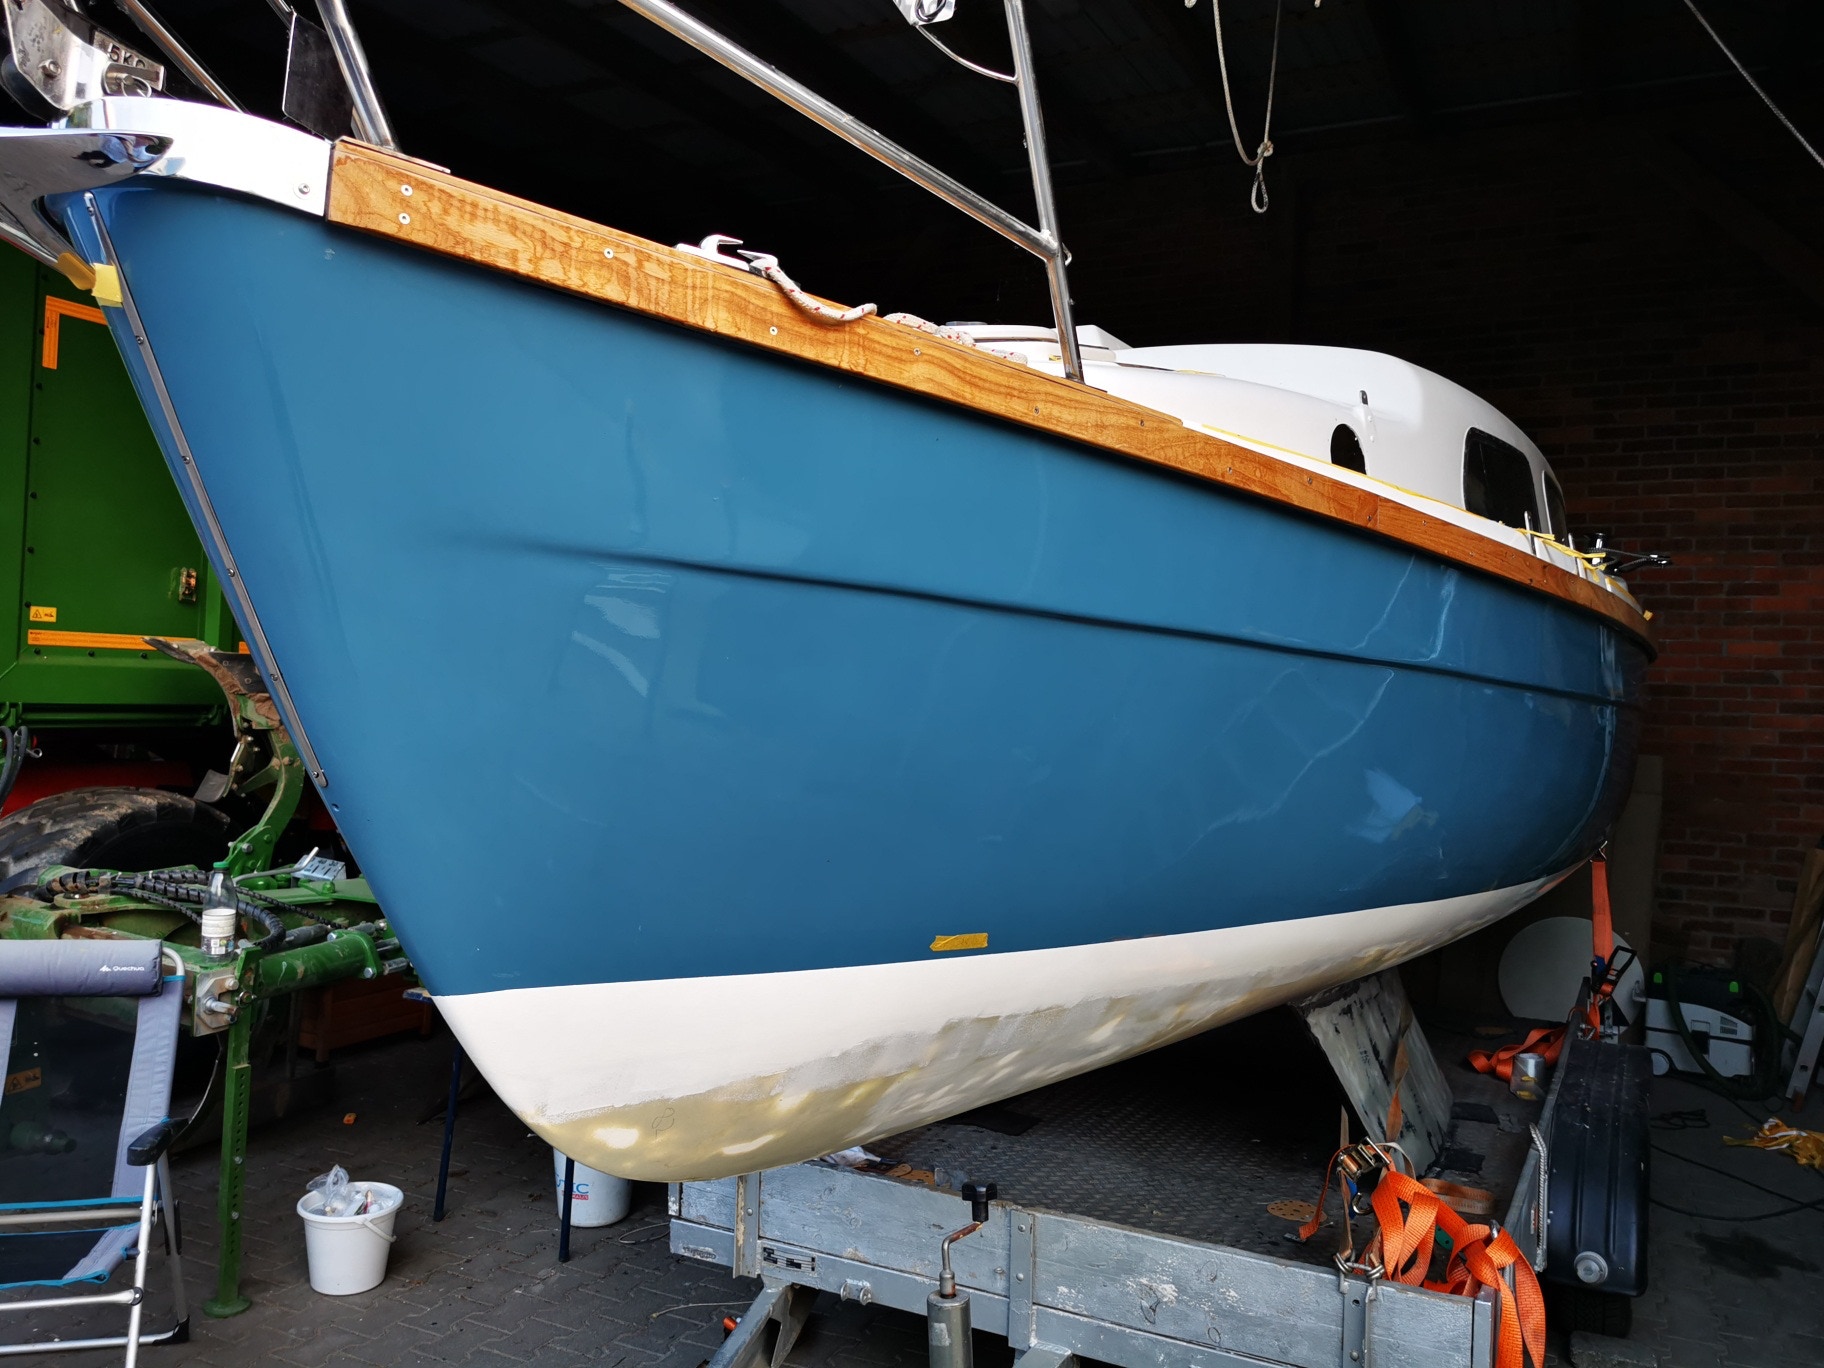
Today the hull was painted in the color “pearl gentian blue” (RAL 5025).
23.2.2021
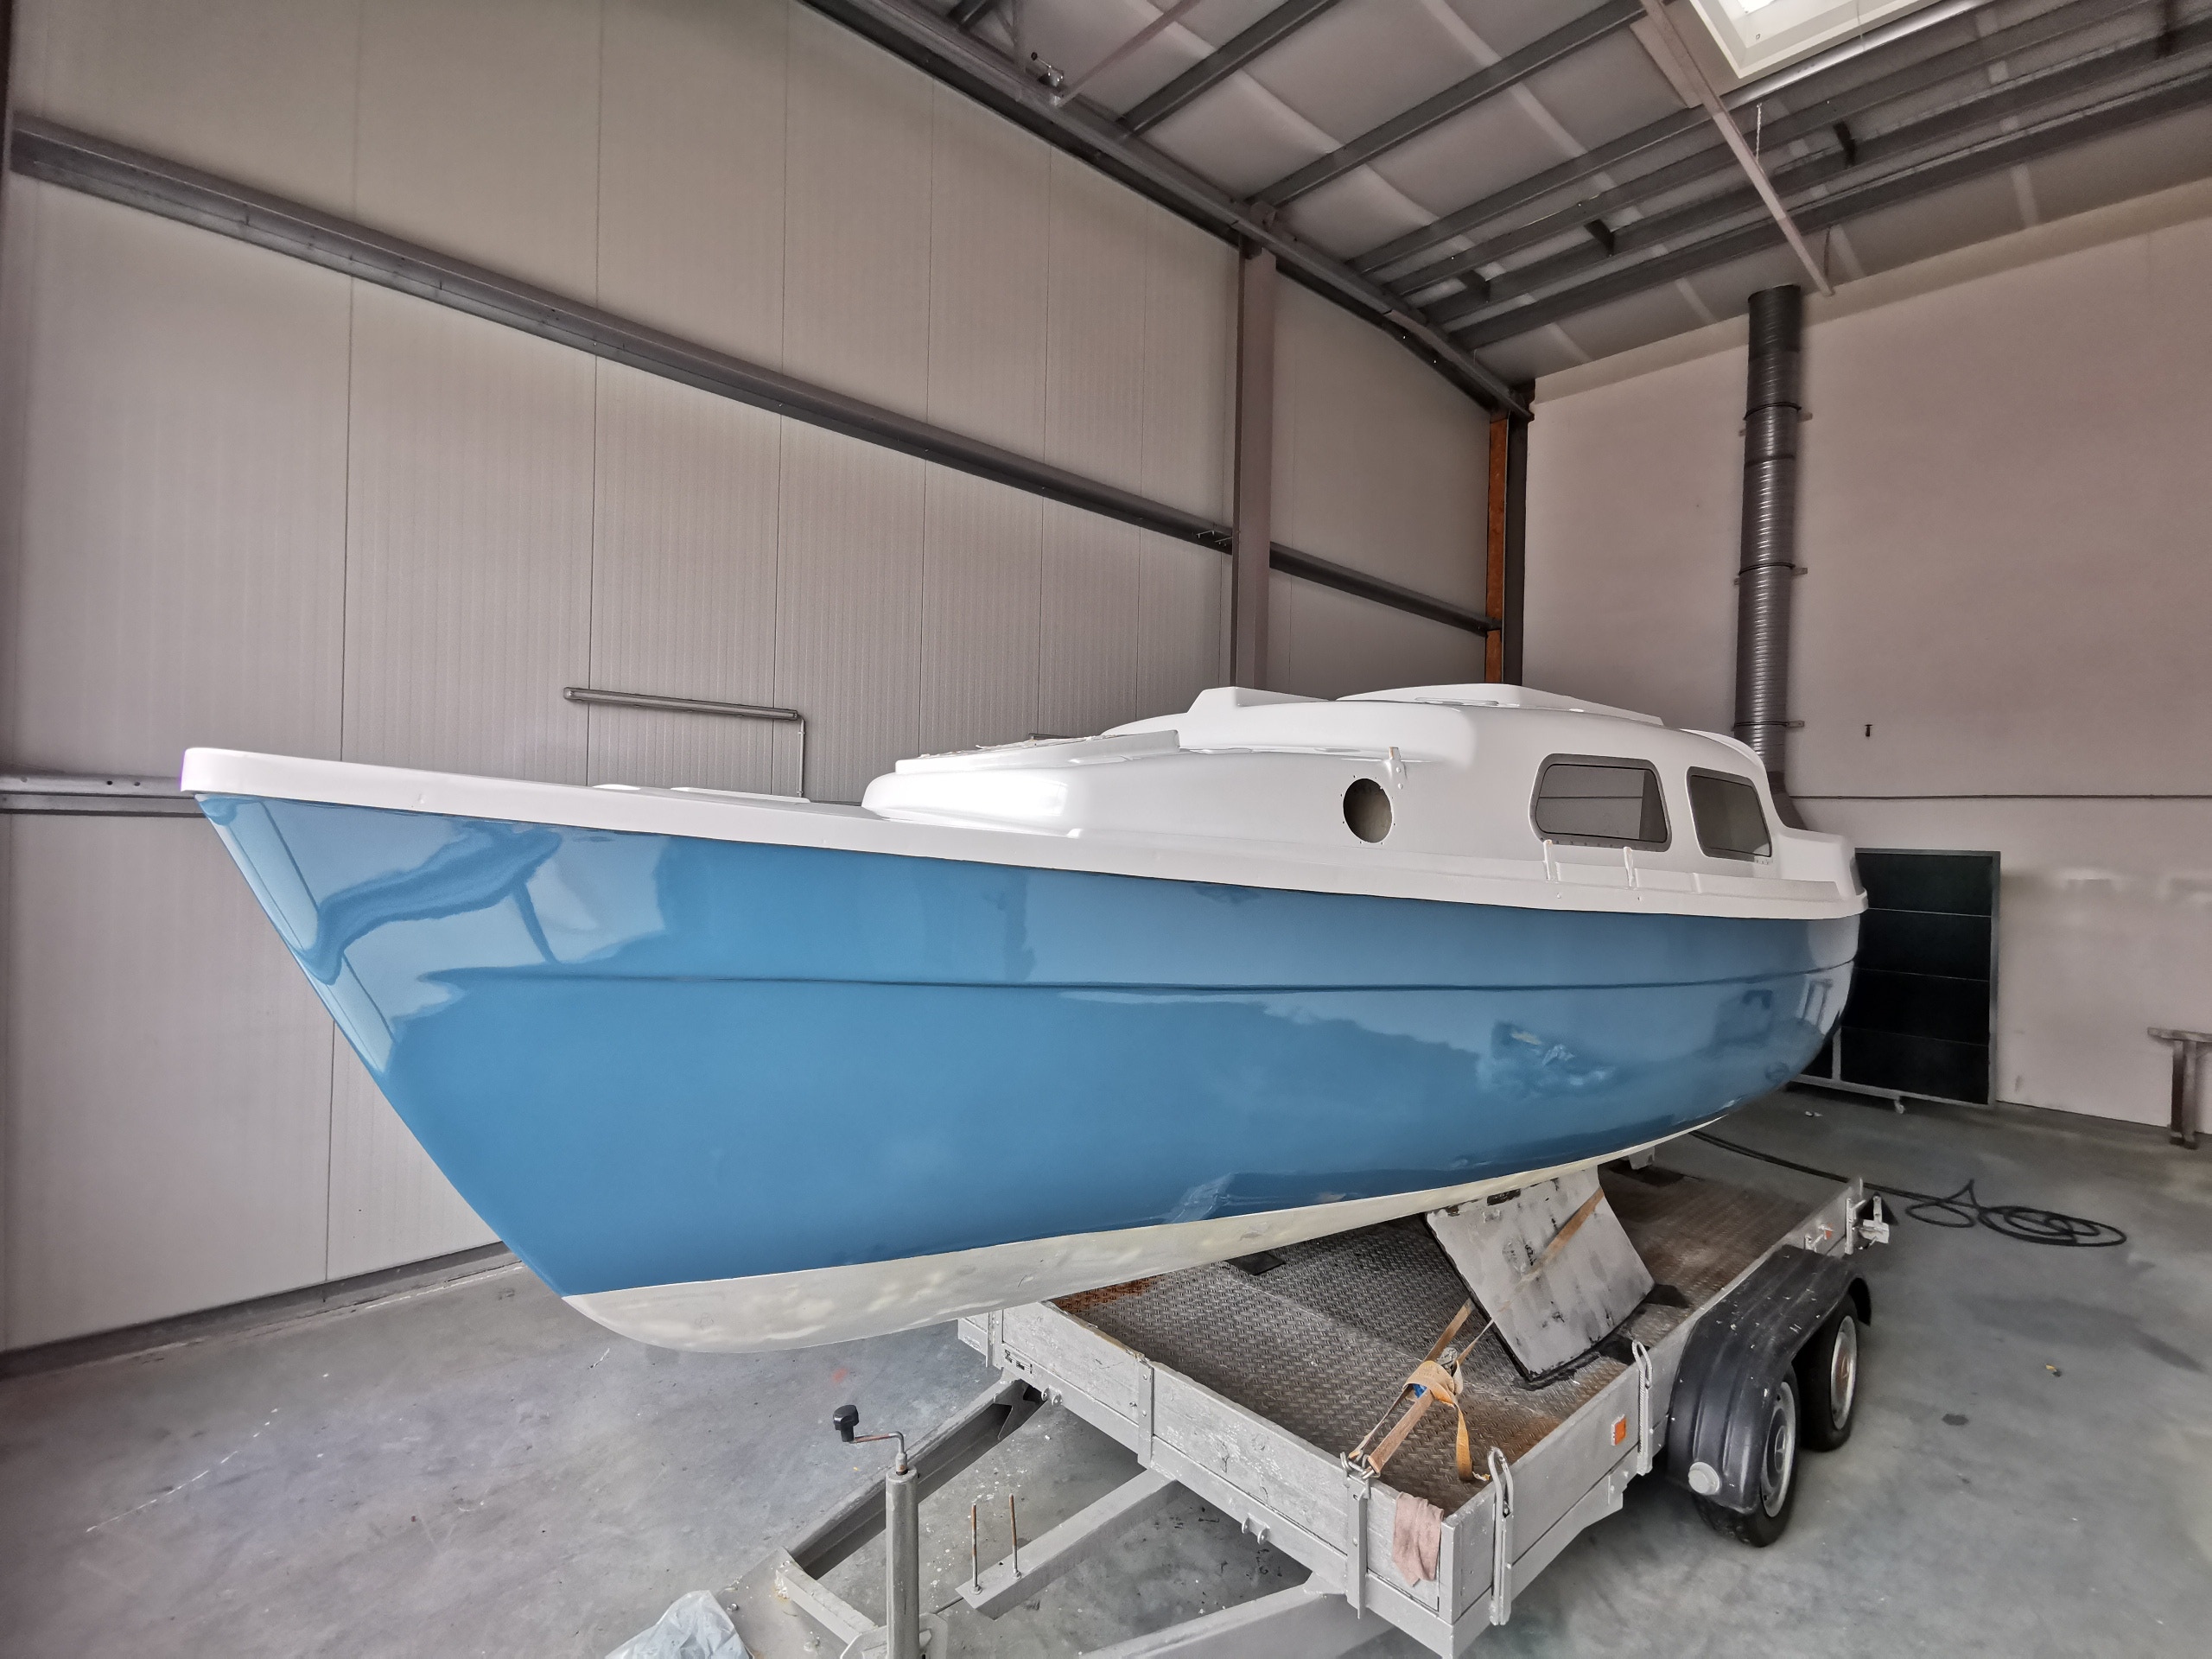
When the tarpaulin is down, you can see where the boat is going.
4.3.2021
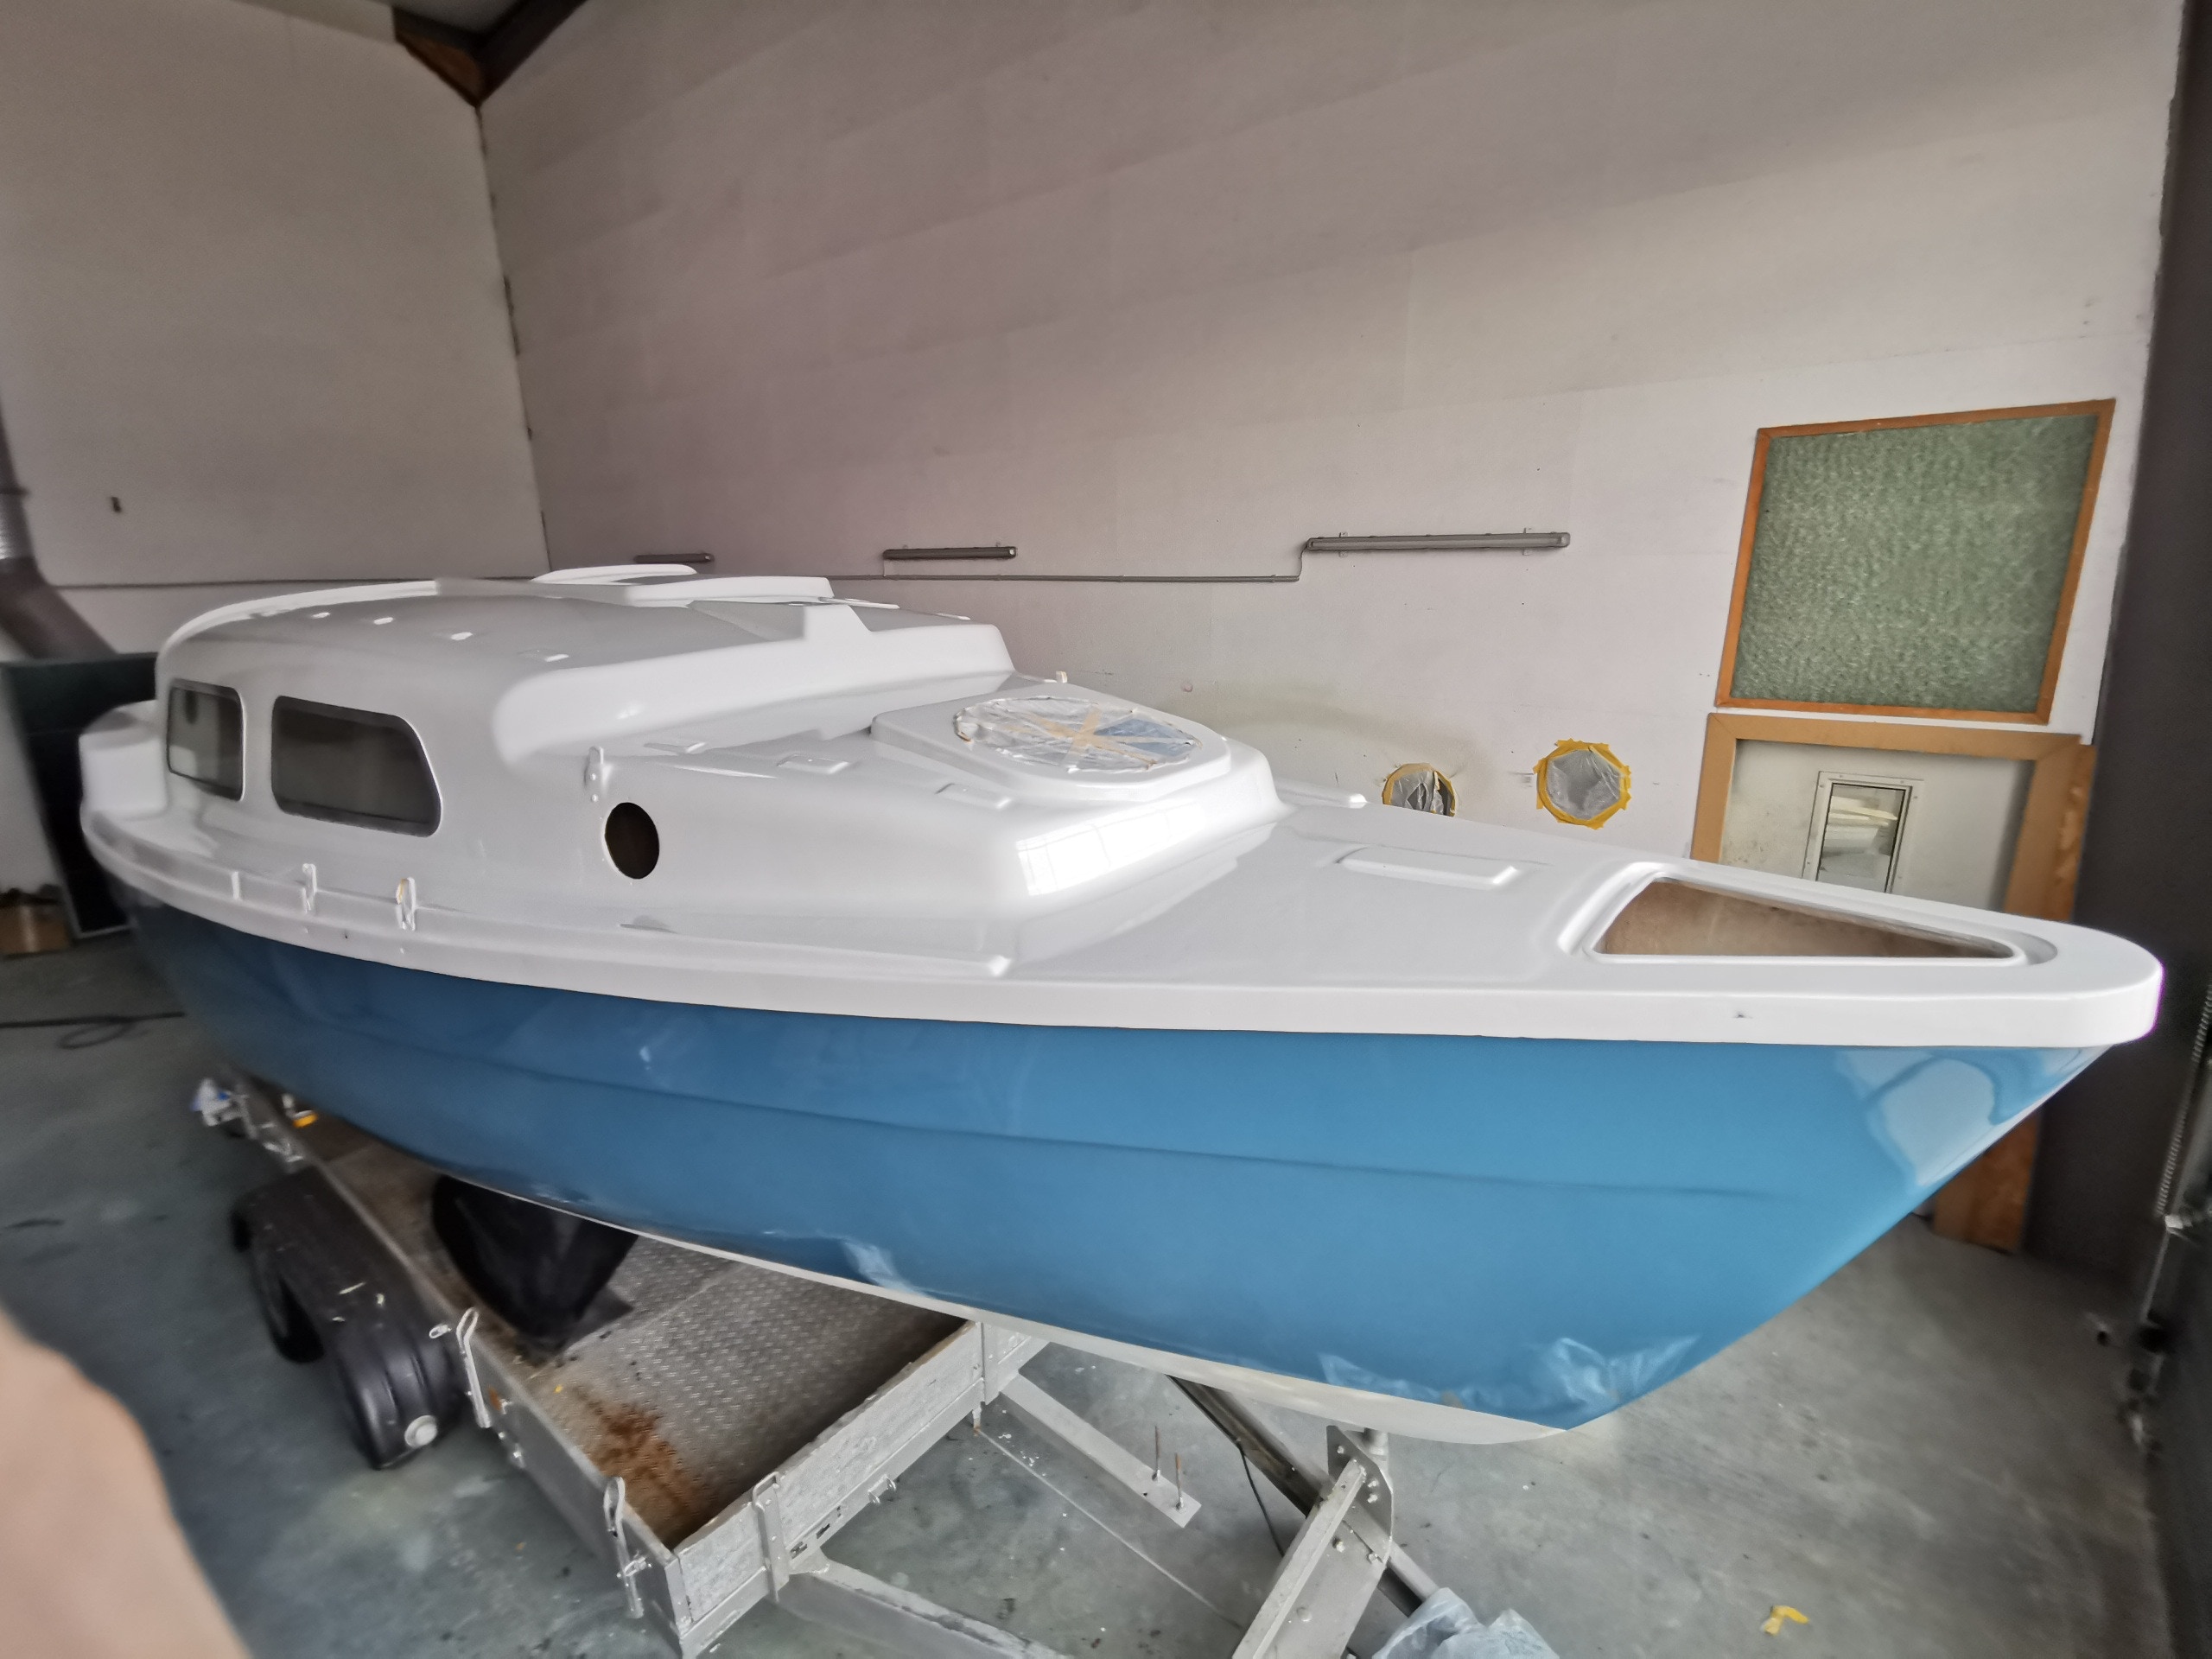
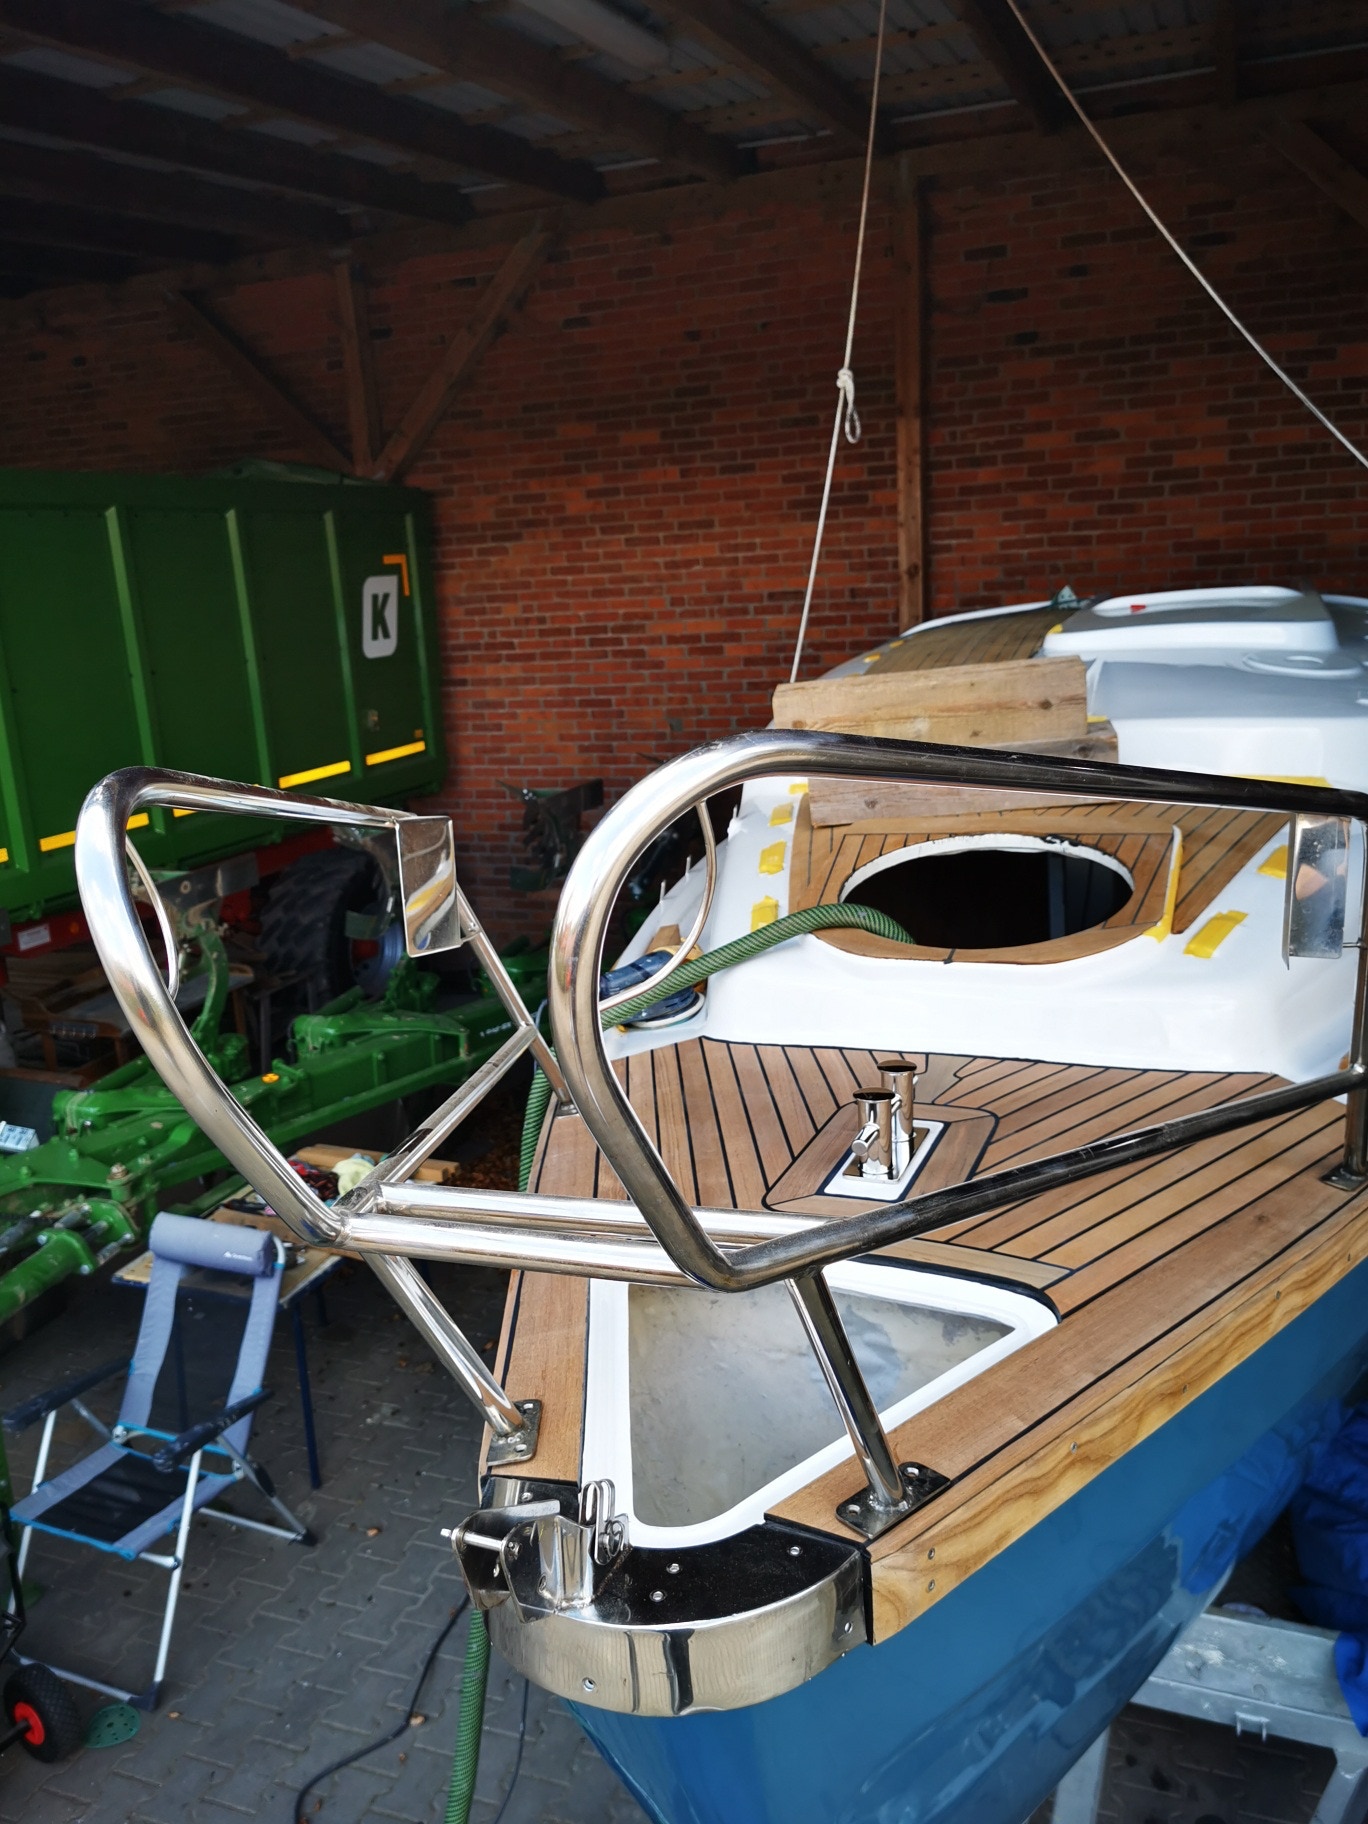
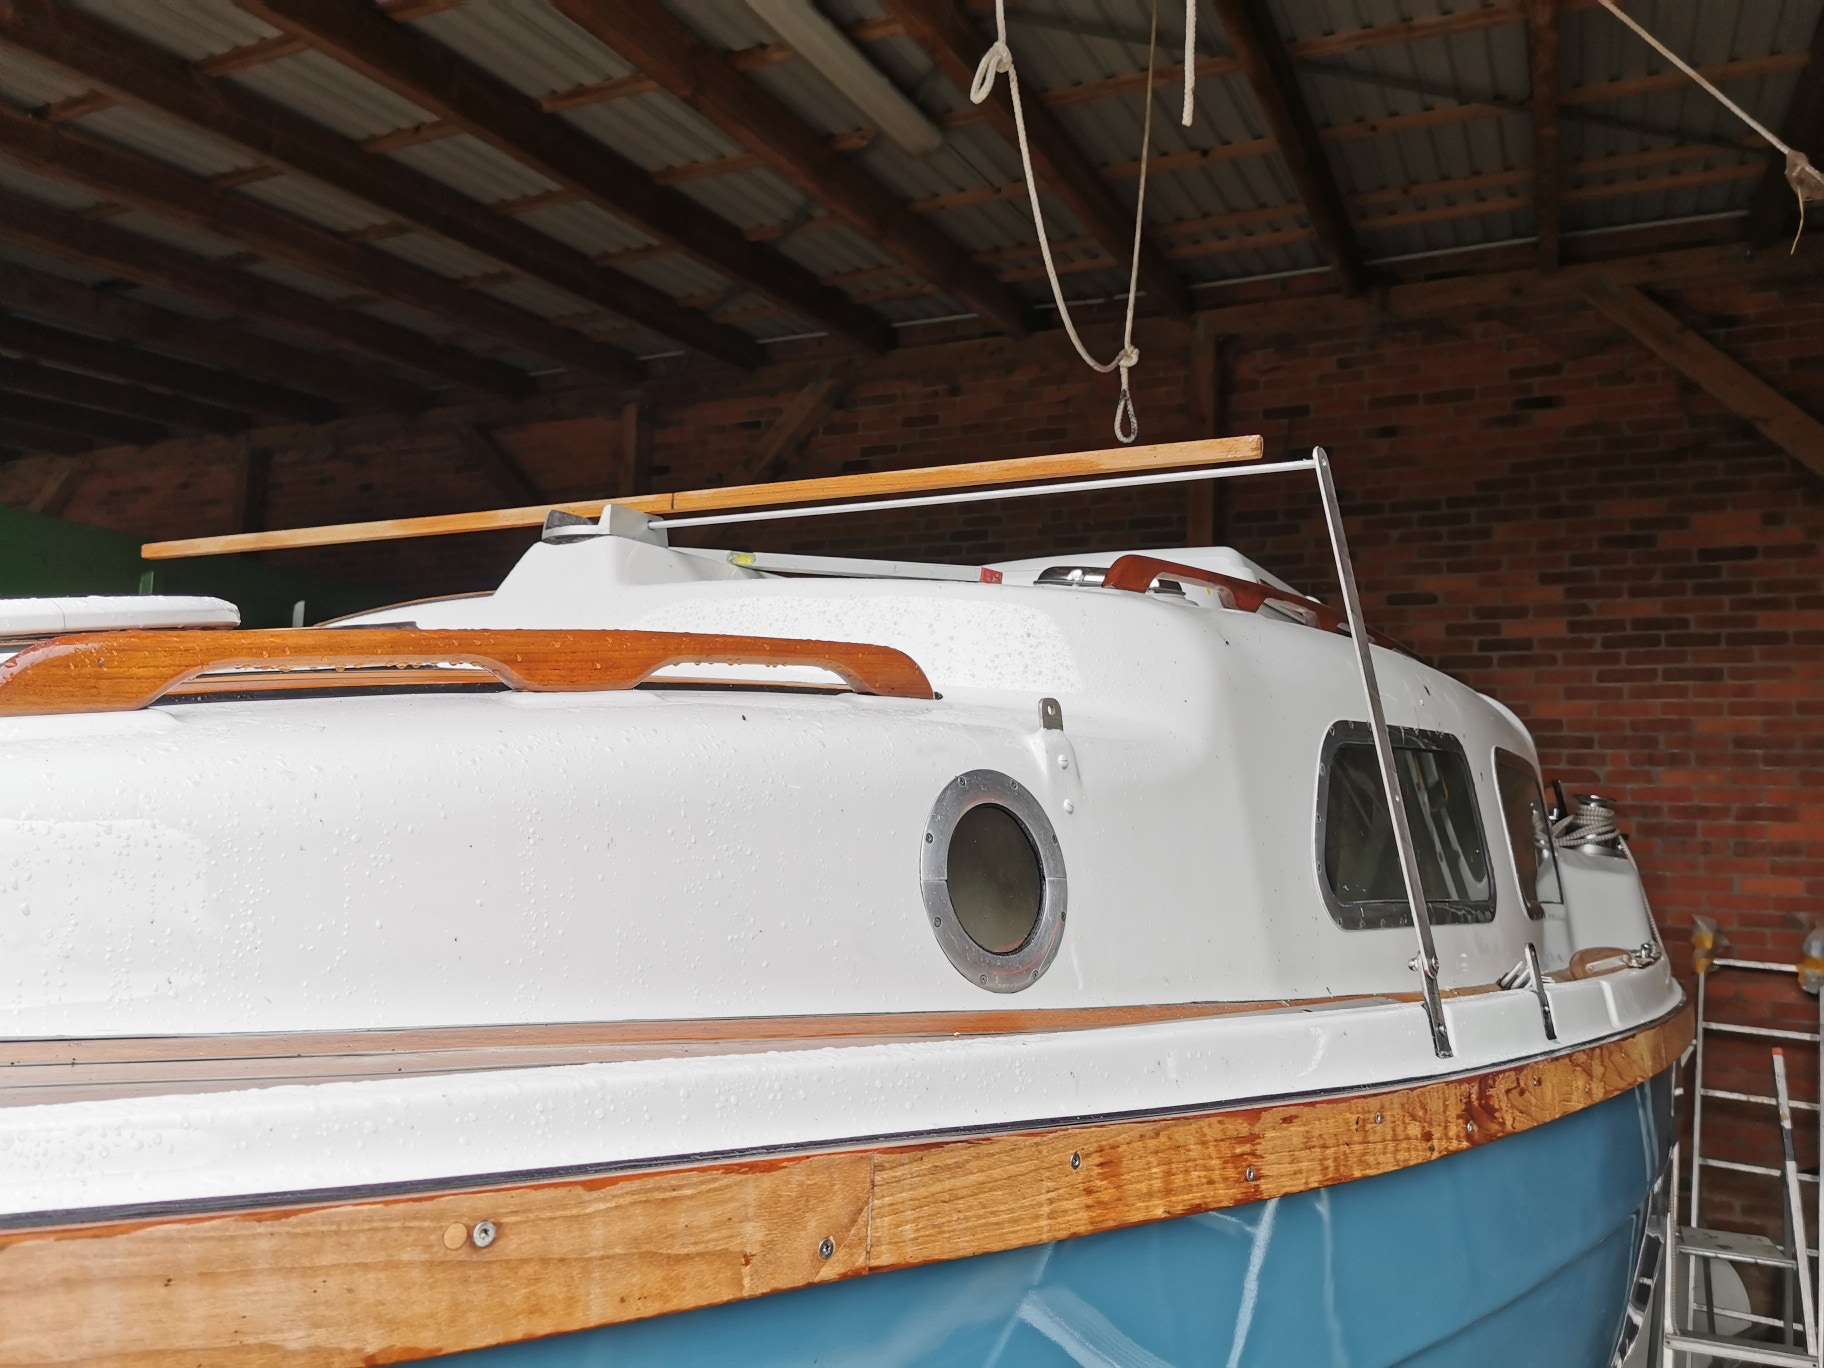
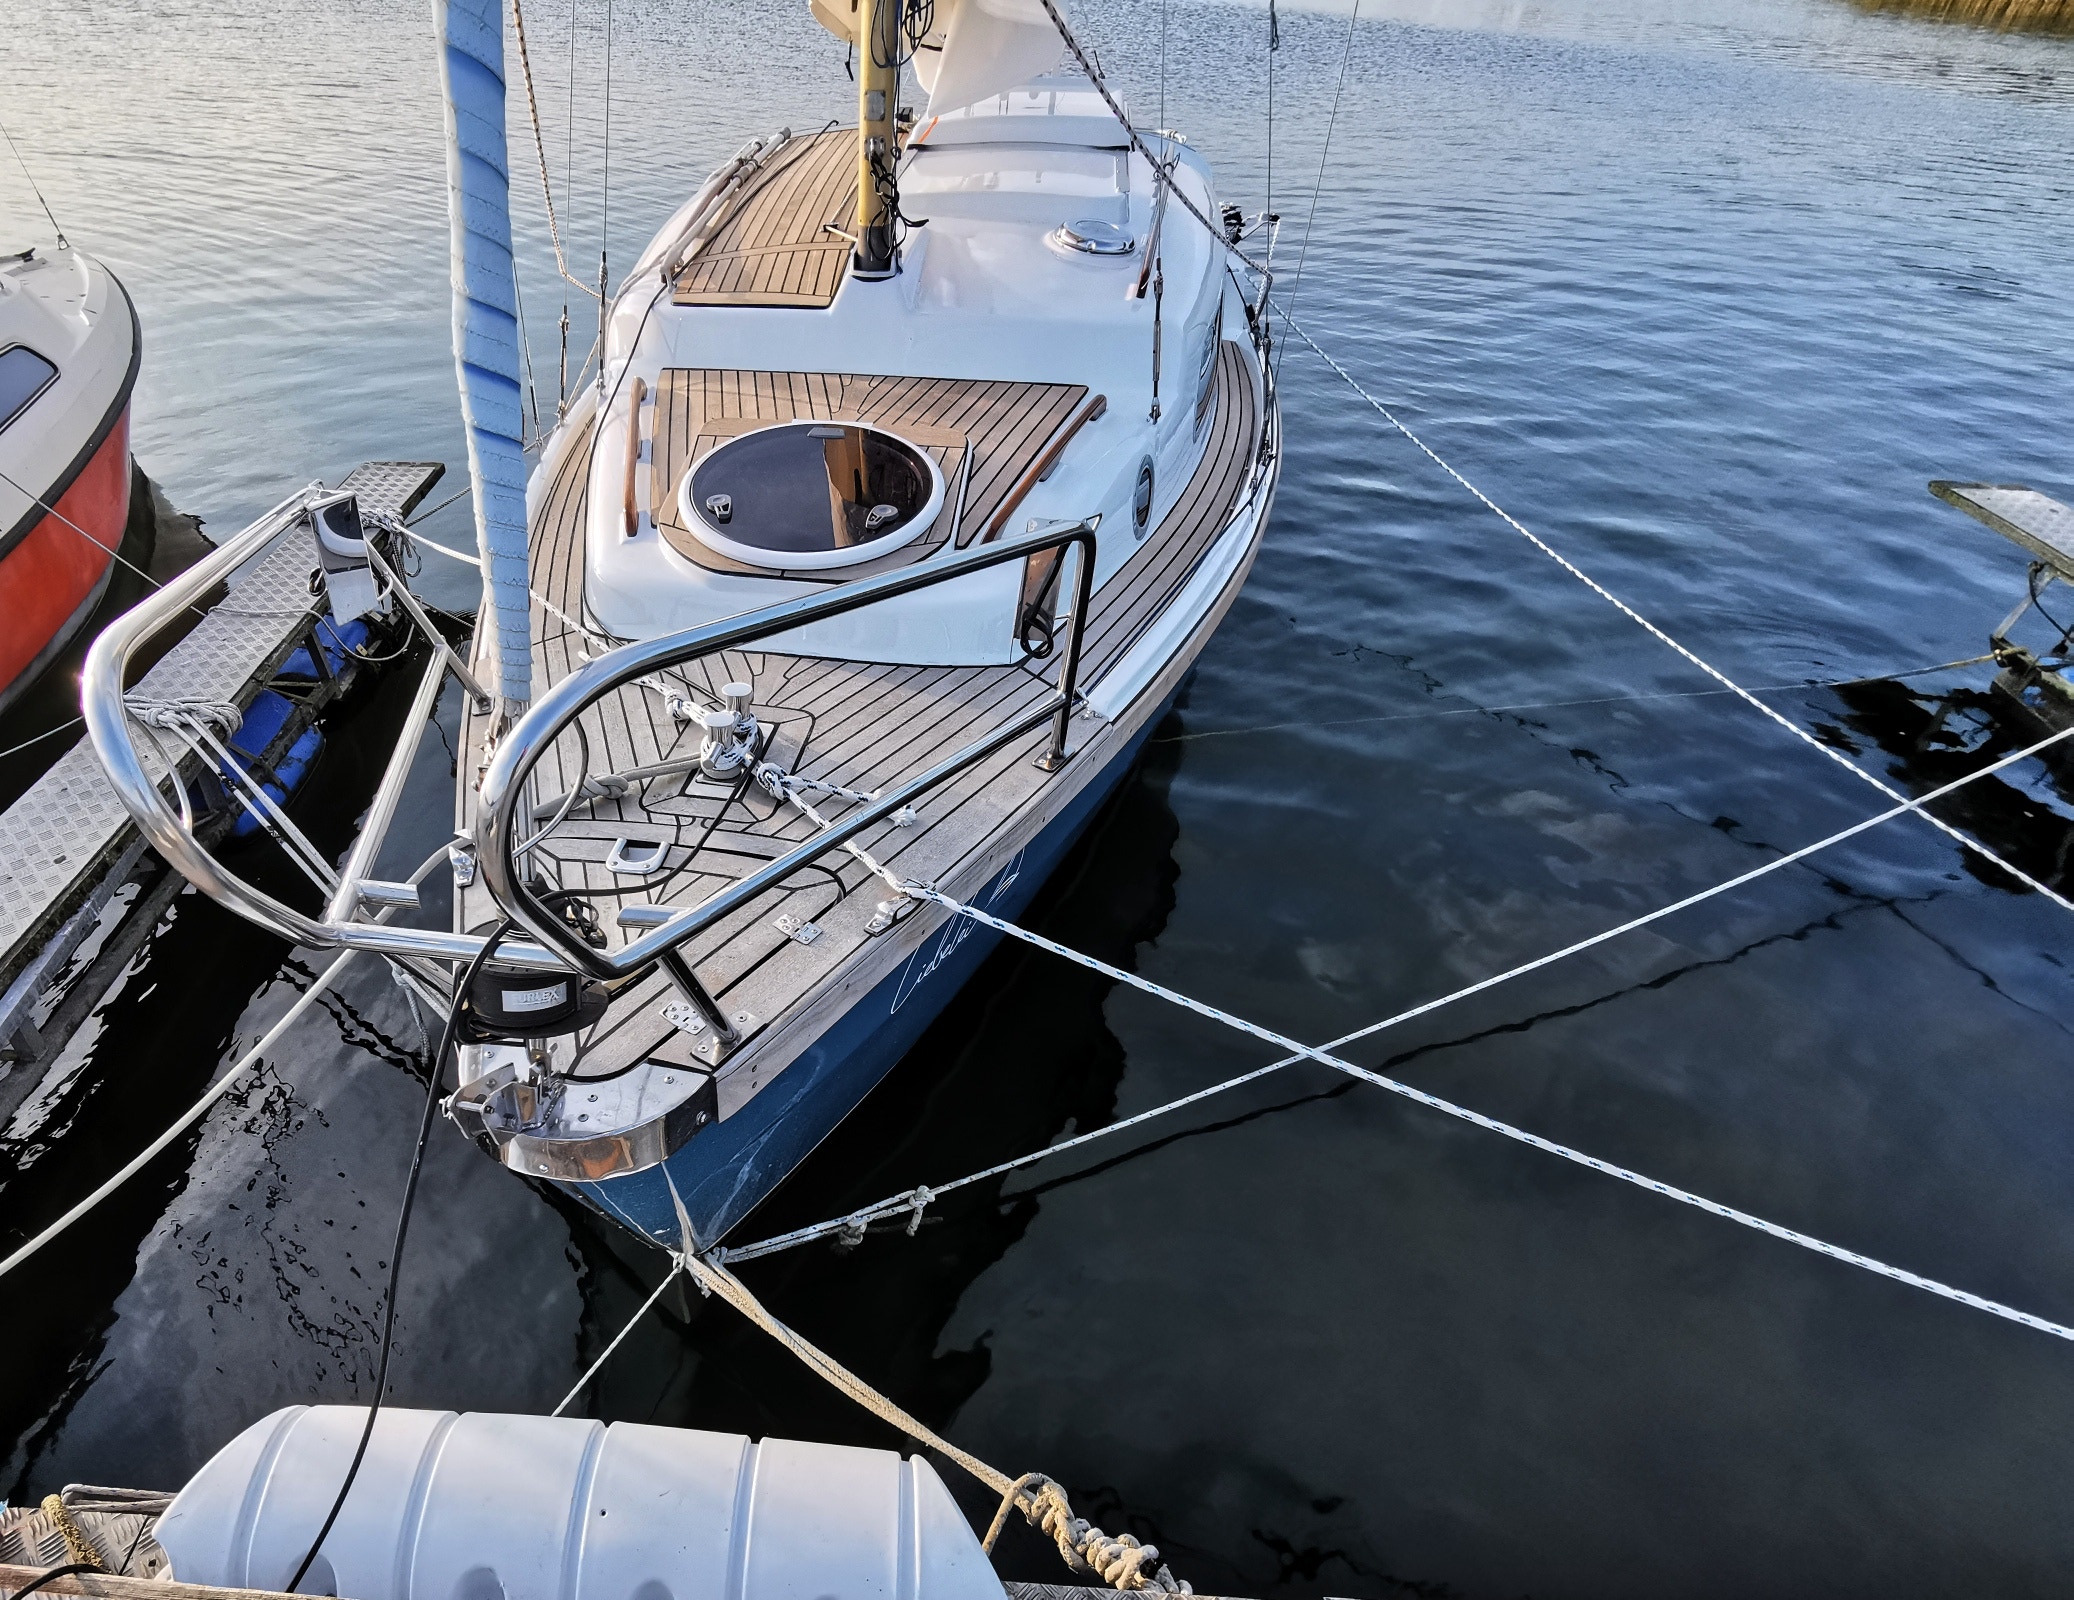
The boat is with me again and now the deck superstructures can be prepared for assembly and the teak deck will be built in the coming months.
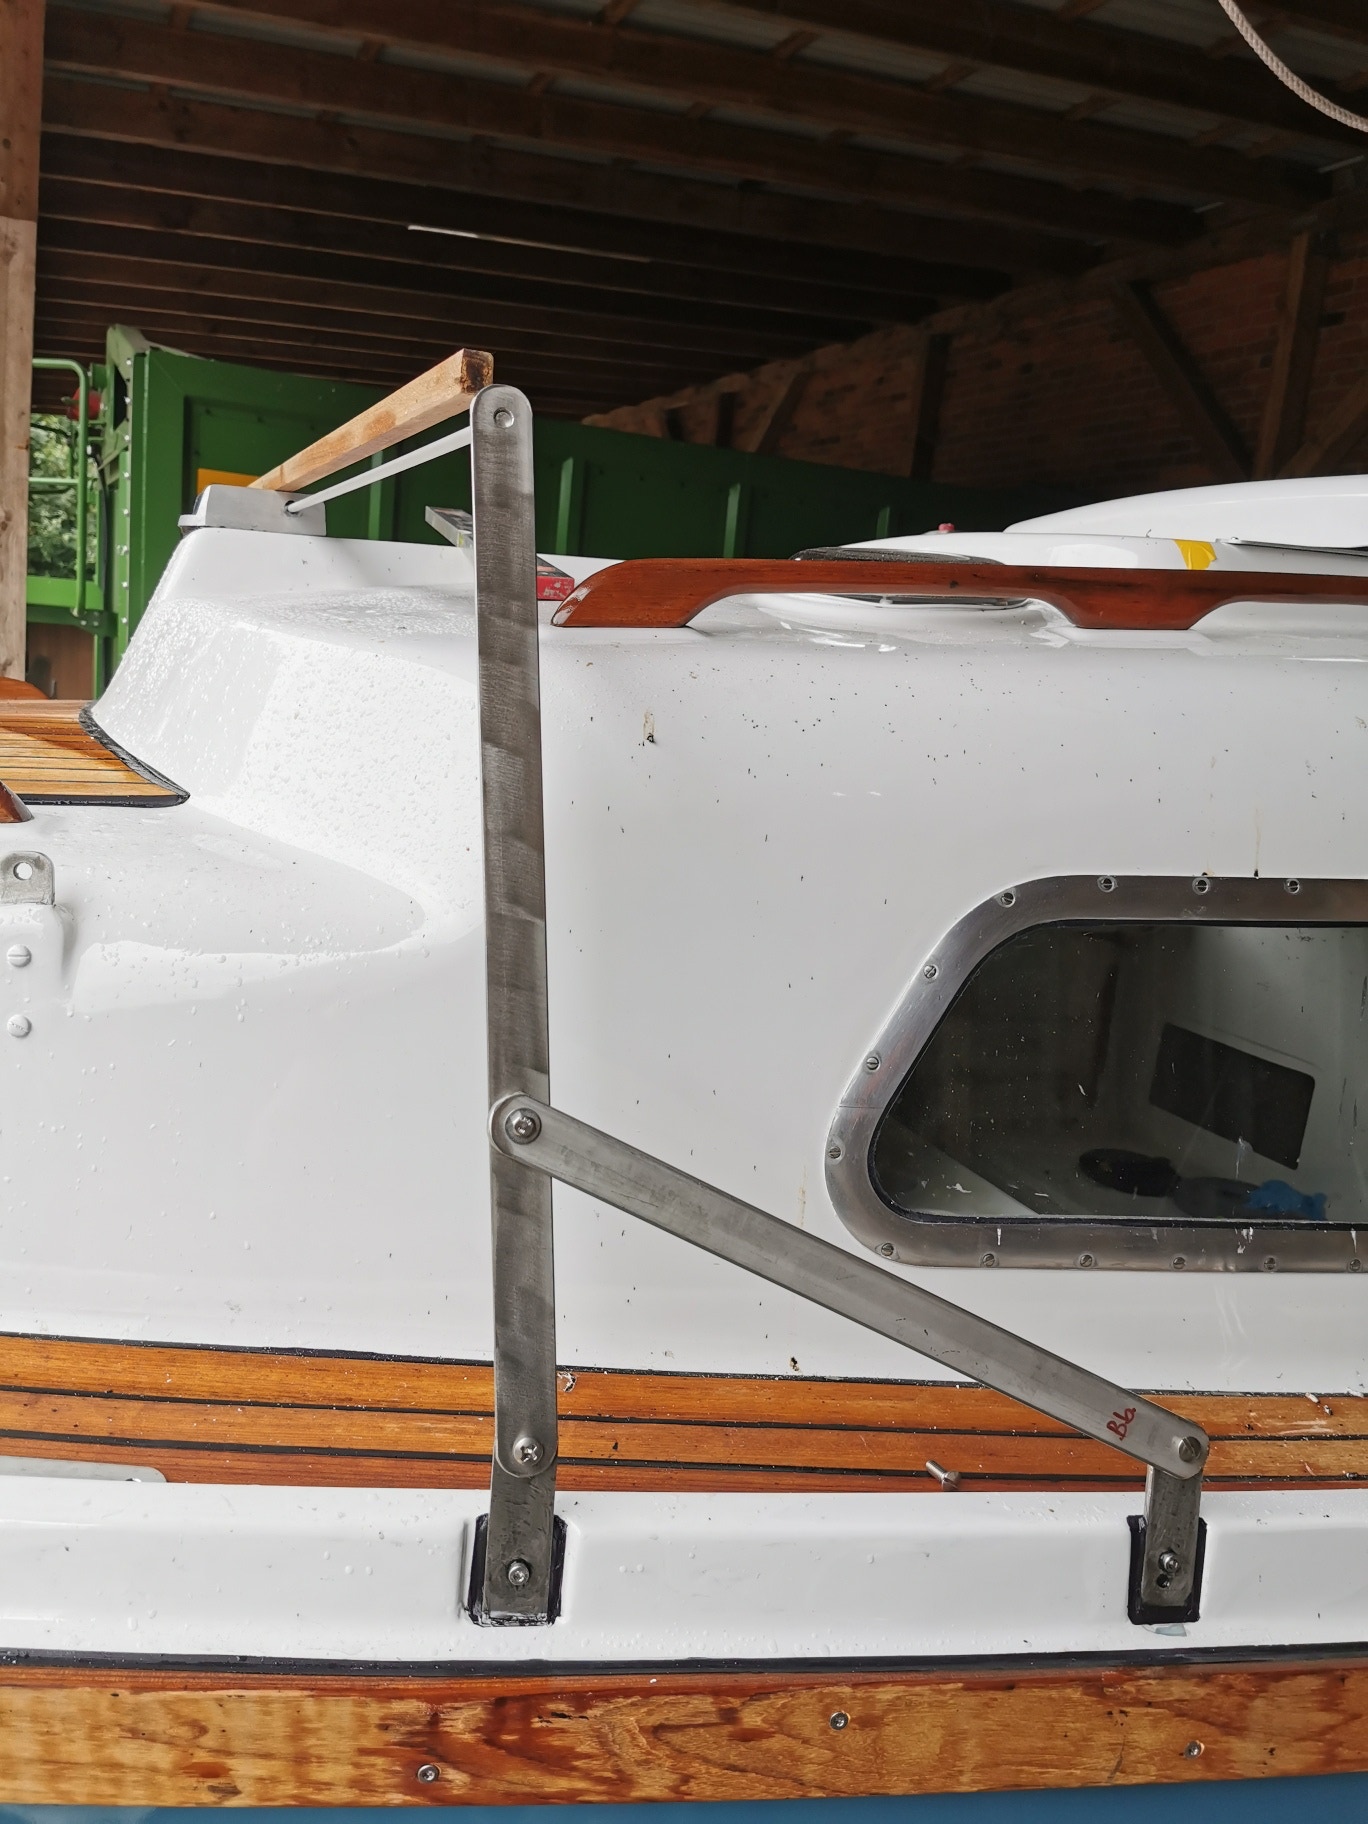
I'm currently preparing a new pulpit, which I bought used, but which needs new feet to fit. The height also had to be adjusted.
7.3.2021
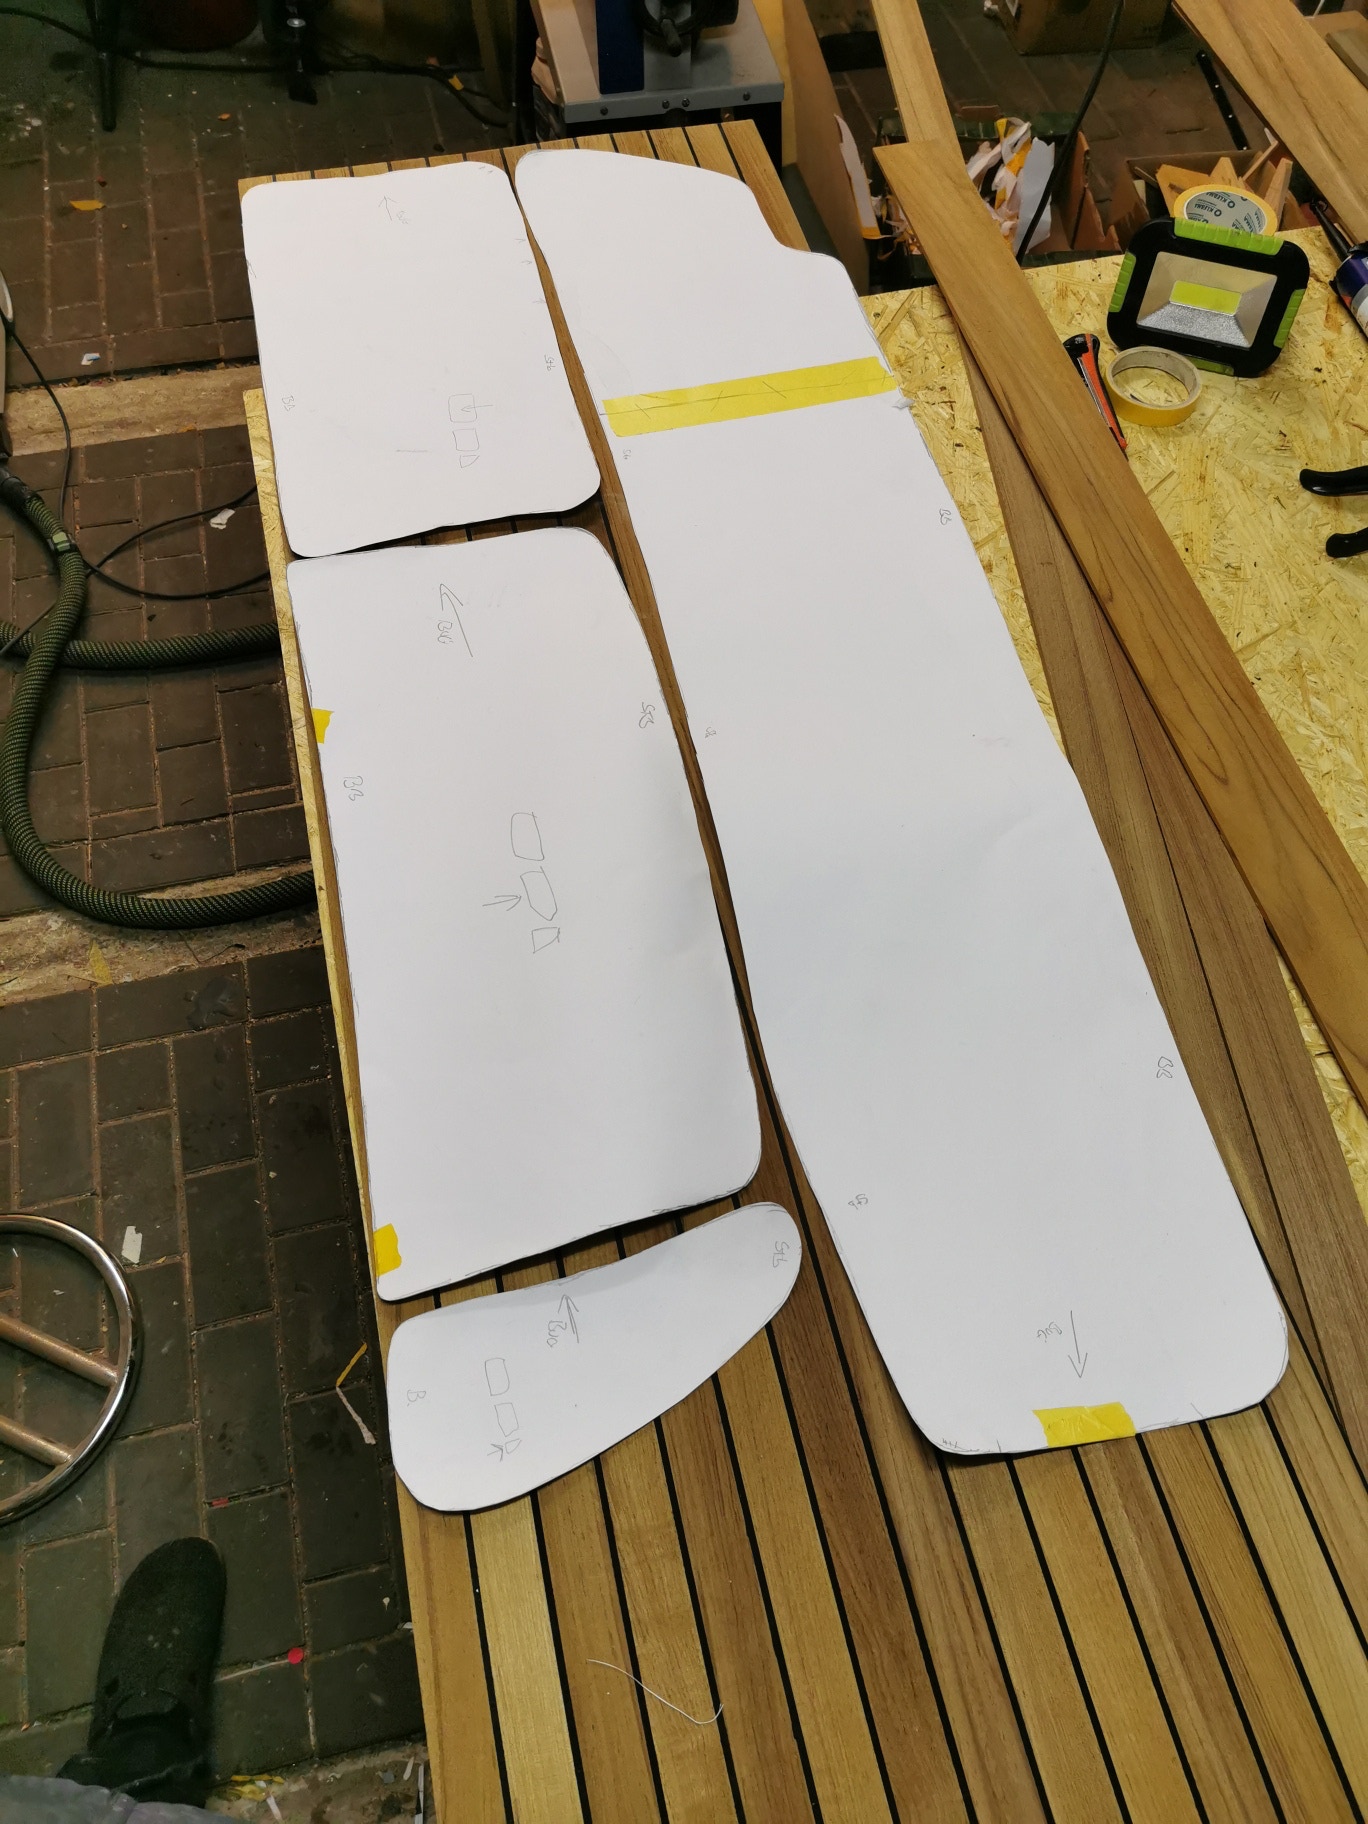
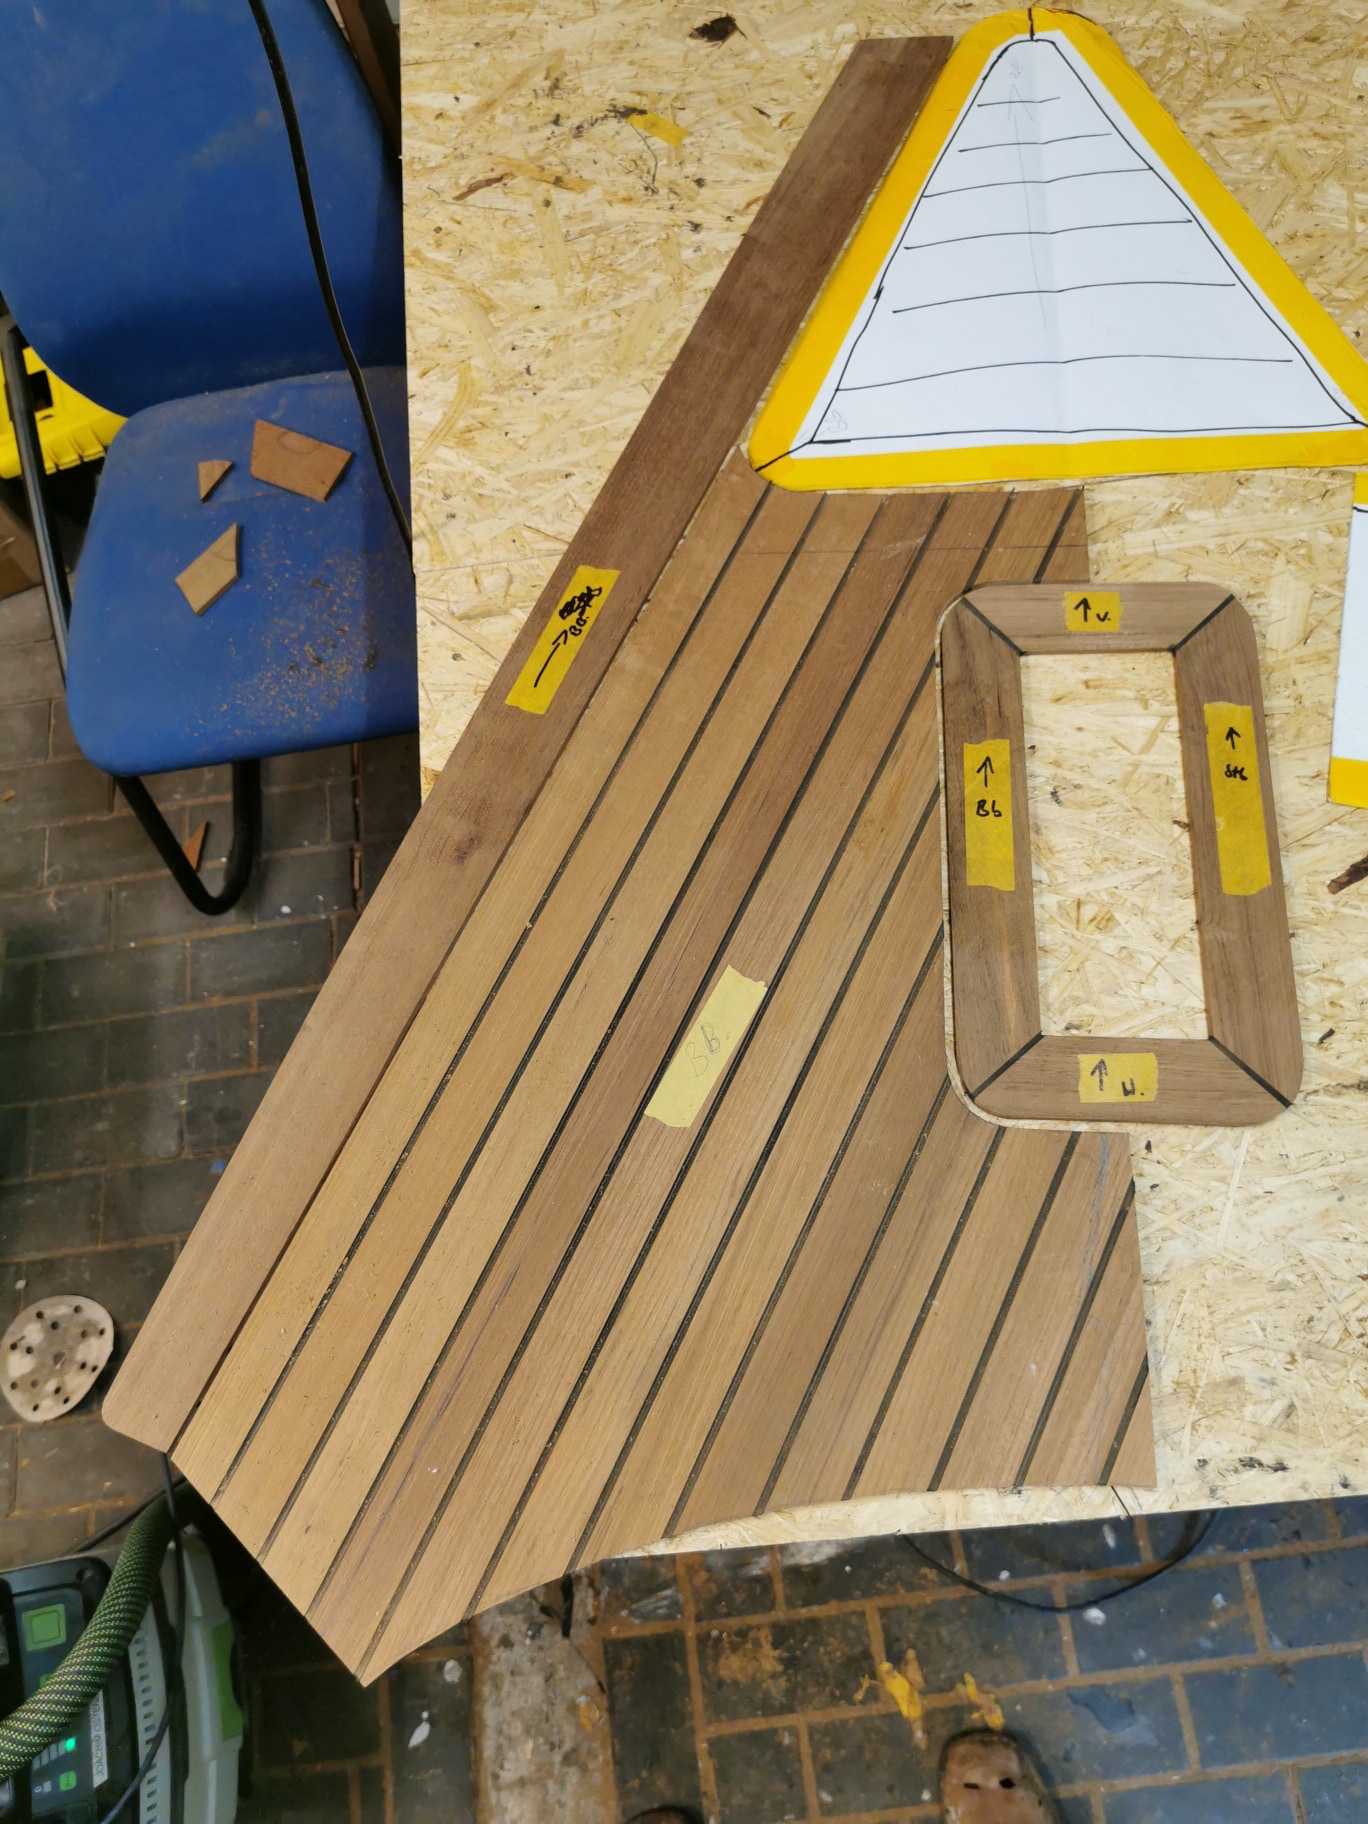
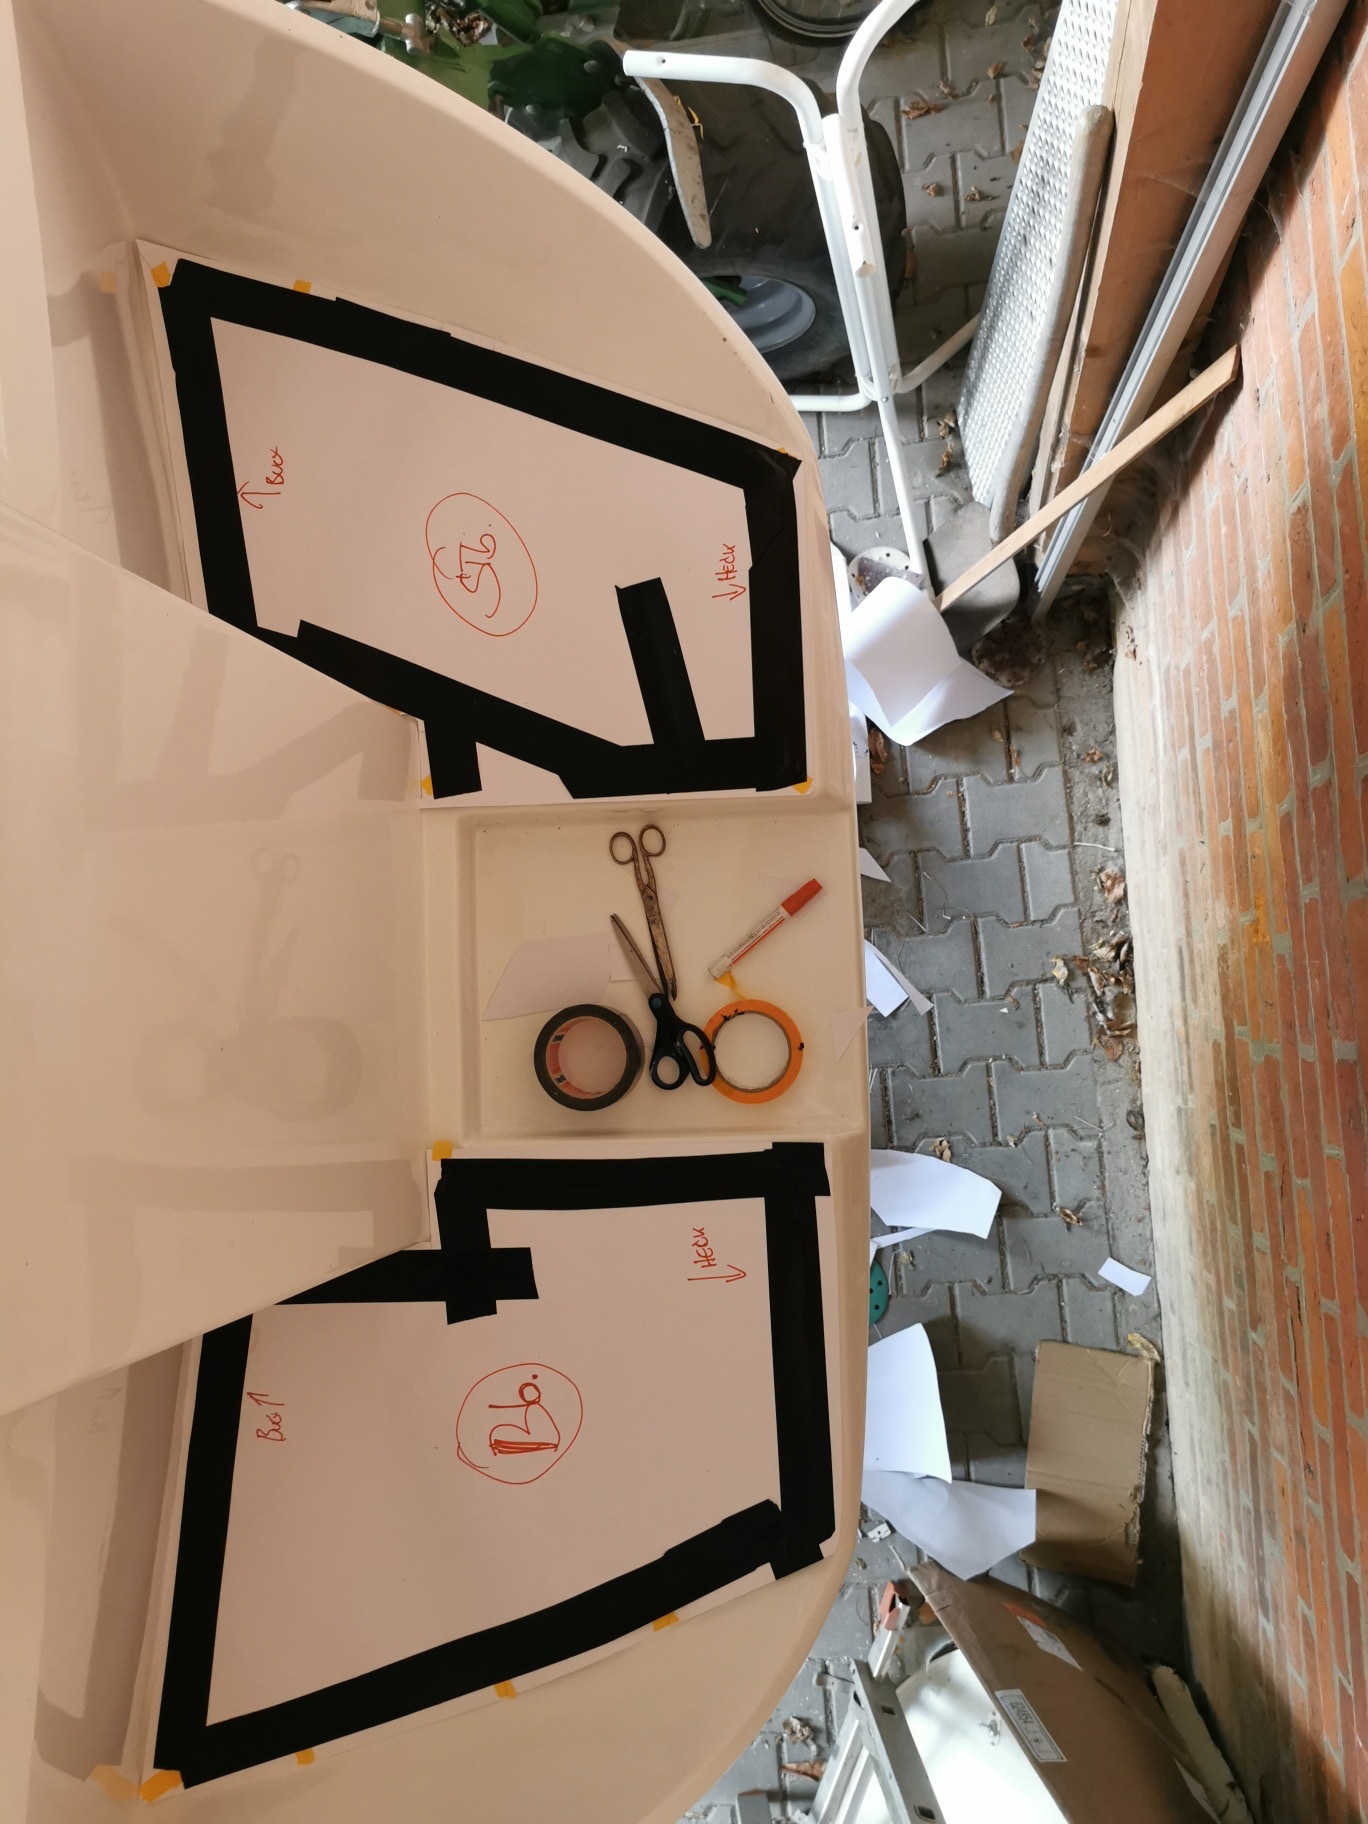
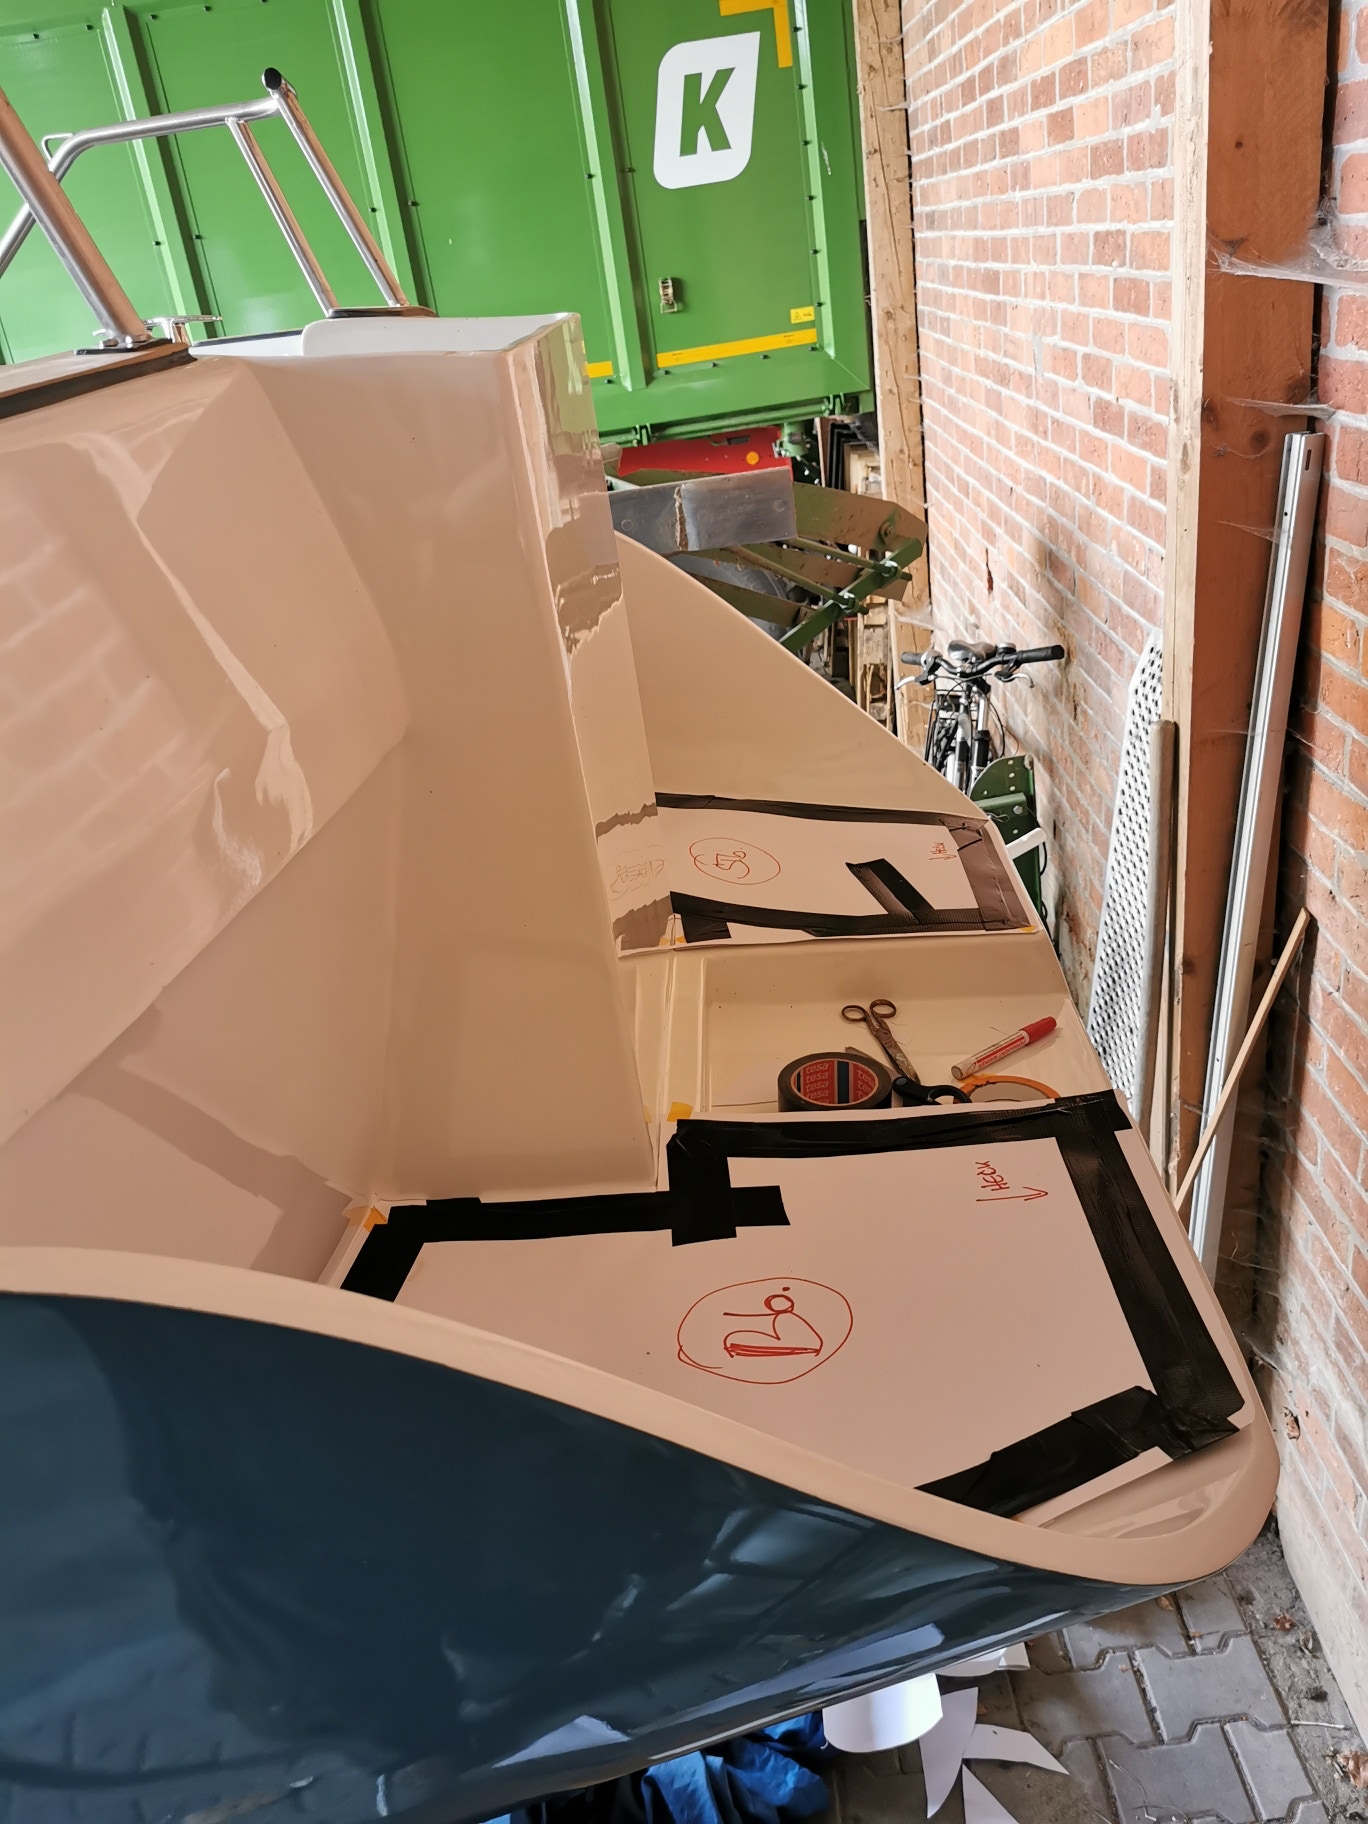
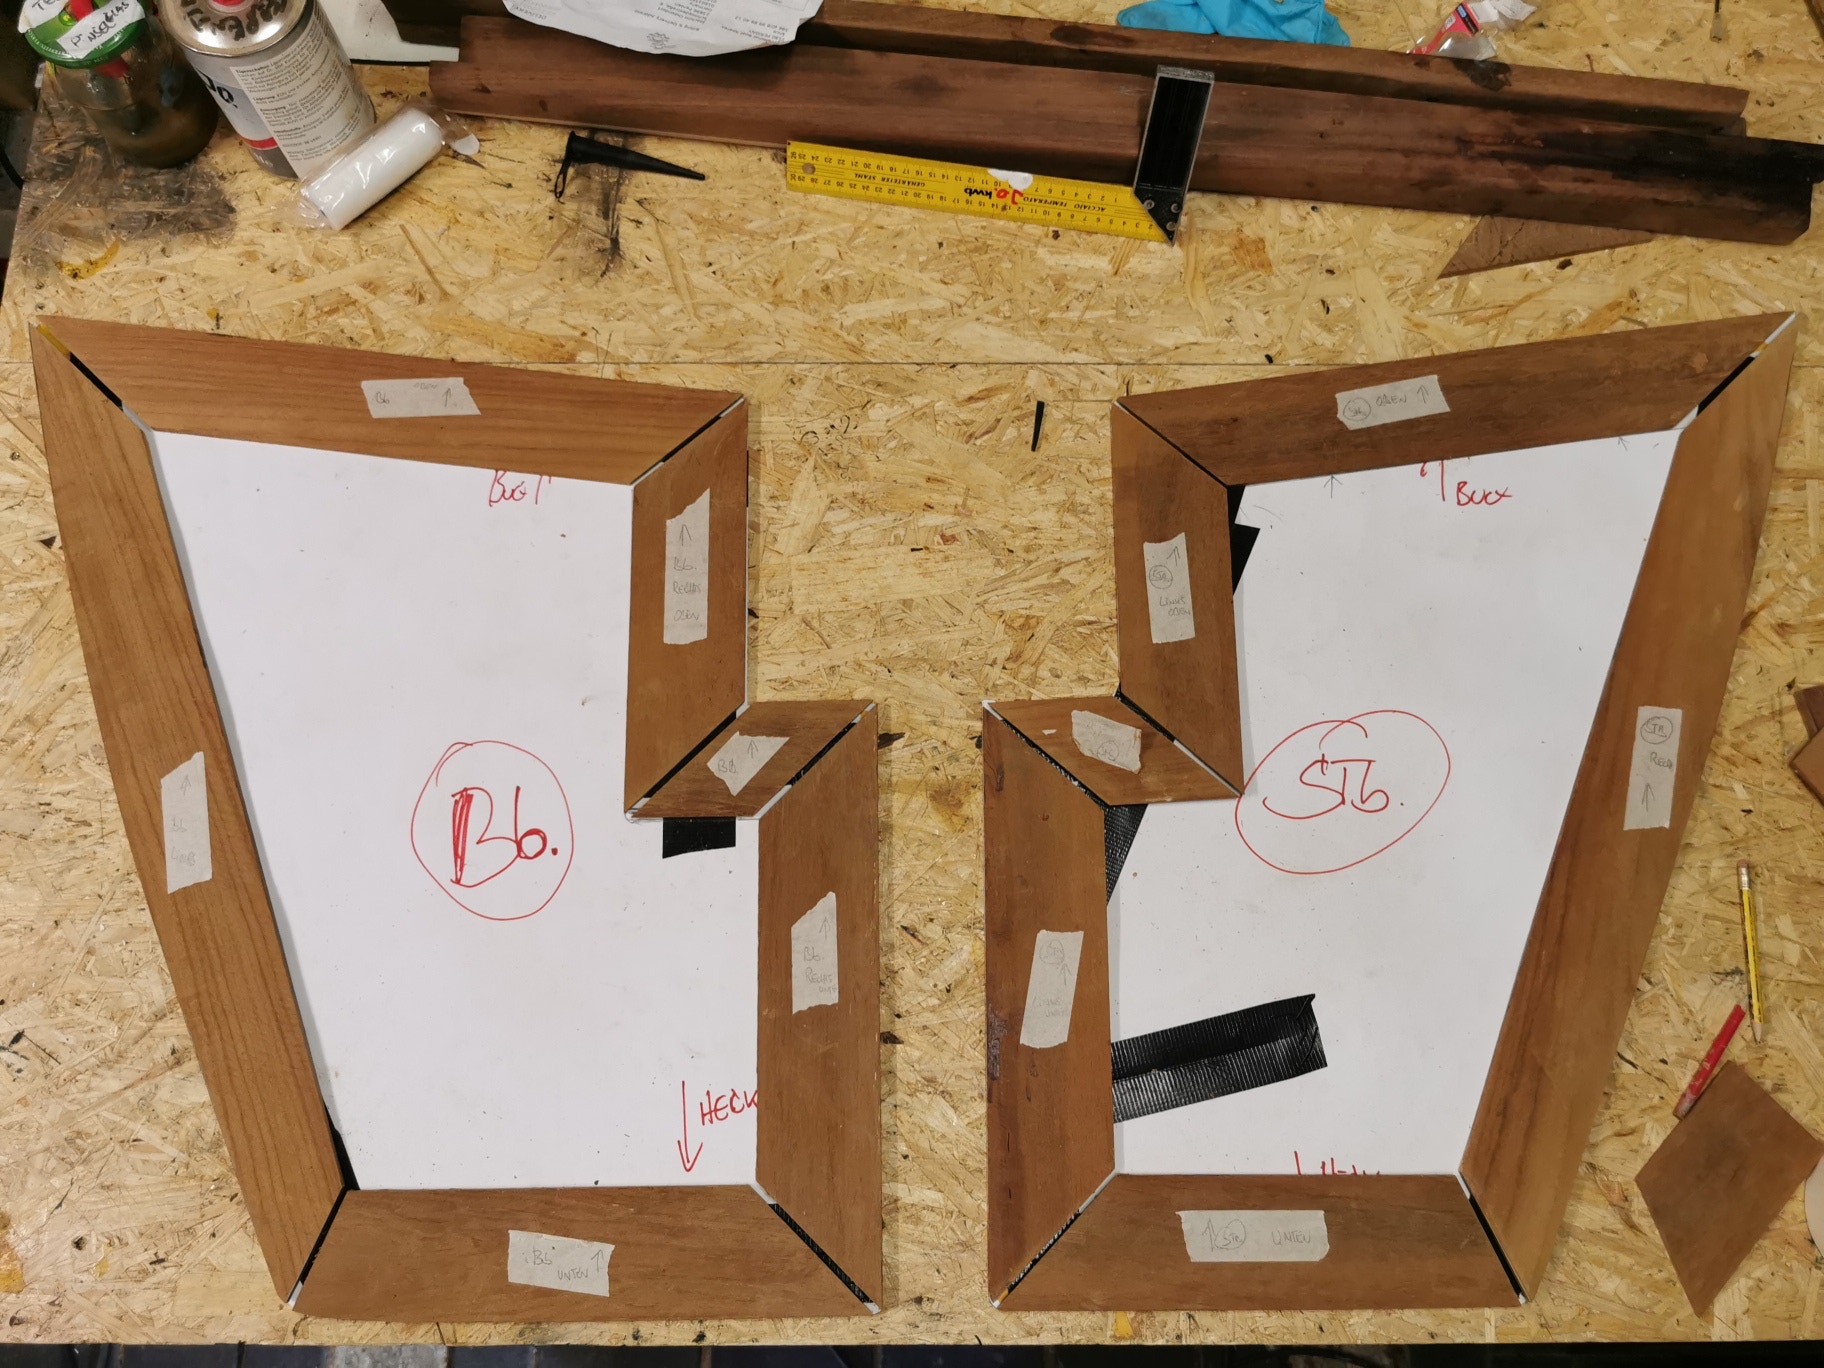
In the past year I kept buying teak wood through eBay classifieds.
Now it can be installed on the deck, the stern extension or, as here, in the cockpit.
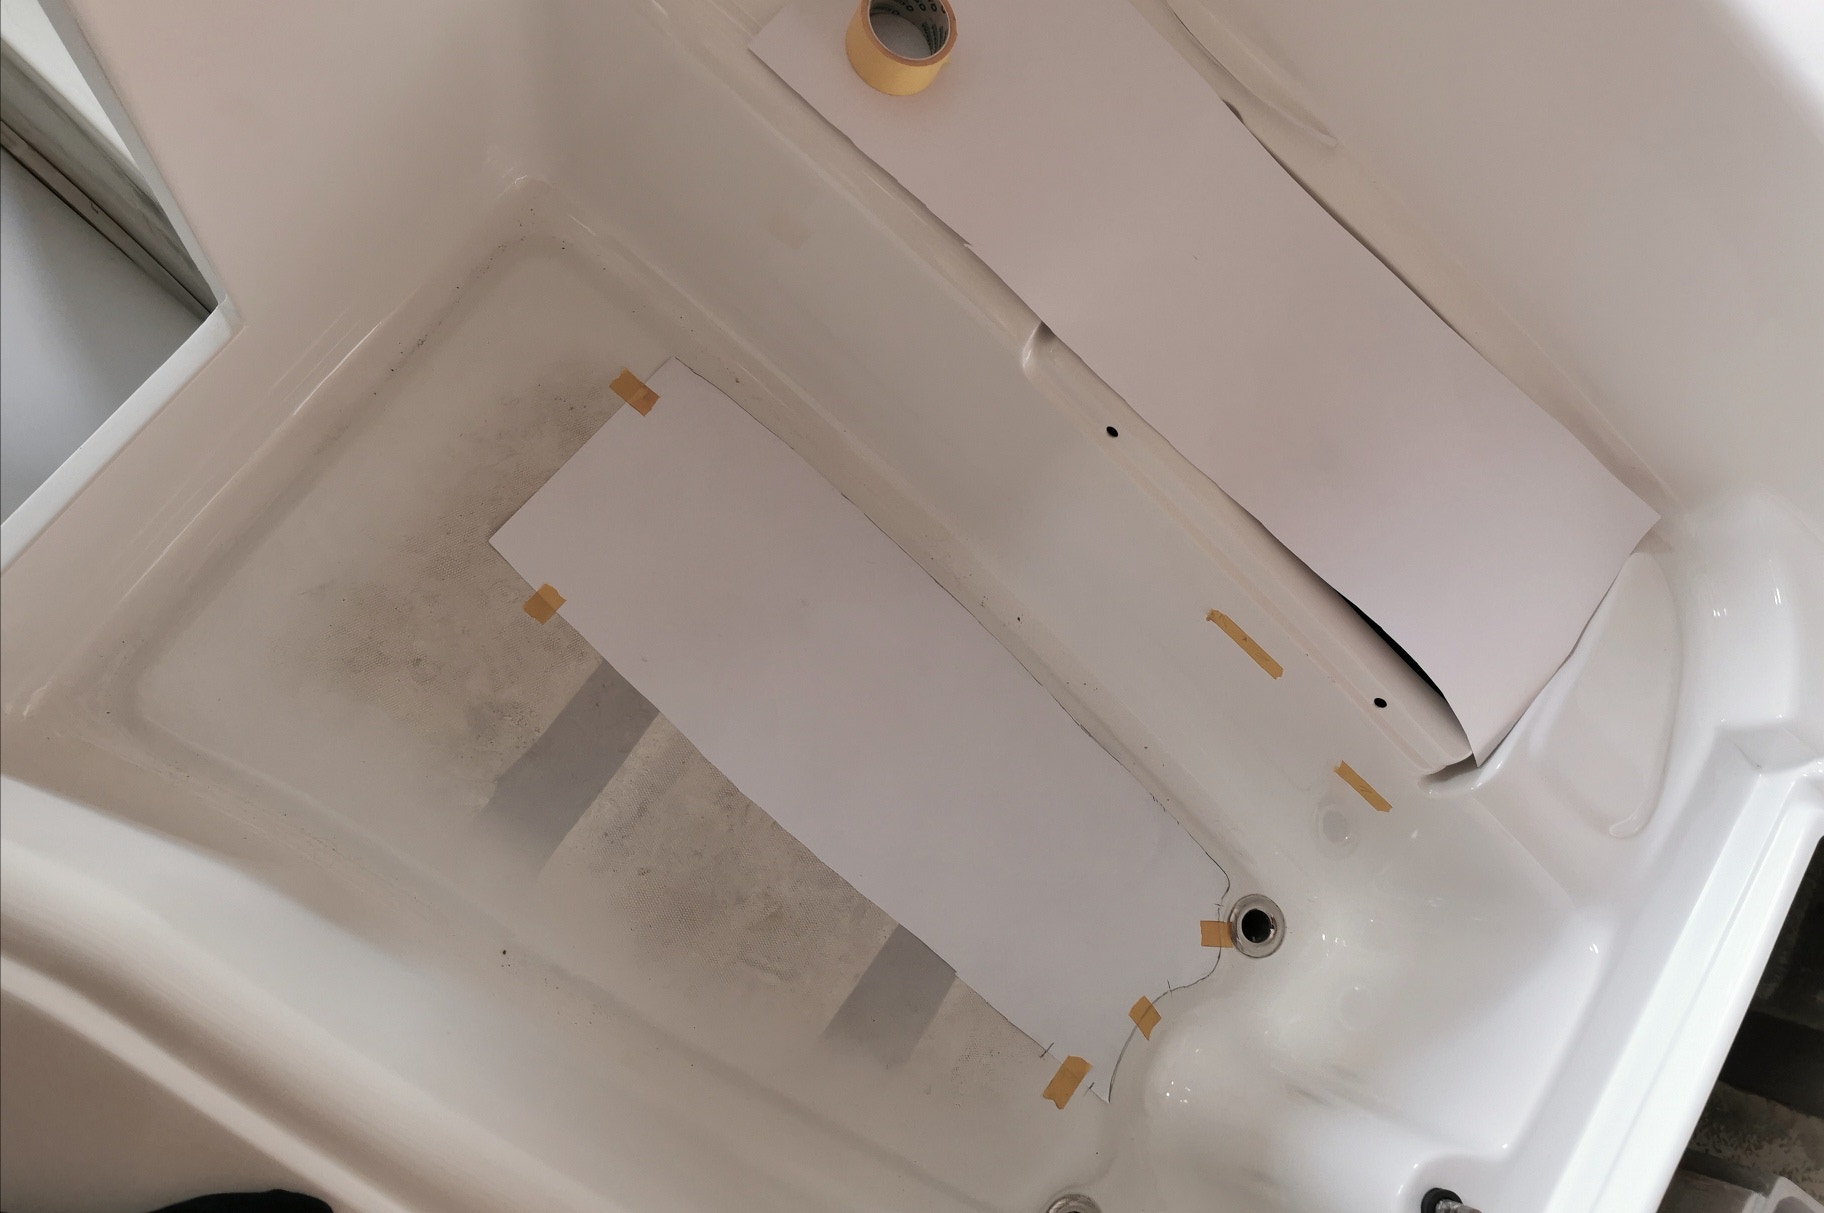
It all starts with creating a cardboard stencil.
21.3.2021
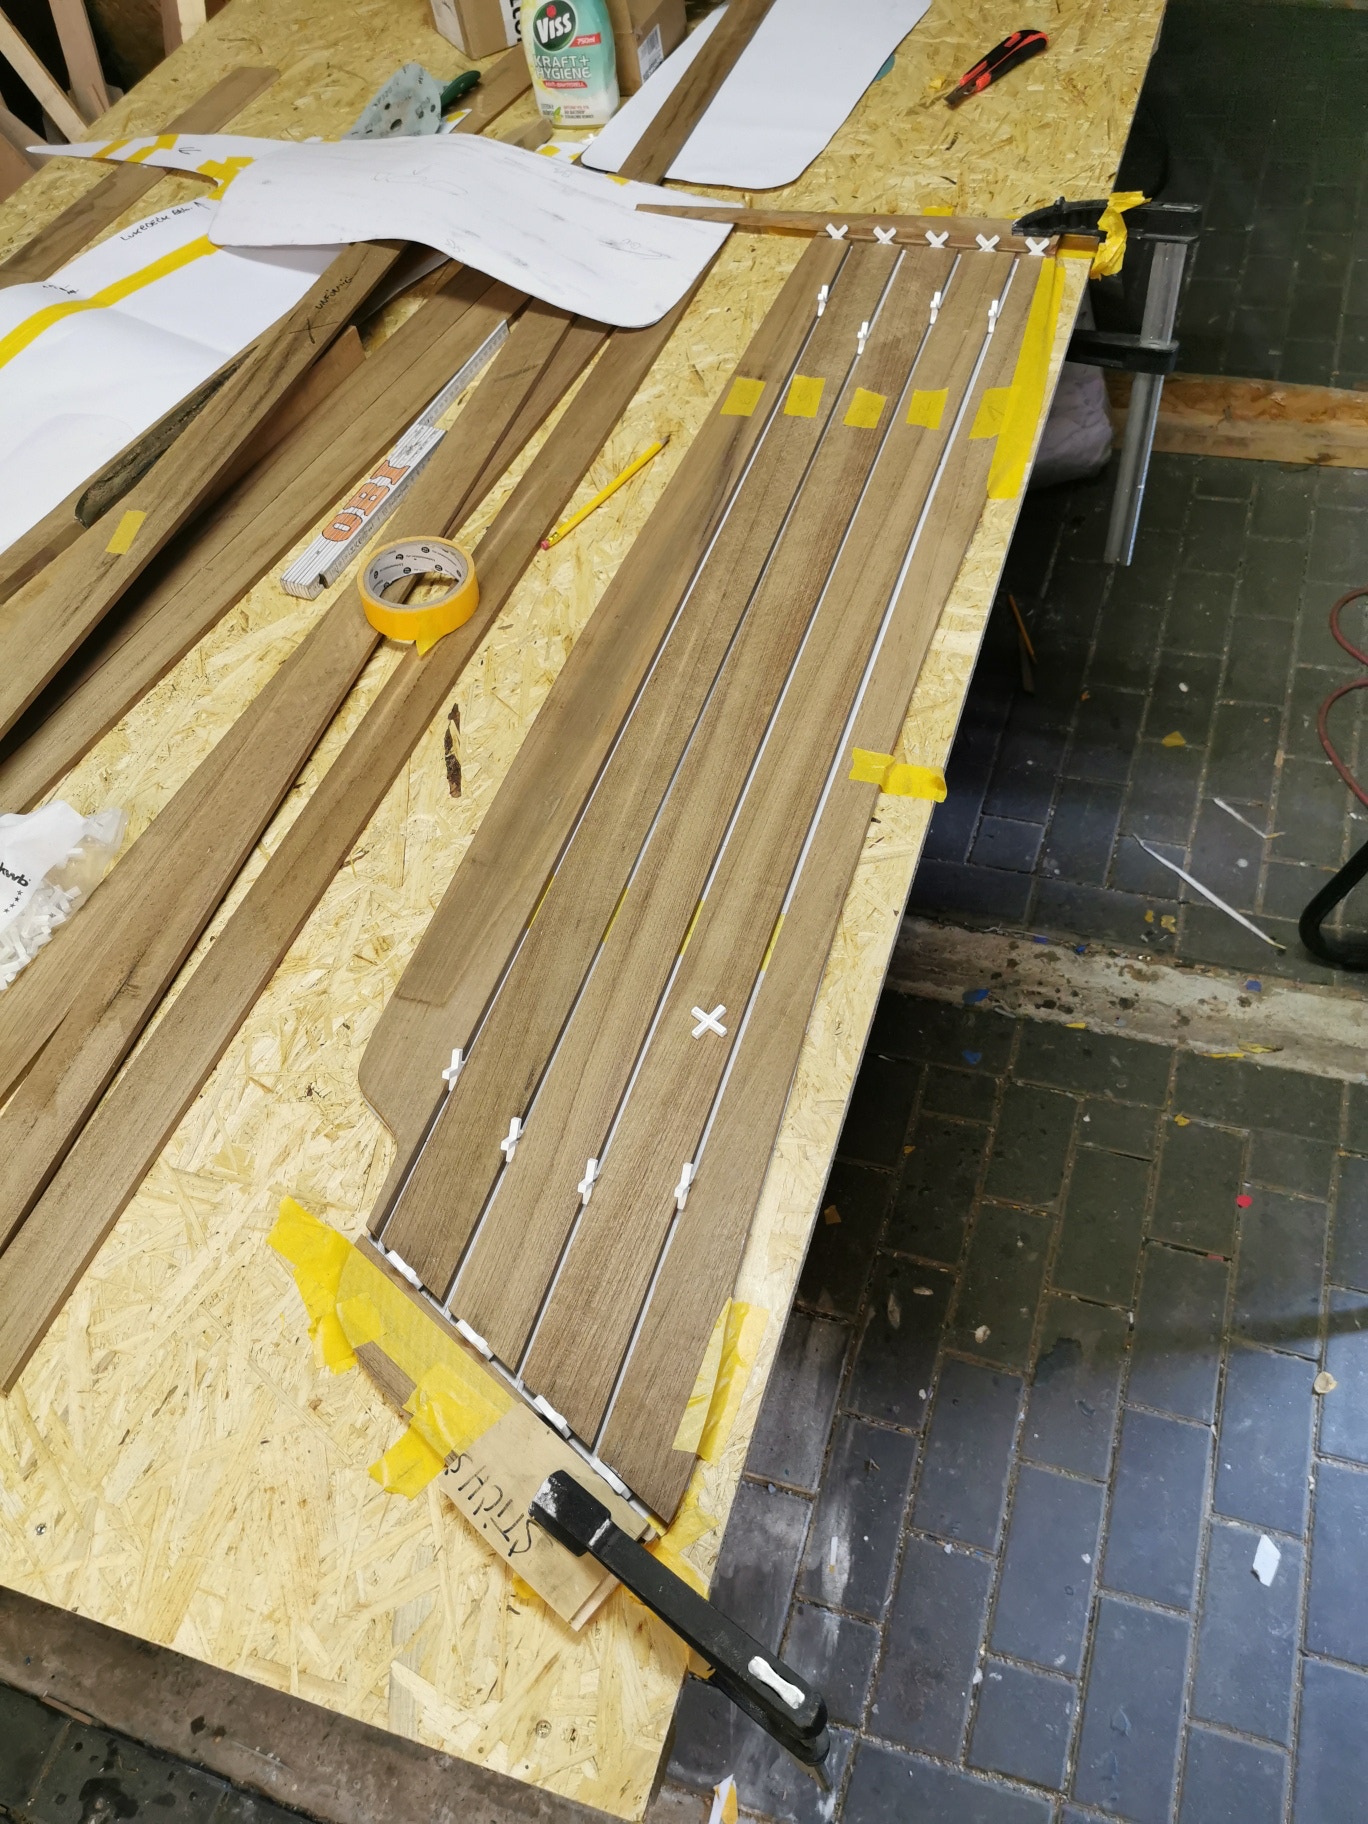
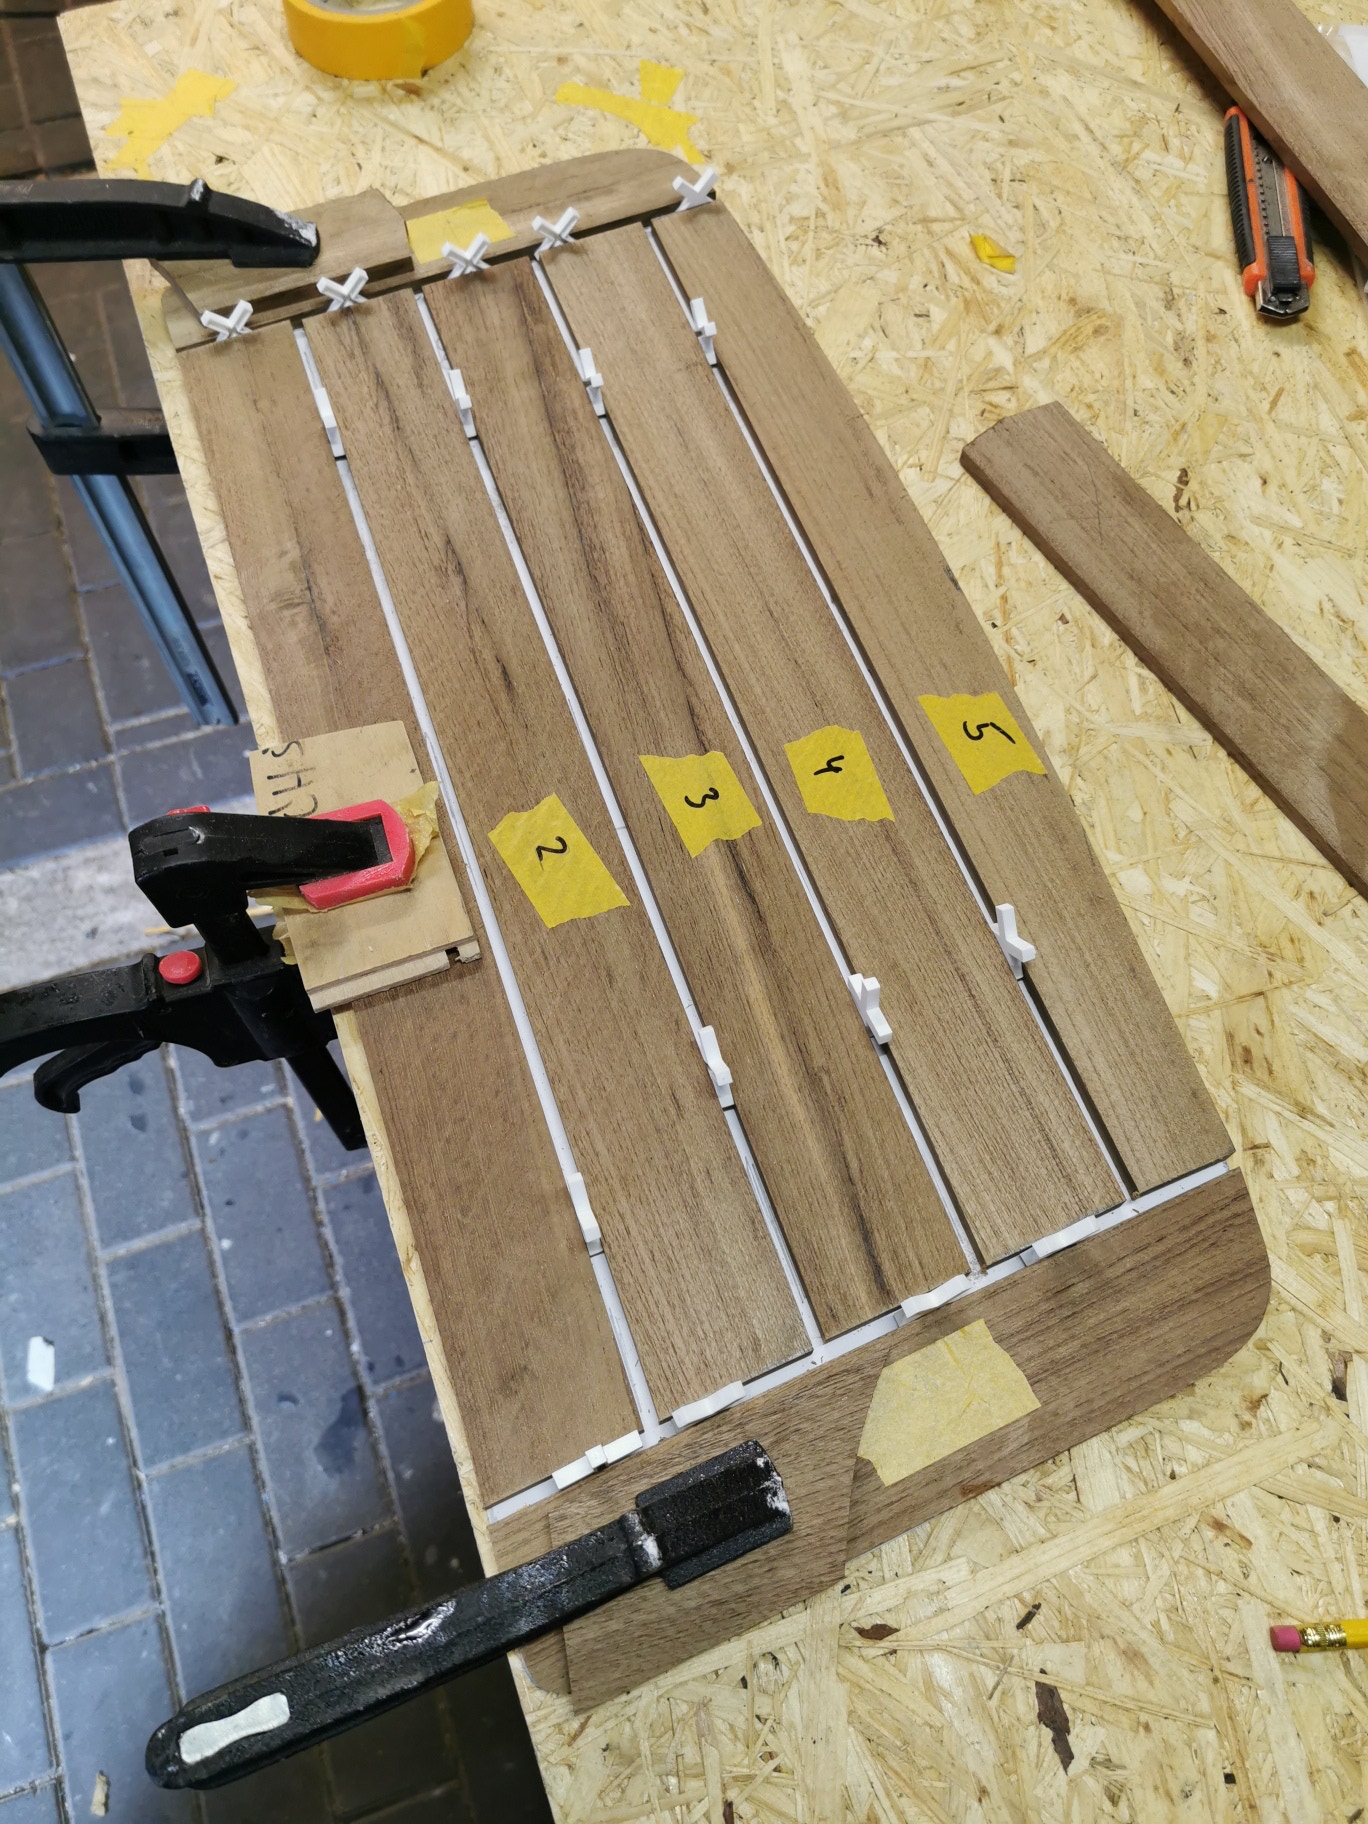
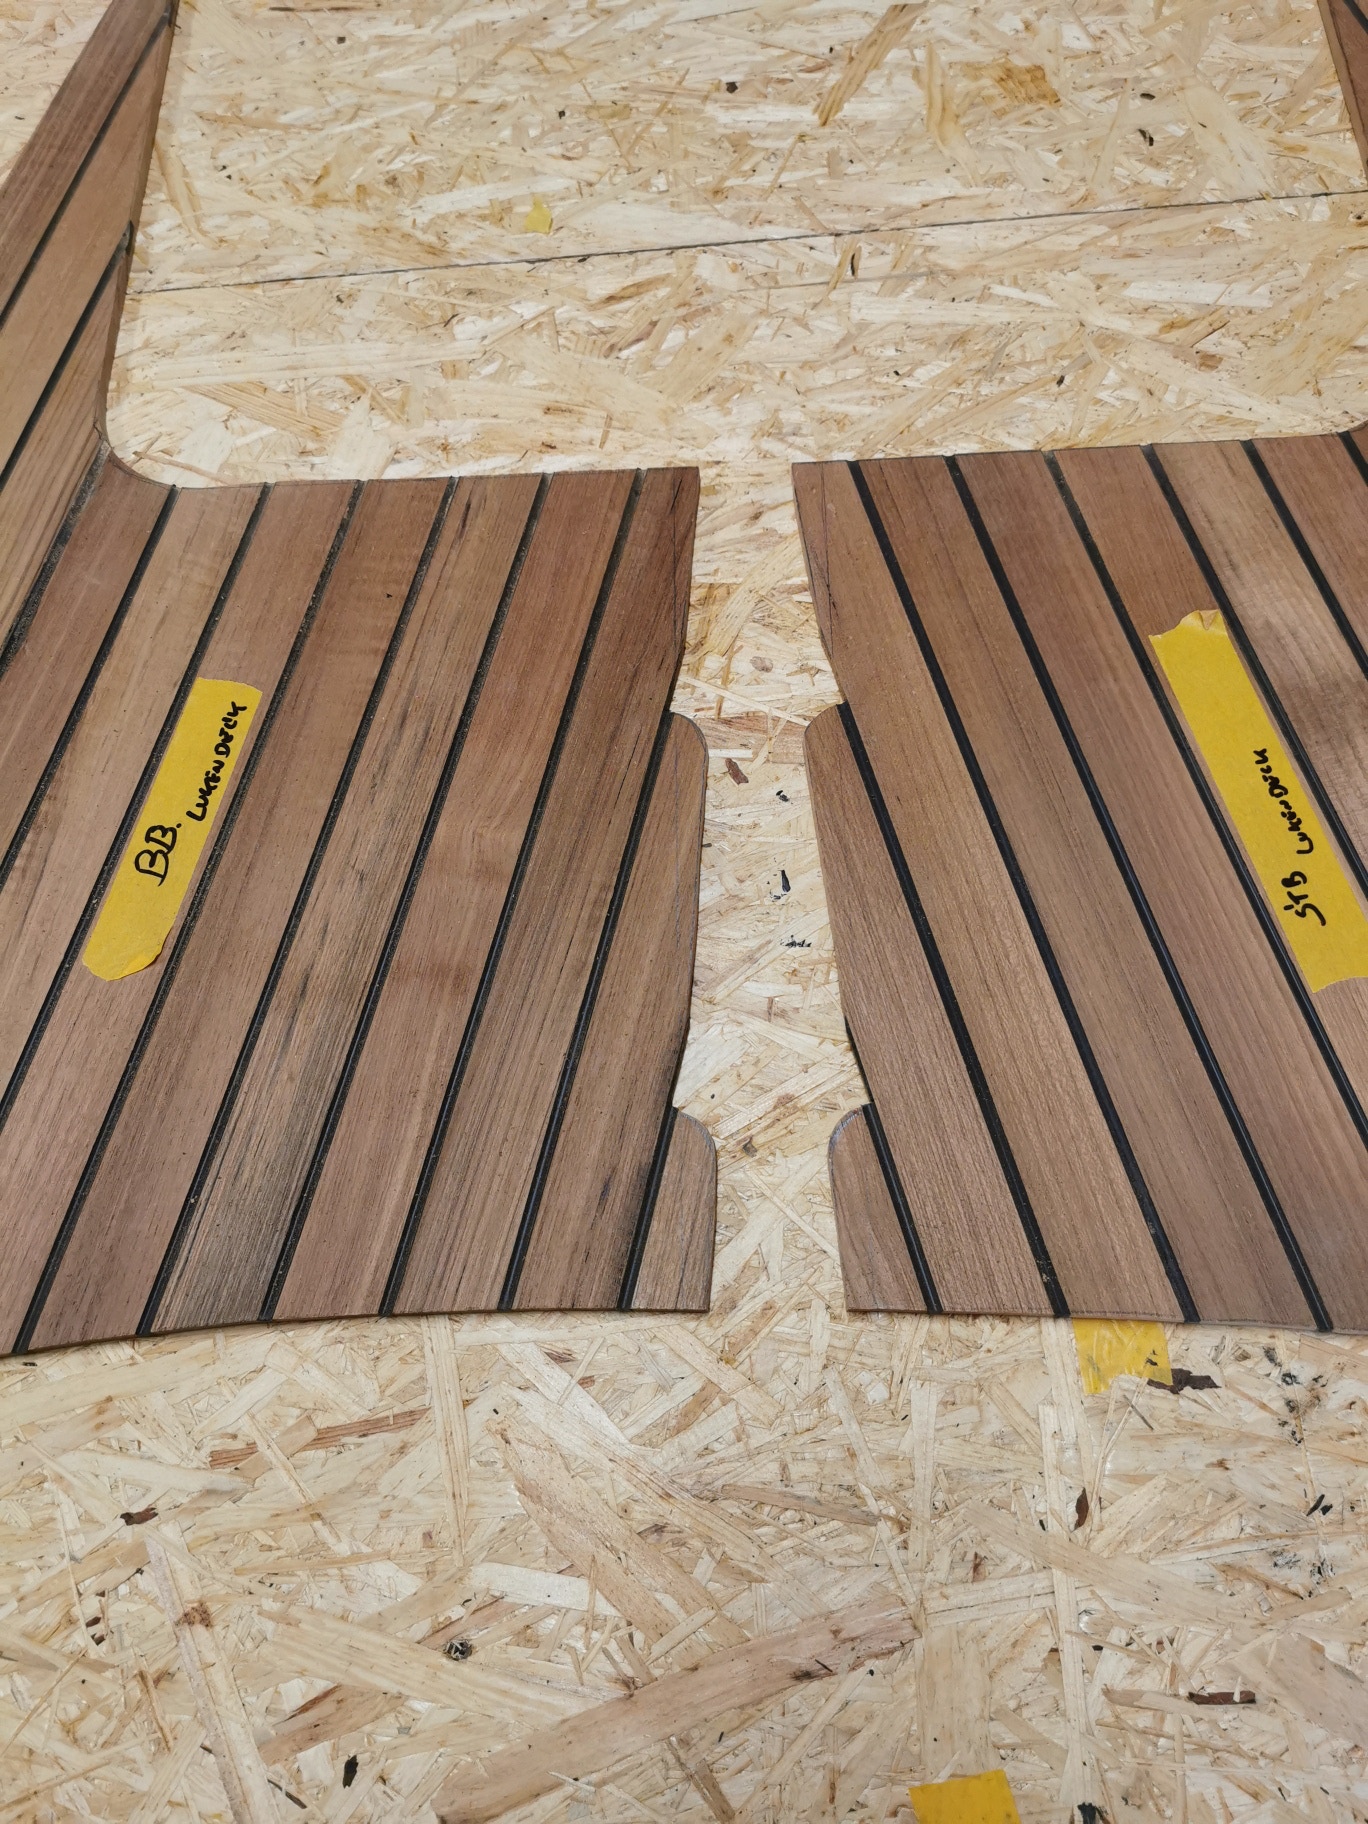
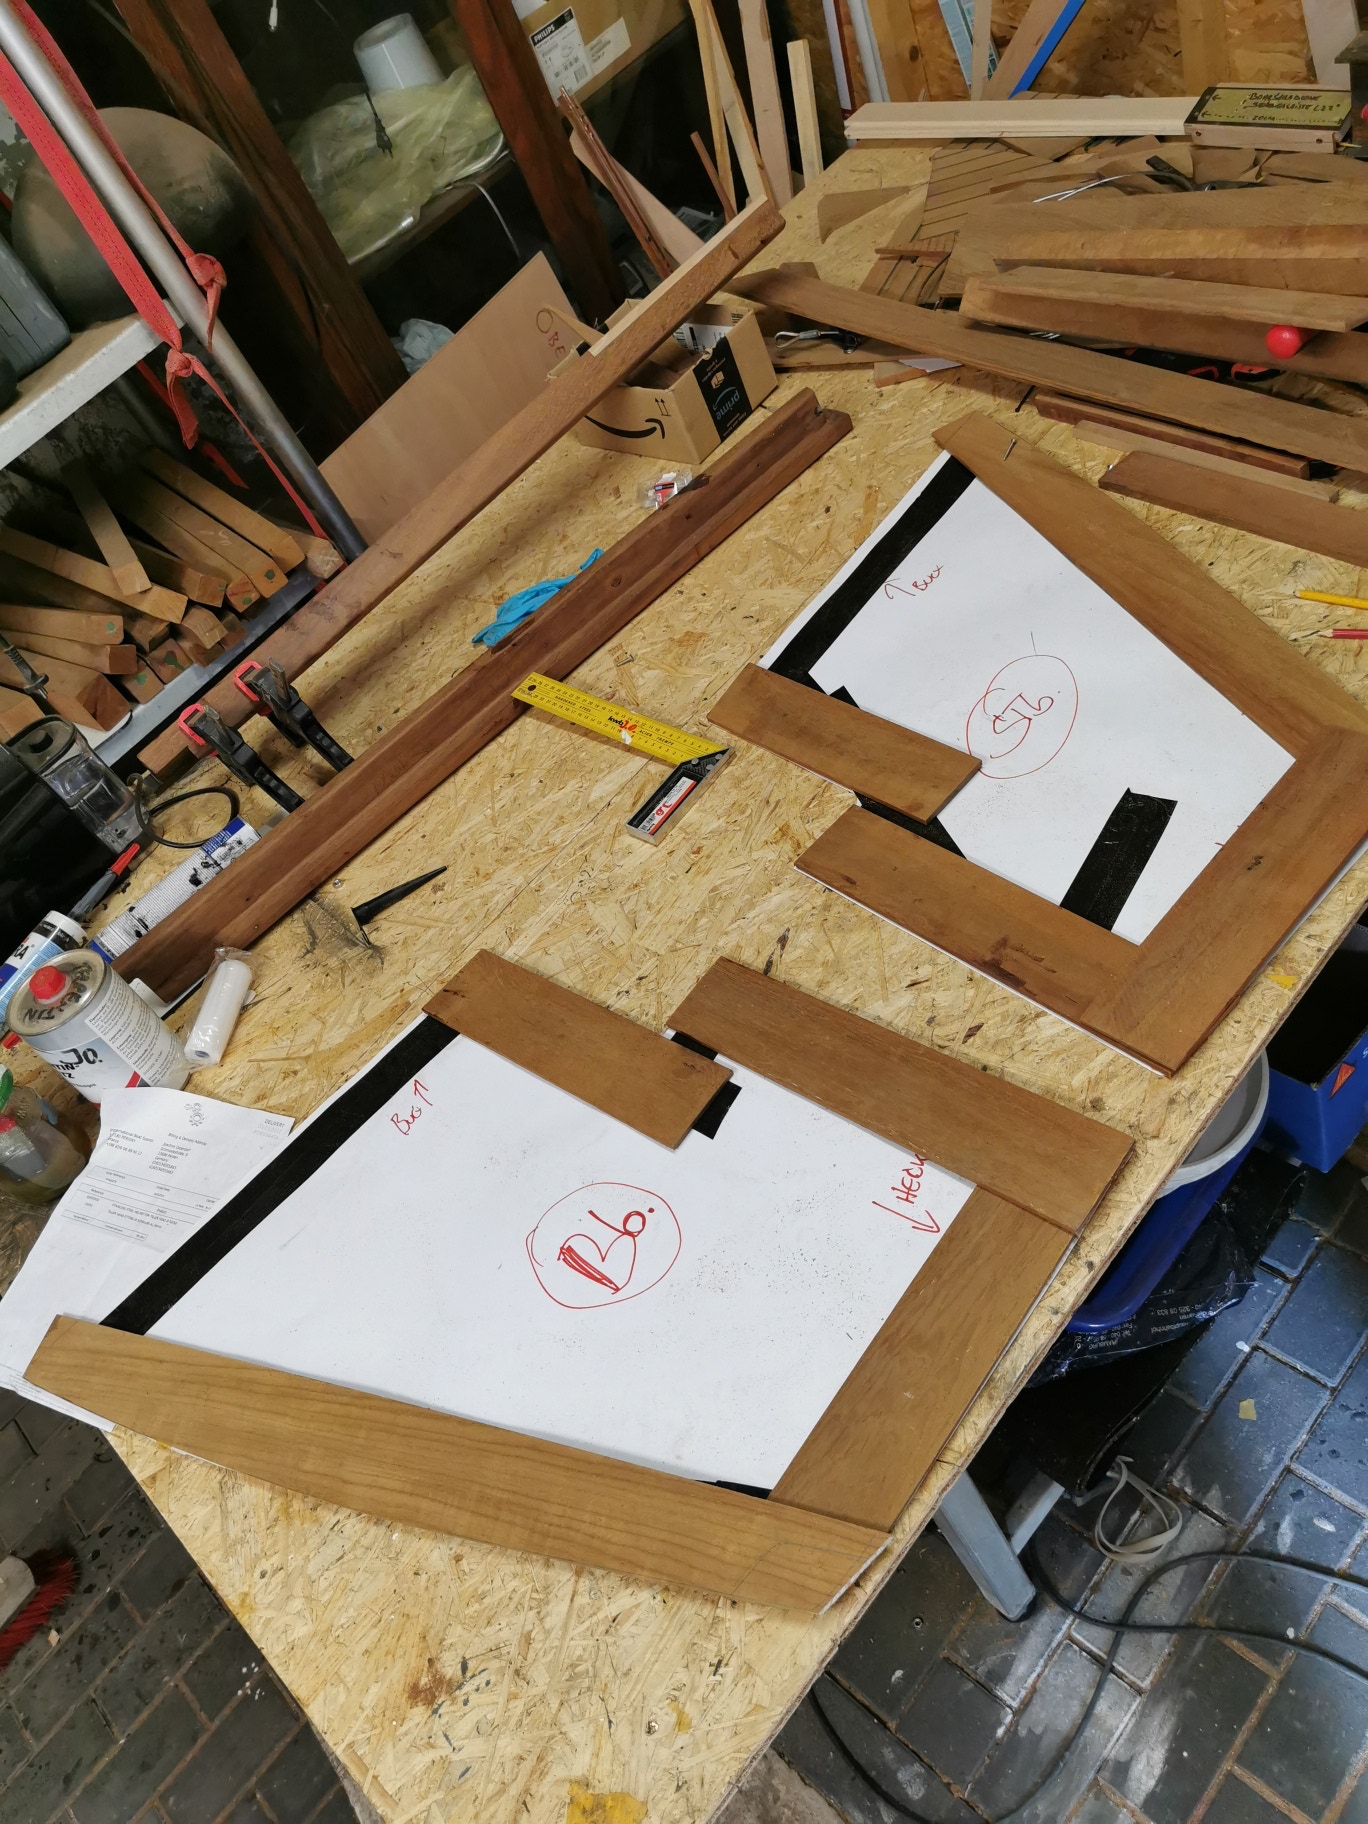
I sawed the teak strips to size with my band saw and sanded every single element to size with my edging bench.
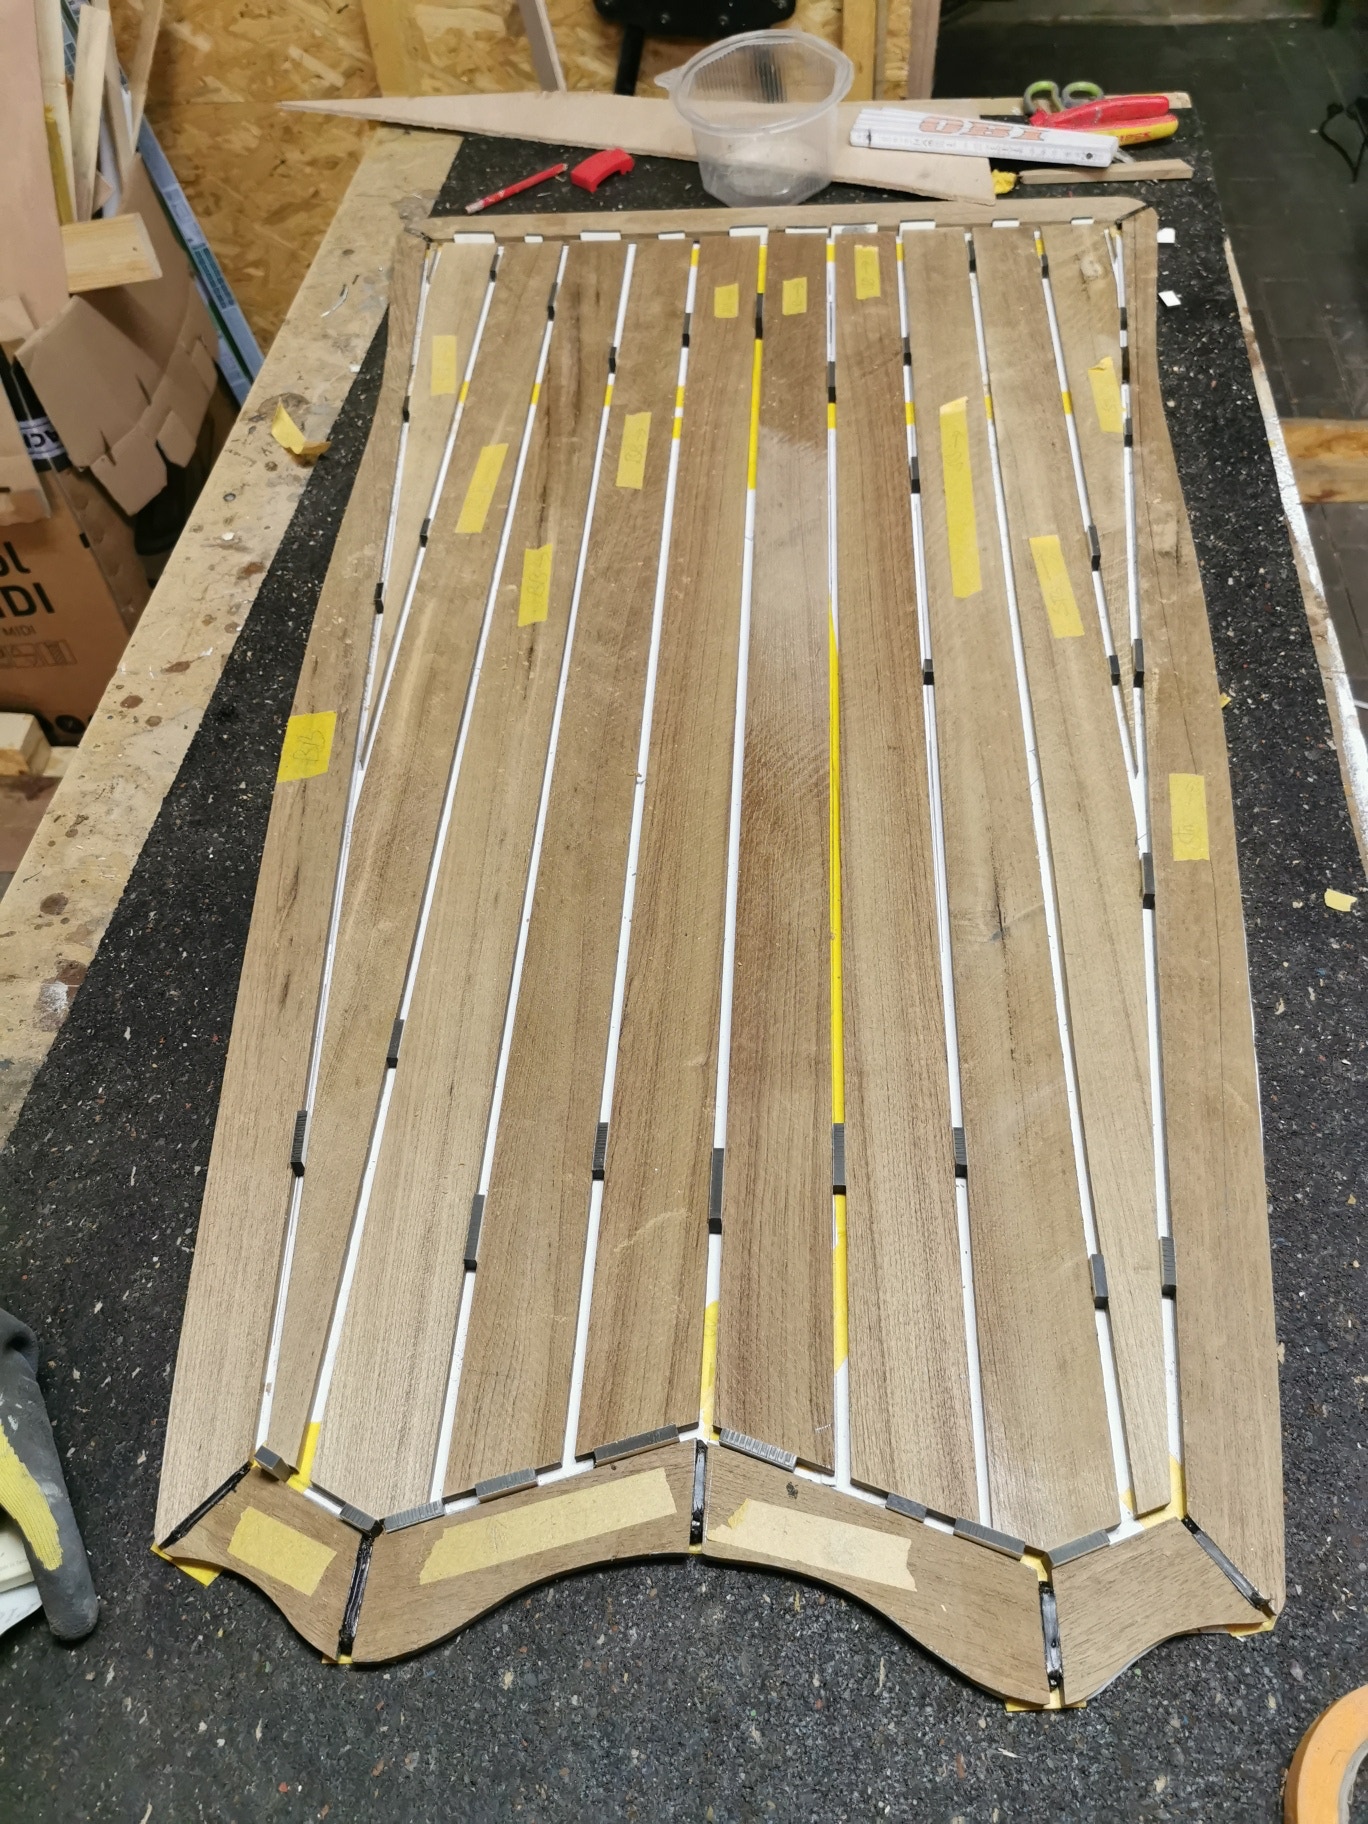
I glued the joints with Sikaflex 290 DC , beforehand I pretreated the edges to be glued with Sikaflex Multiprimer Marine so that everything would stick together later.

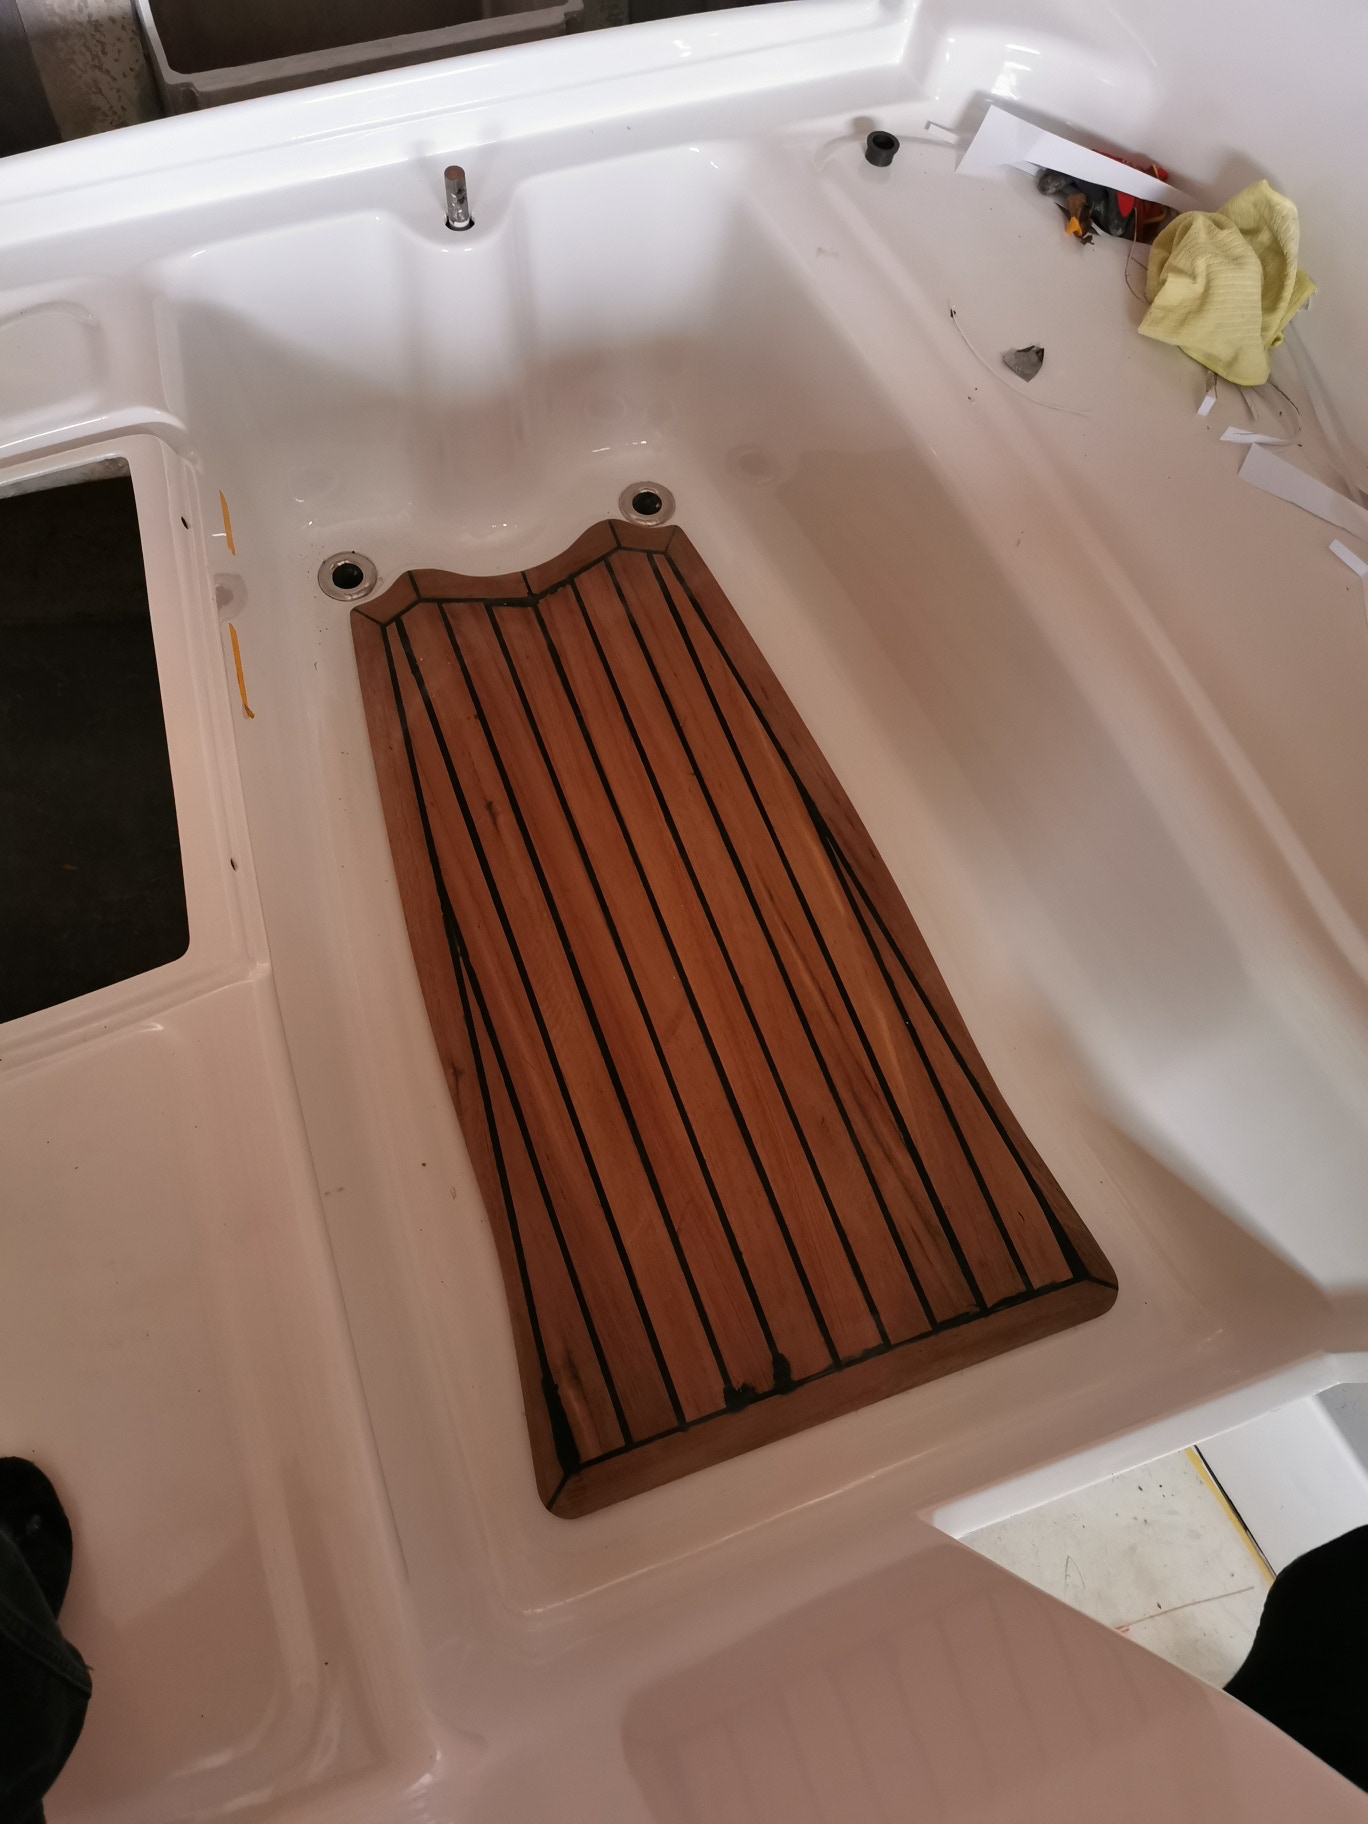

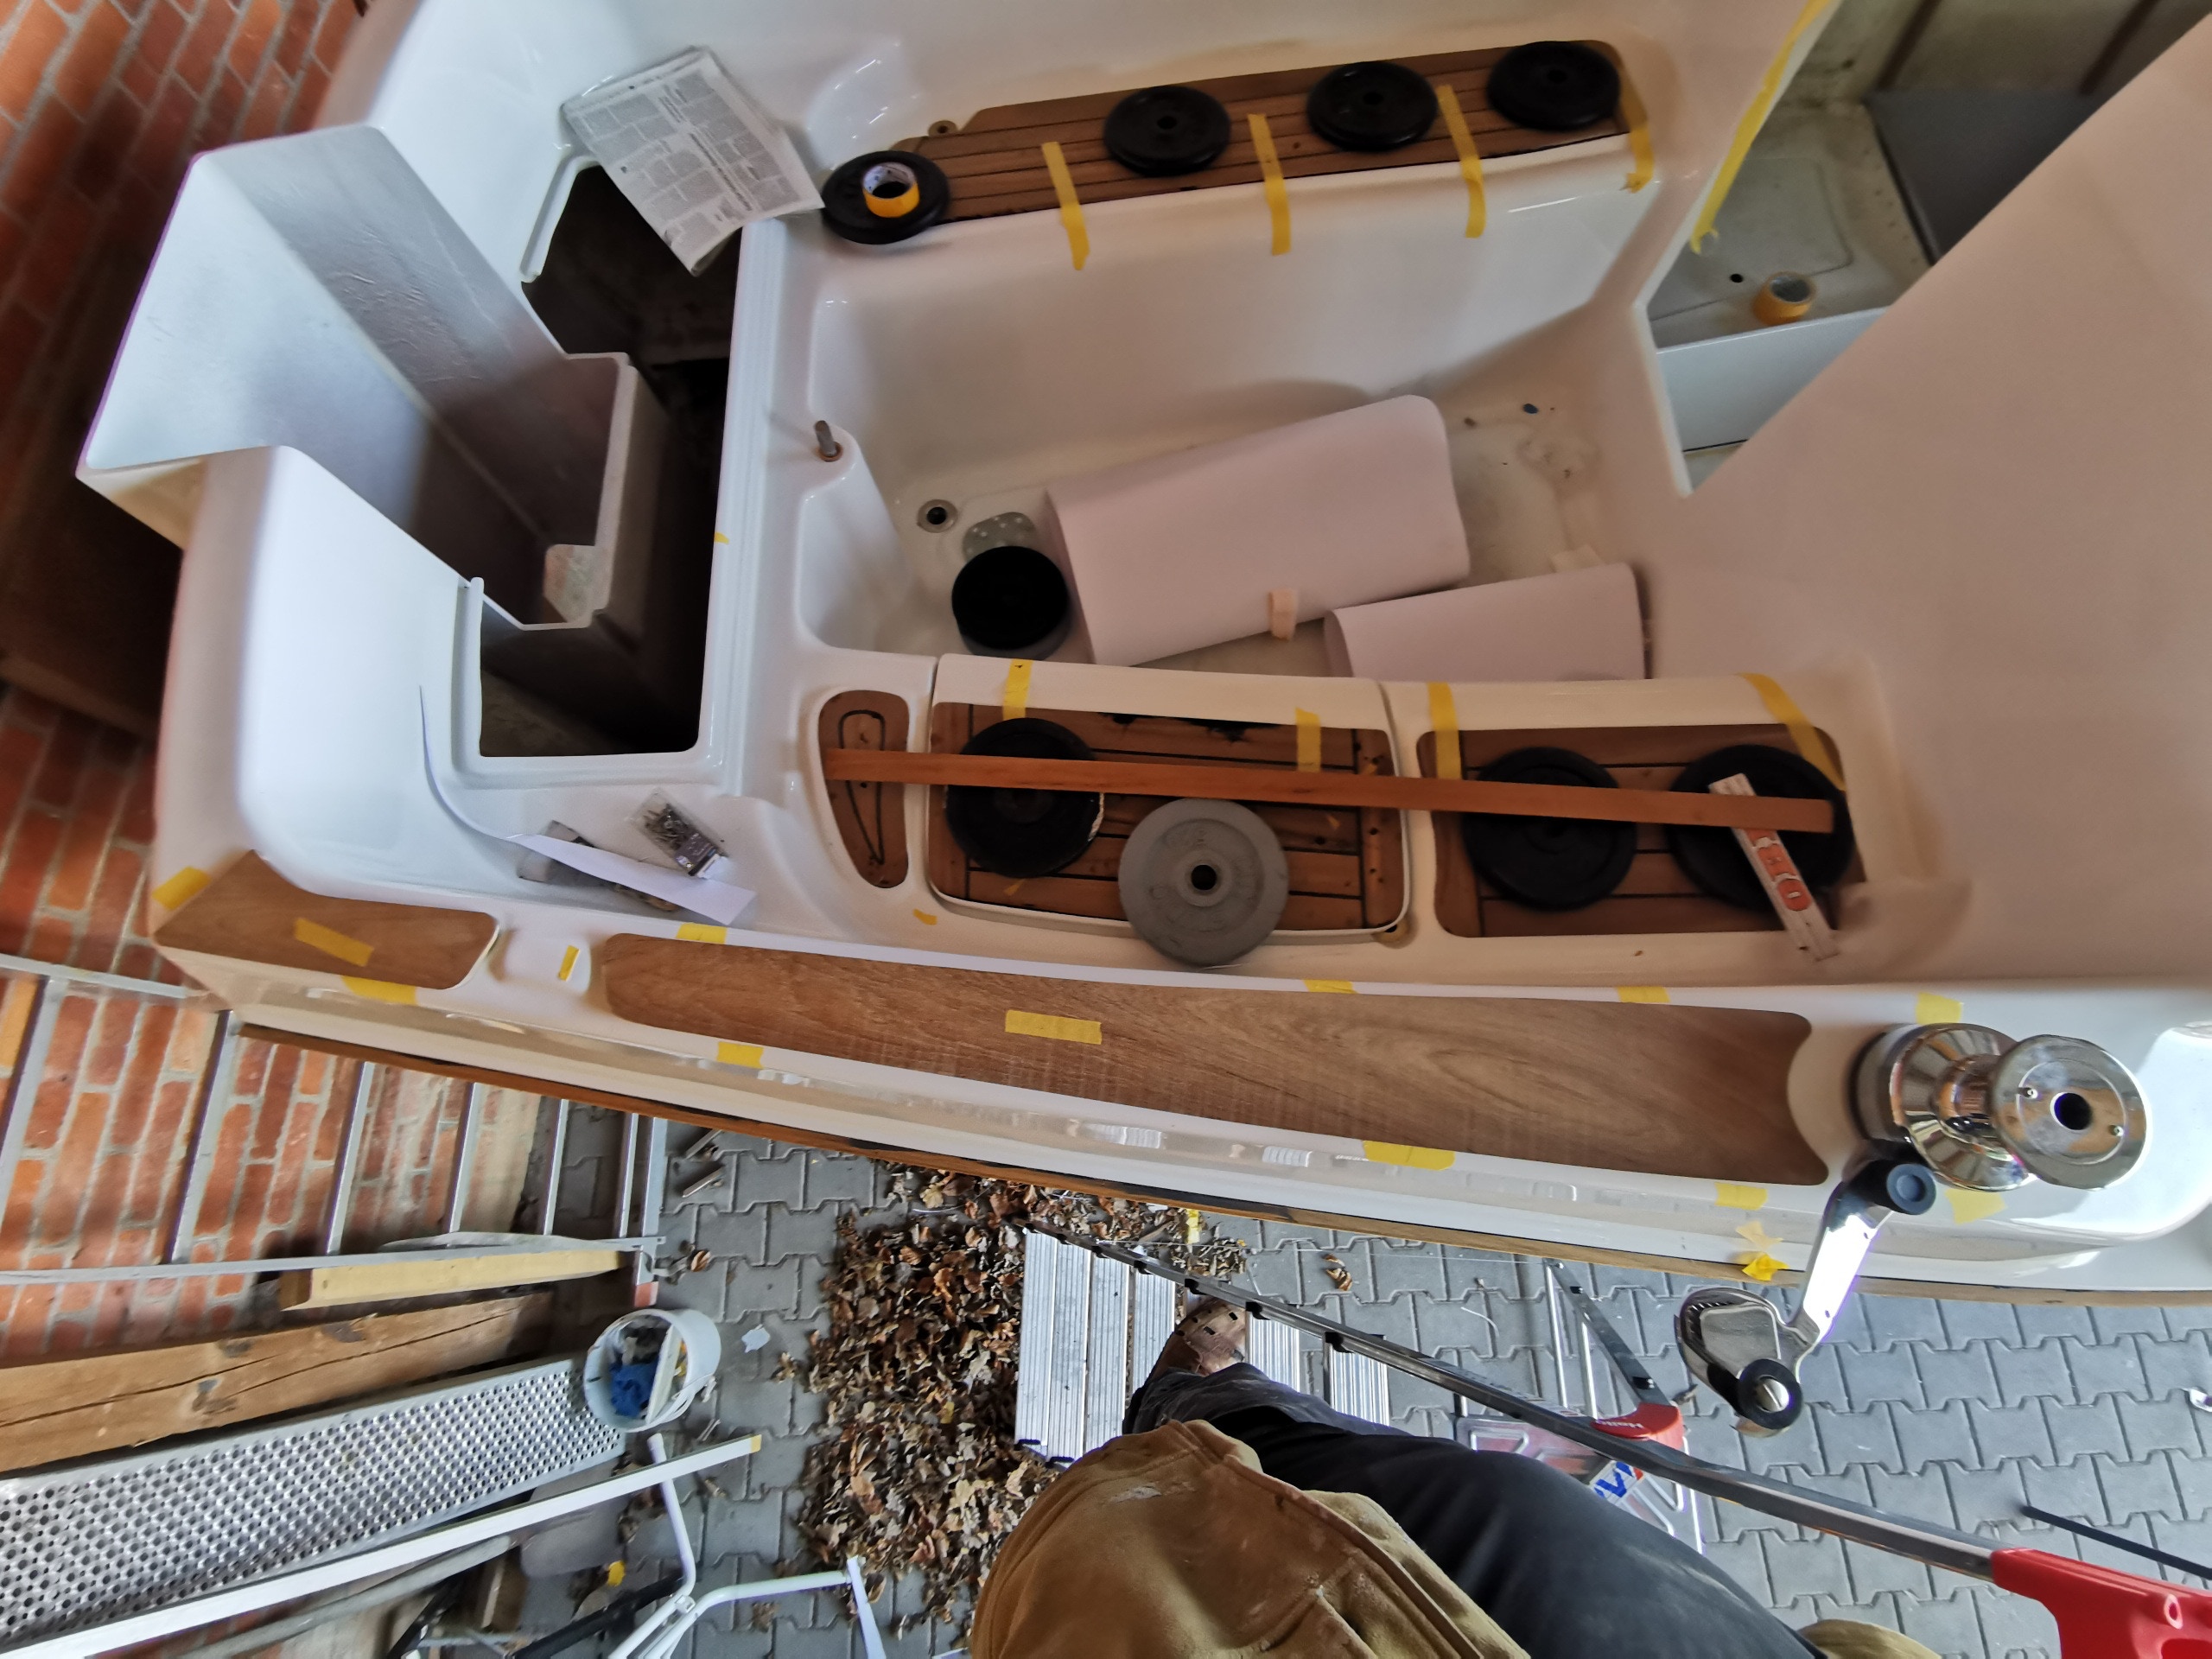
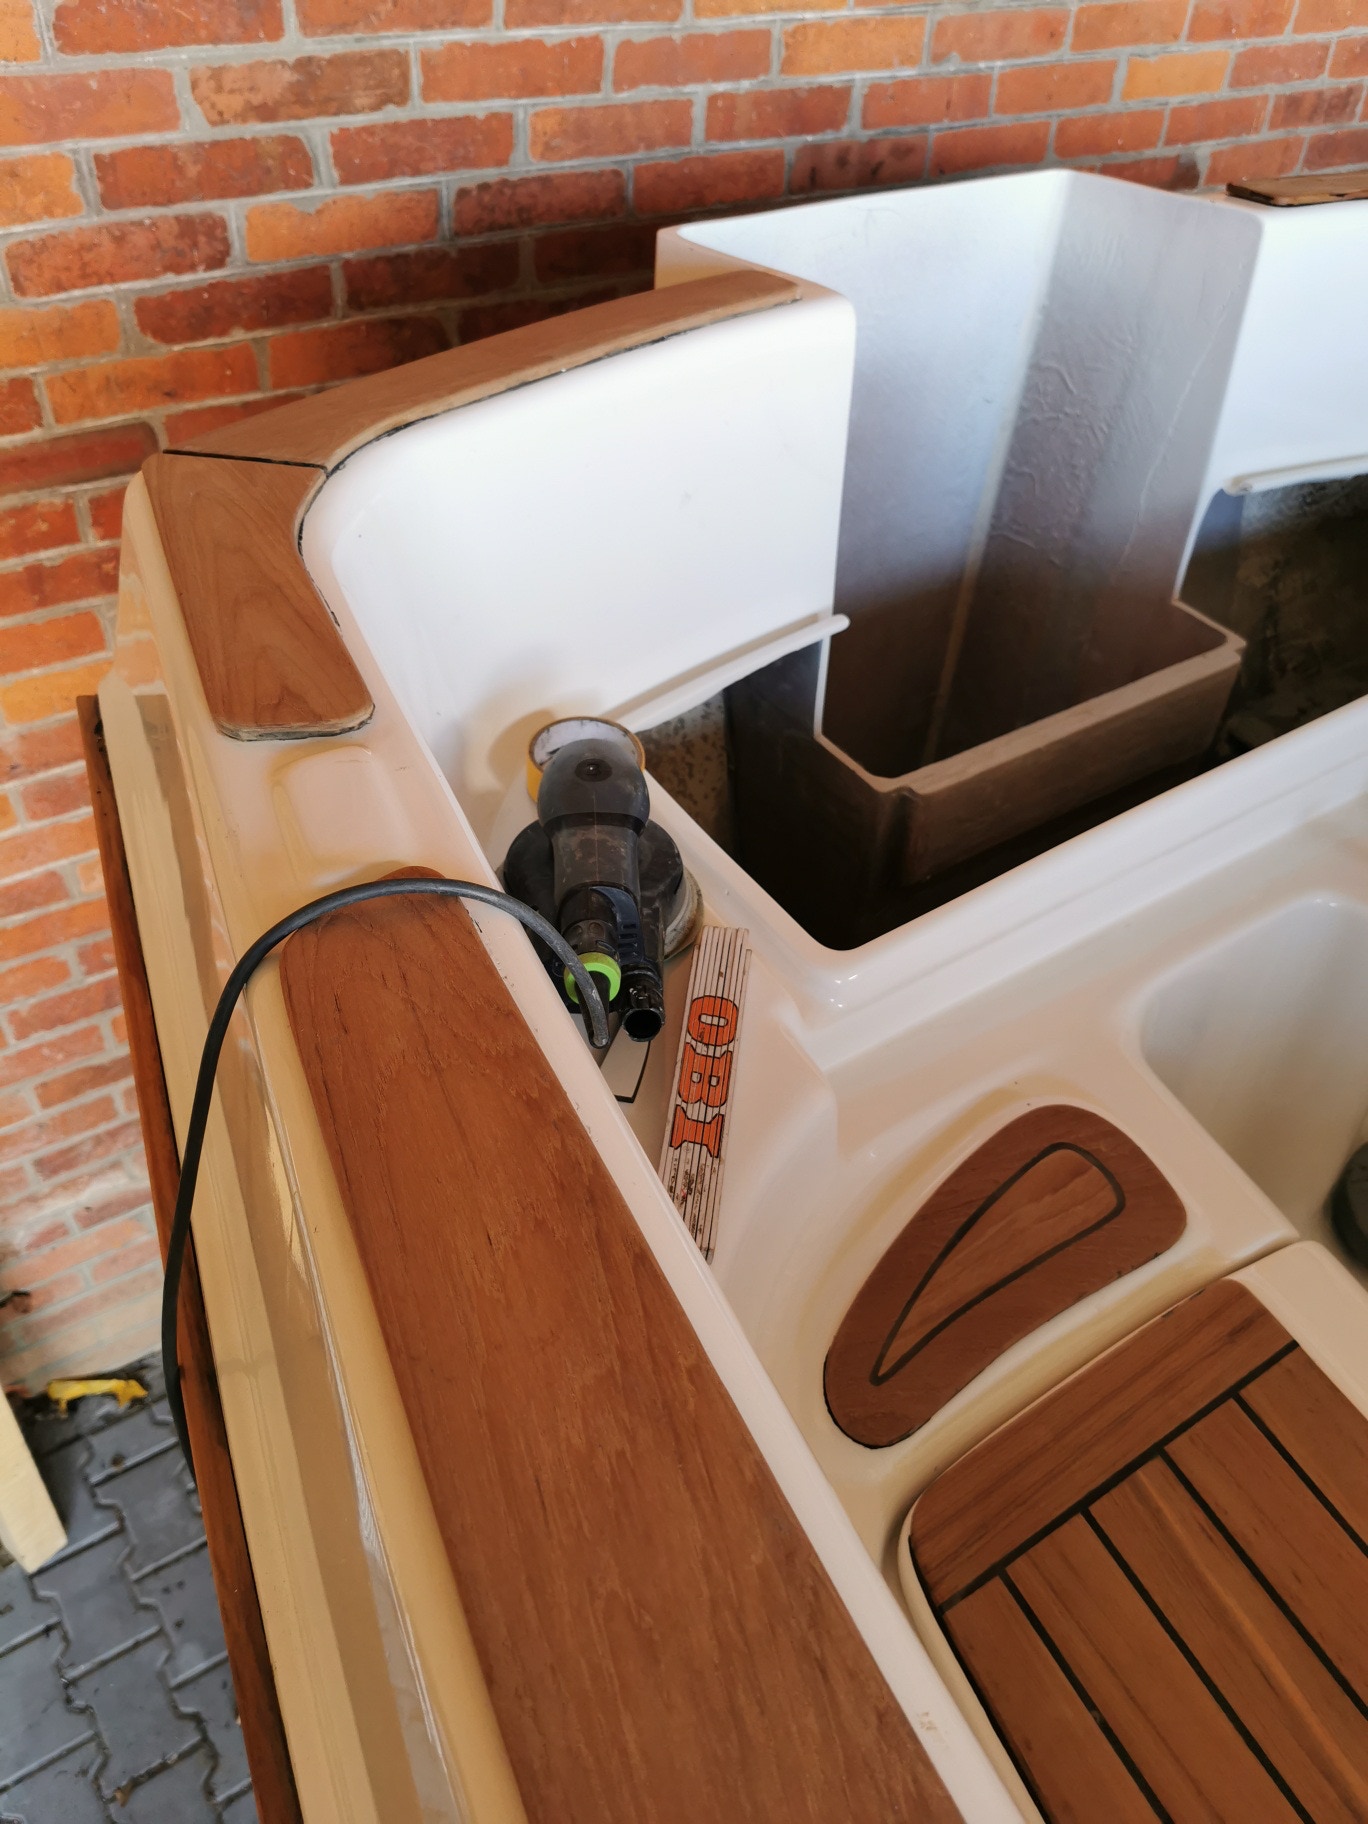
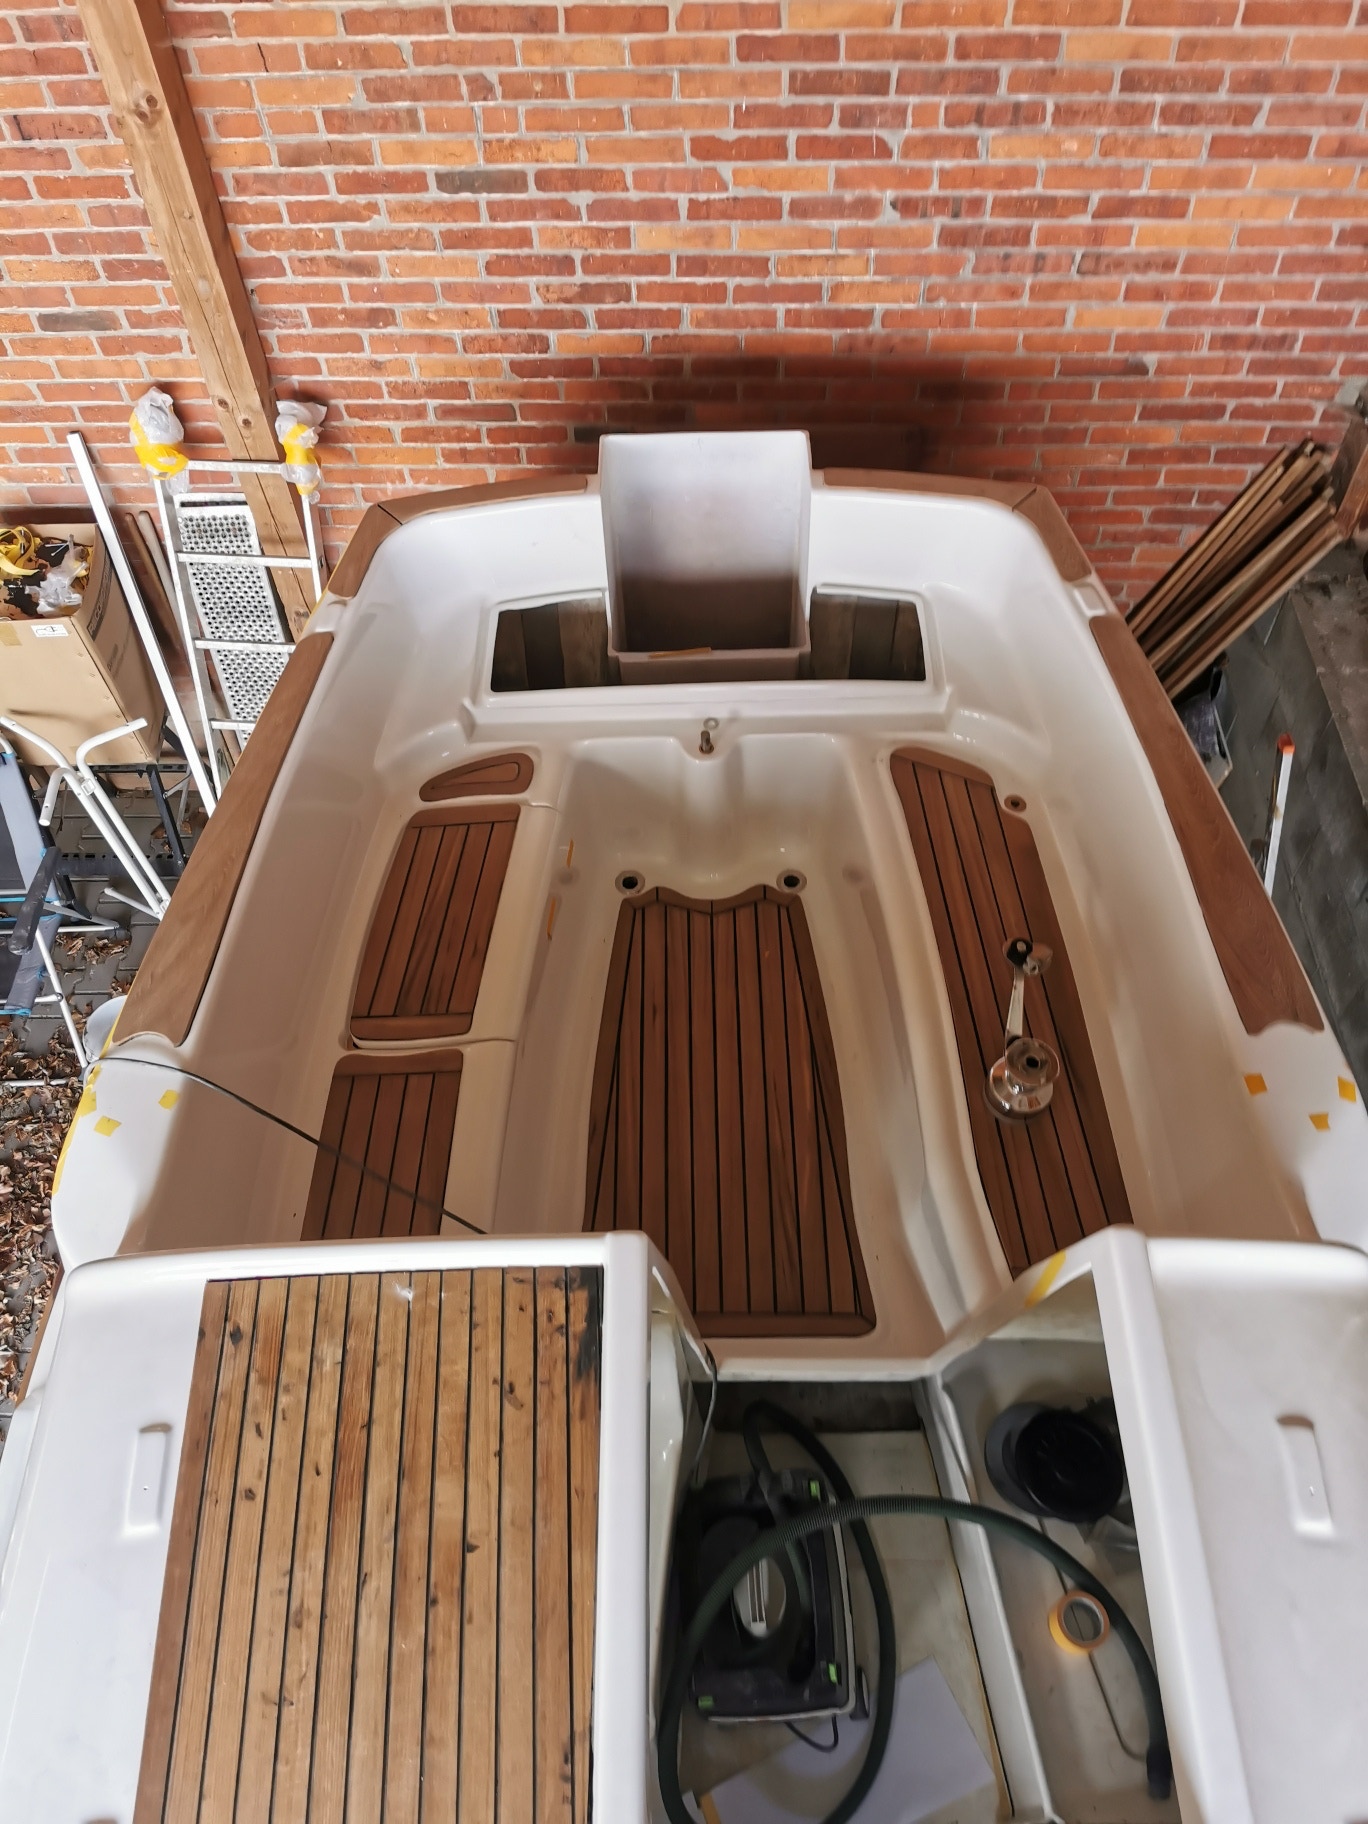
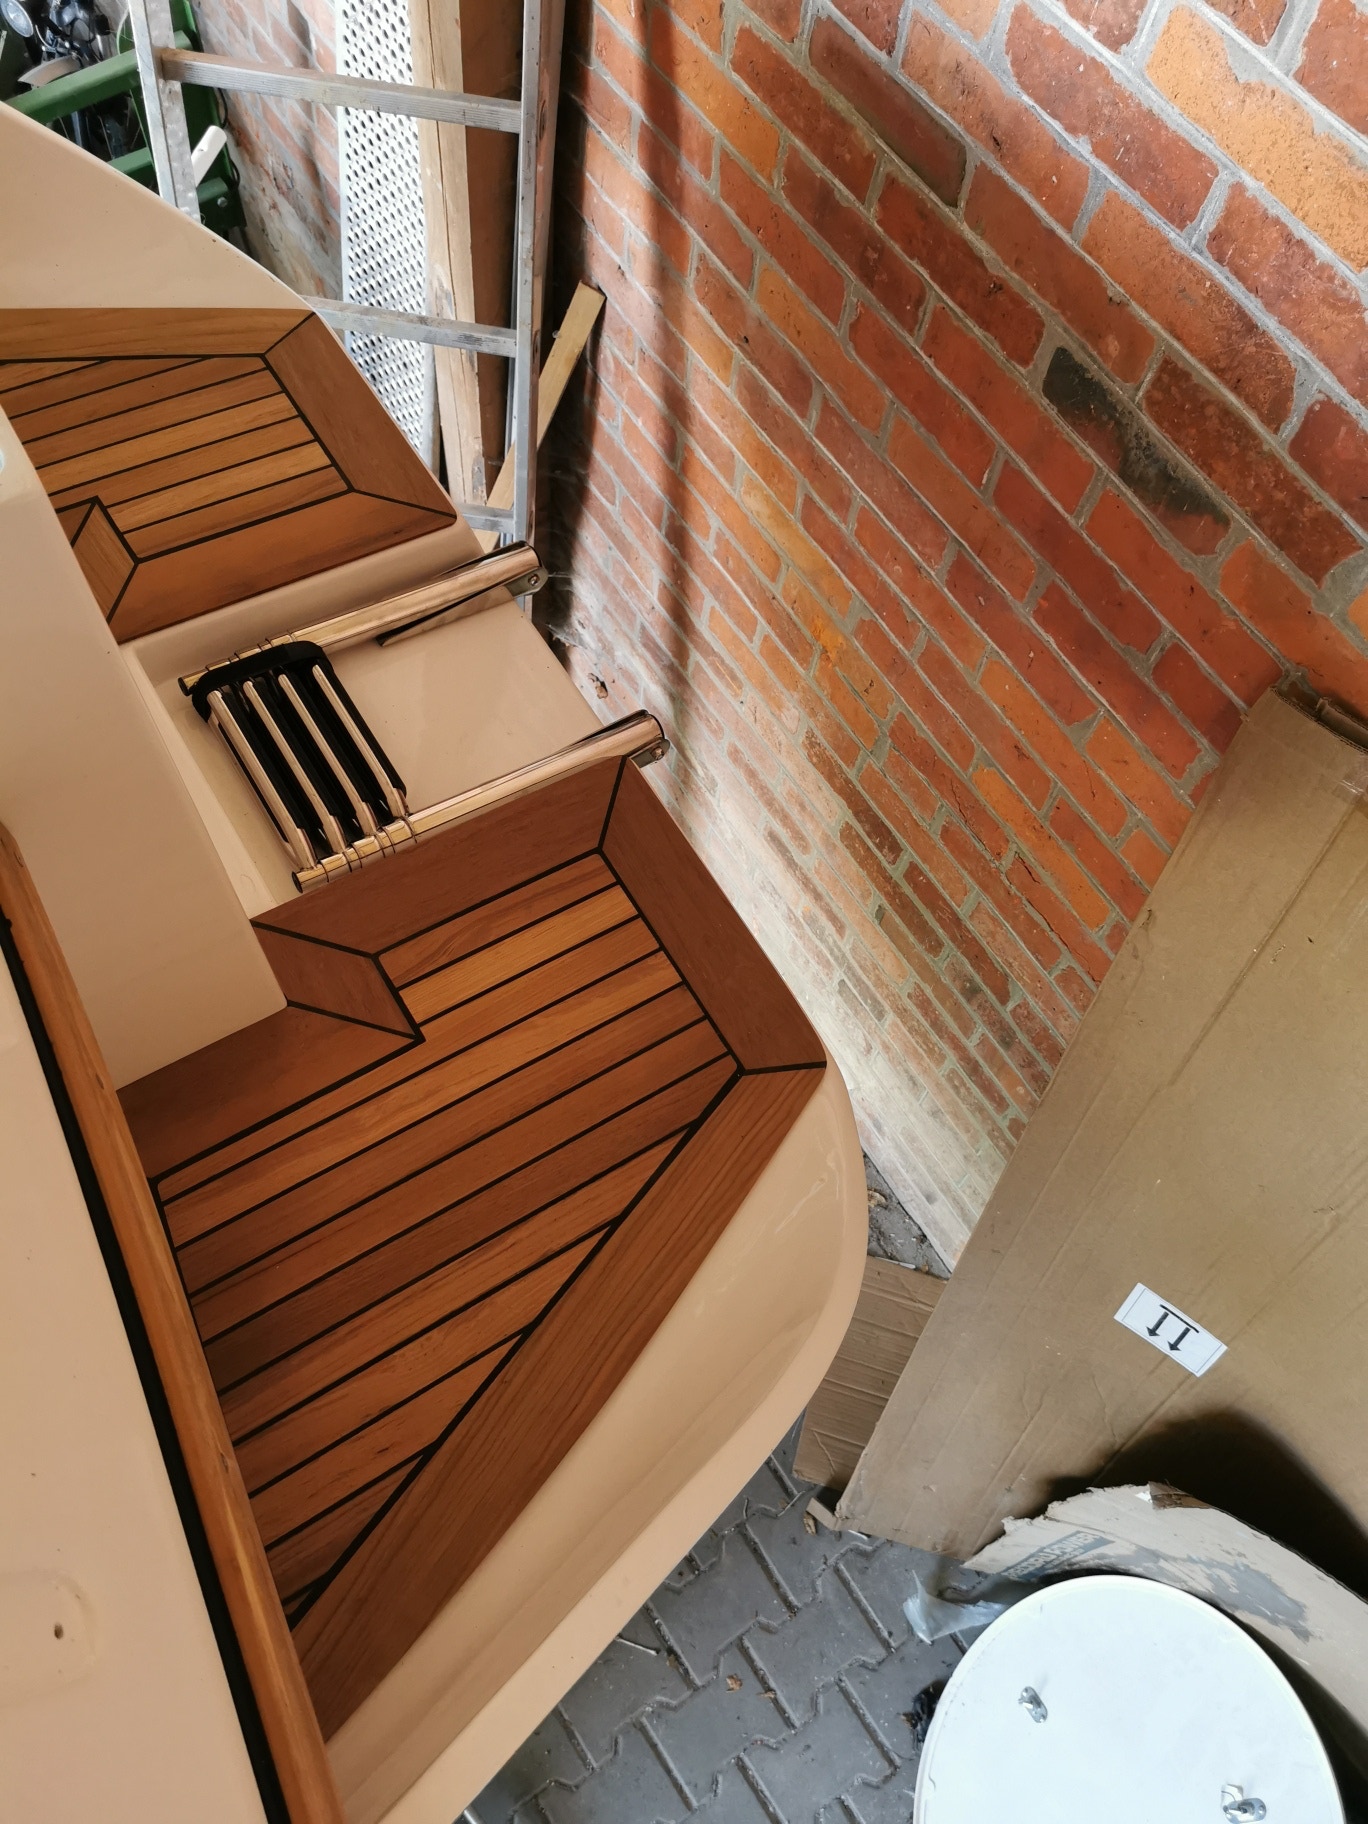
The teak floor for the cockpit is ready, now the seats in the cockpit area are next.
Only dare to create your teak work! I'm doing it for the first time too.
28.3.2021
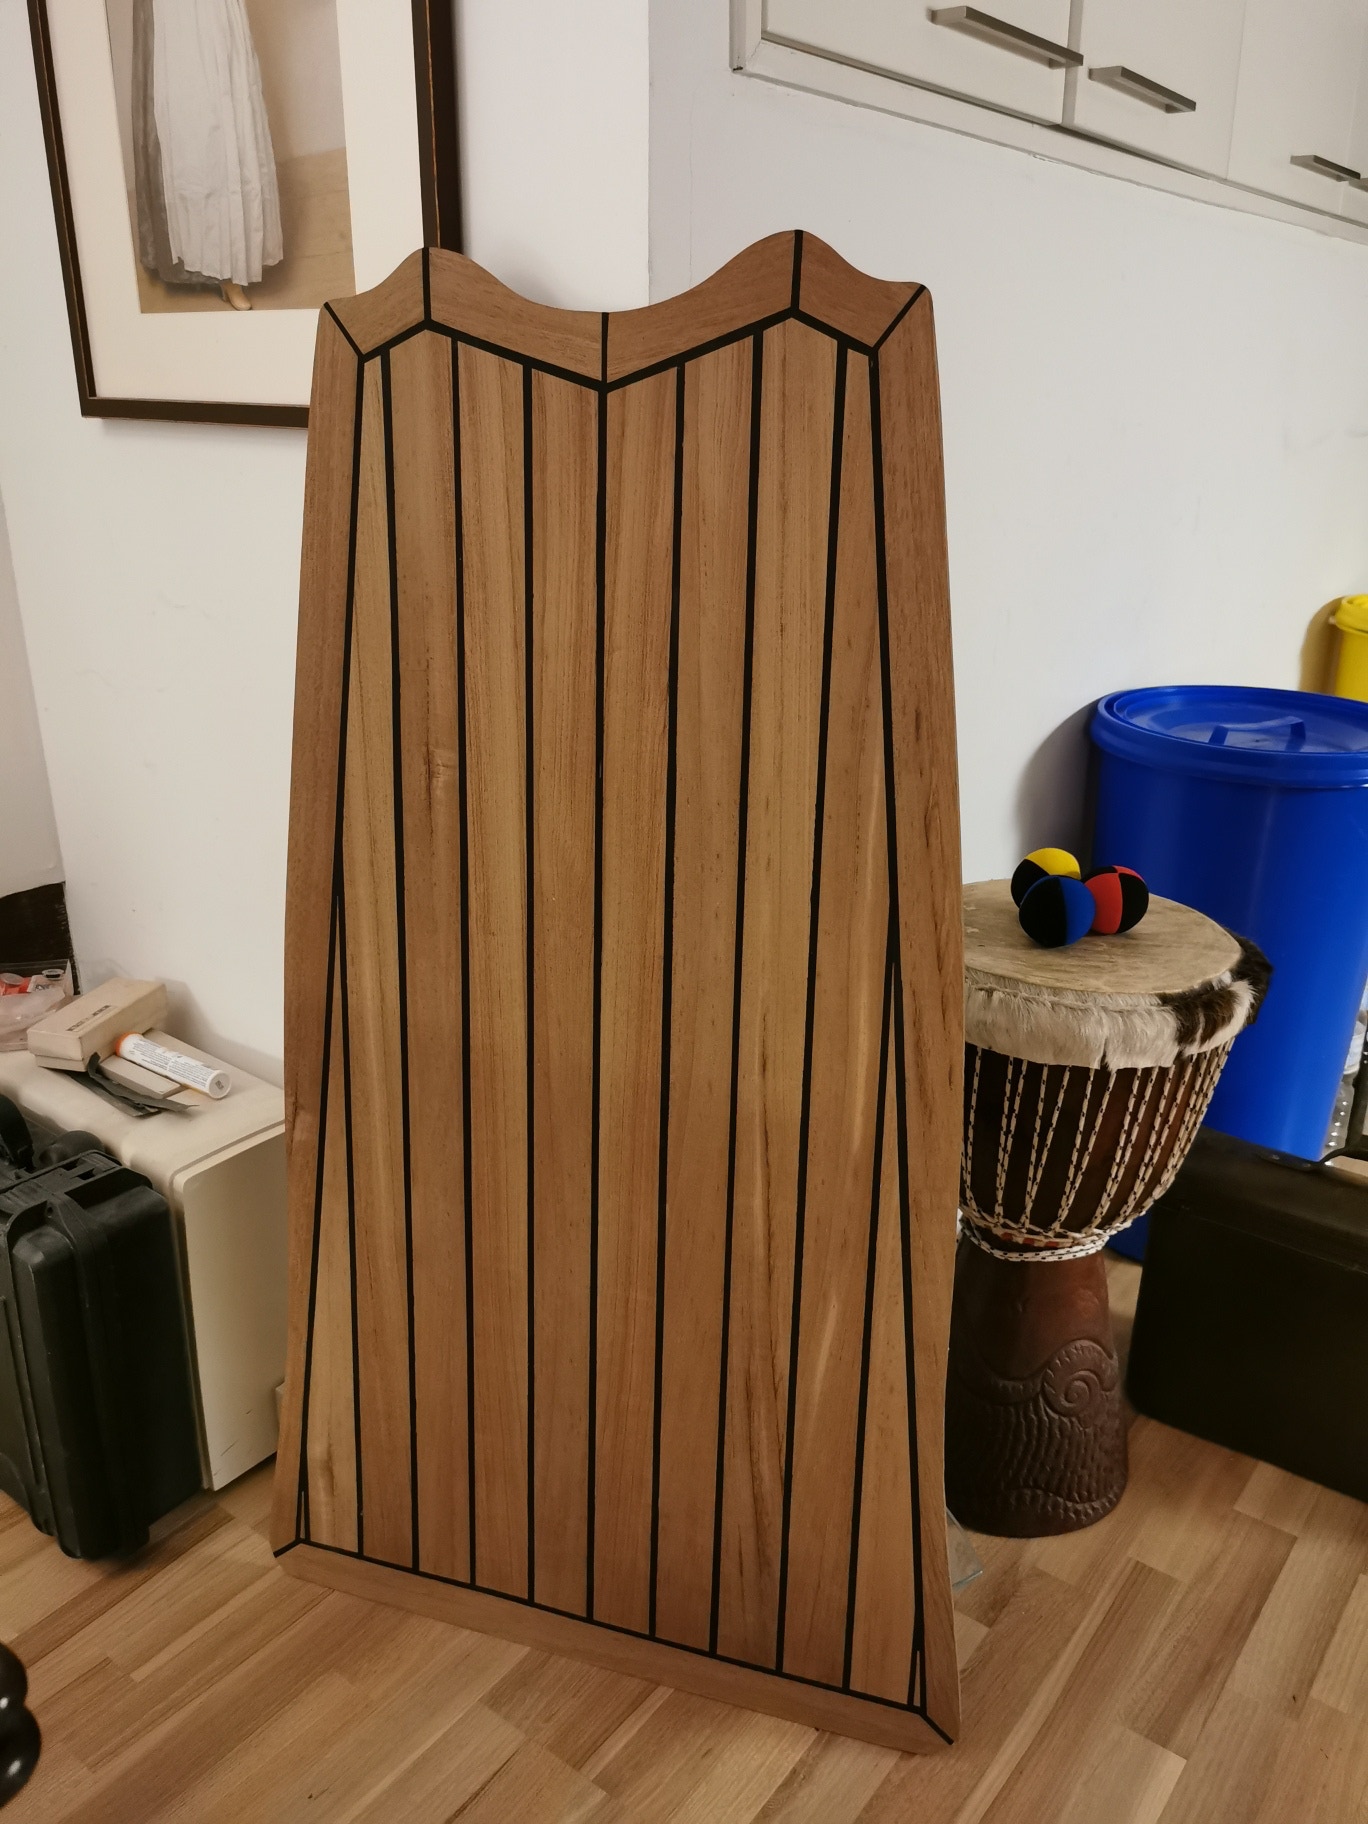
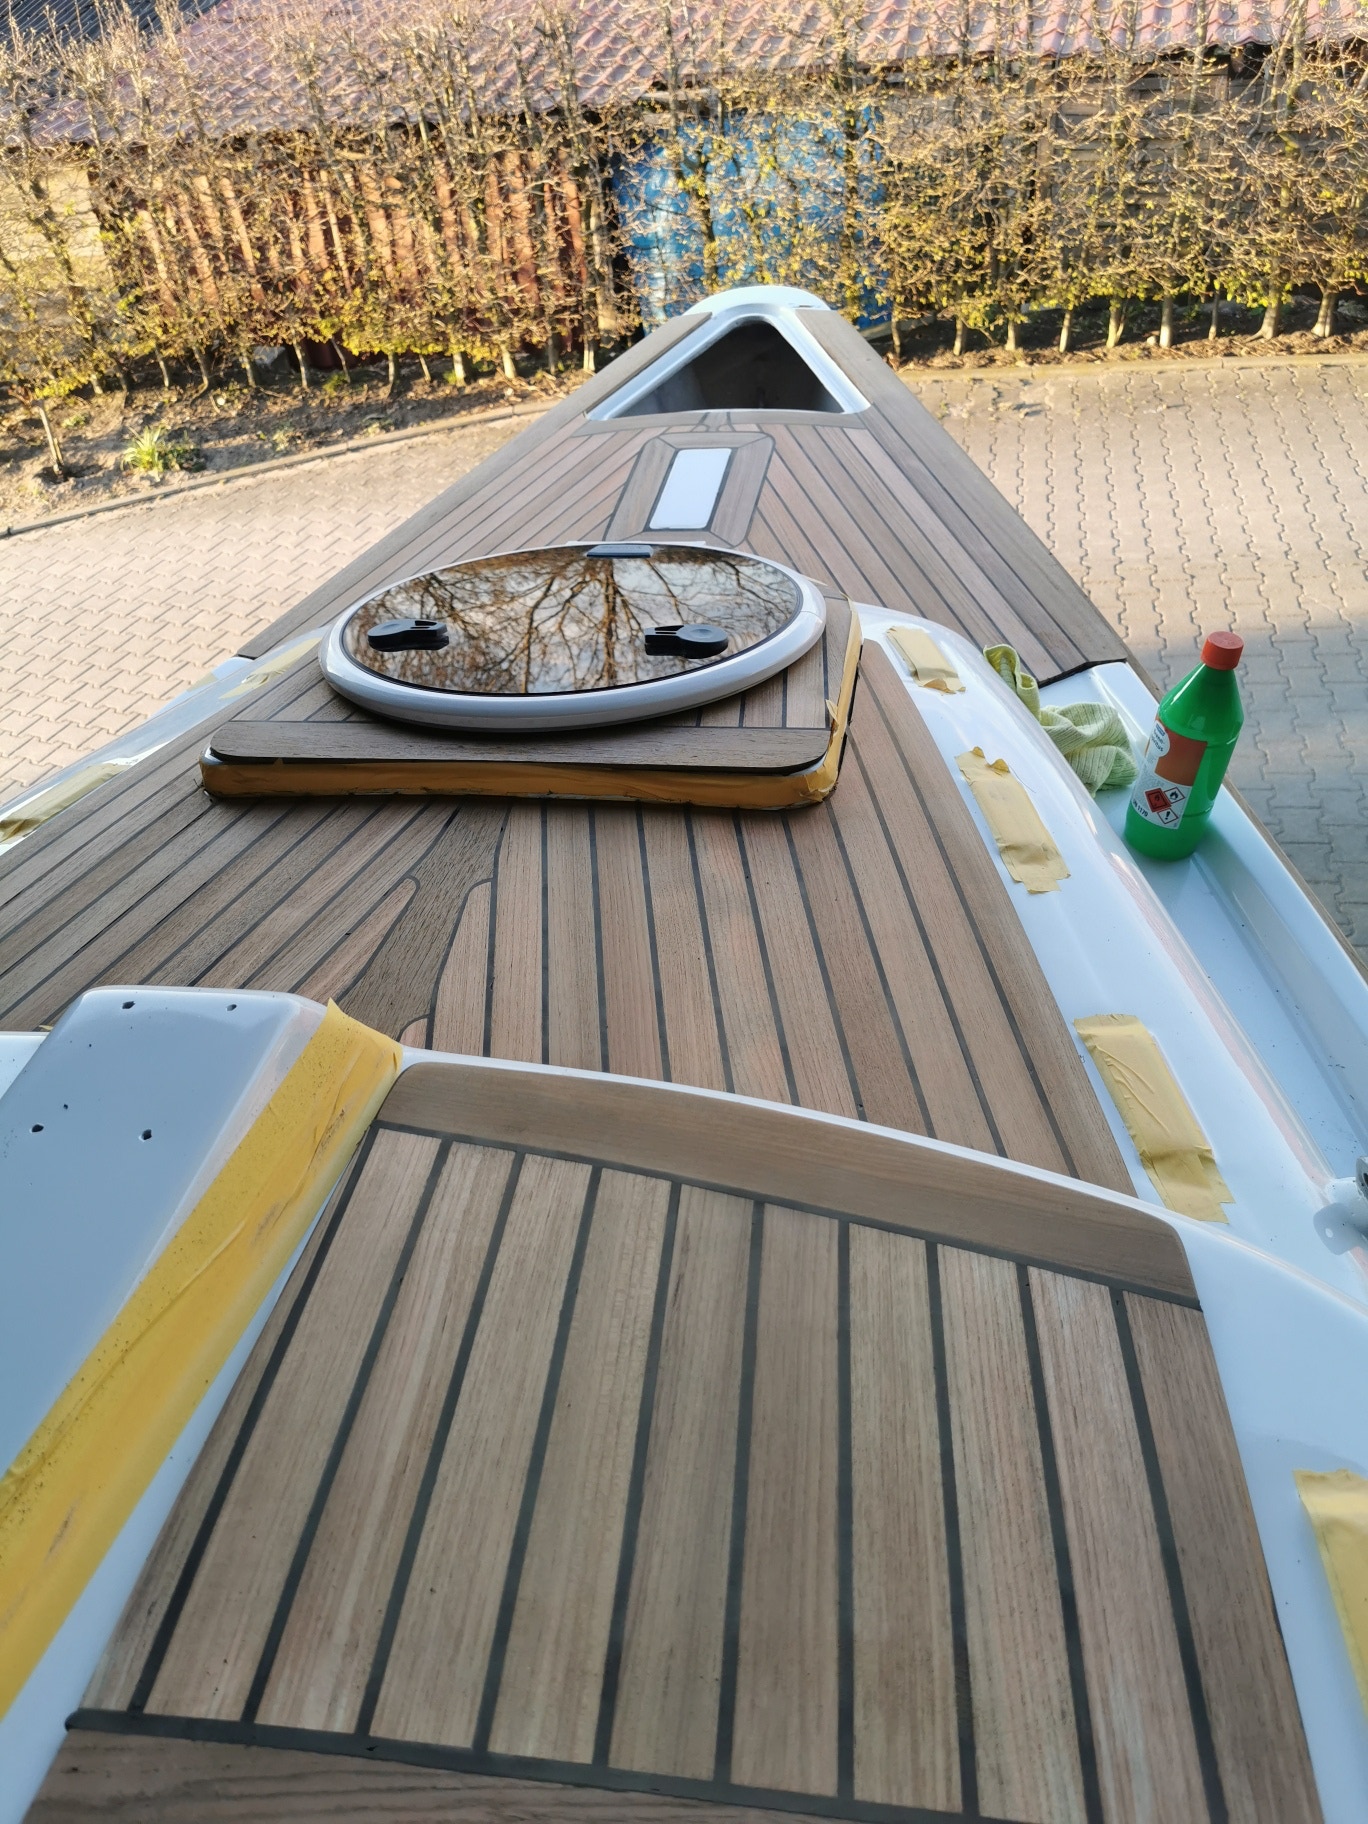
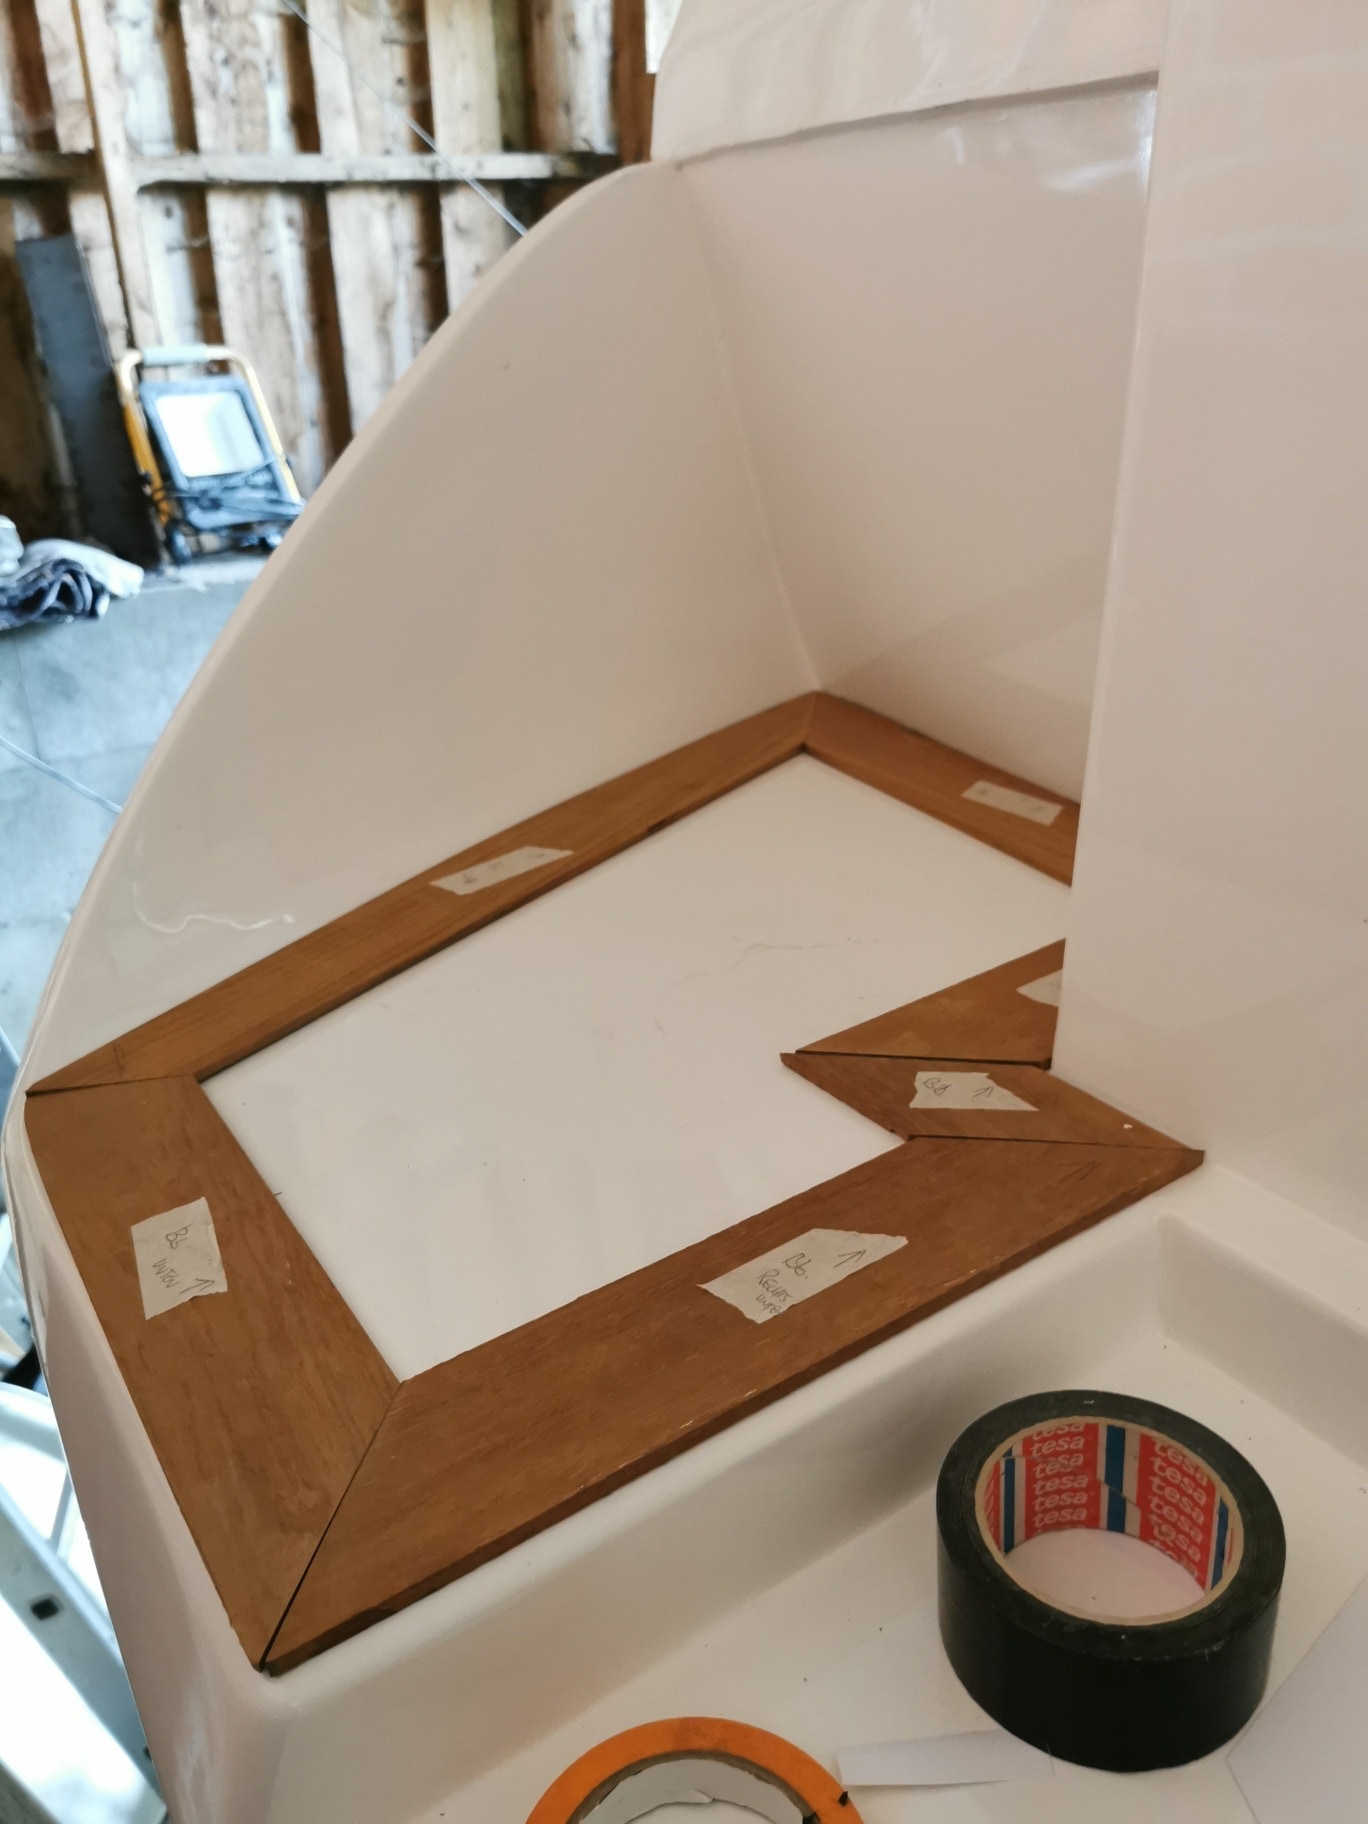
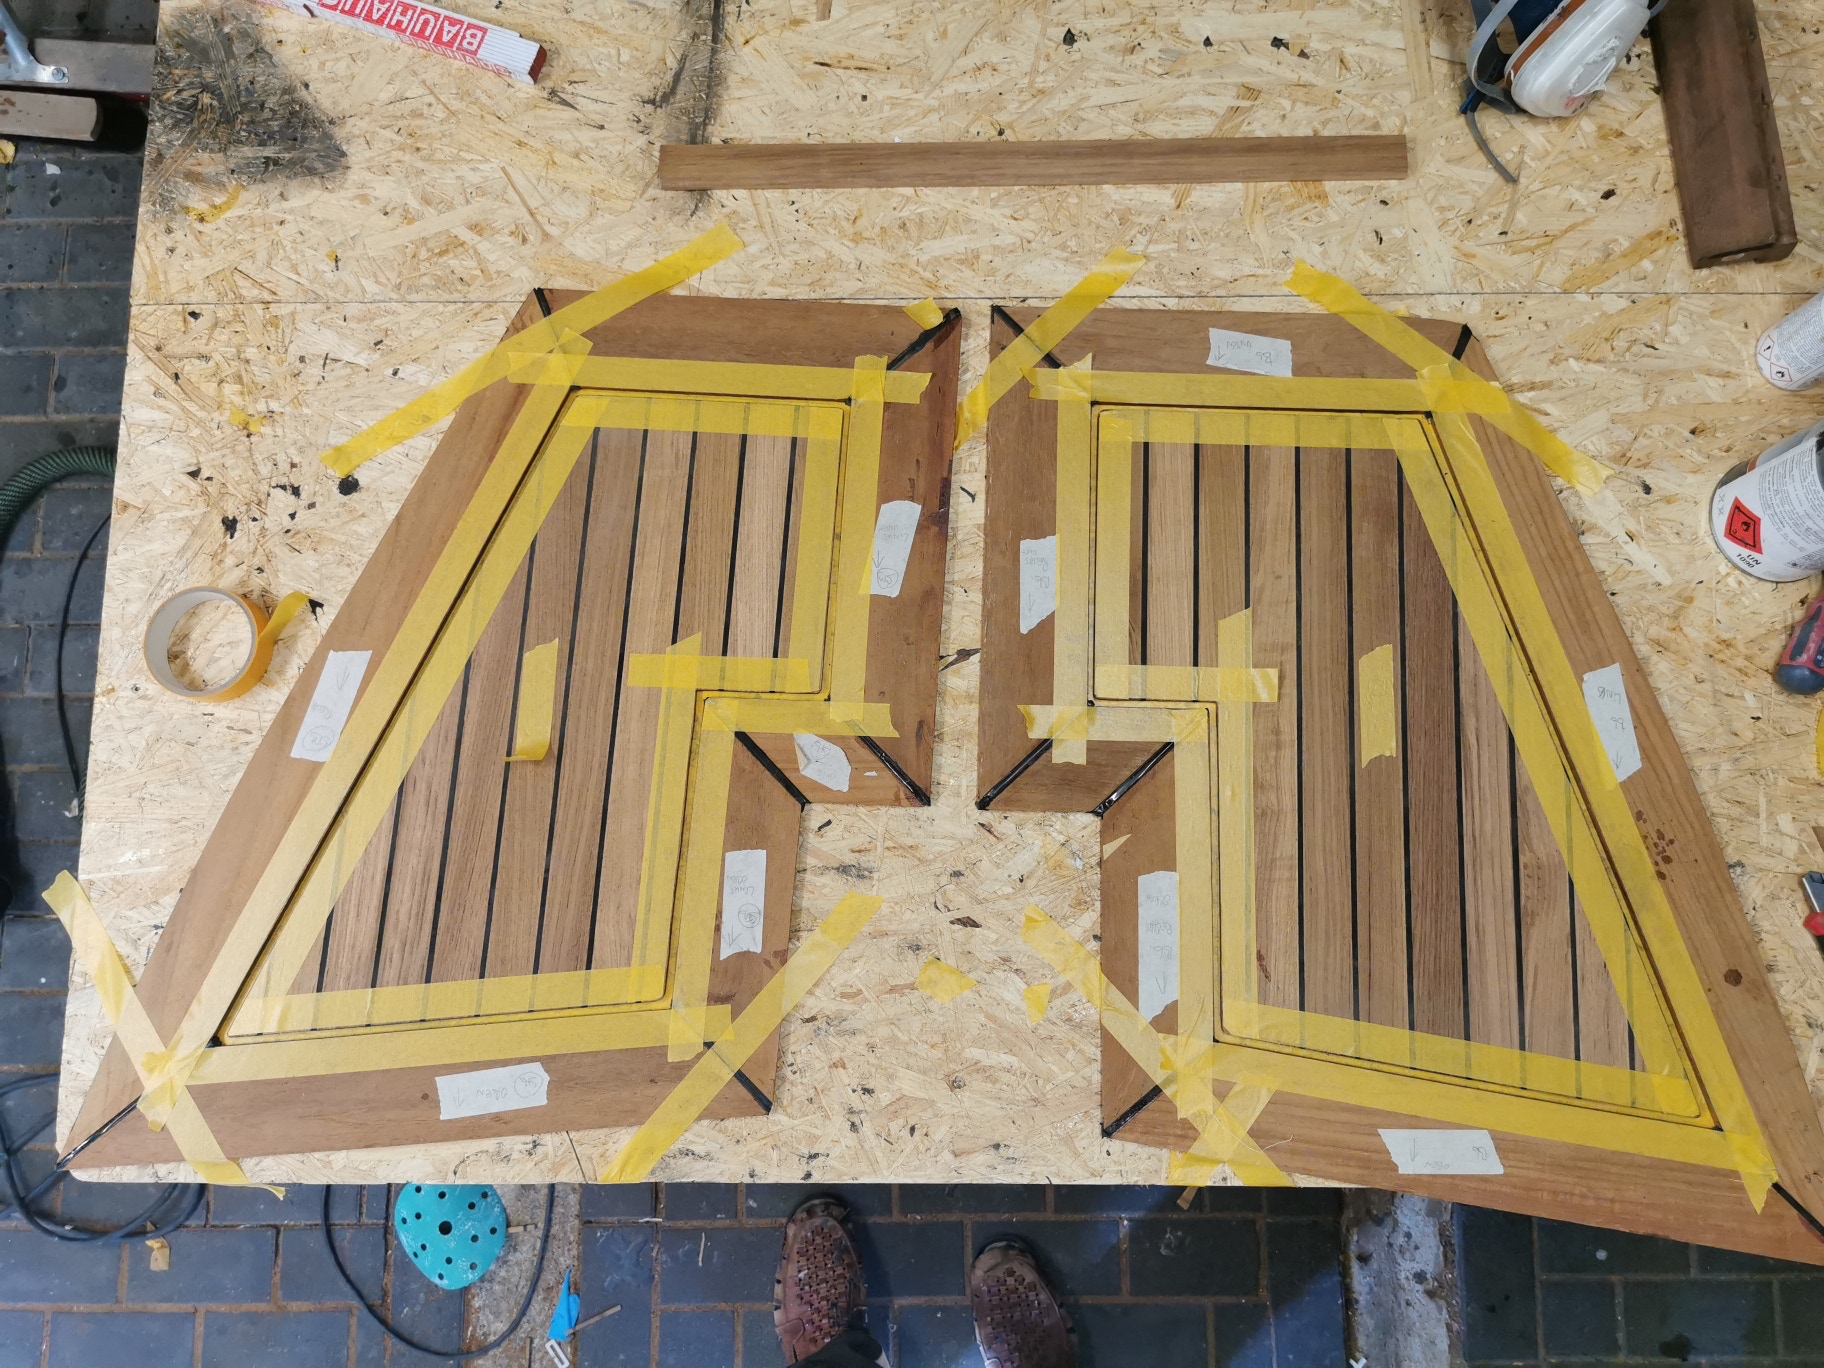
More and more teak surfaces are emerging and I'm slowly getting a feel for working with wood.
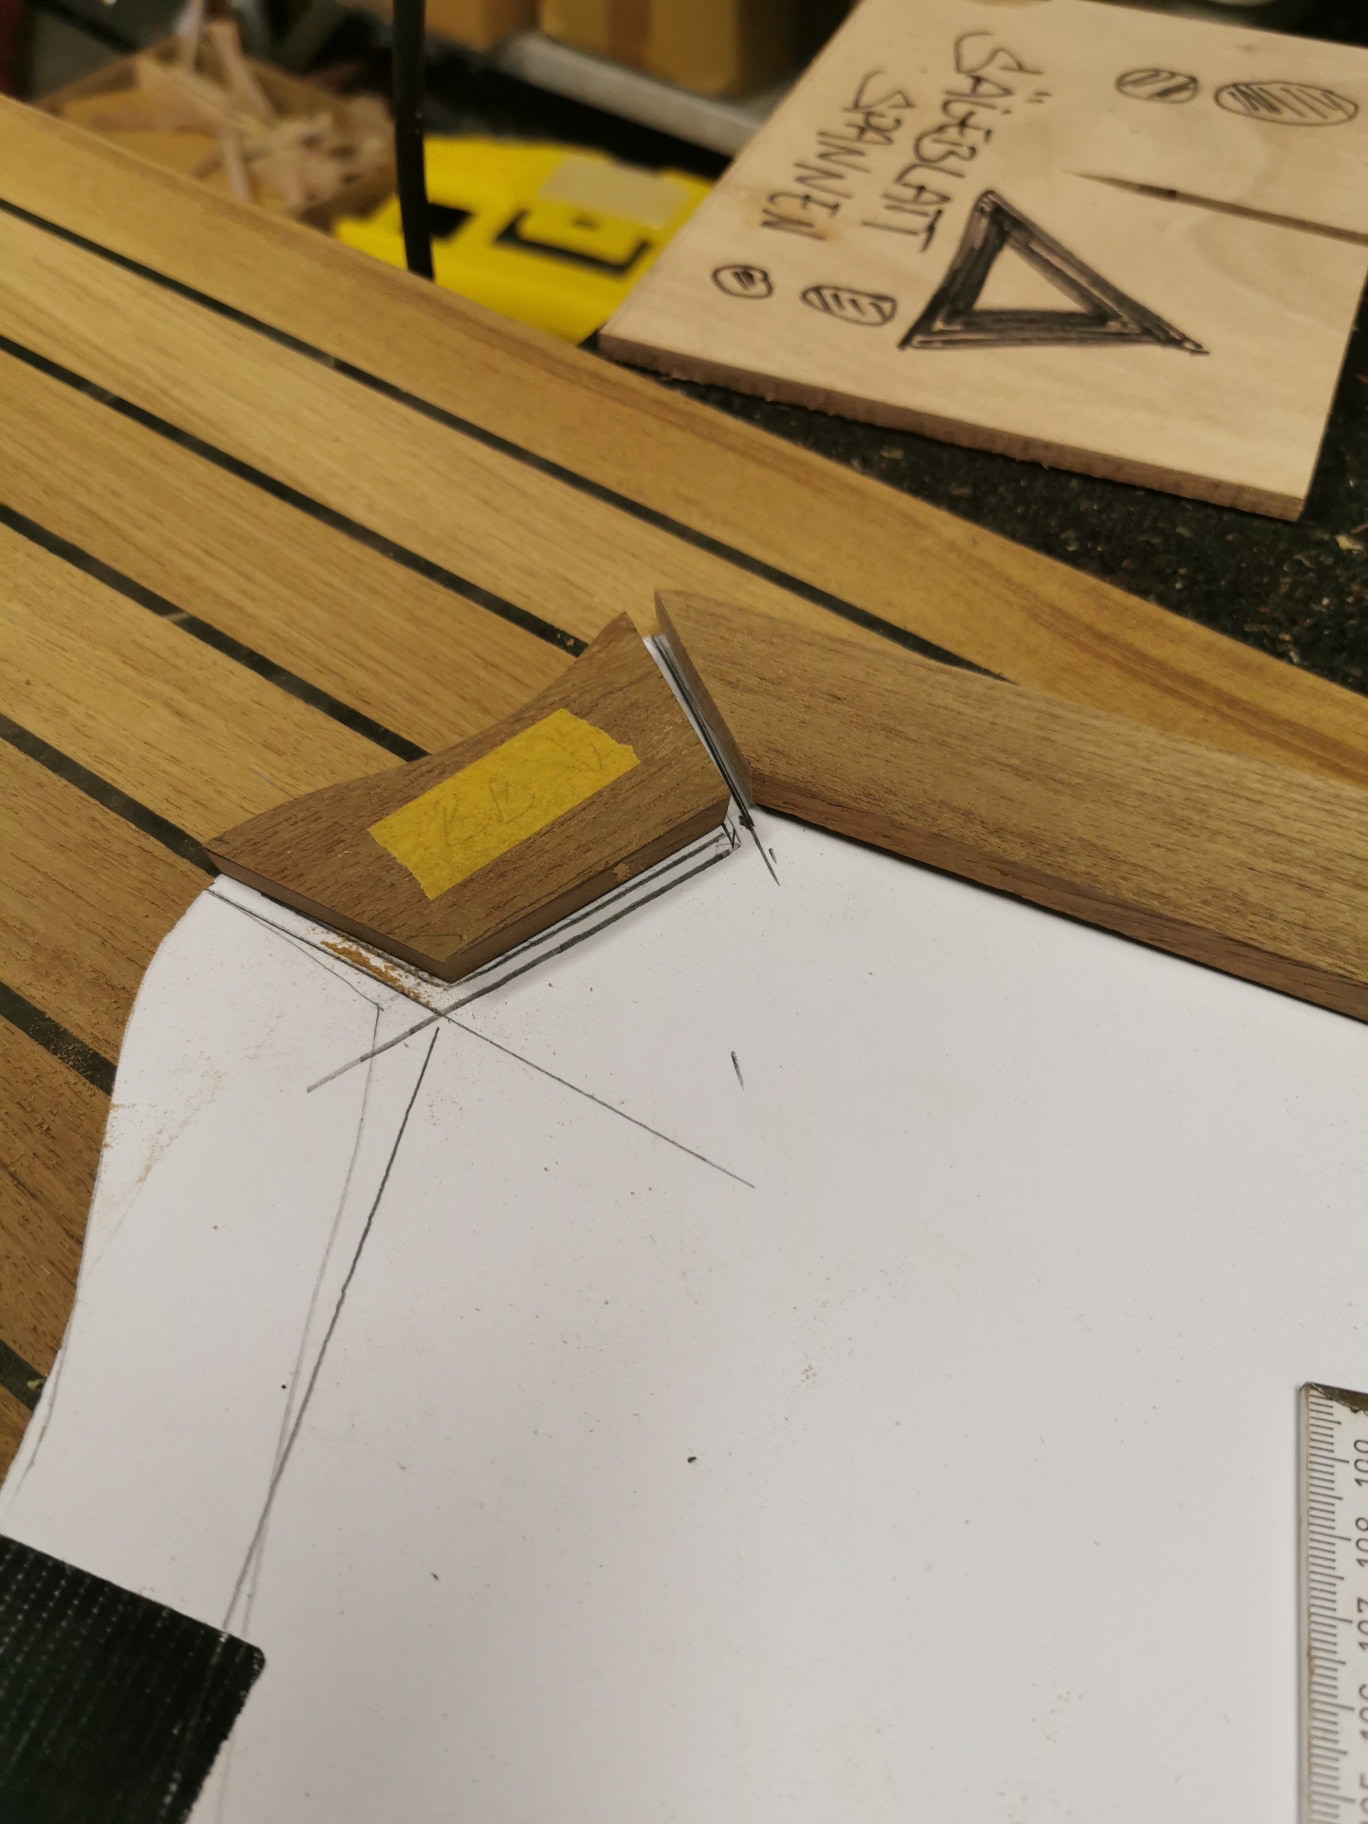
Symmetry is especially an issue in the bow area. Since you quickly notice that a boat cannot really be made completely symmetrical, sometimes a little challenge :-)


9.4.2021
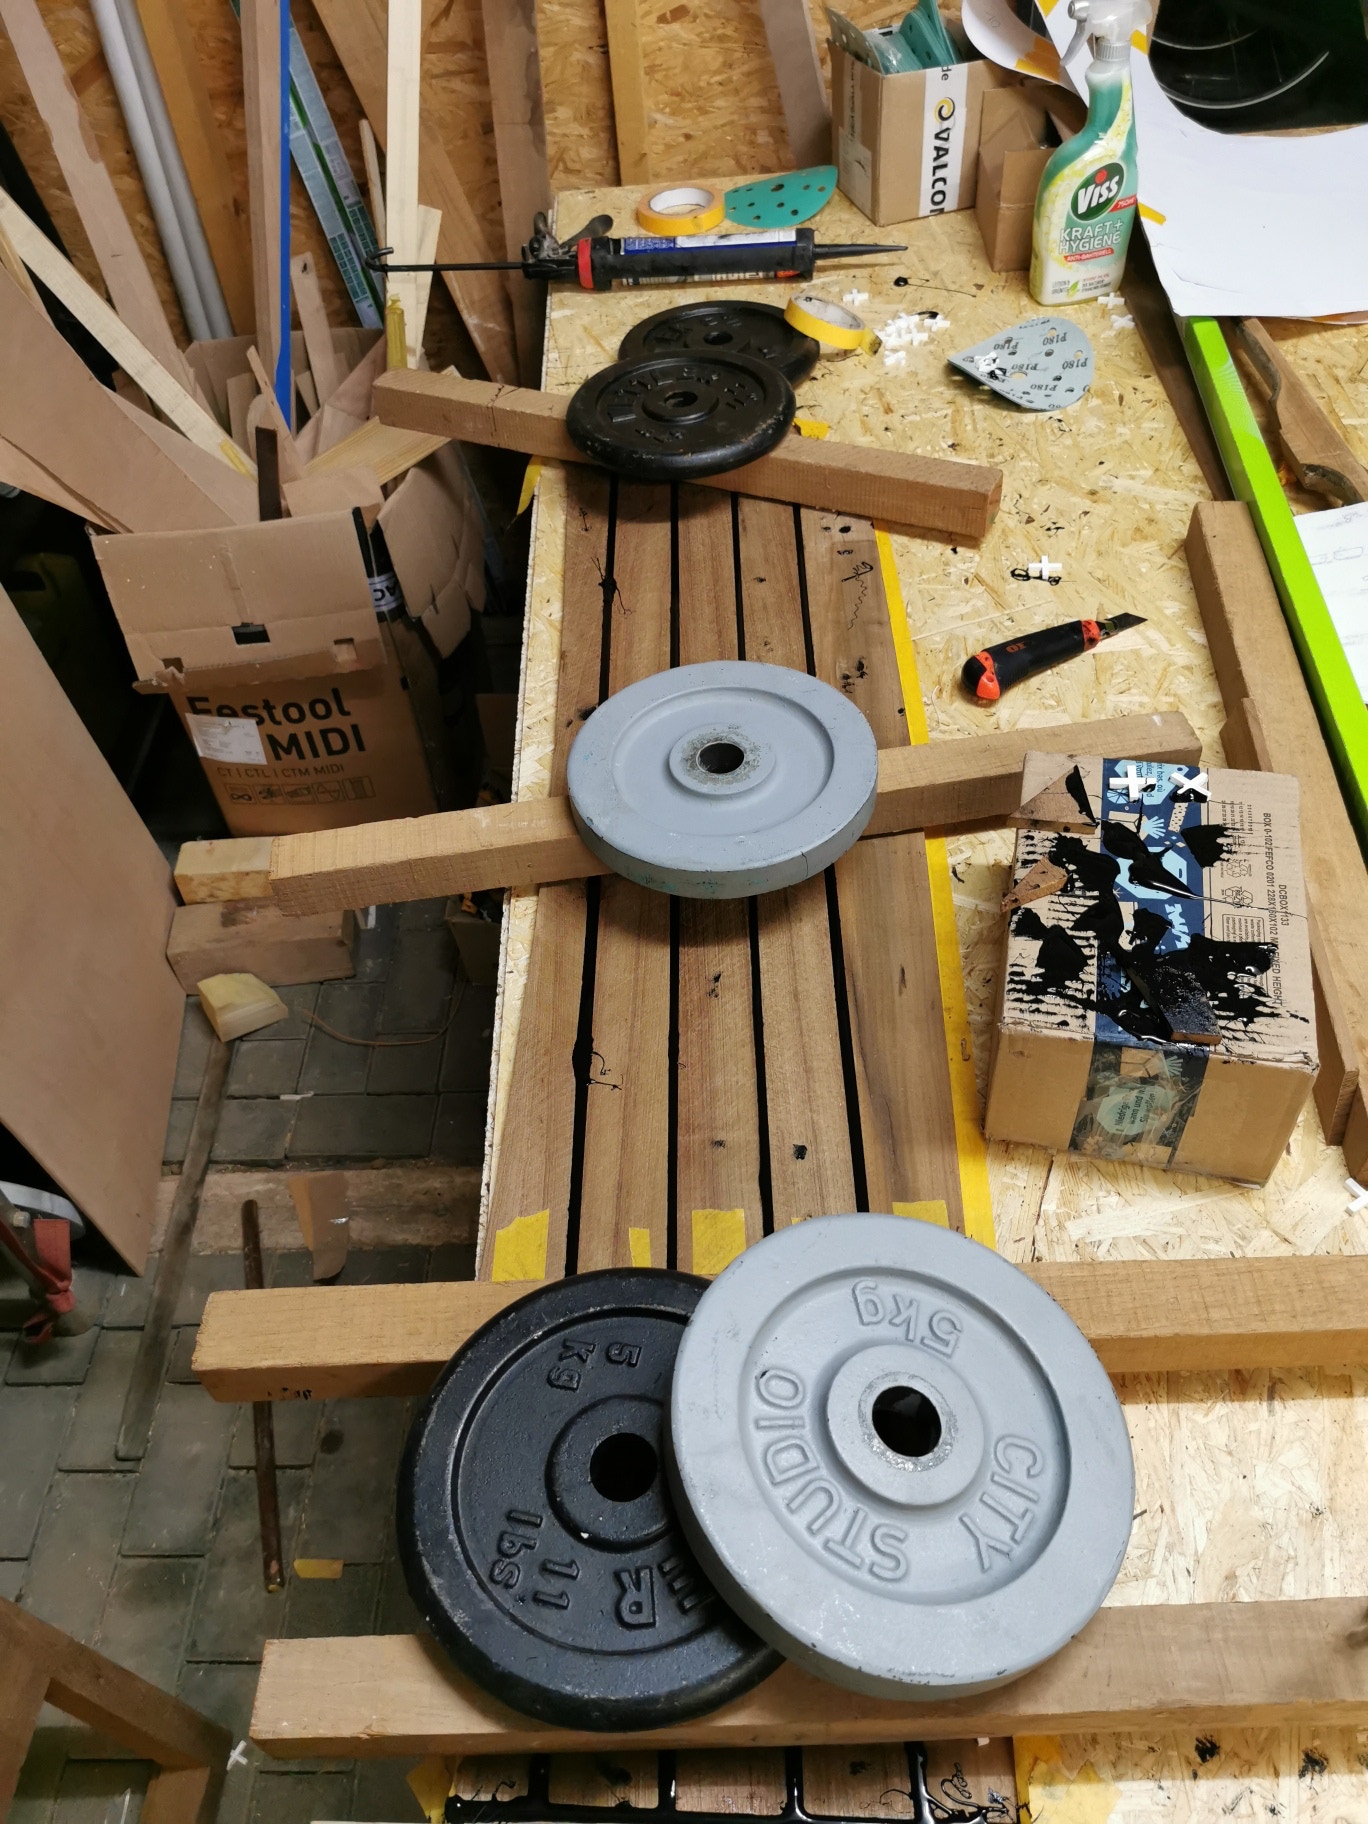
When gluing, it is essential to ensure that the teak can slip away on inclined surfaces if you put weights on it to weigh it down, so the wood must be secured against slipping with tape.
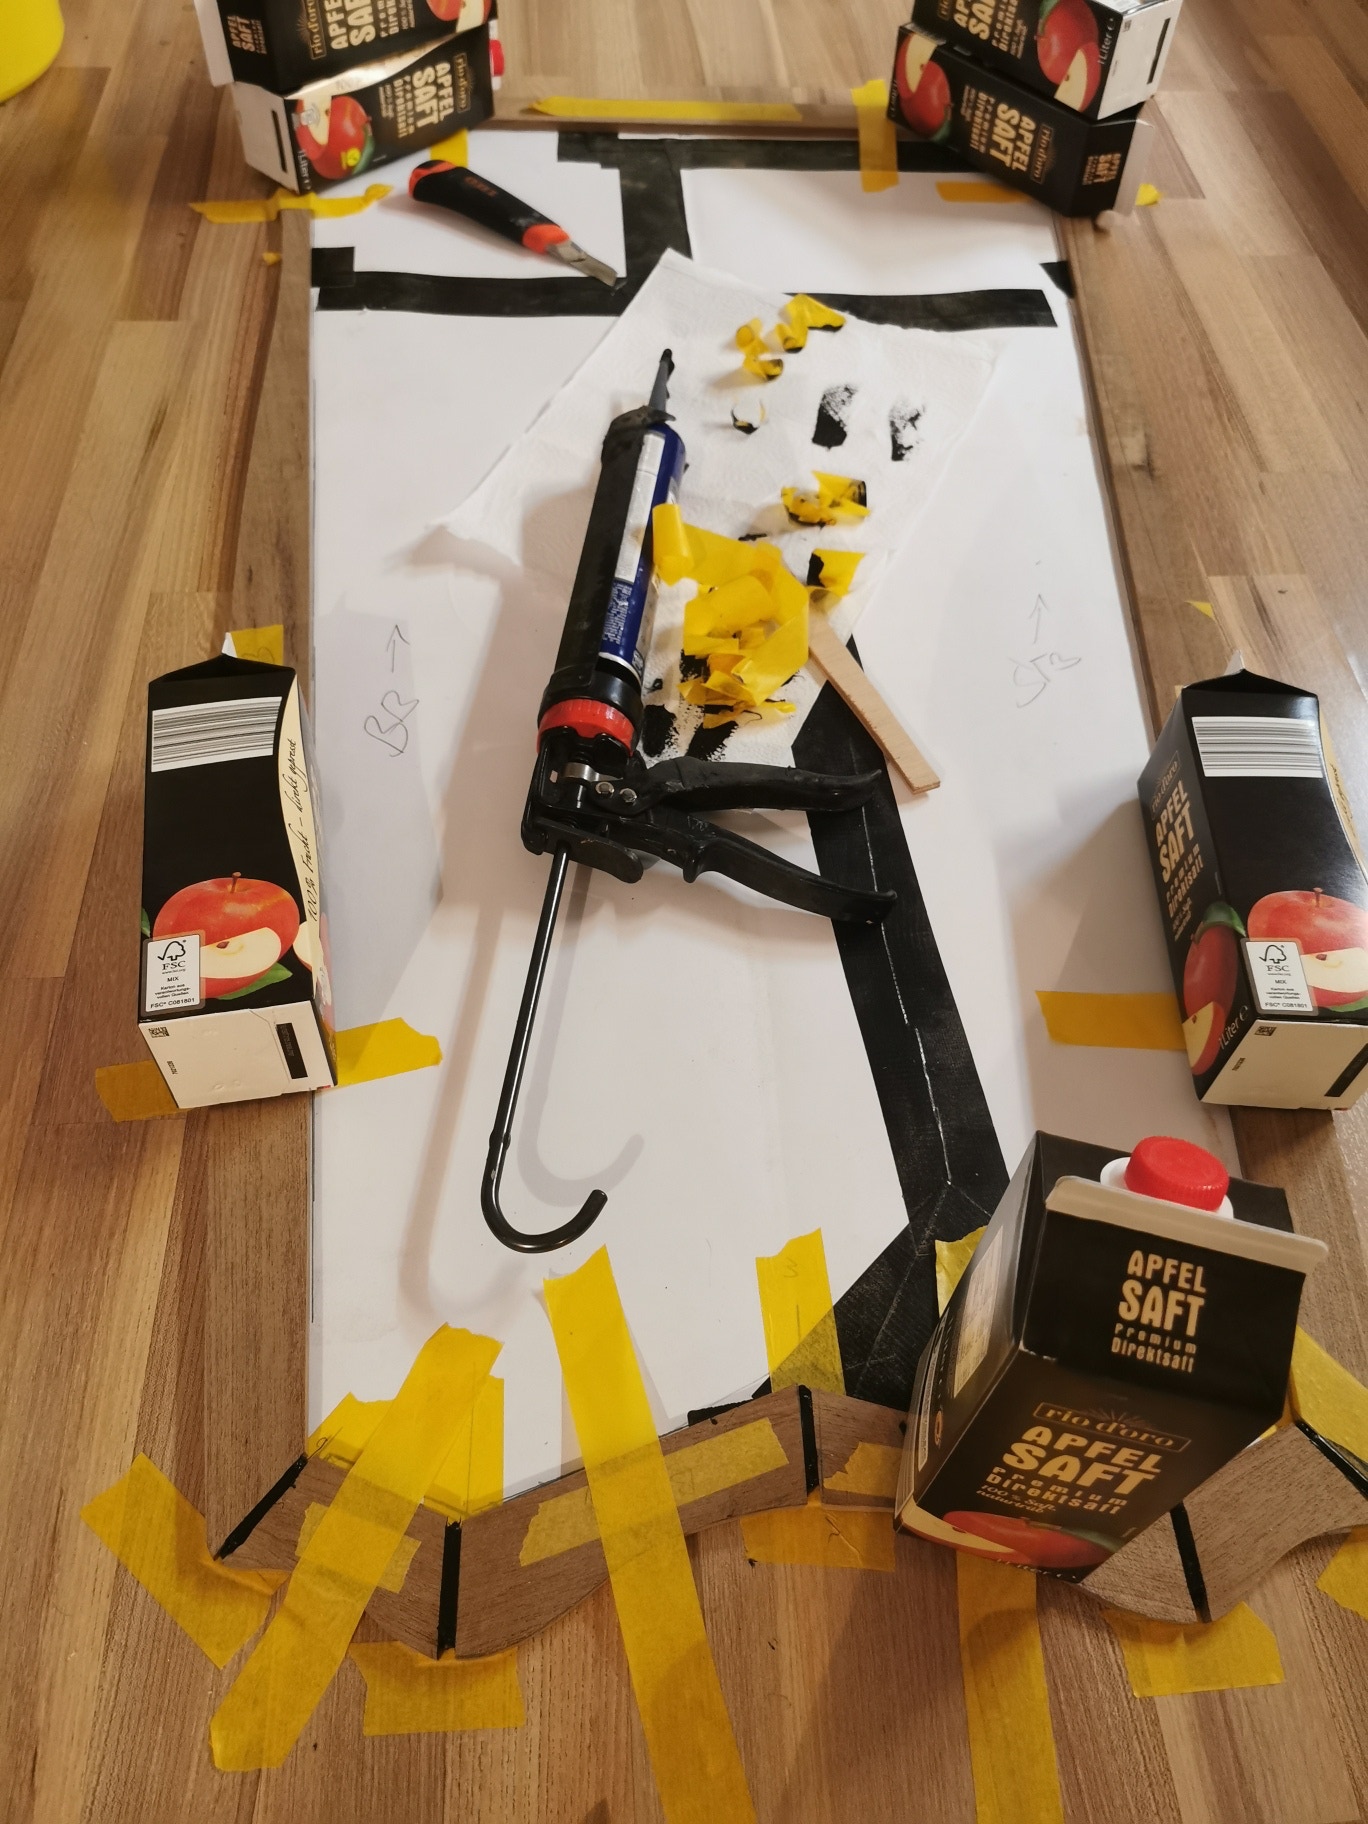
28.4.2021
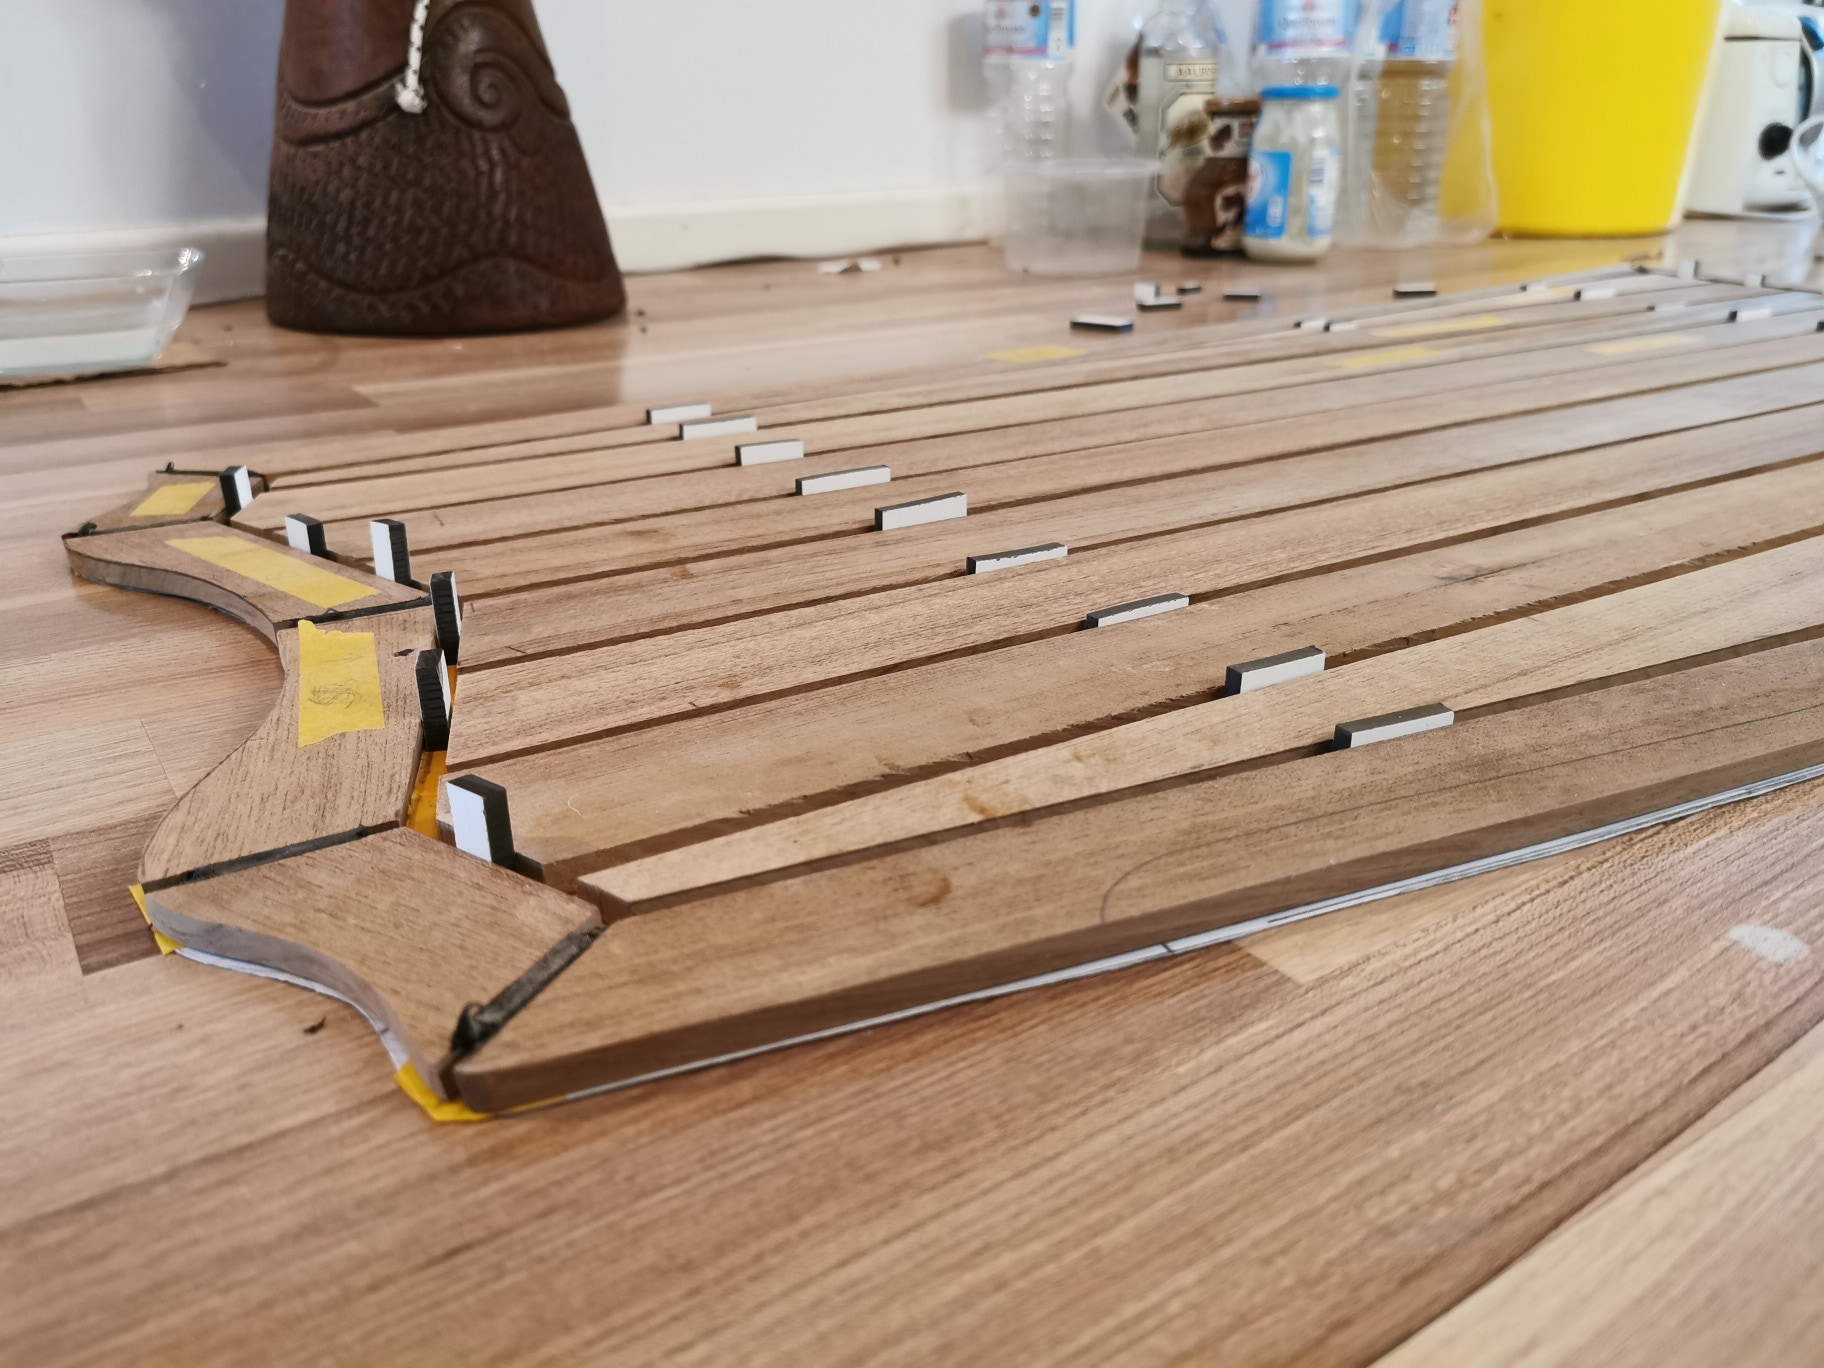
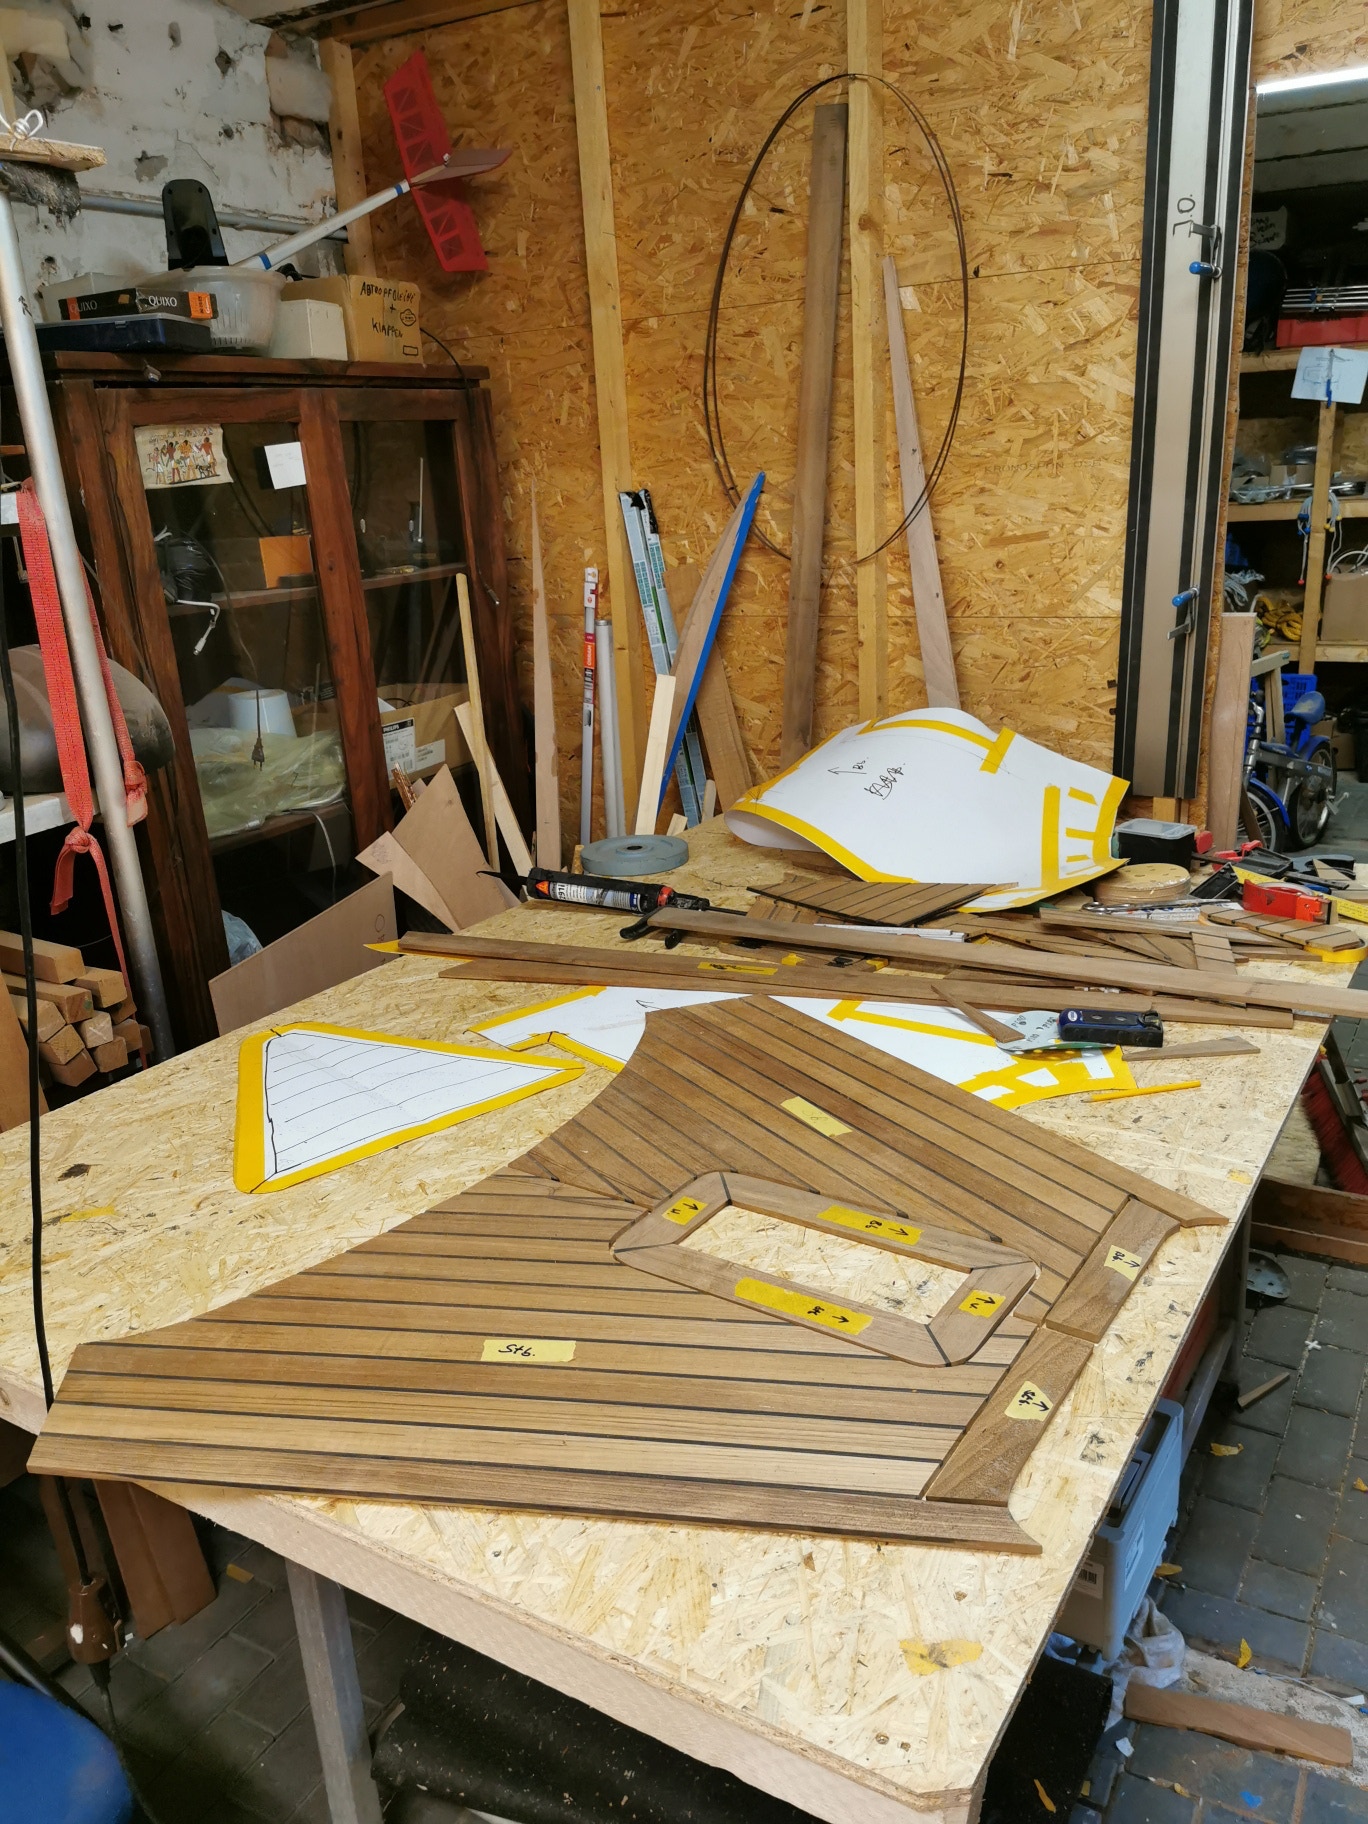
The teak work. progress very slowly. Many small steps are necessary so that everything will look good in the end. Before gluing the joints, the edges of the teak must be protected with tape. The joints had to be cleaned with acetone beforehand. This will need time. When the grout is solid after 2-3 days, it can be sanded flat with the excenter grinder.
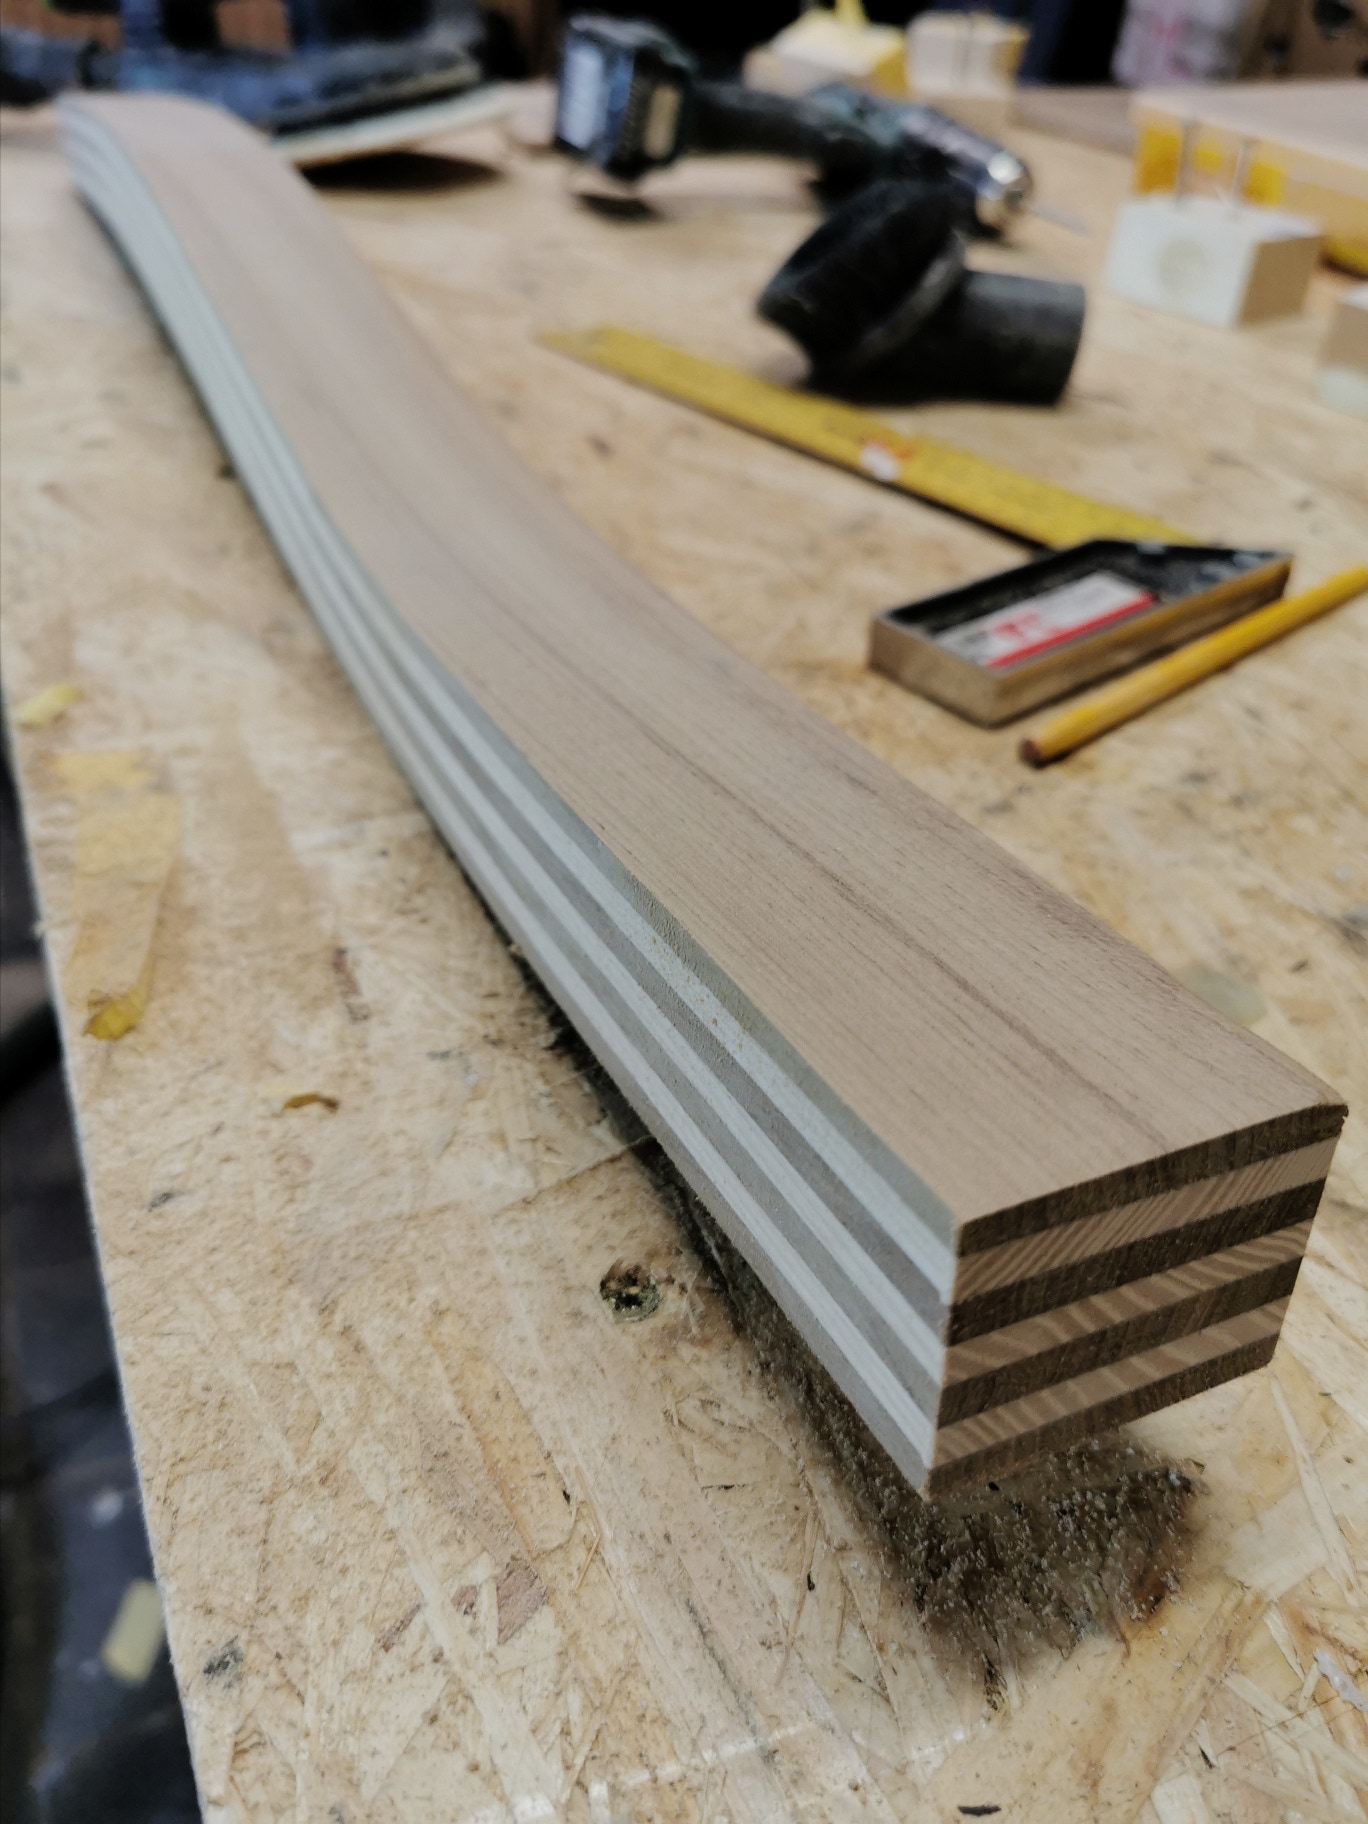
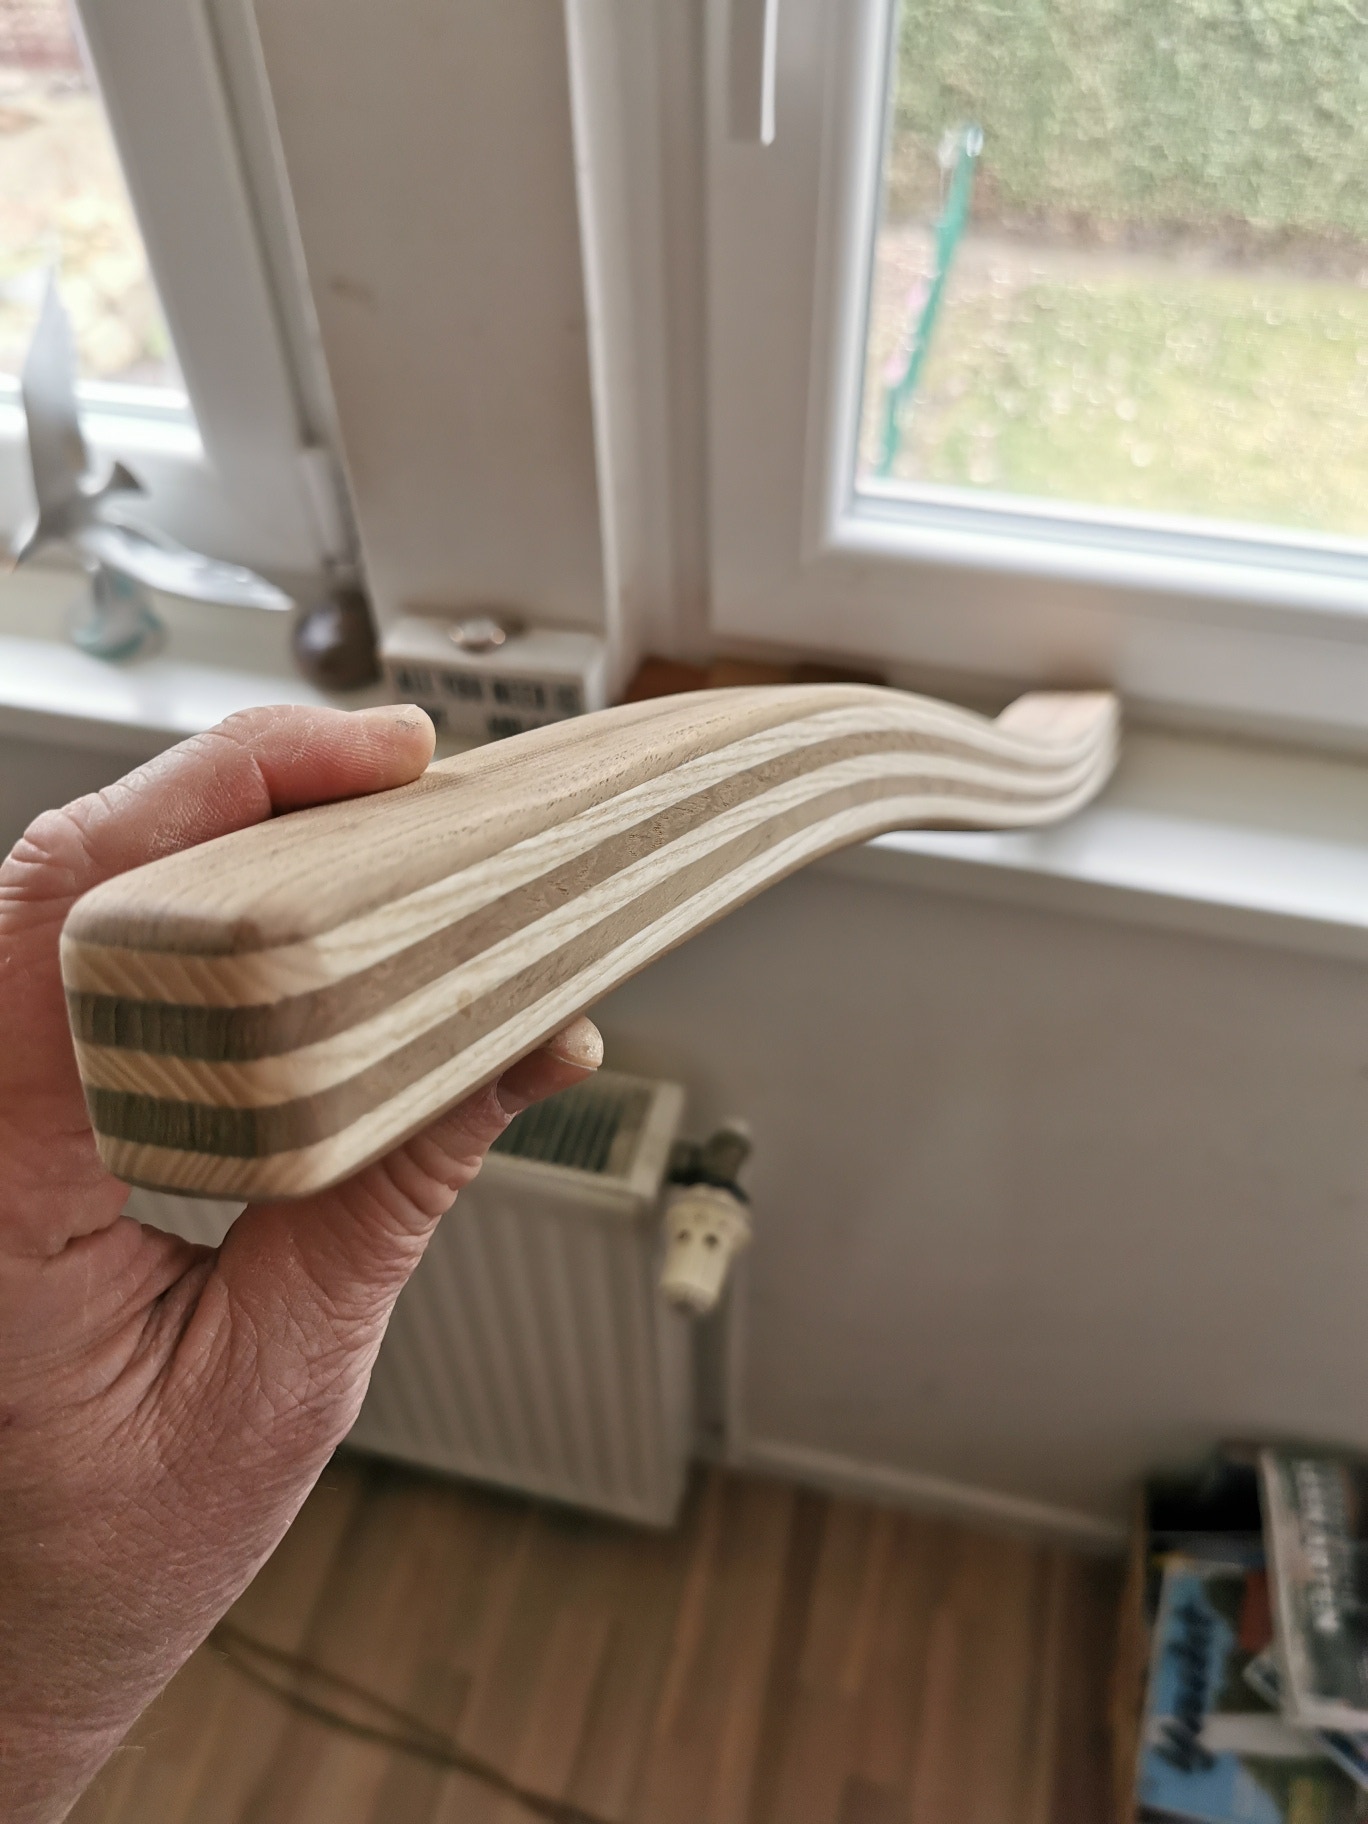
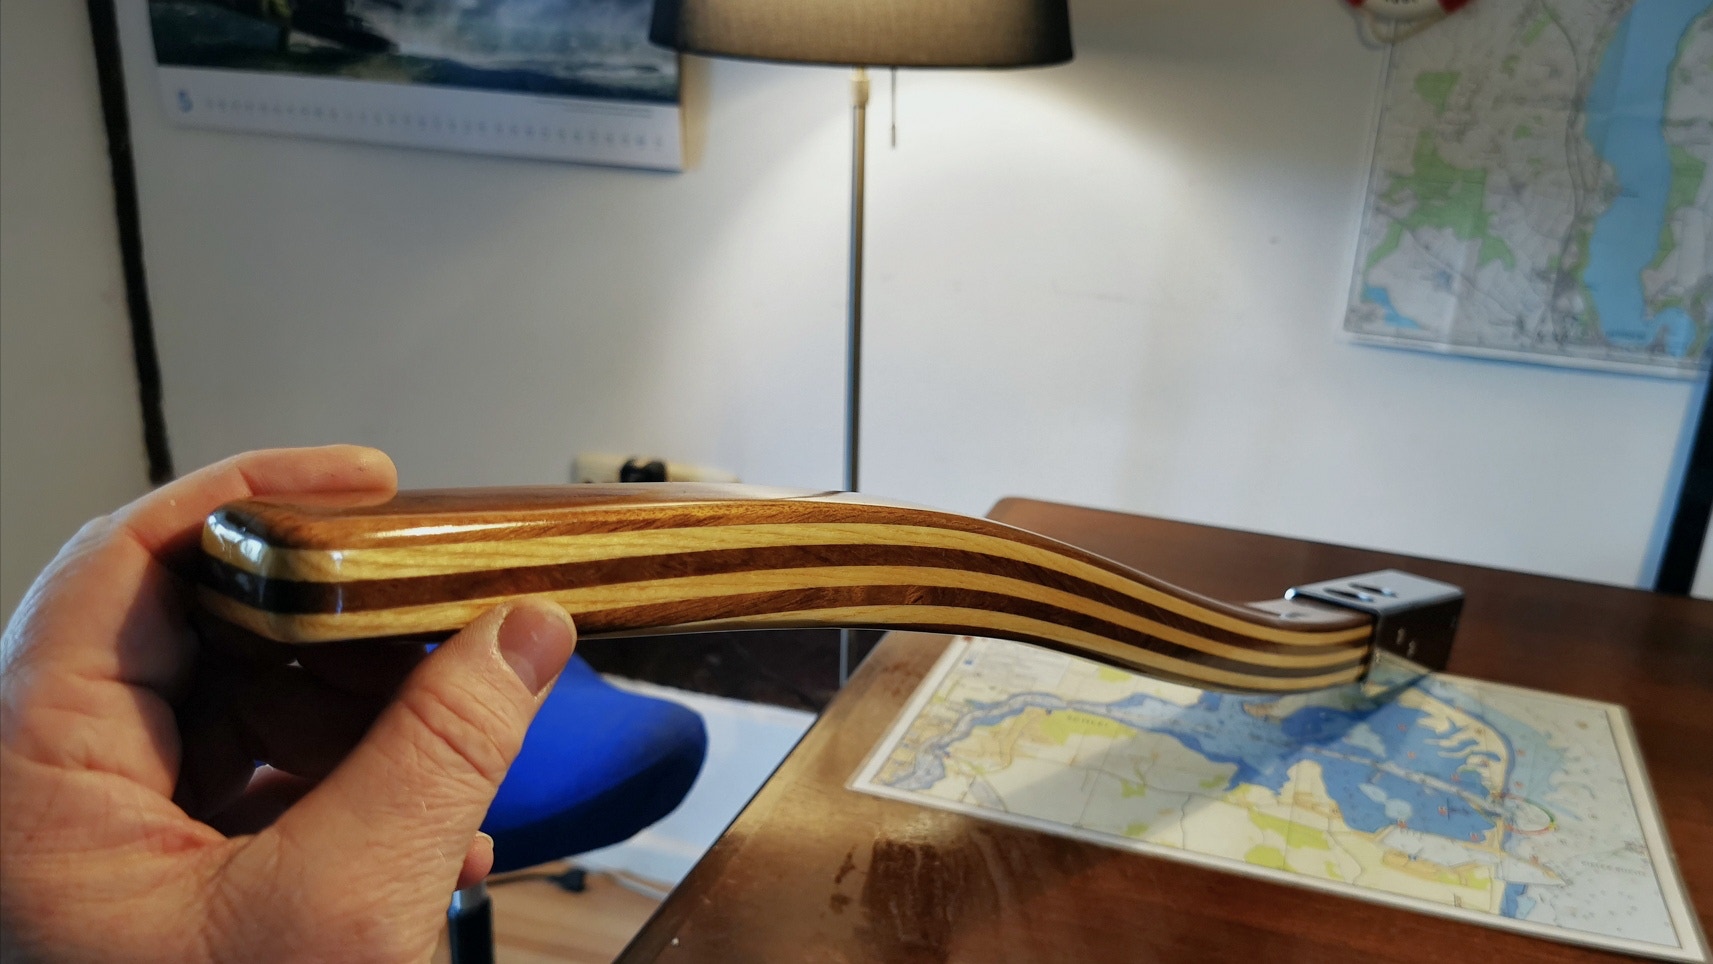
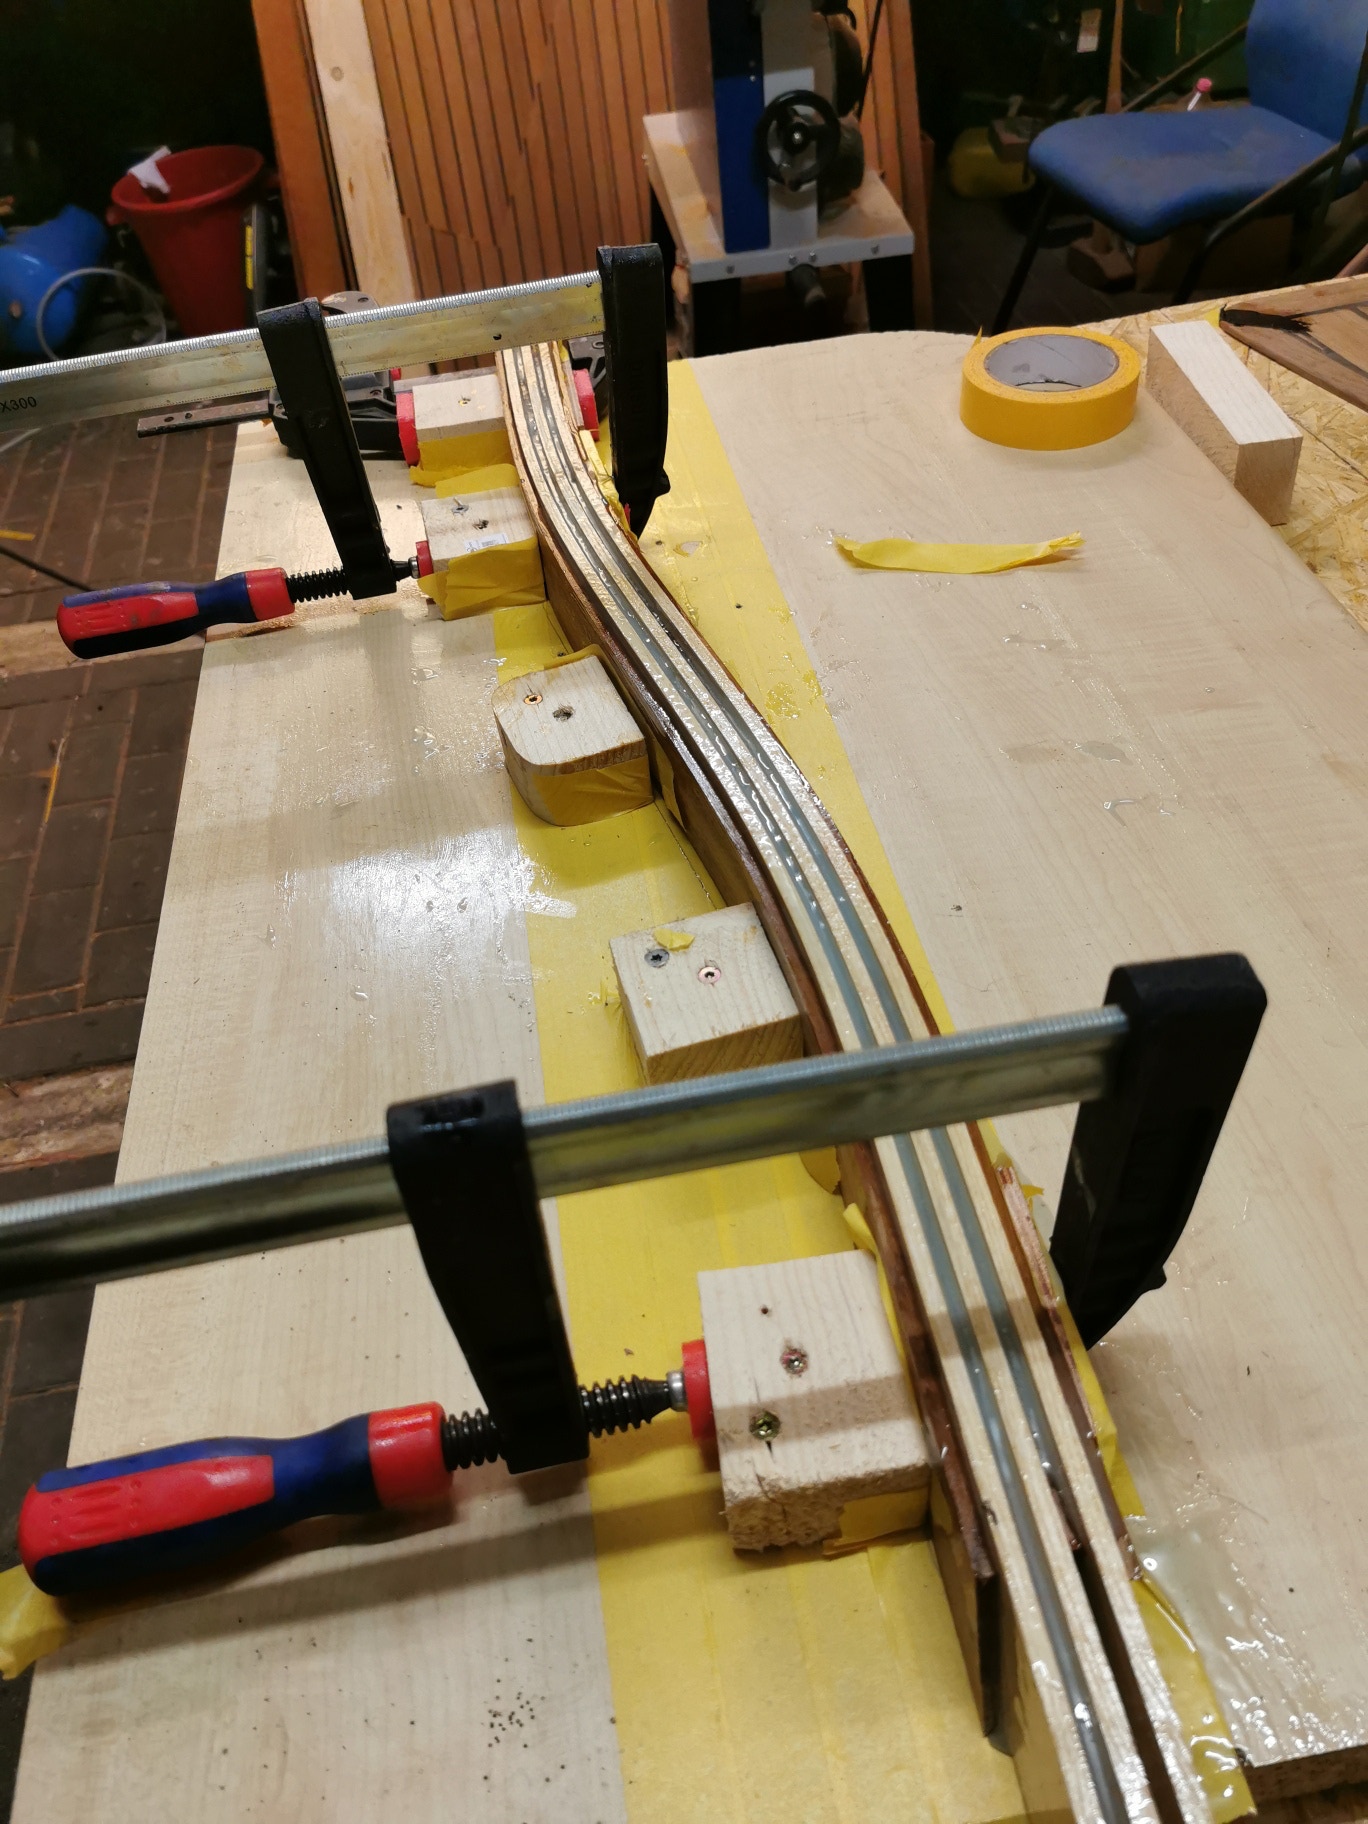
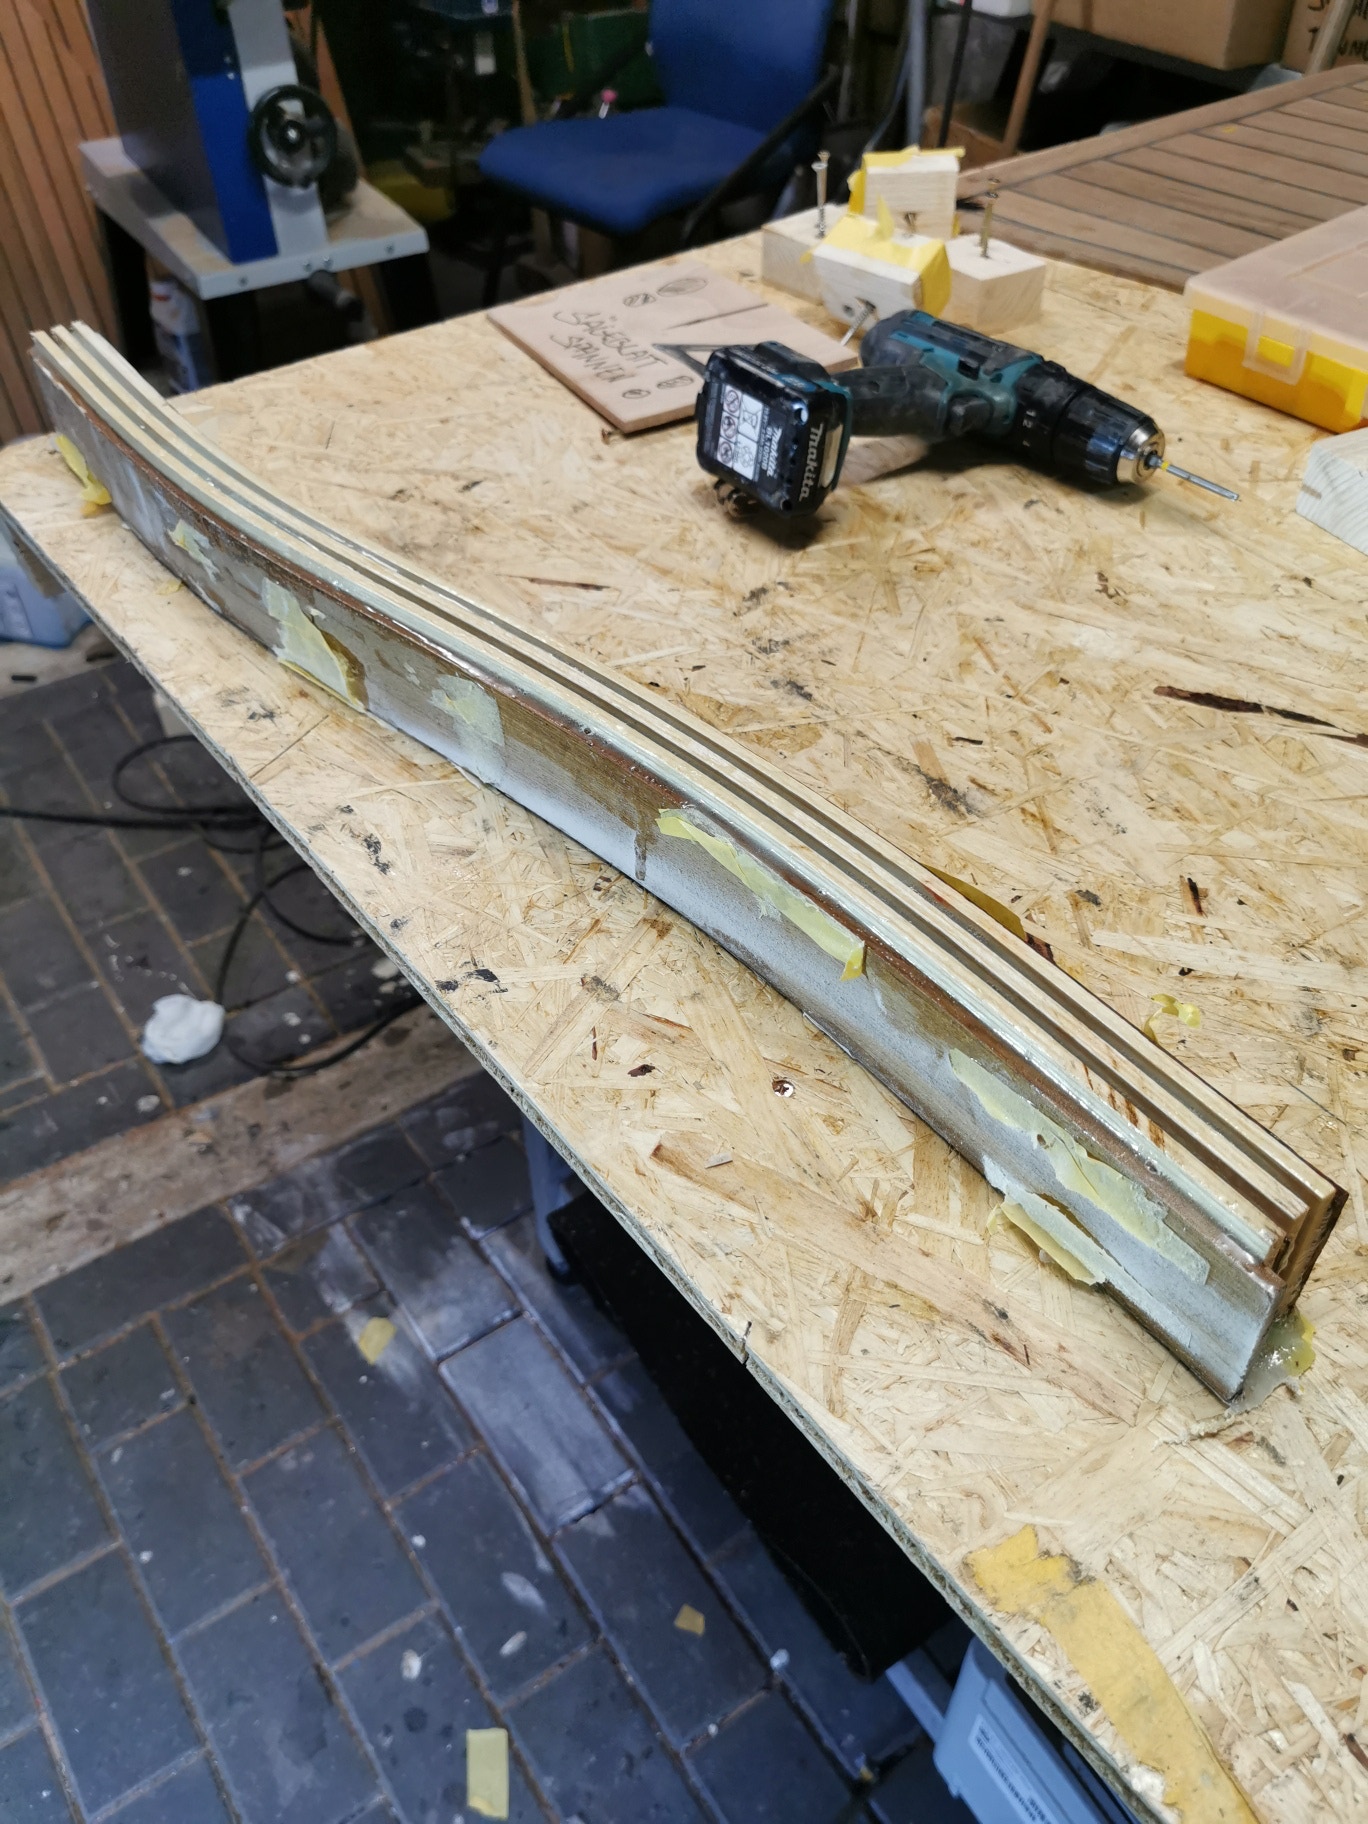
In between I made a tiller from 5mm thick ash and teak strips by gluing the individual strips together with epoxy resin.
28.4.2021
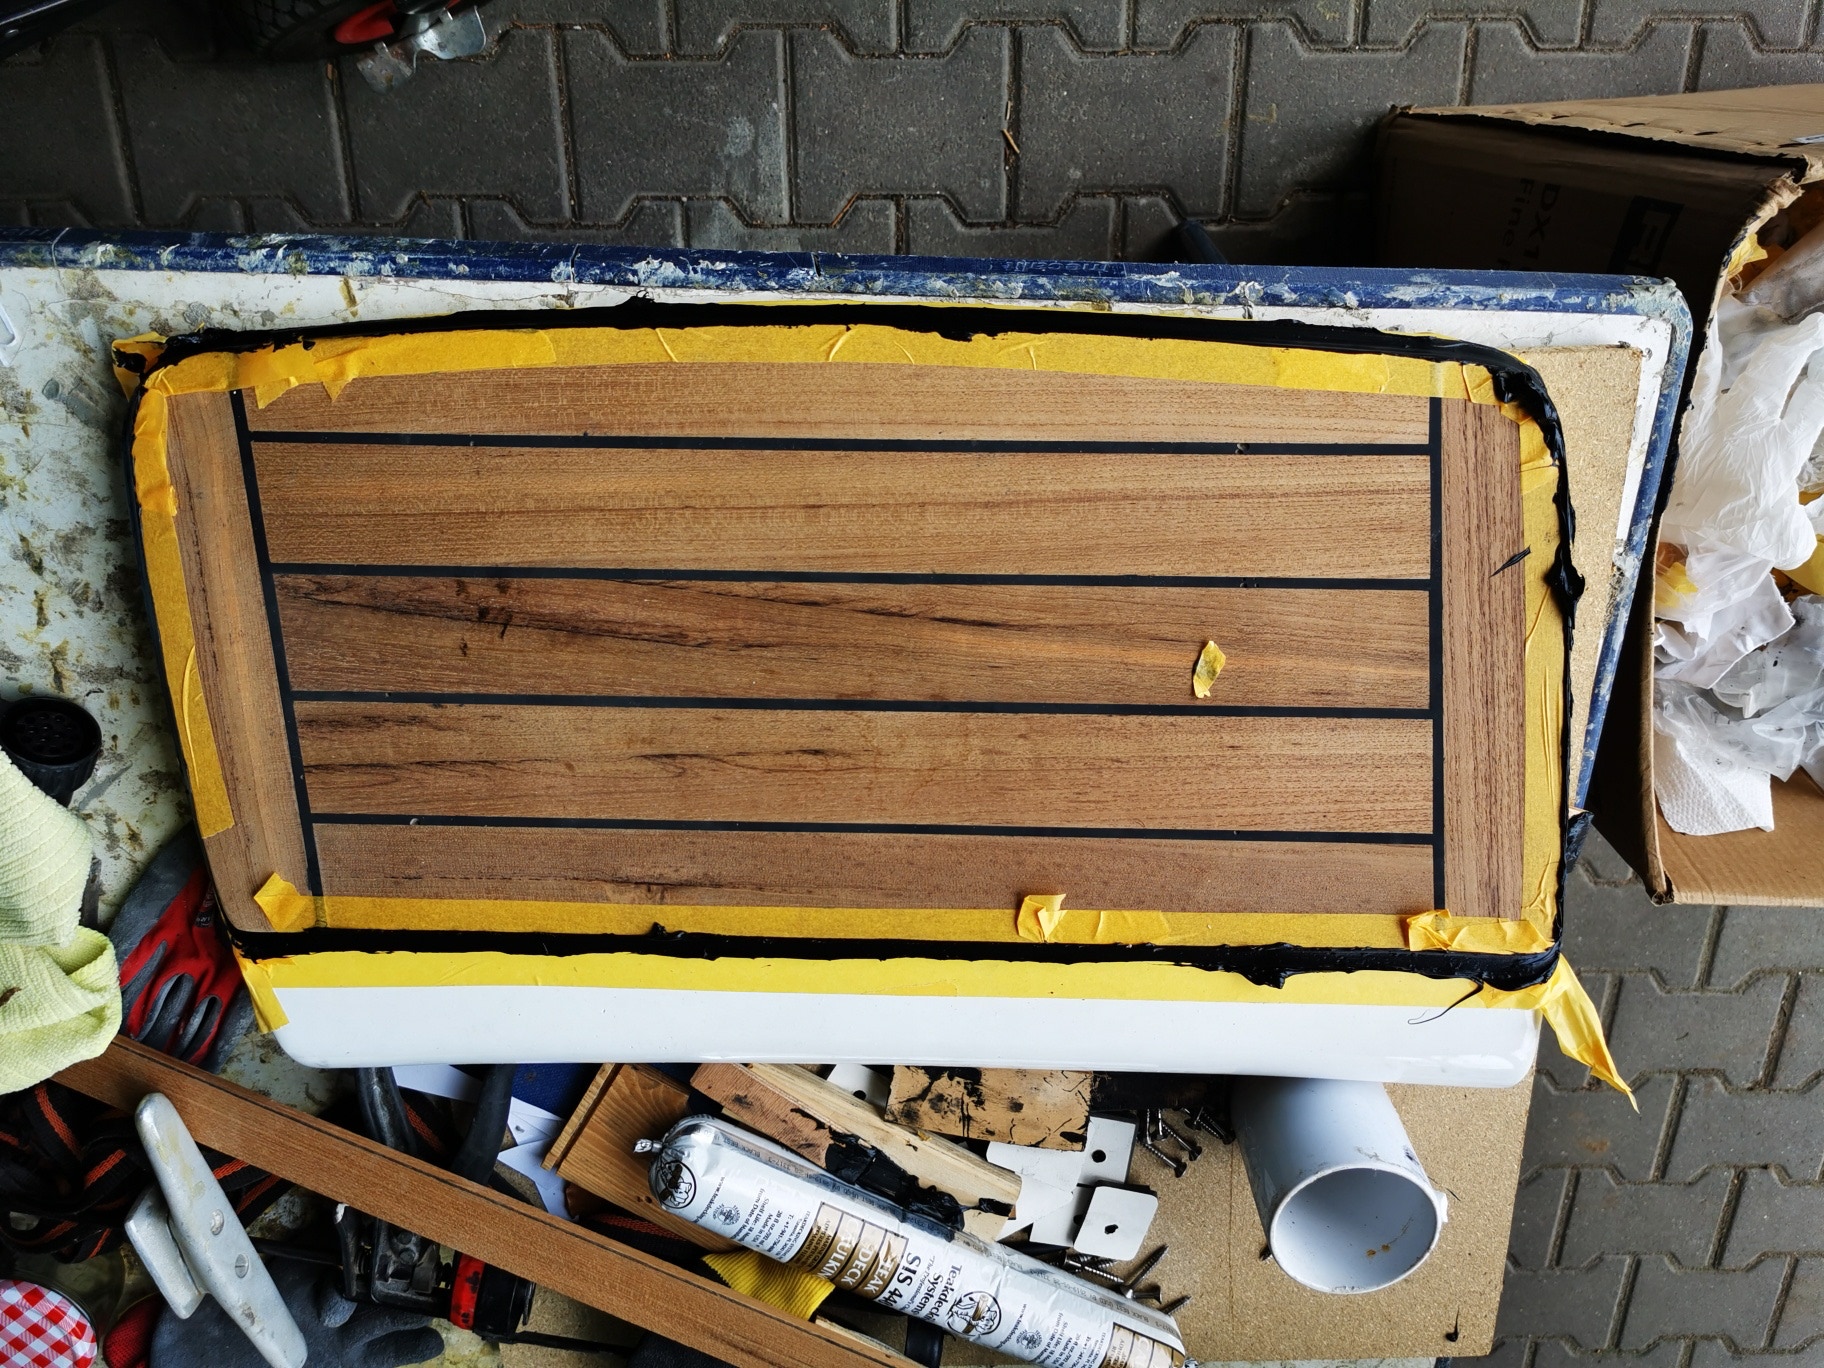
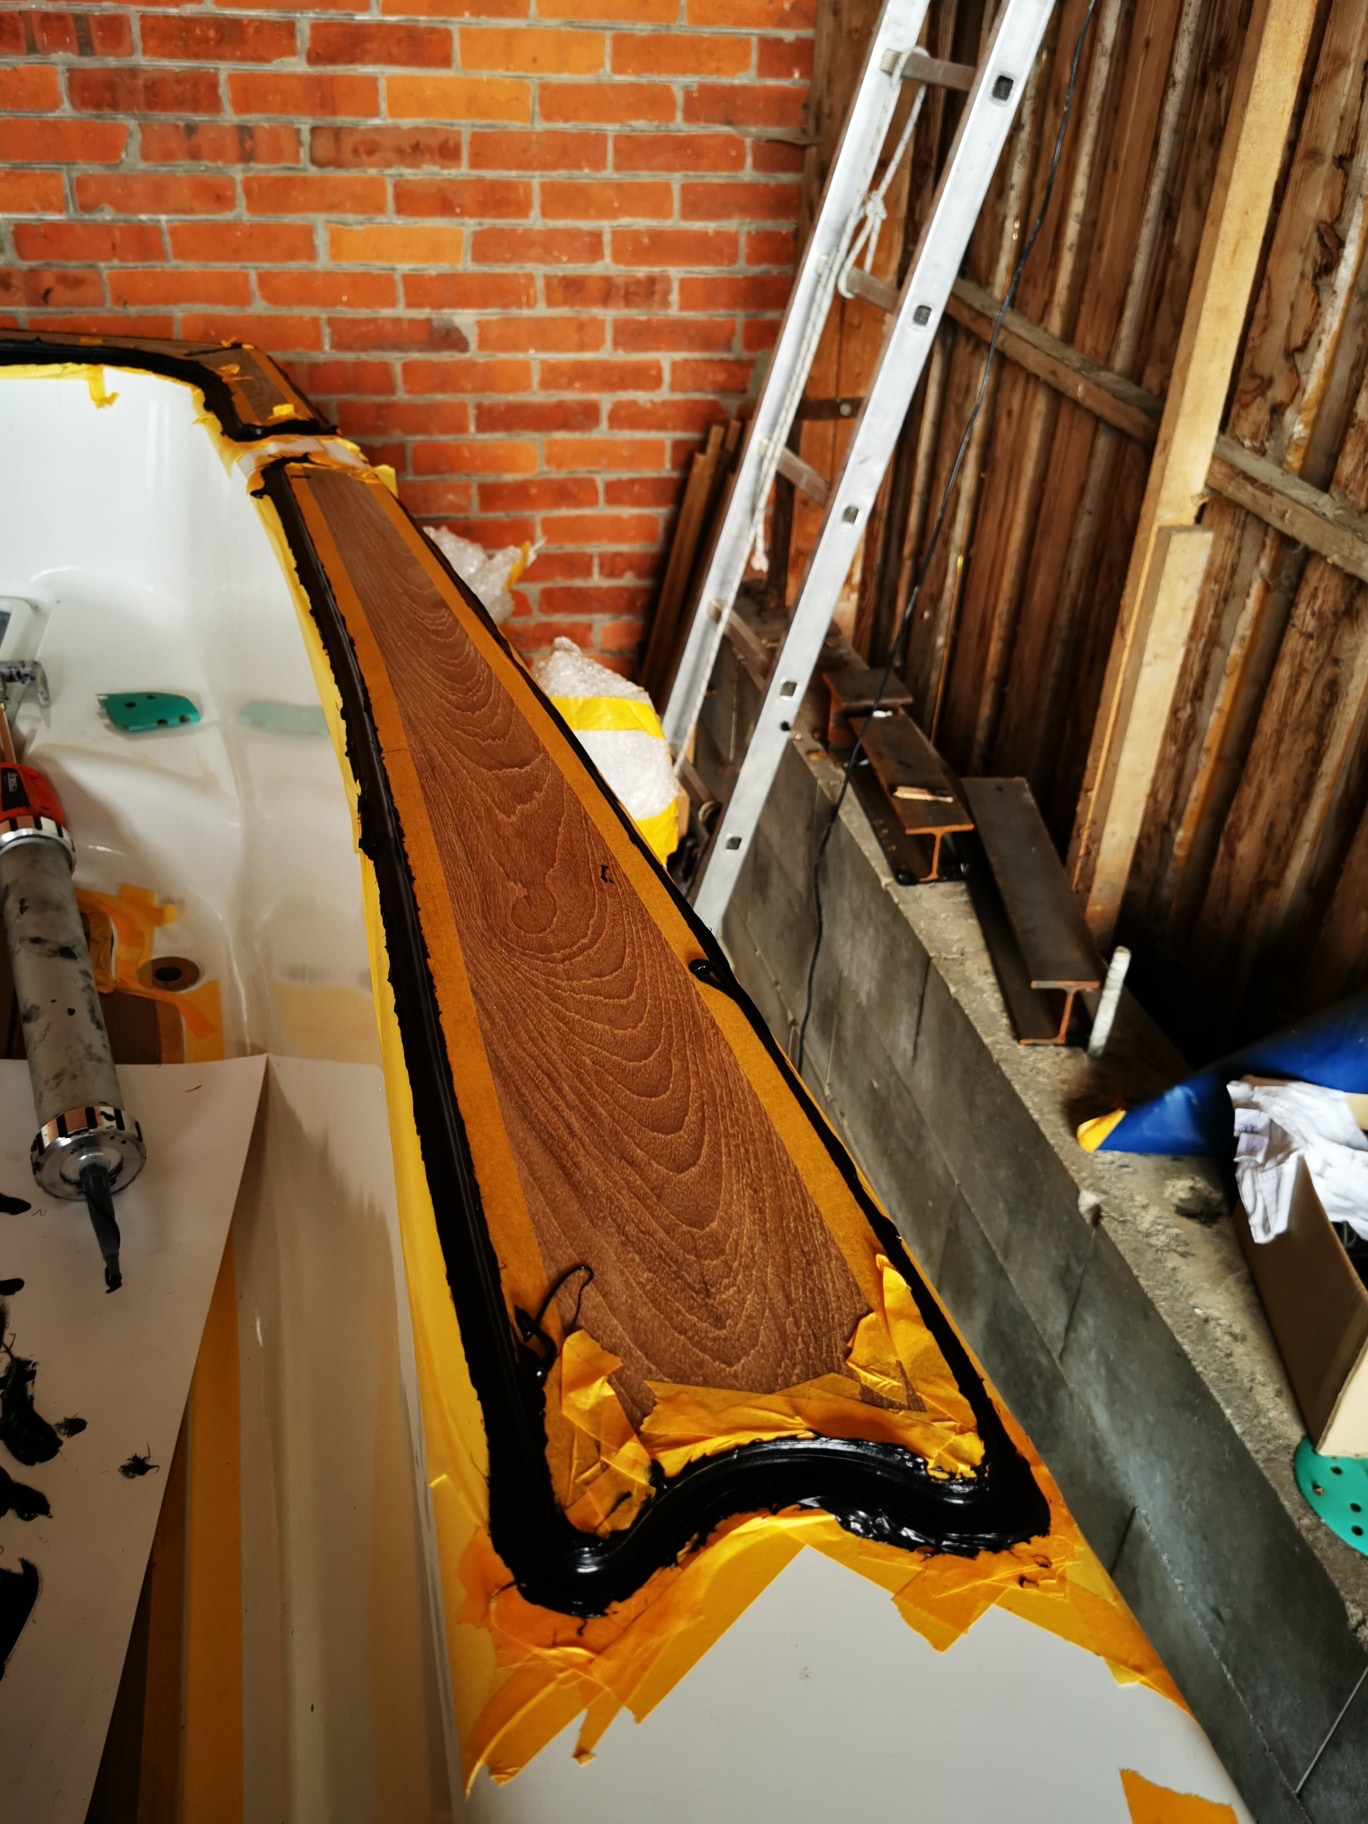
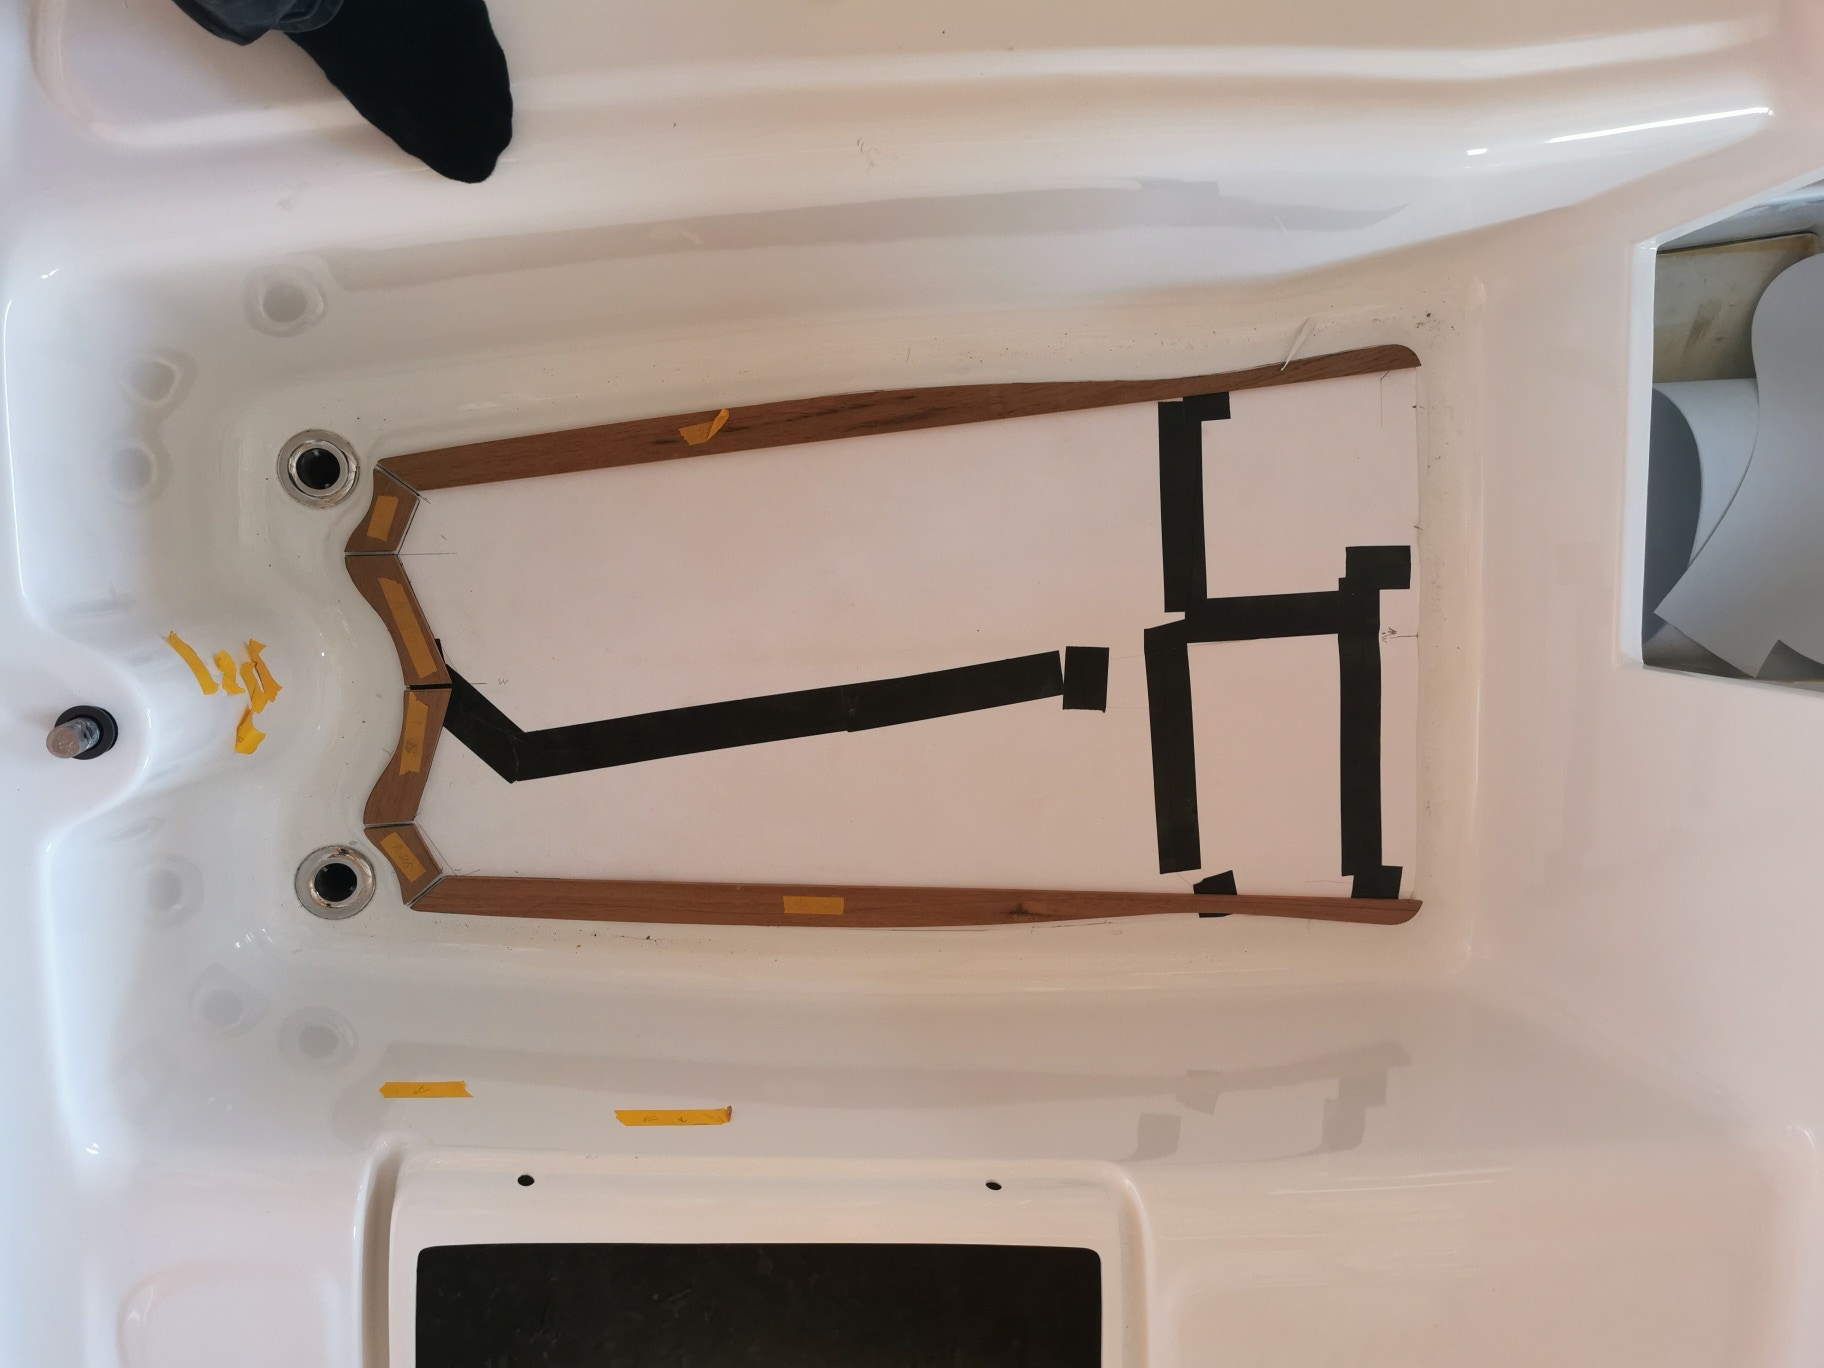
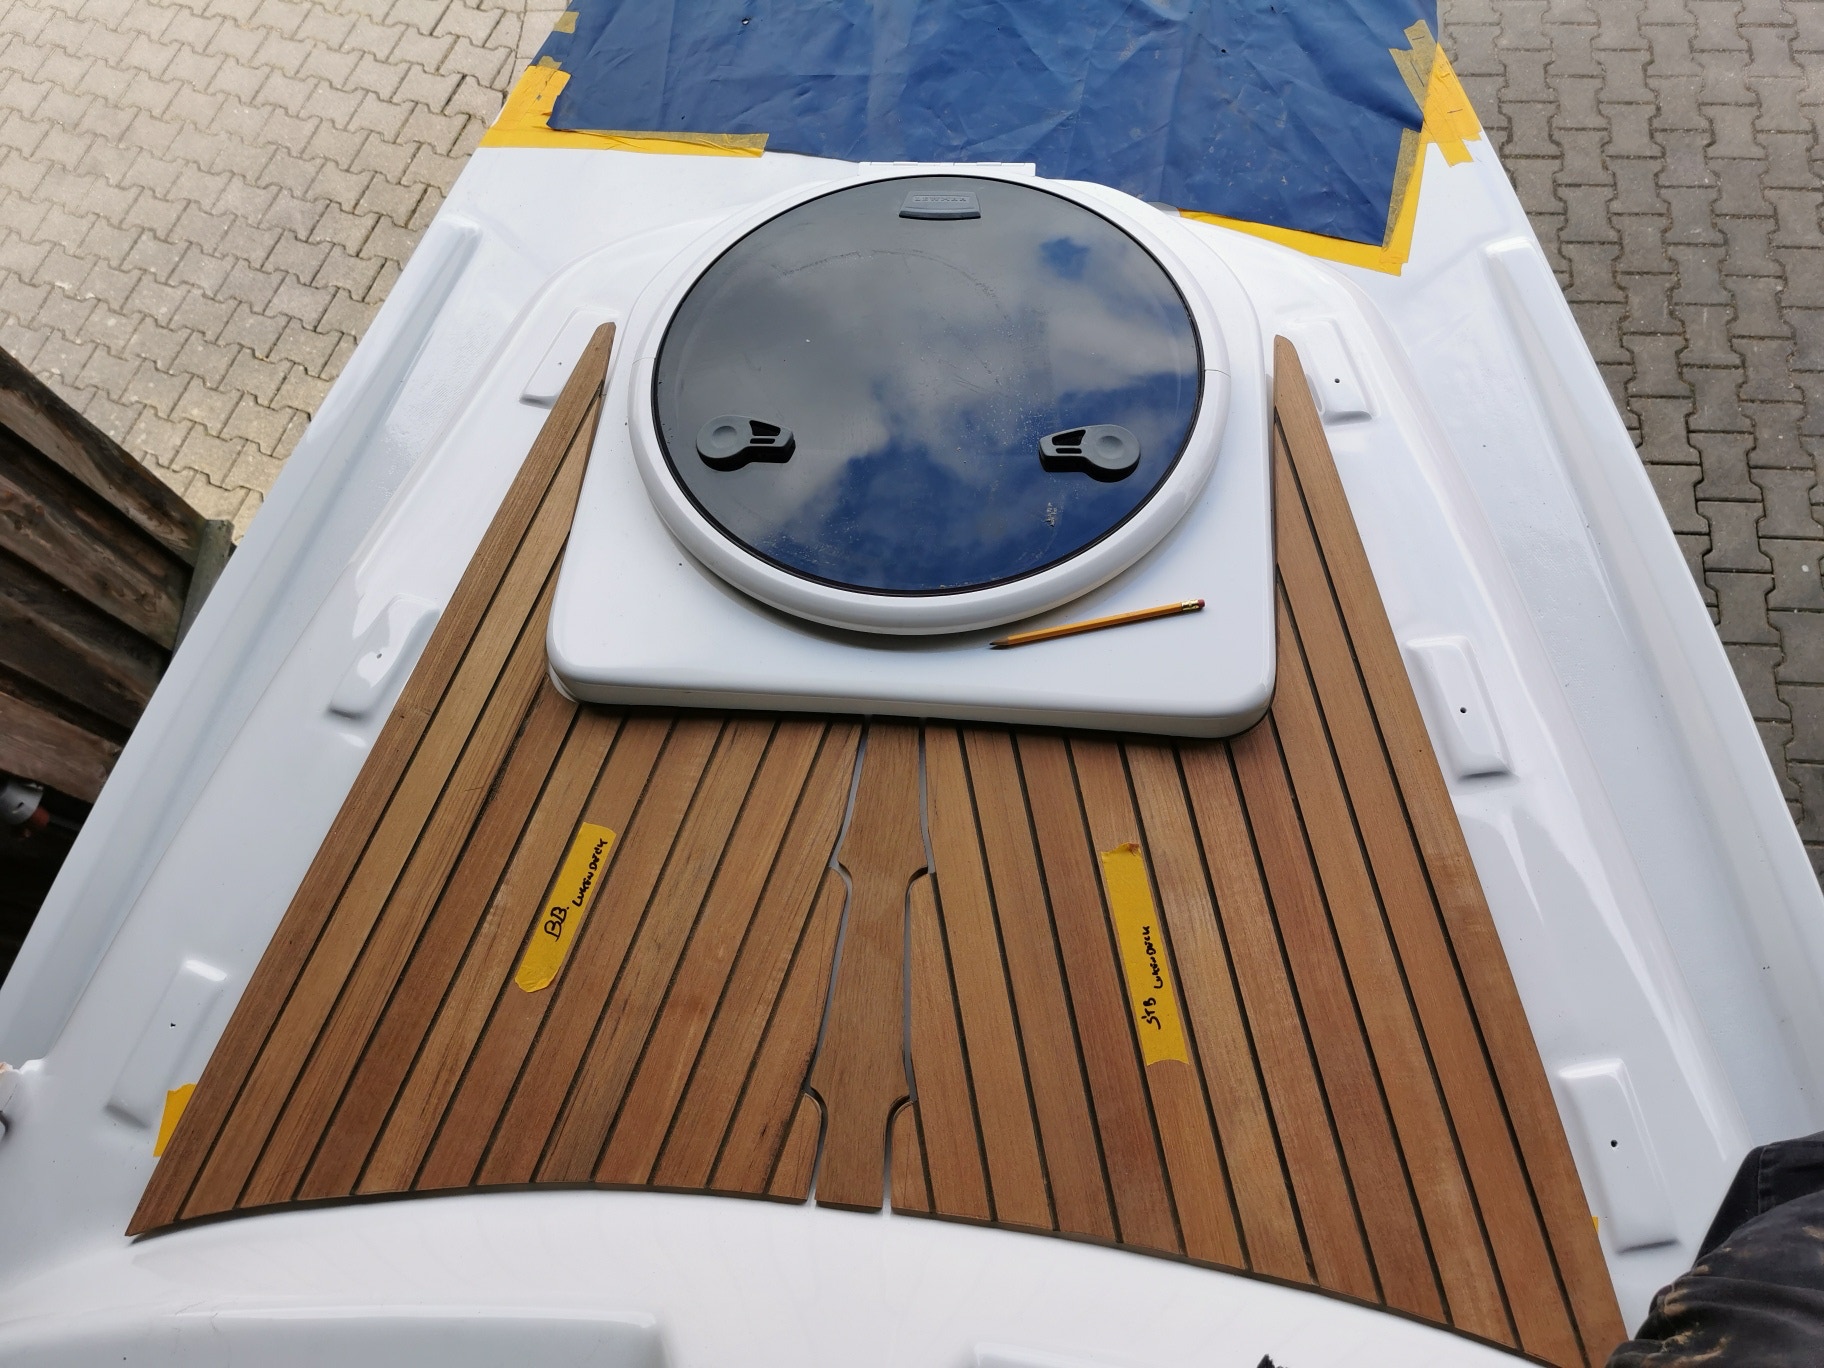
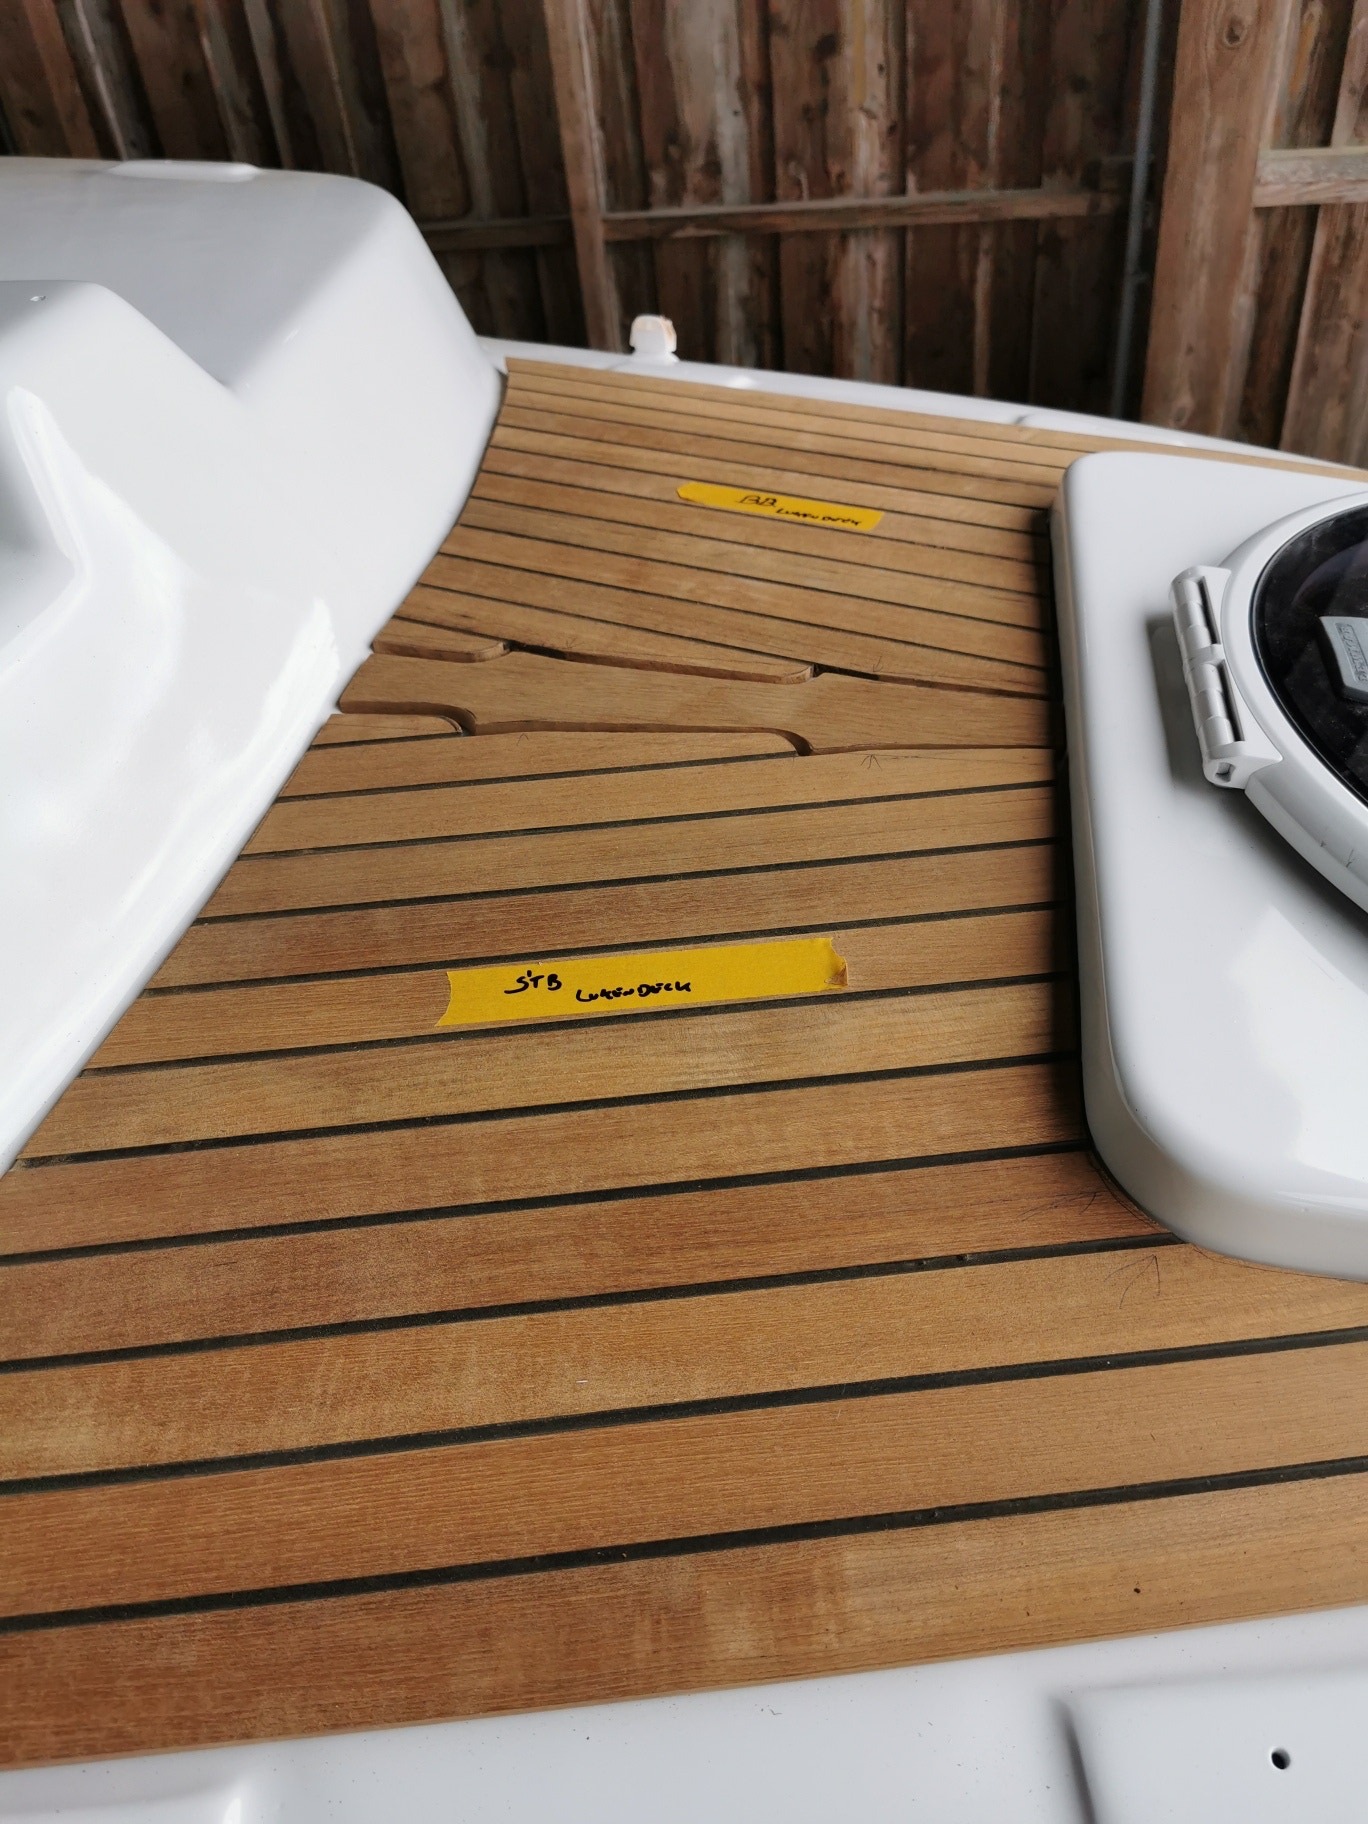
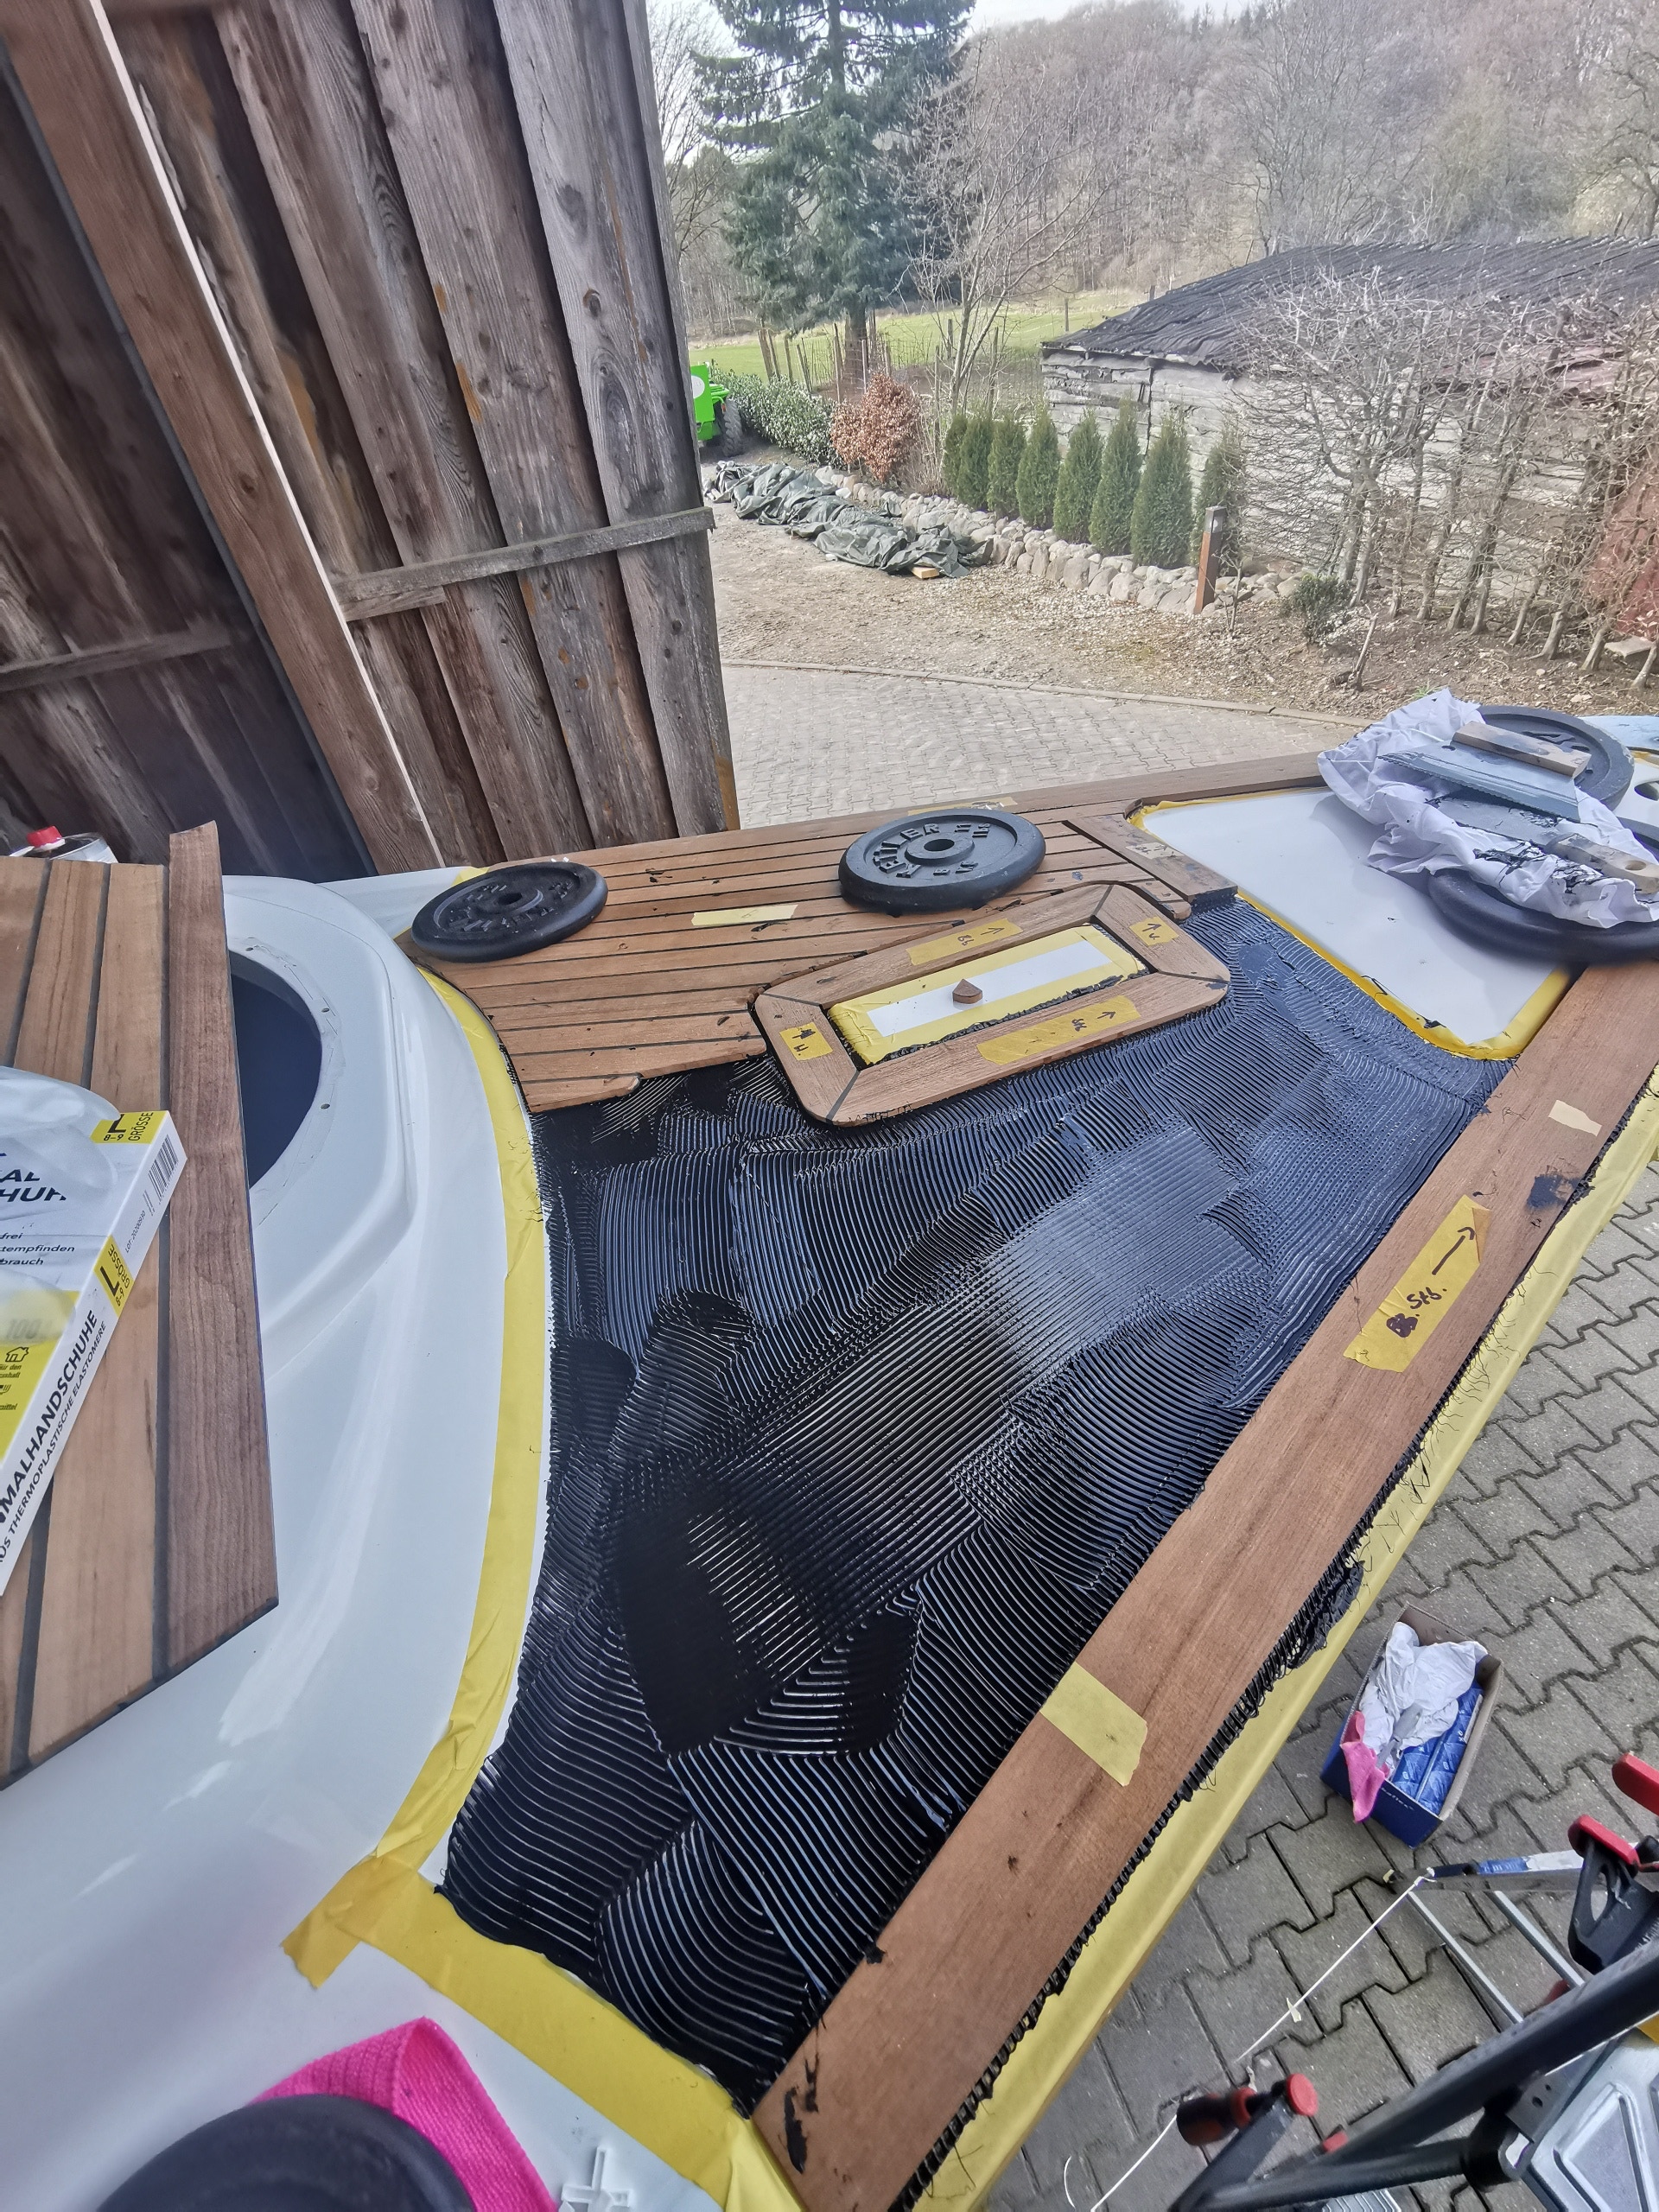
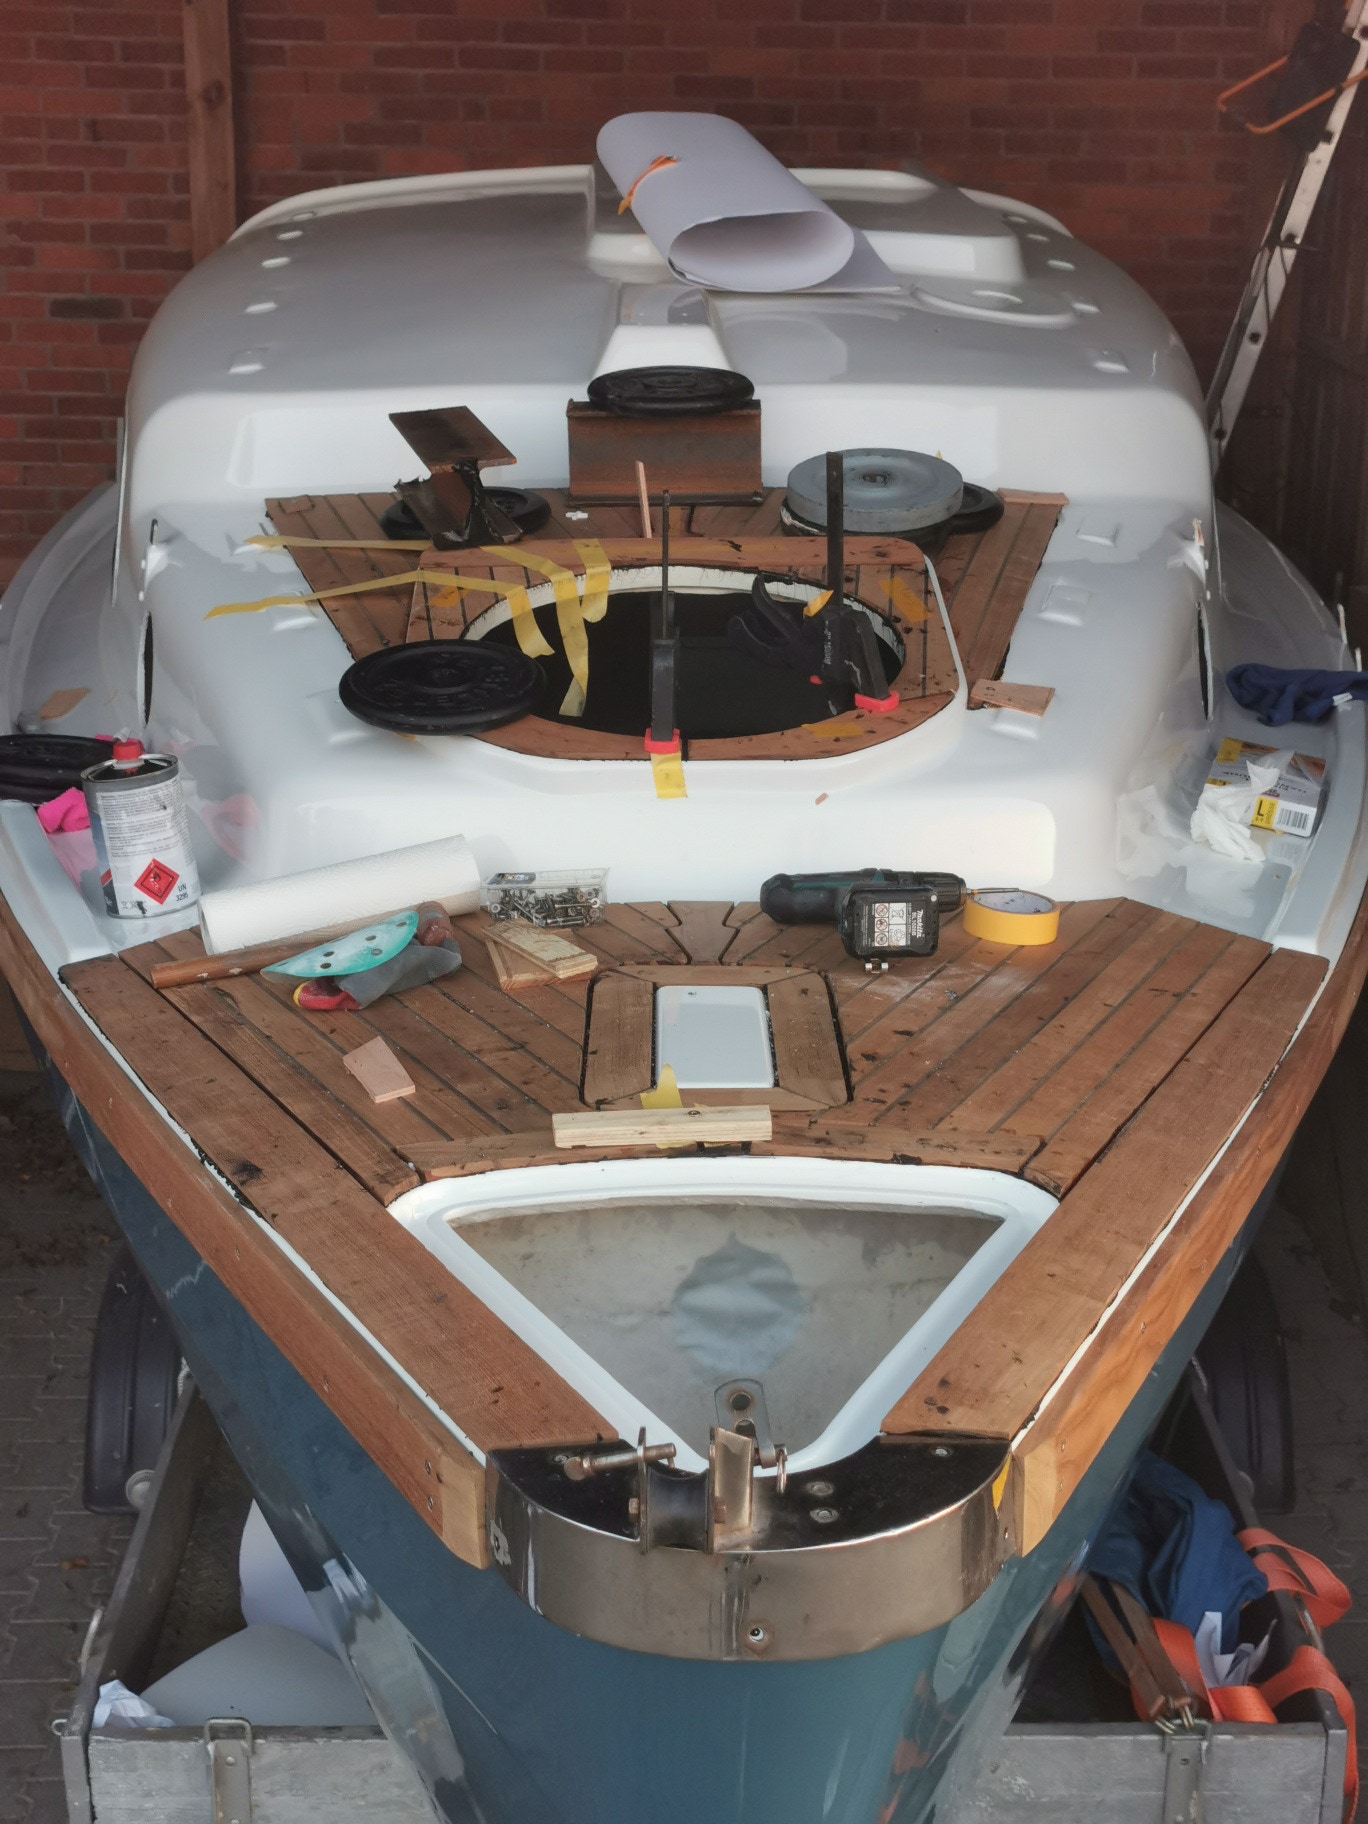
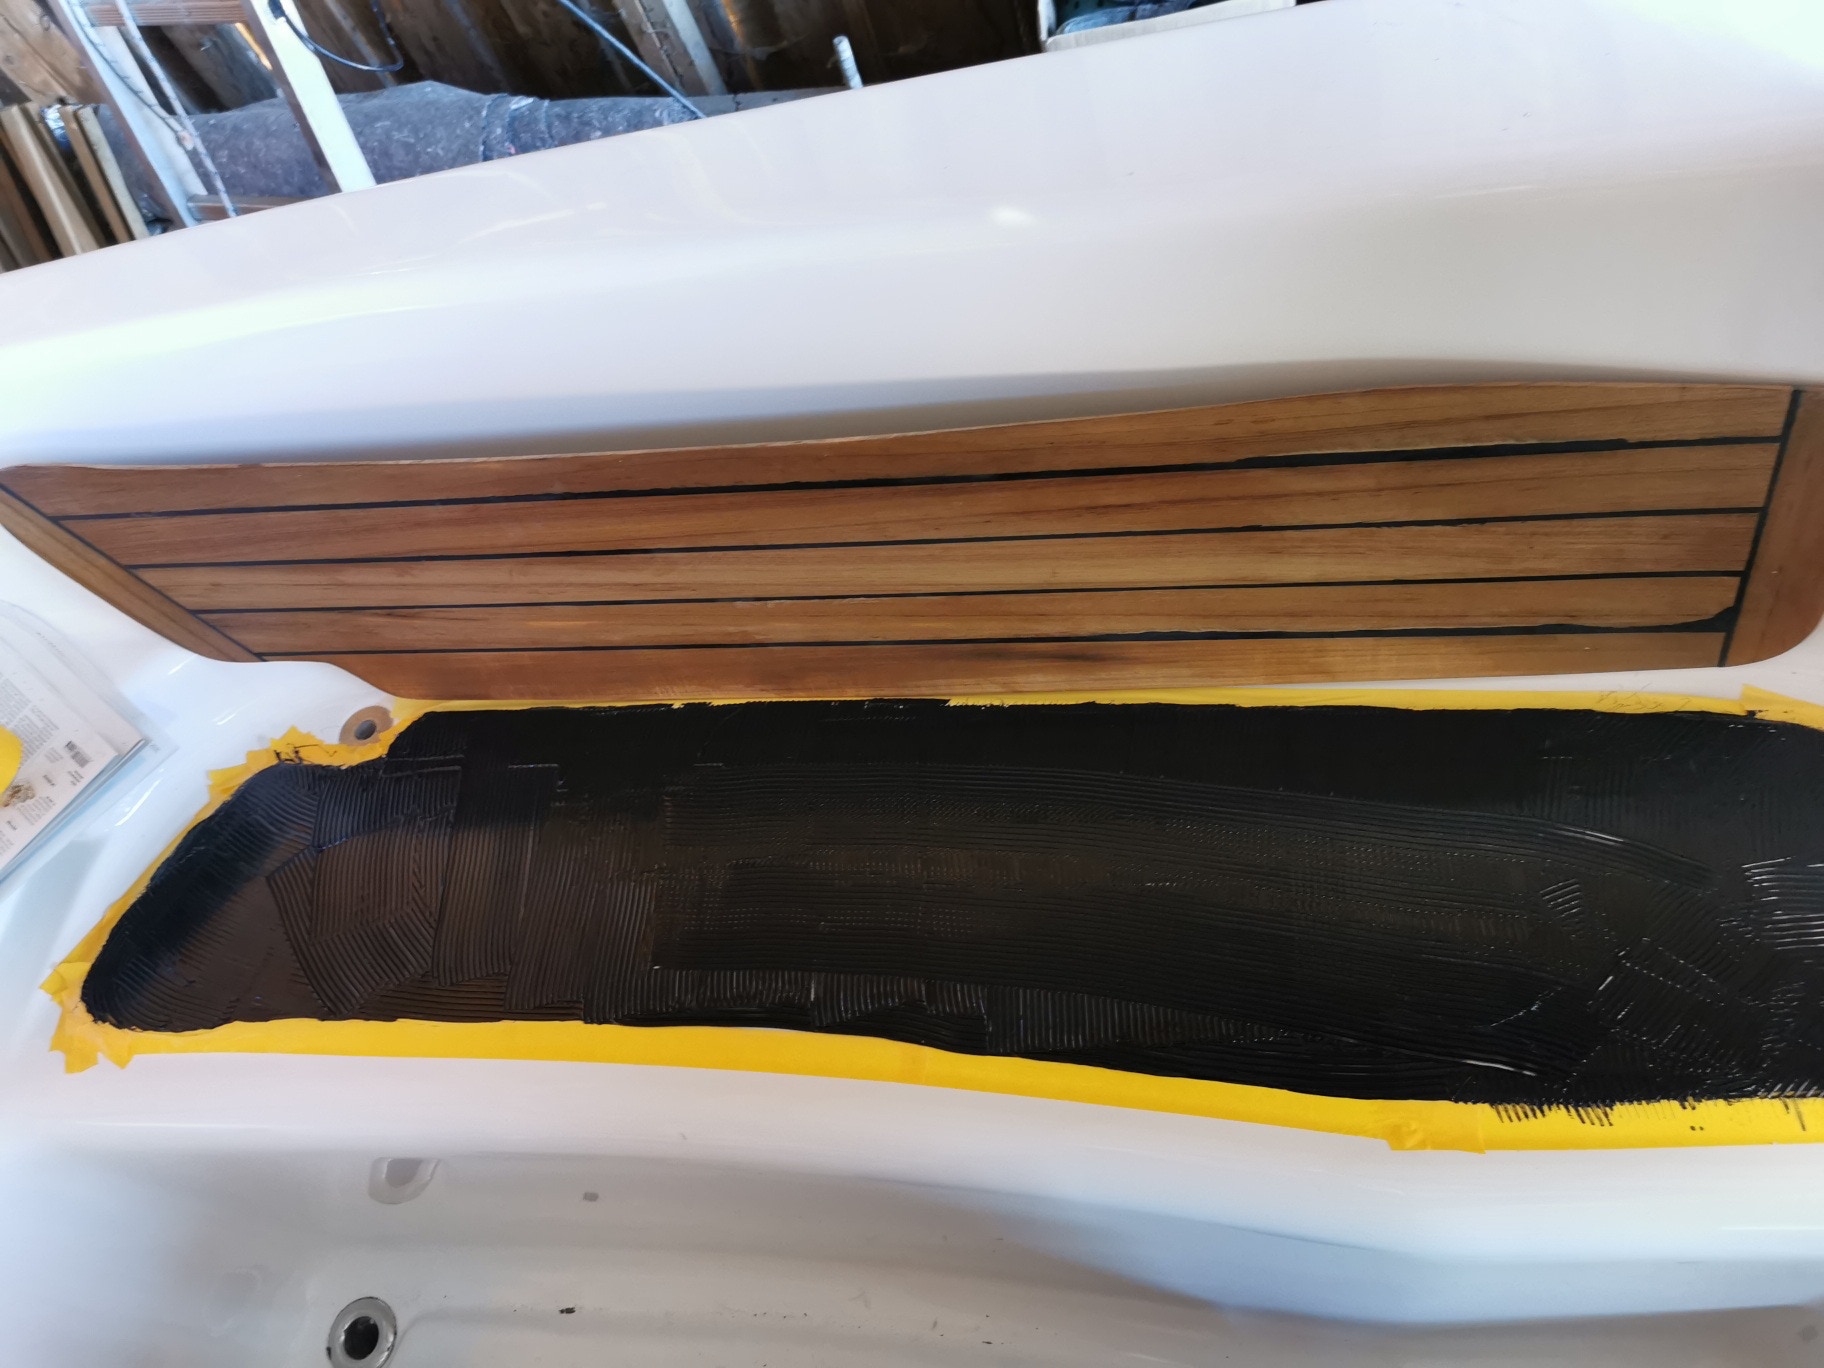
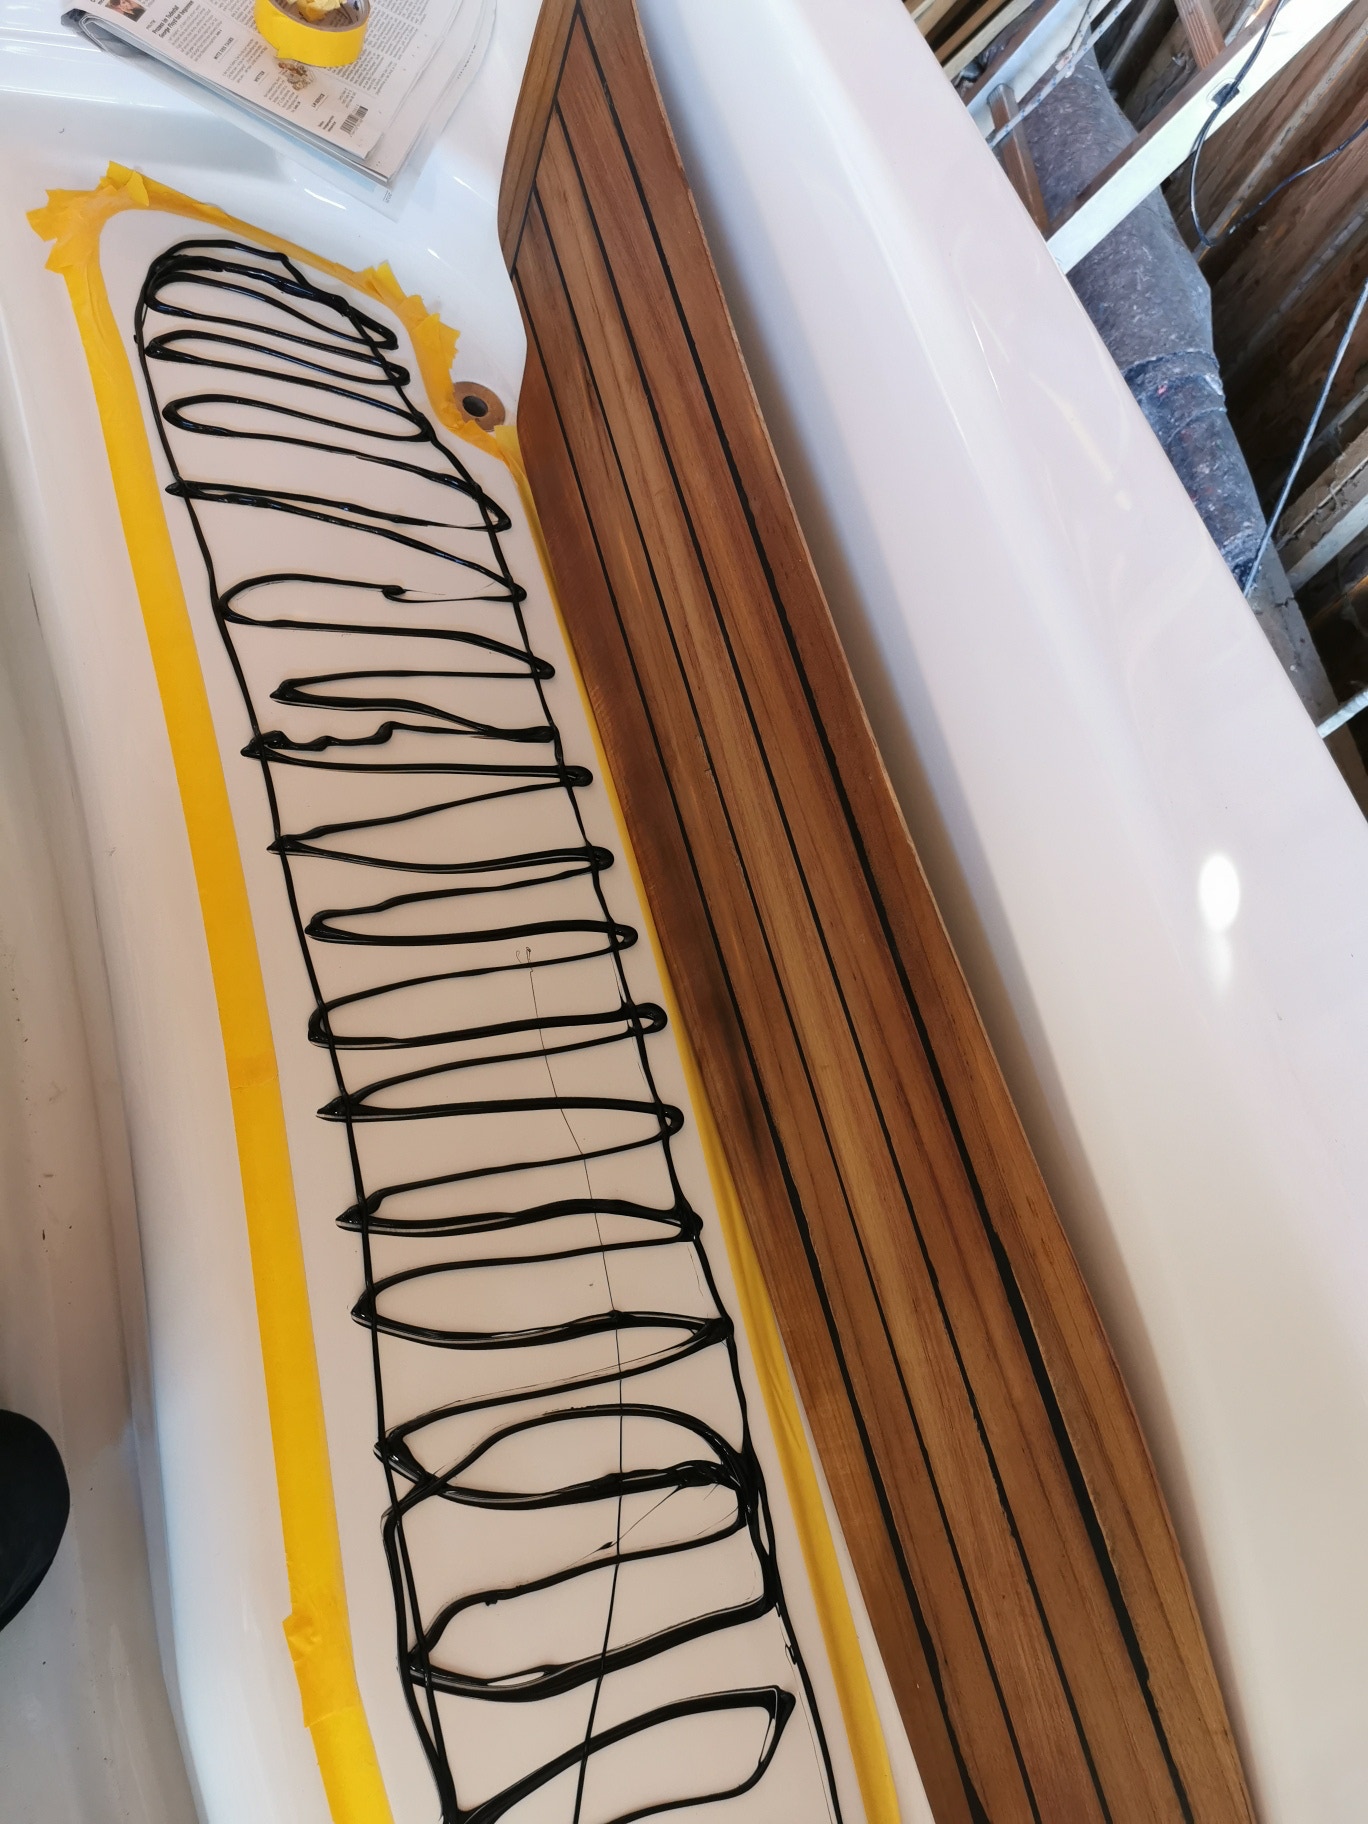
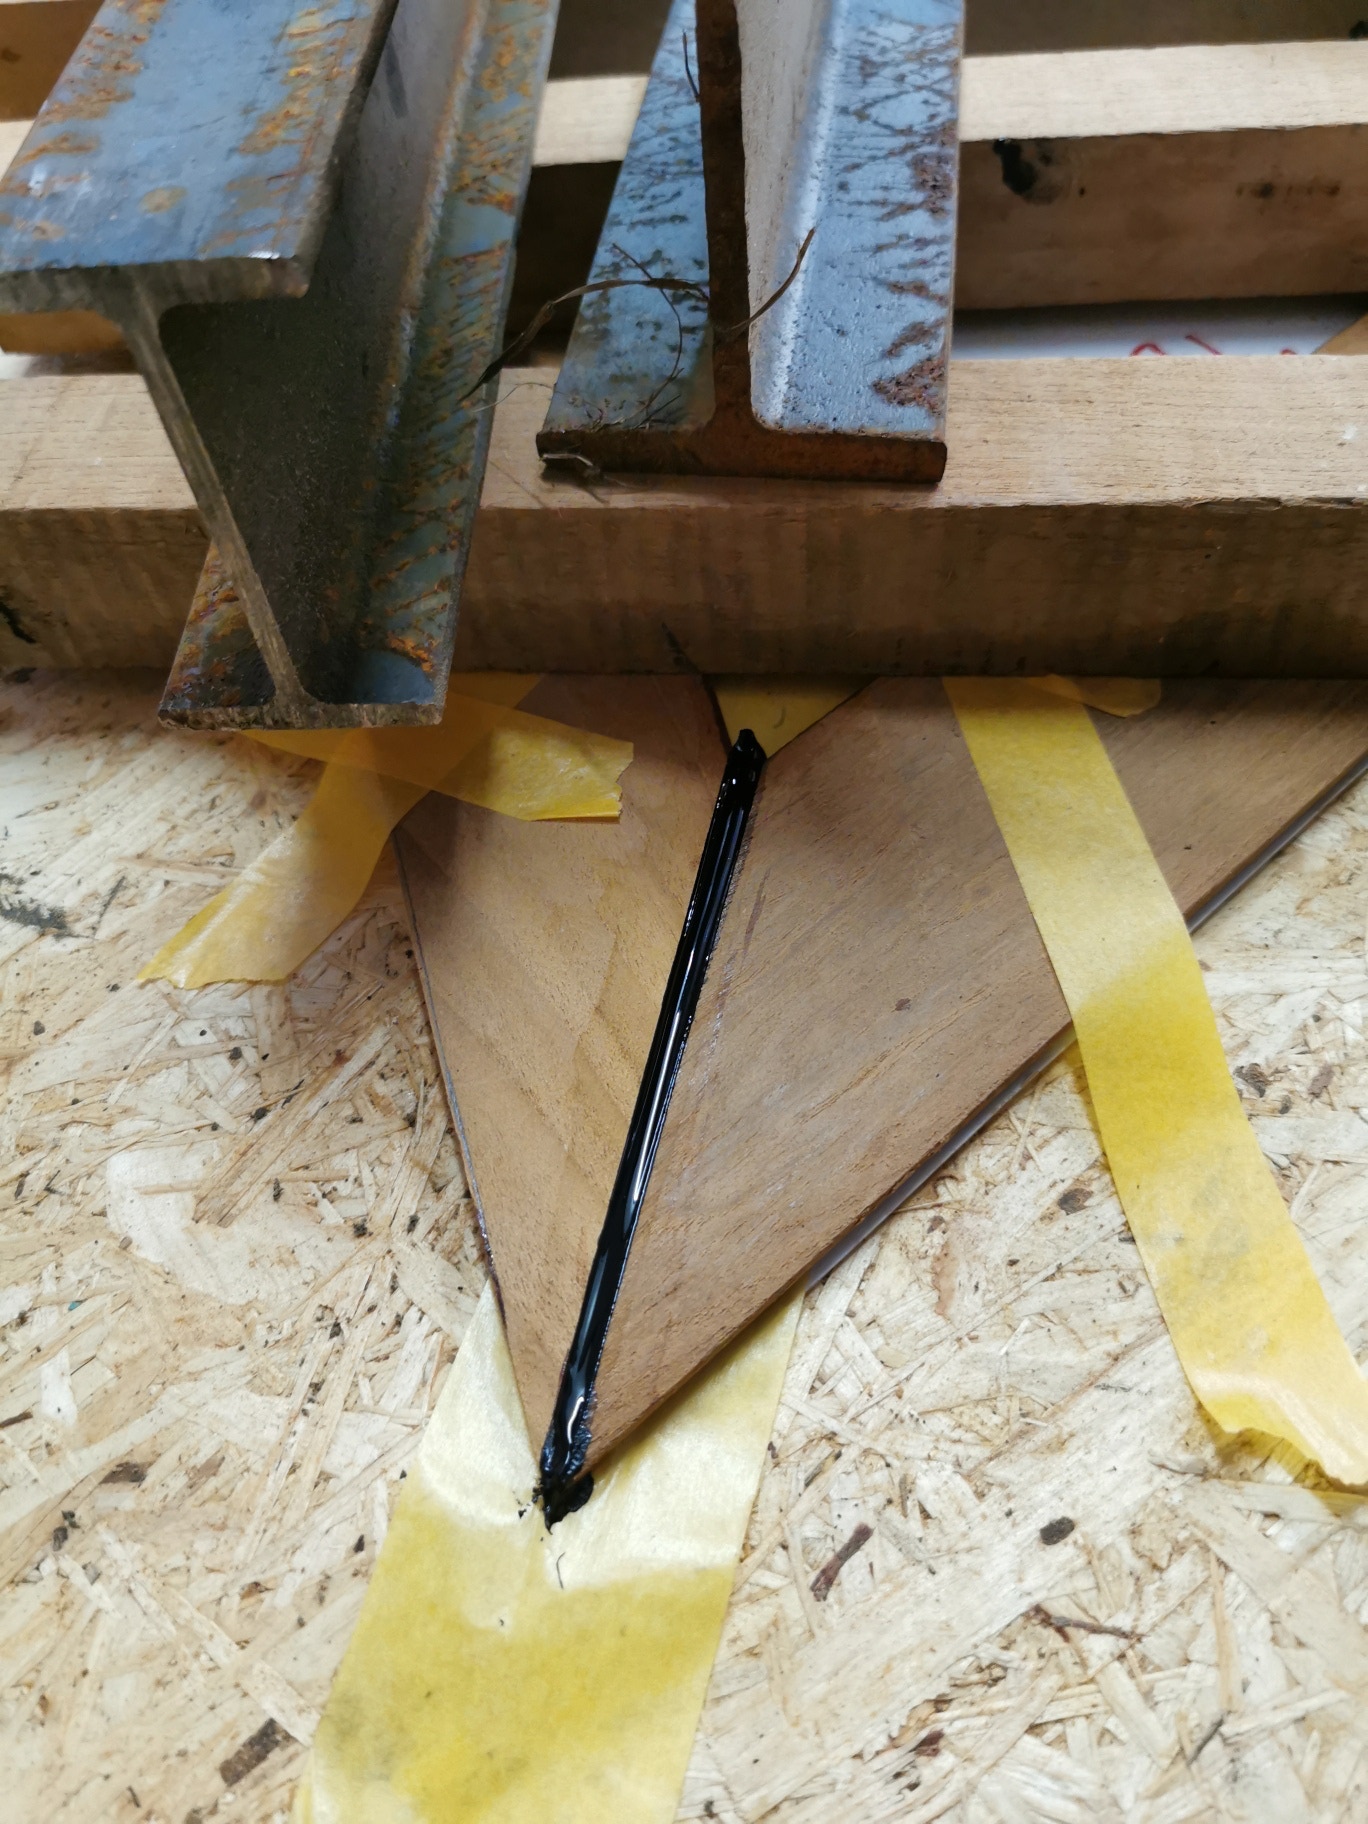
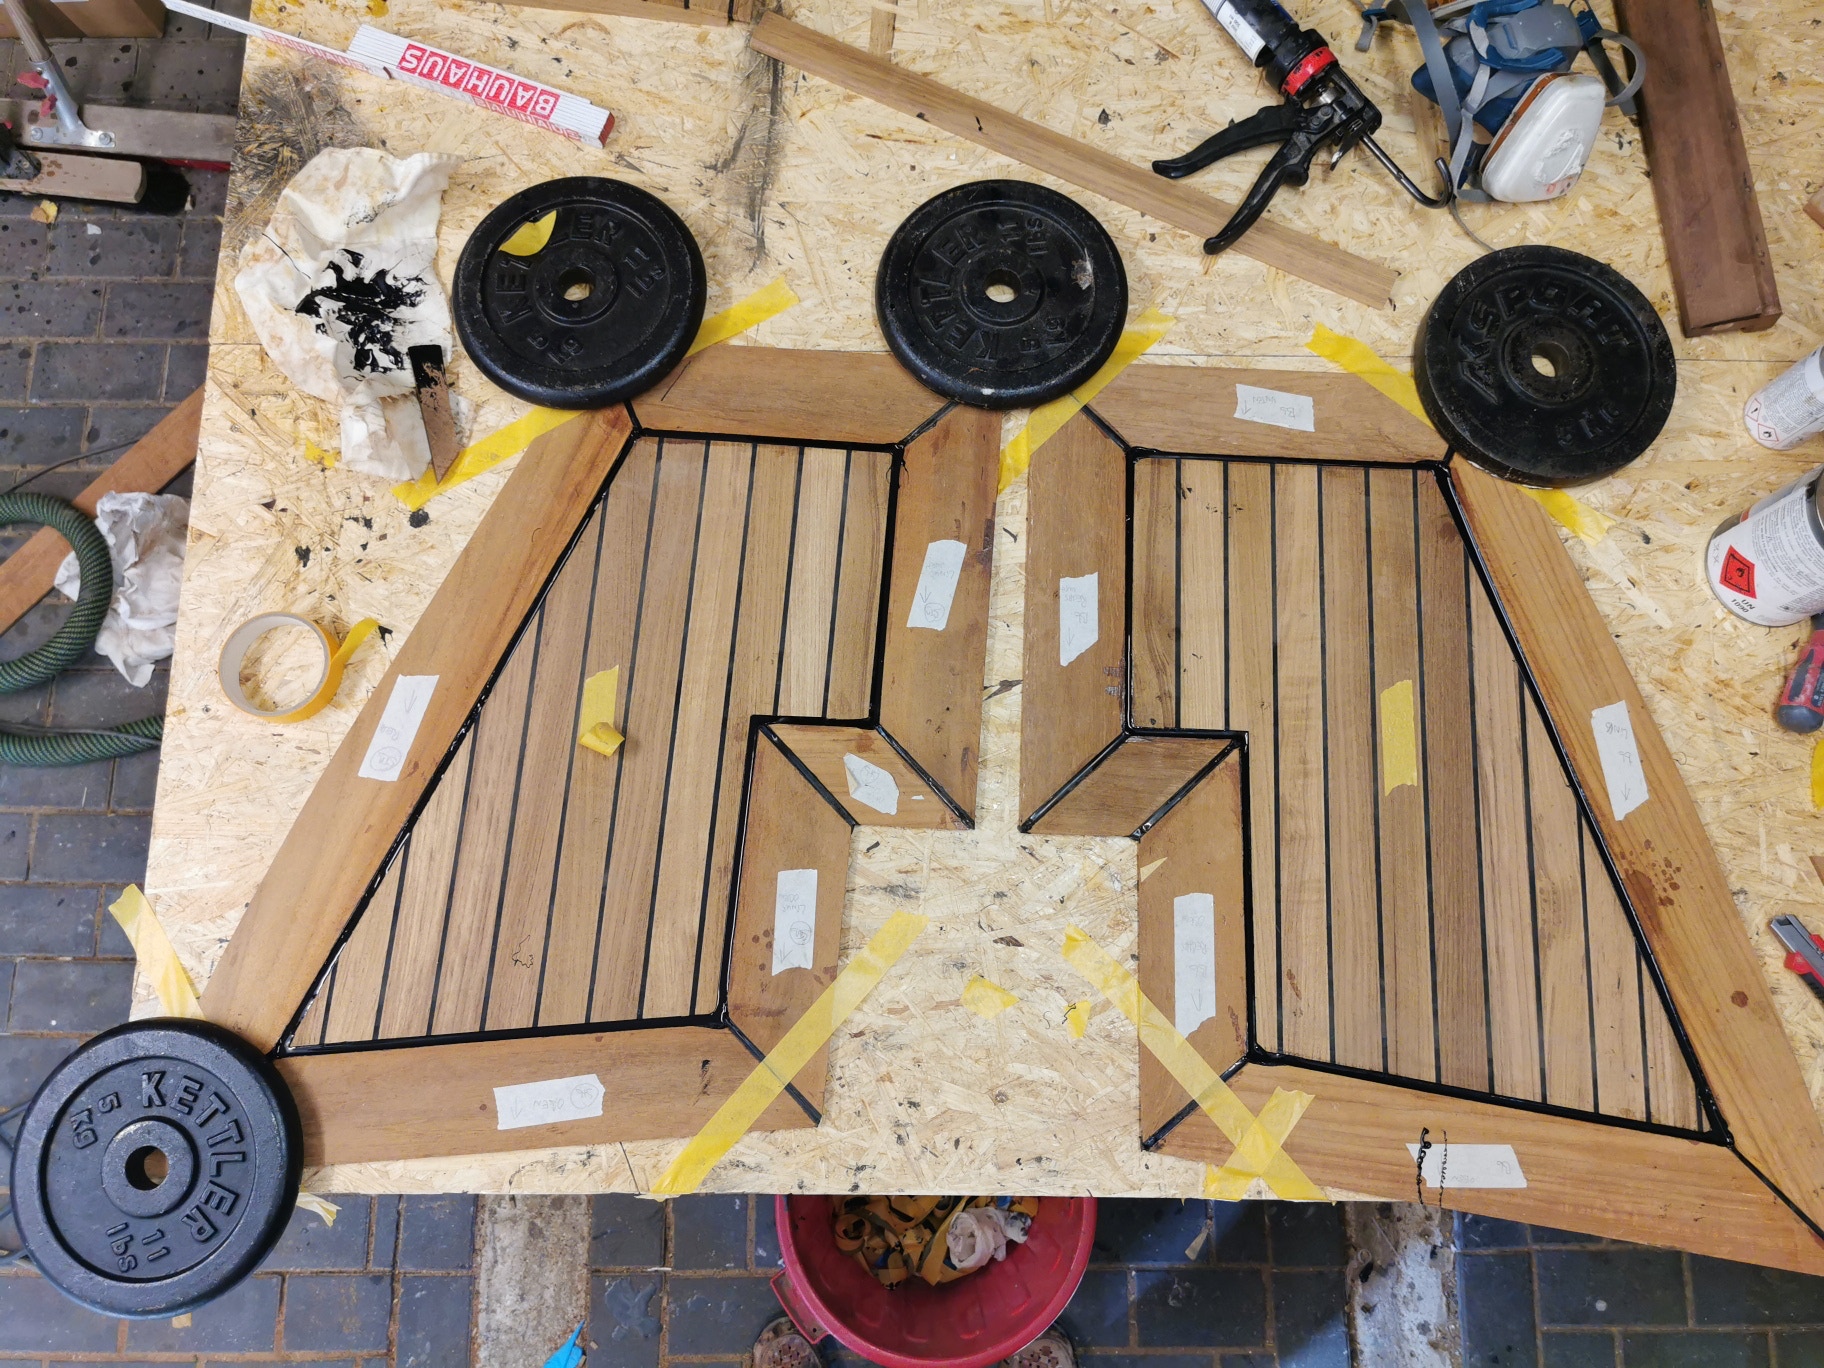
The teak work has now progressed so far that the seams of the wood can be sealed.
It is quite a laborious job to tape everything on beforehand so that the hem gets a proper Sikaflex cove.
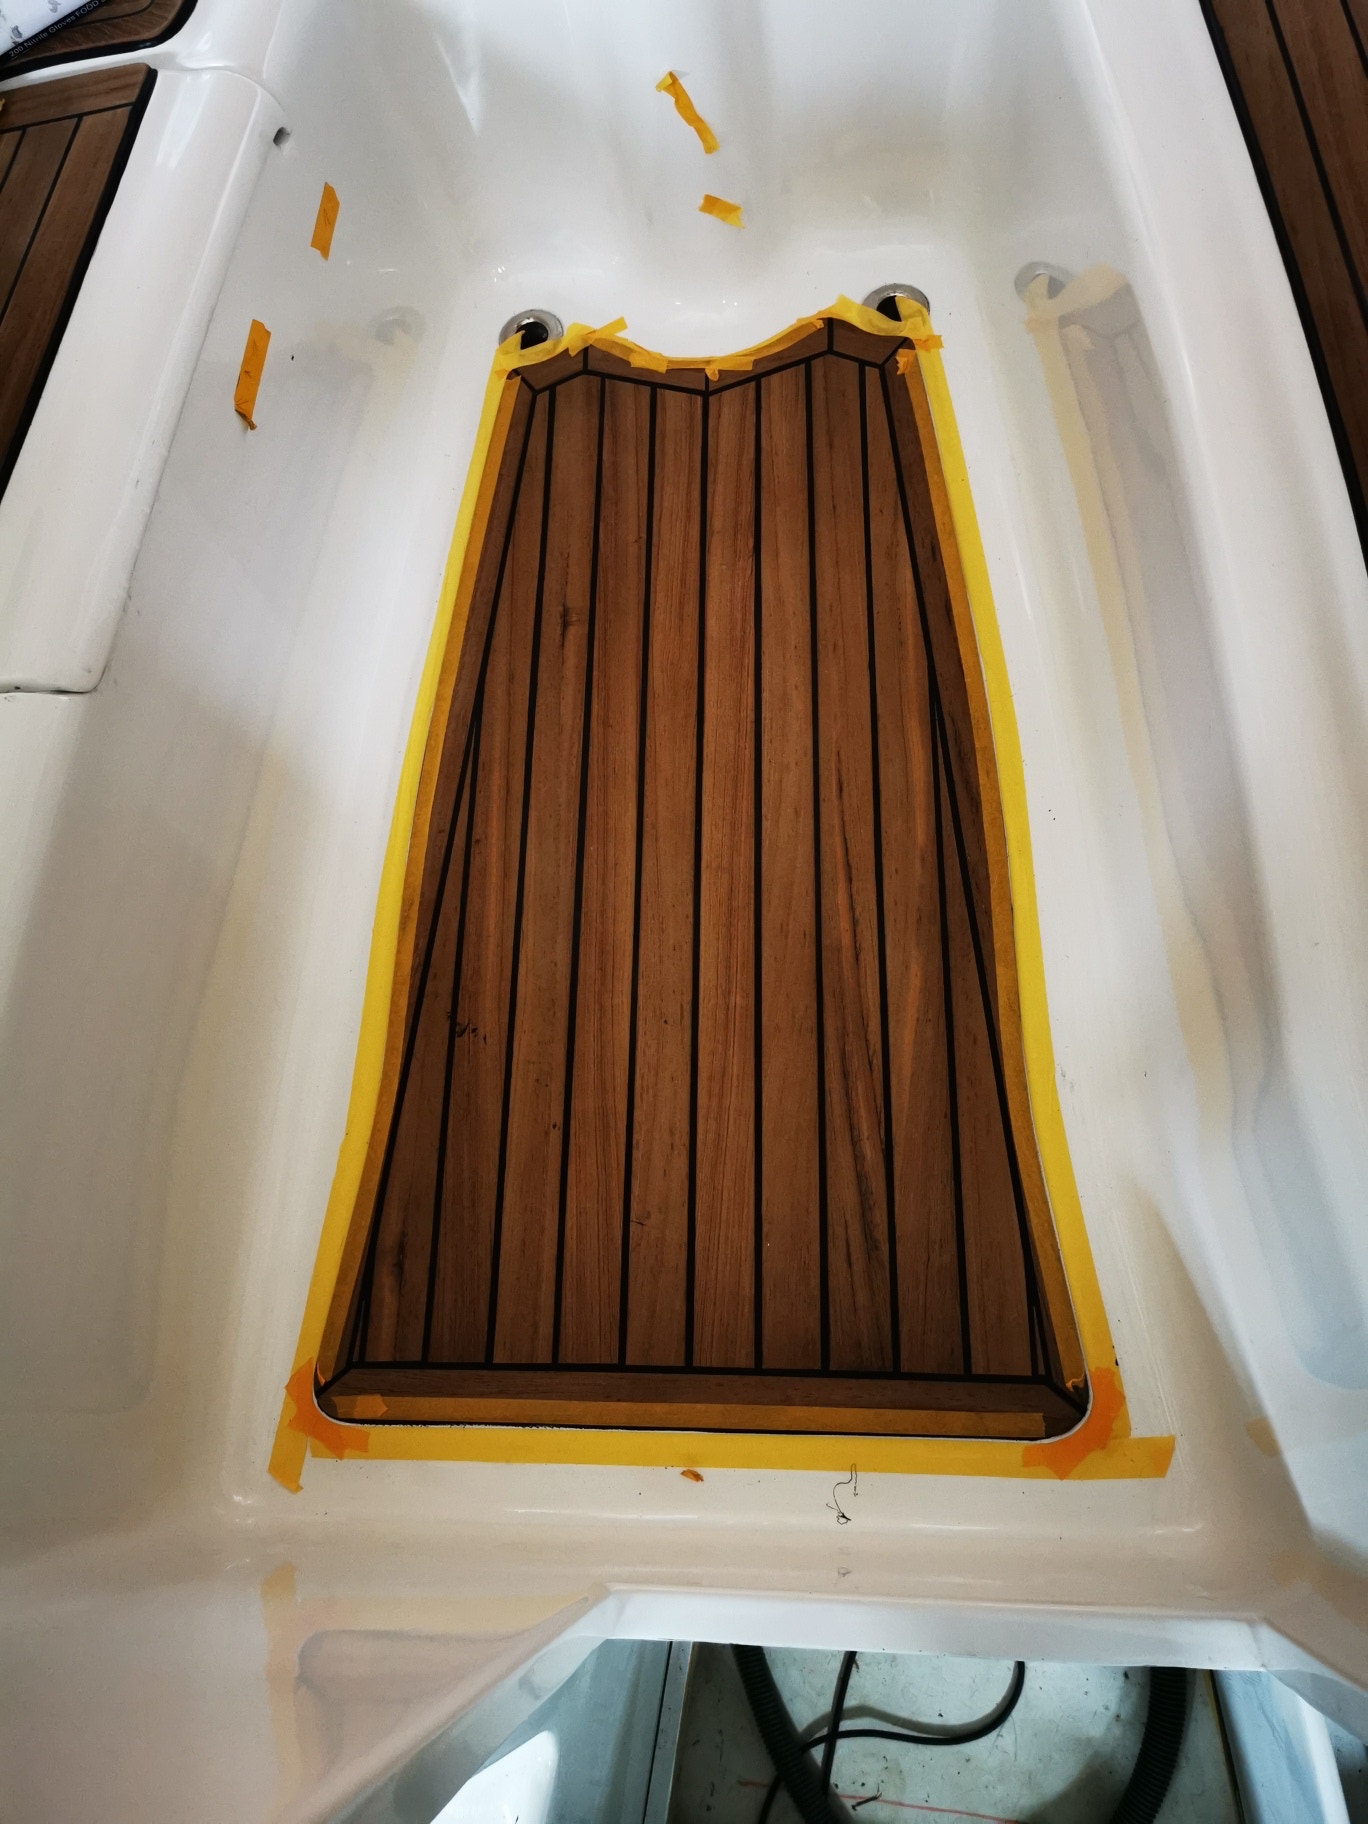
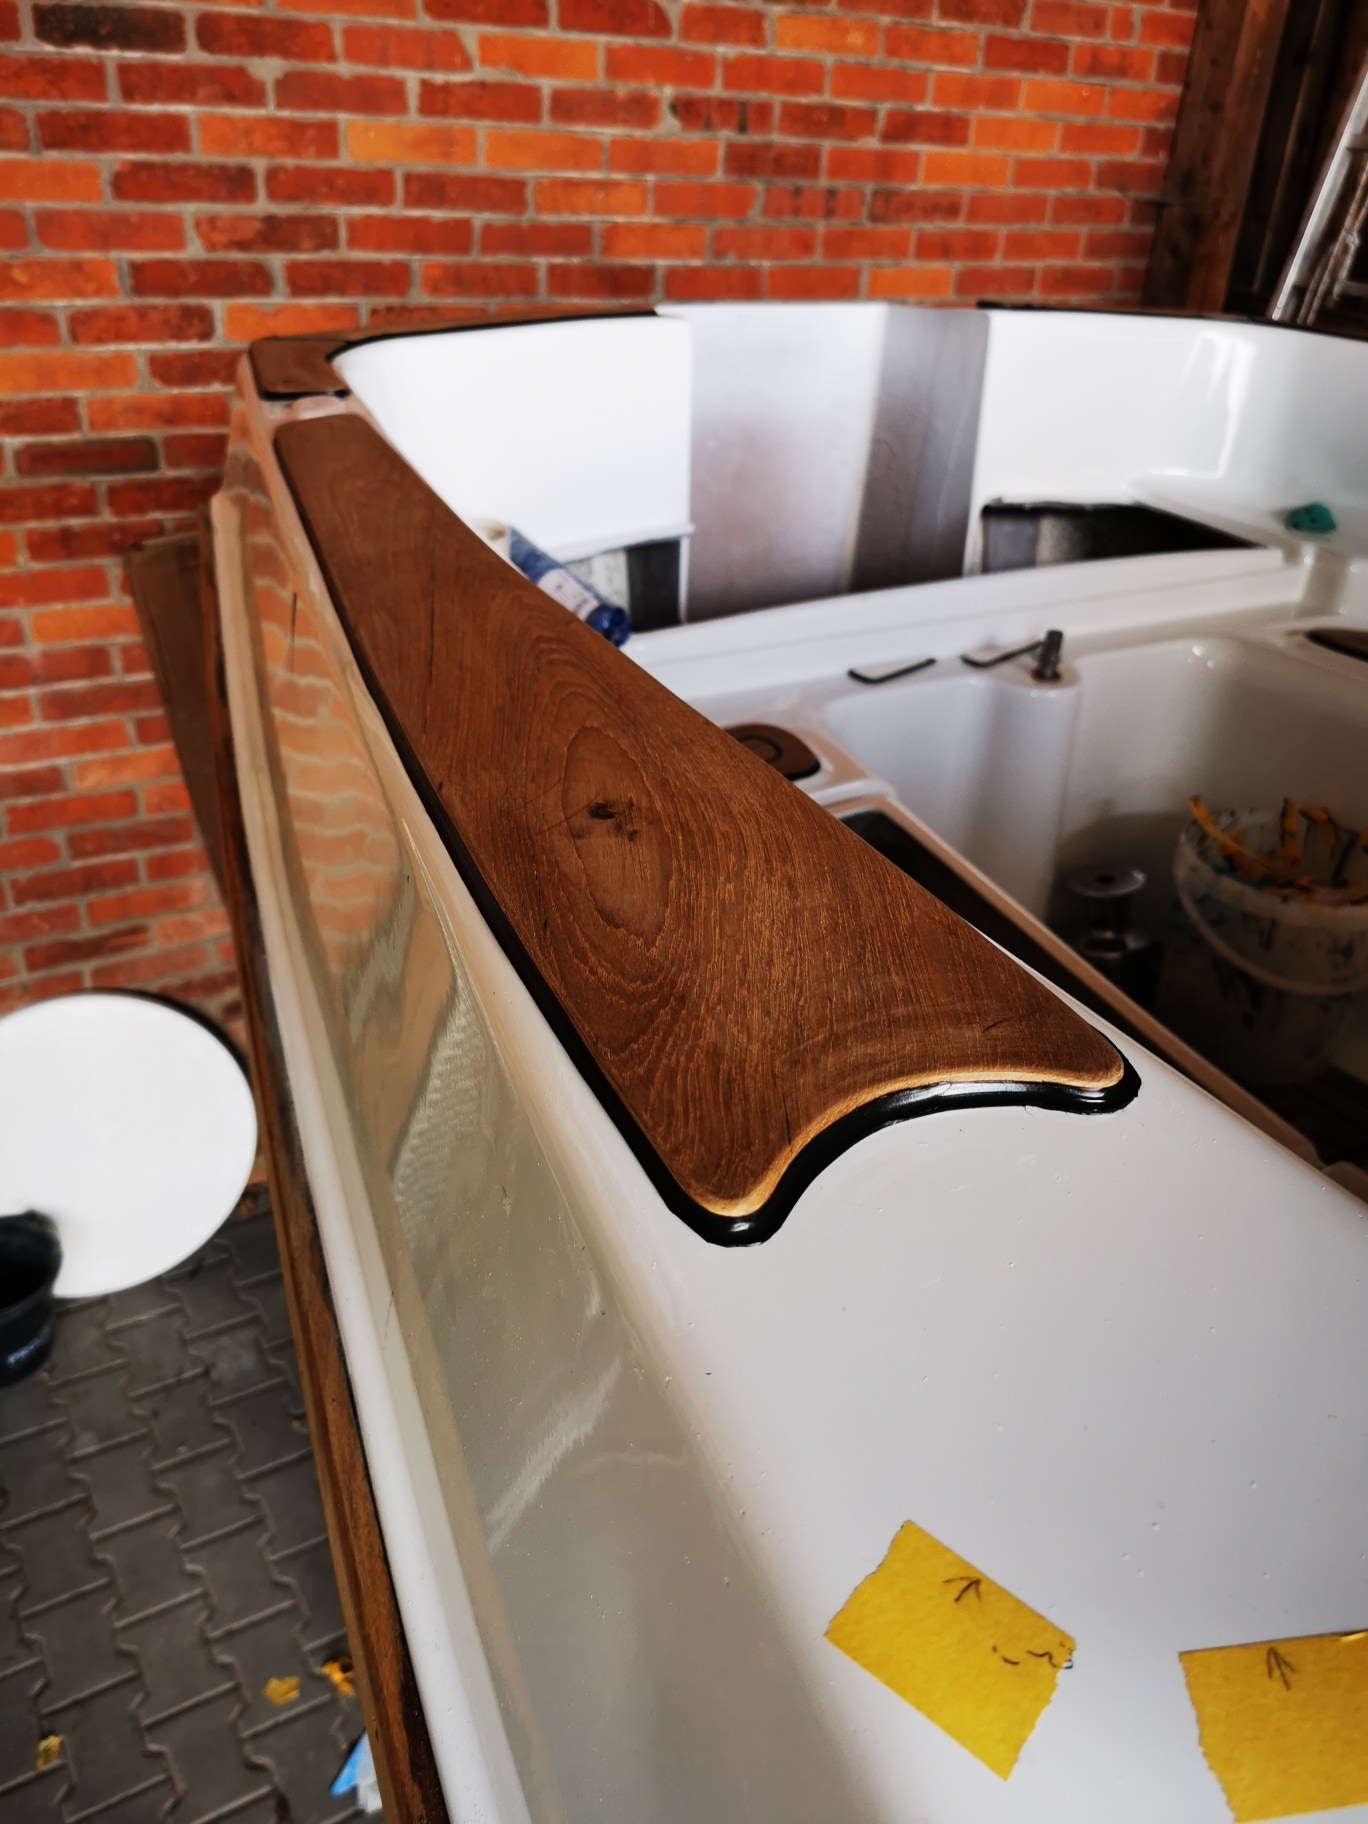

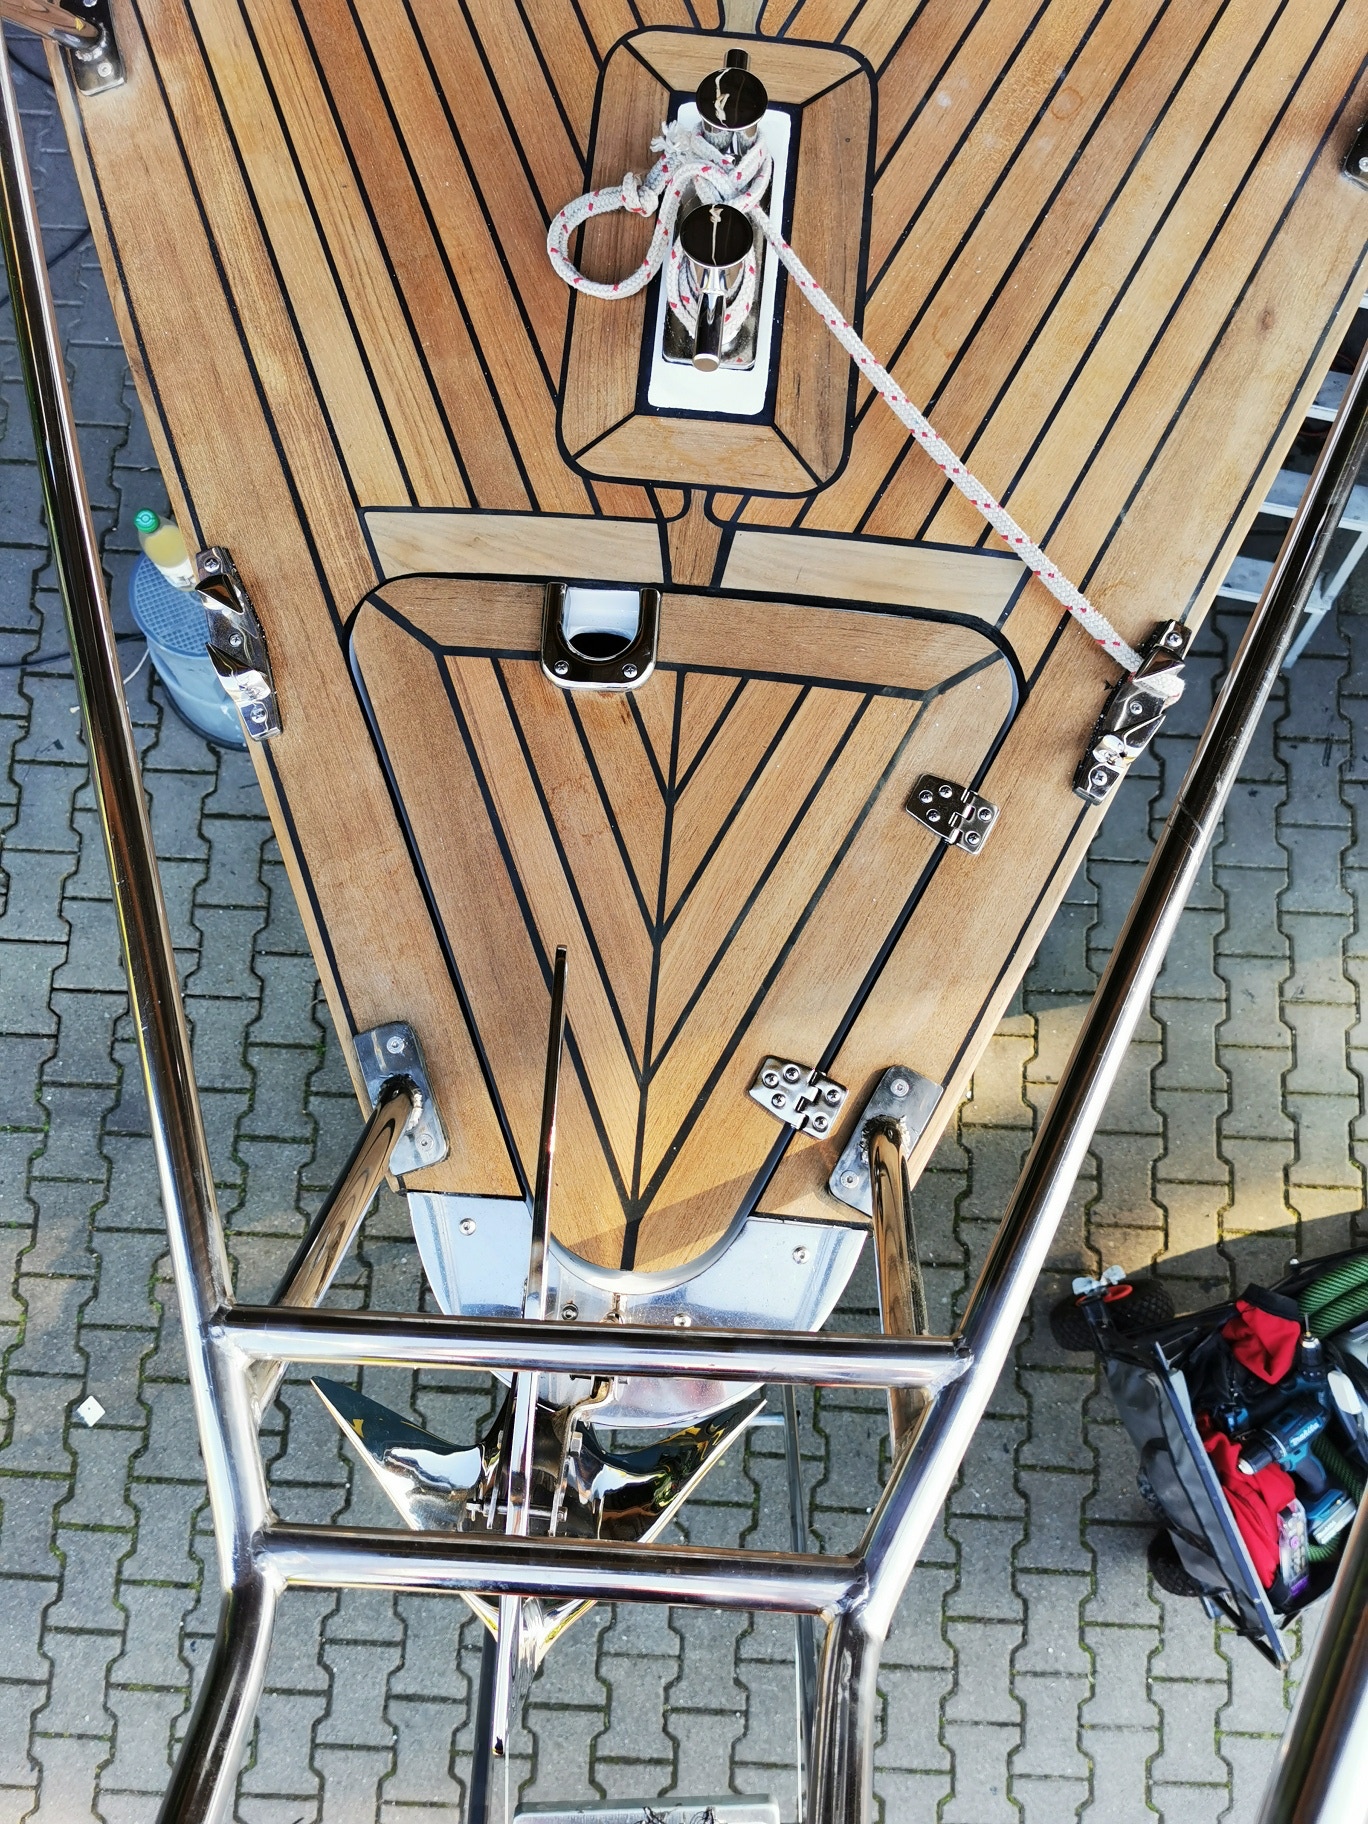
Of course, the cover for the anchor locker also got its teak. Here are some of the construction phases and the finished result.
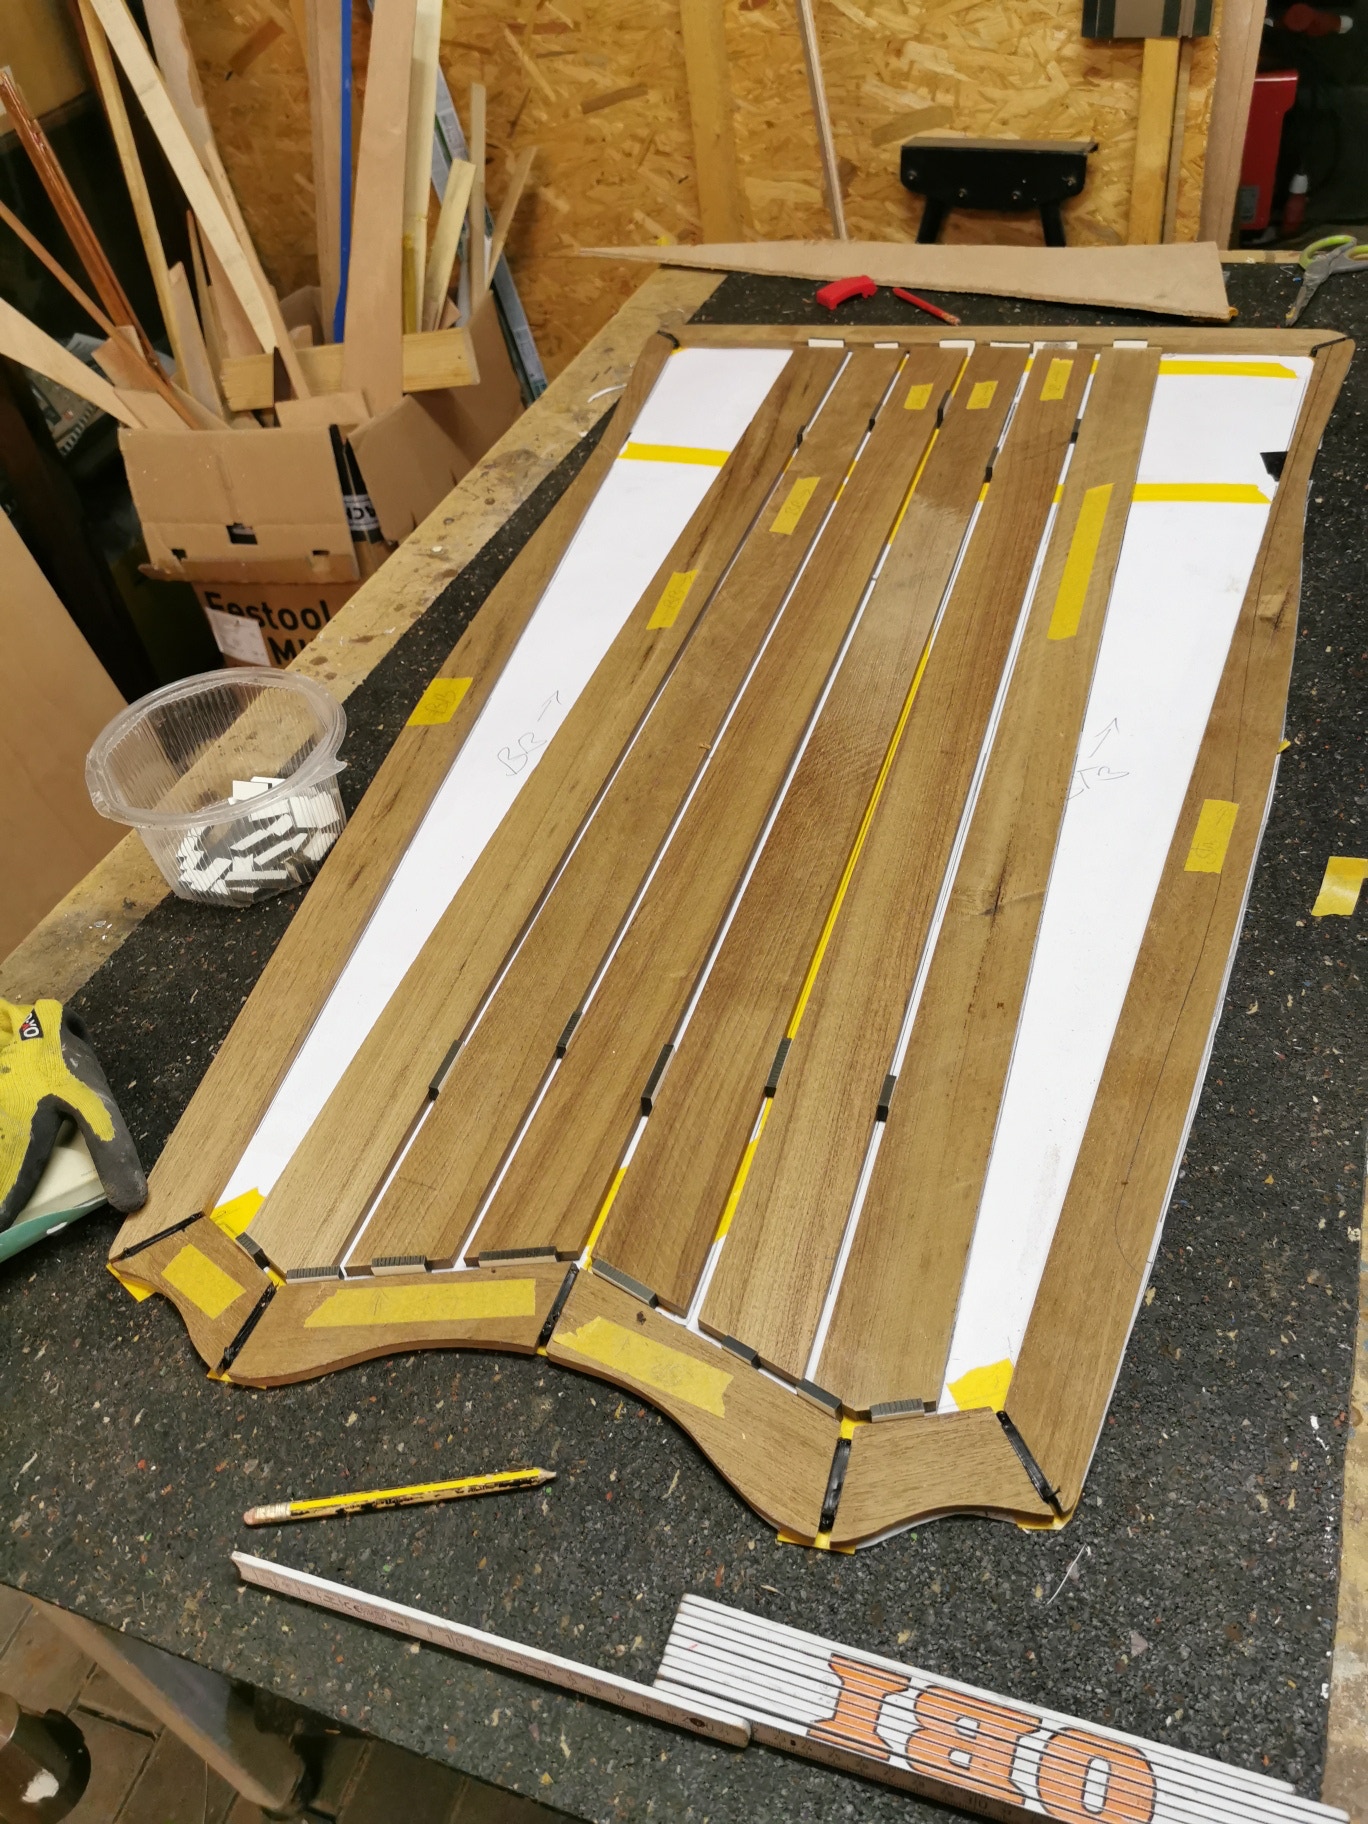
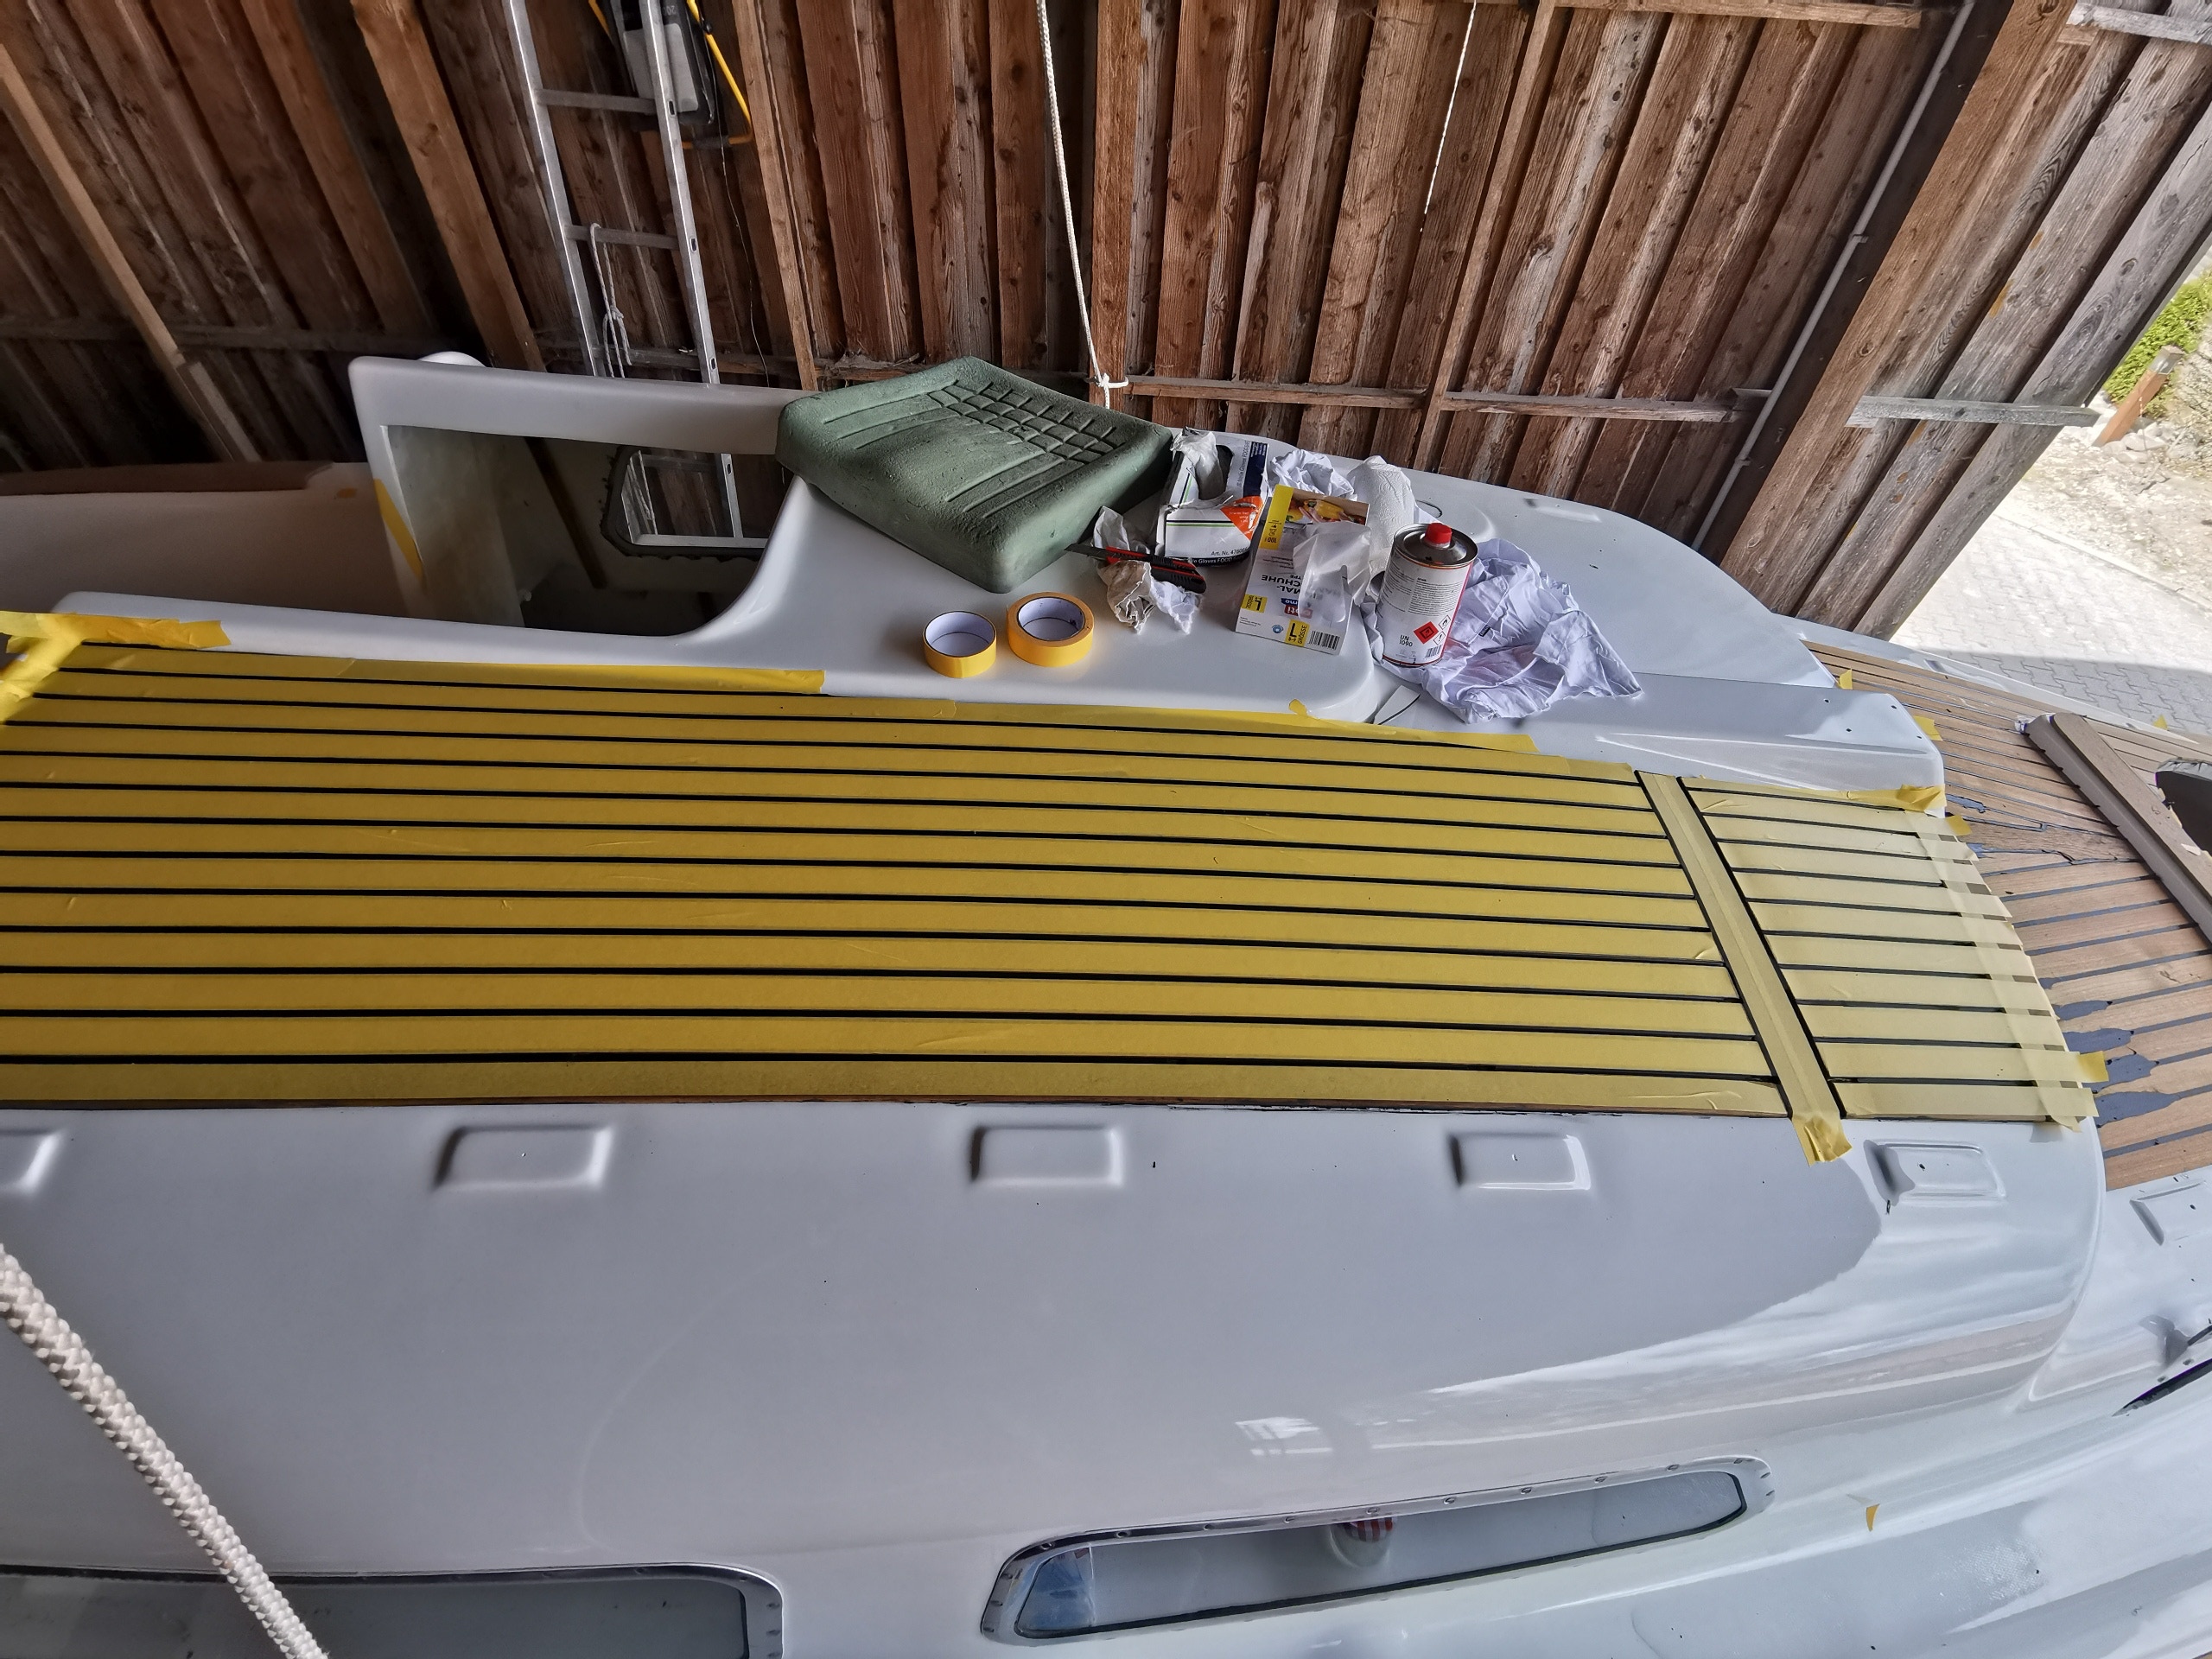
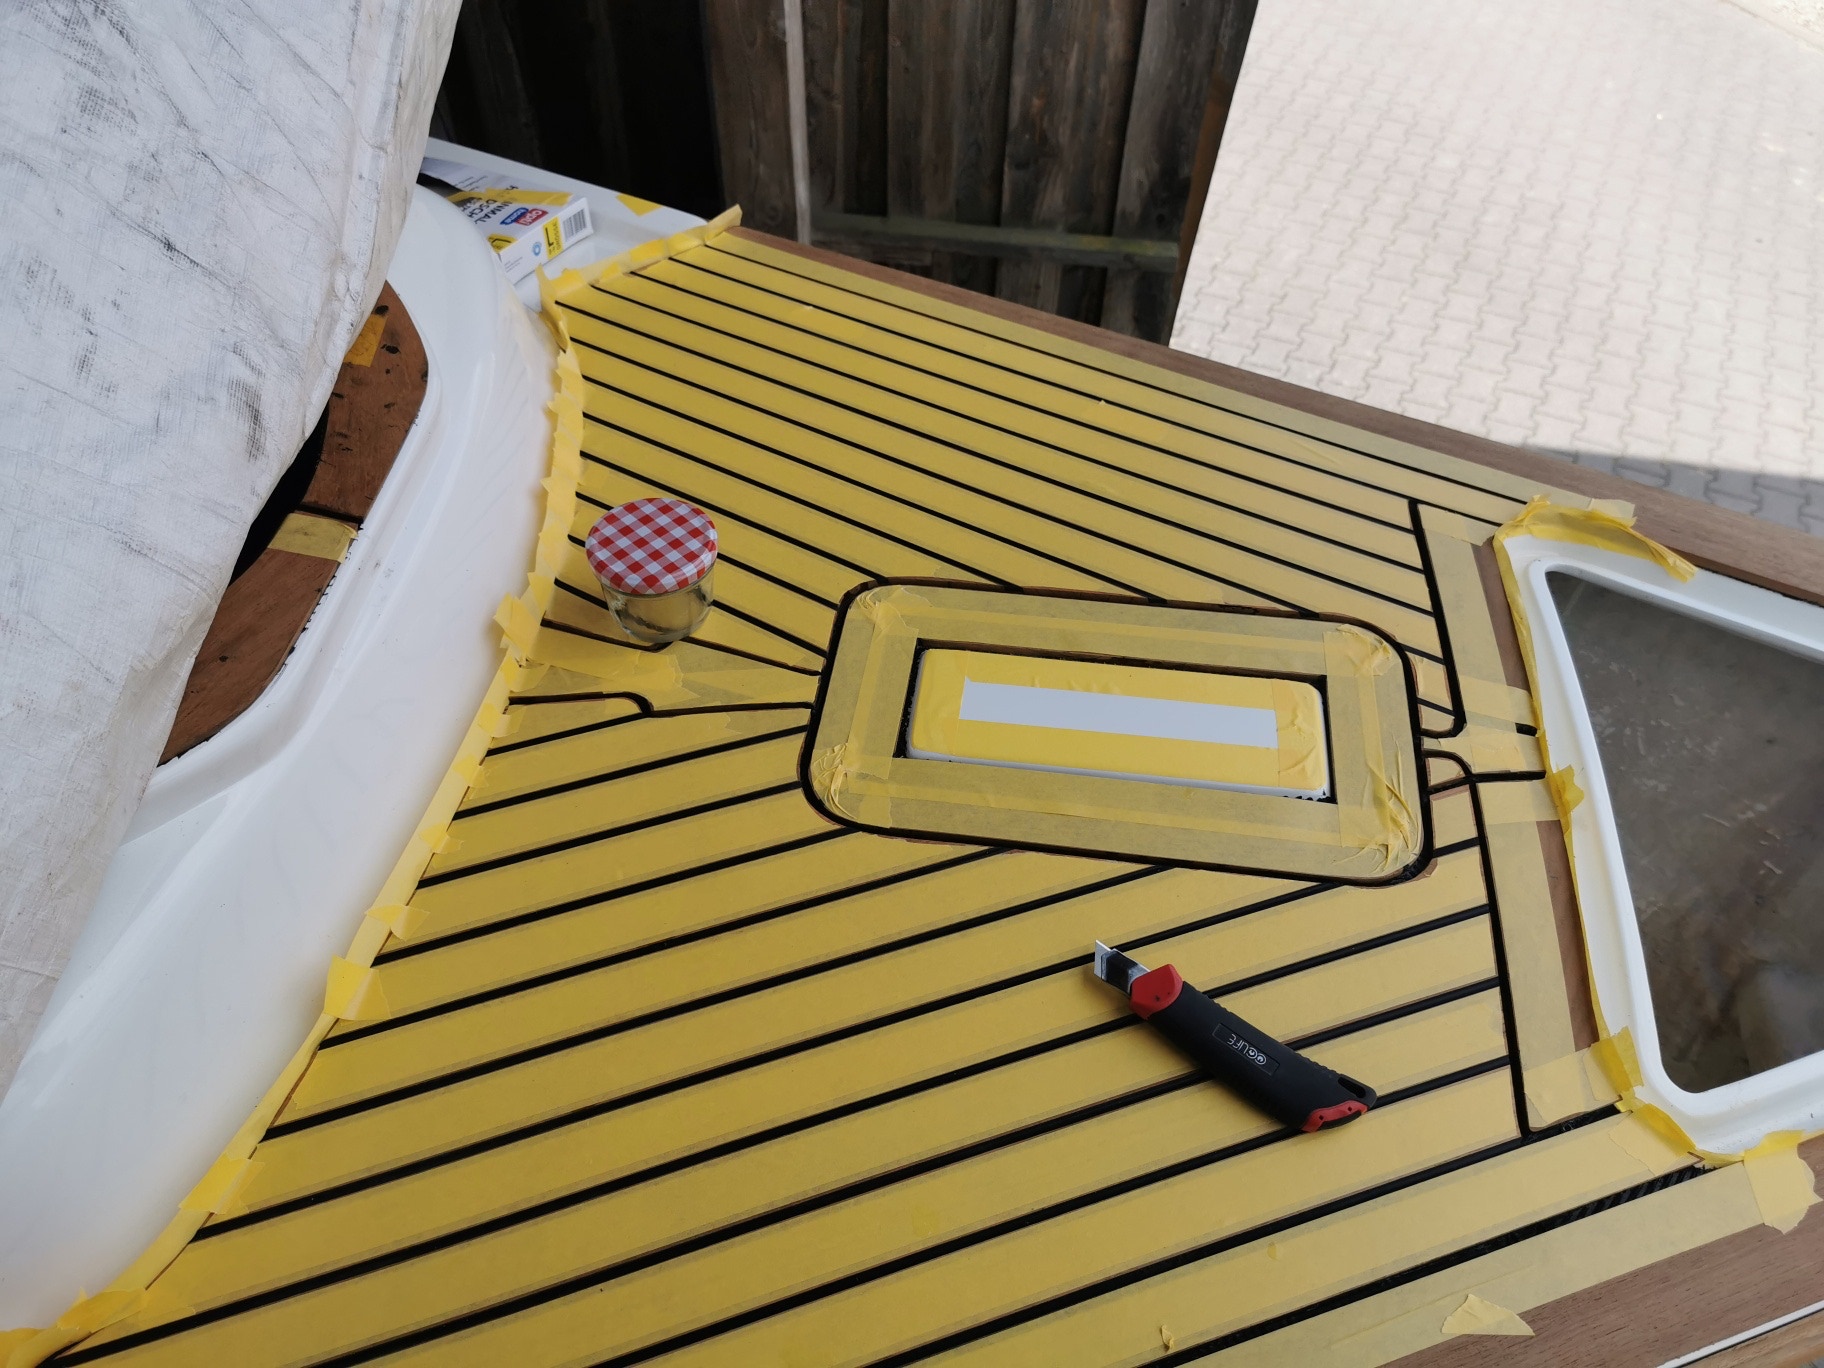
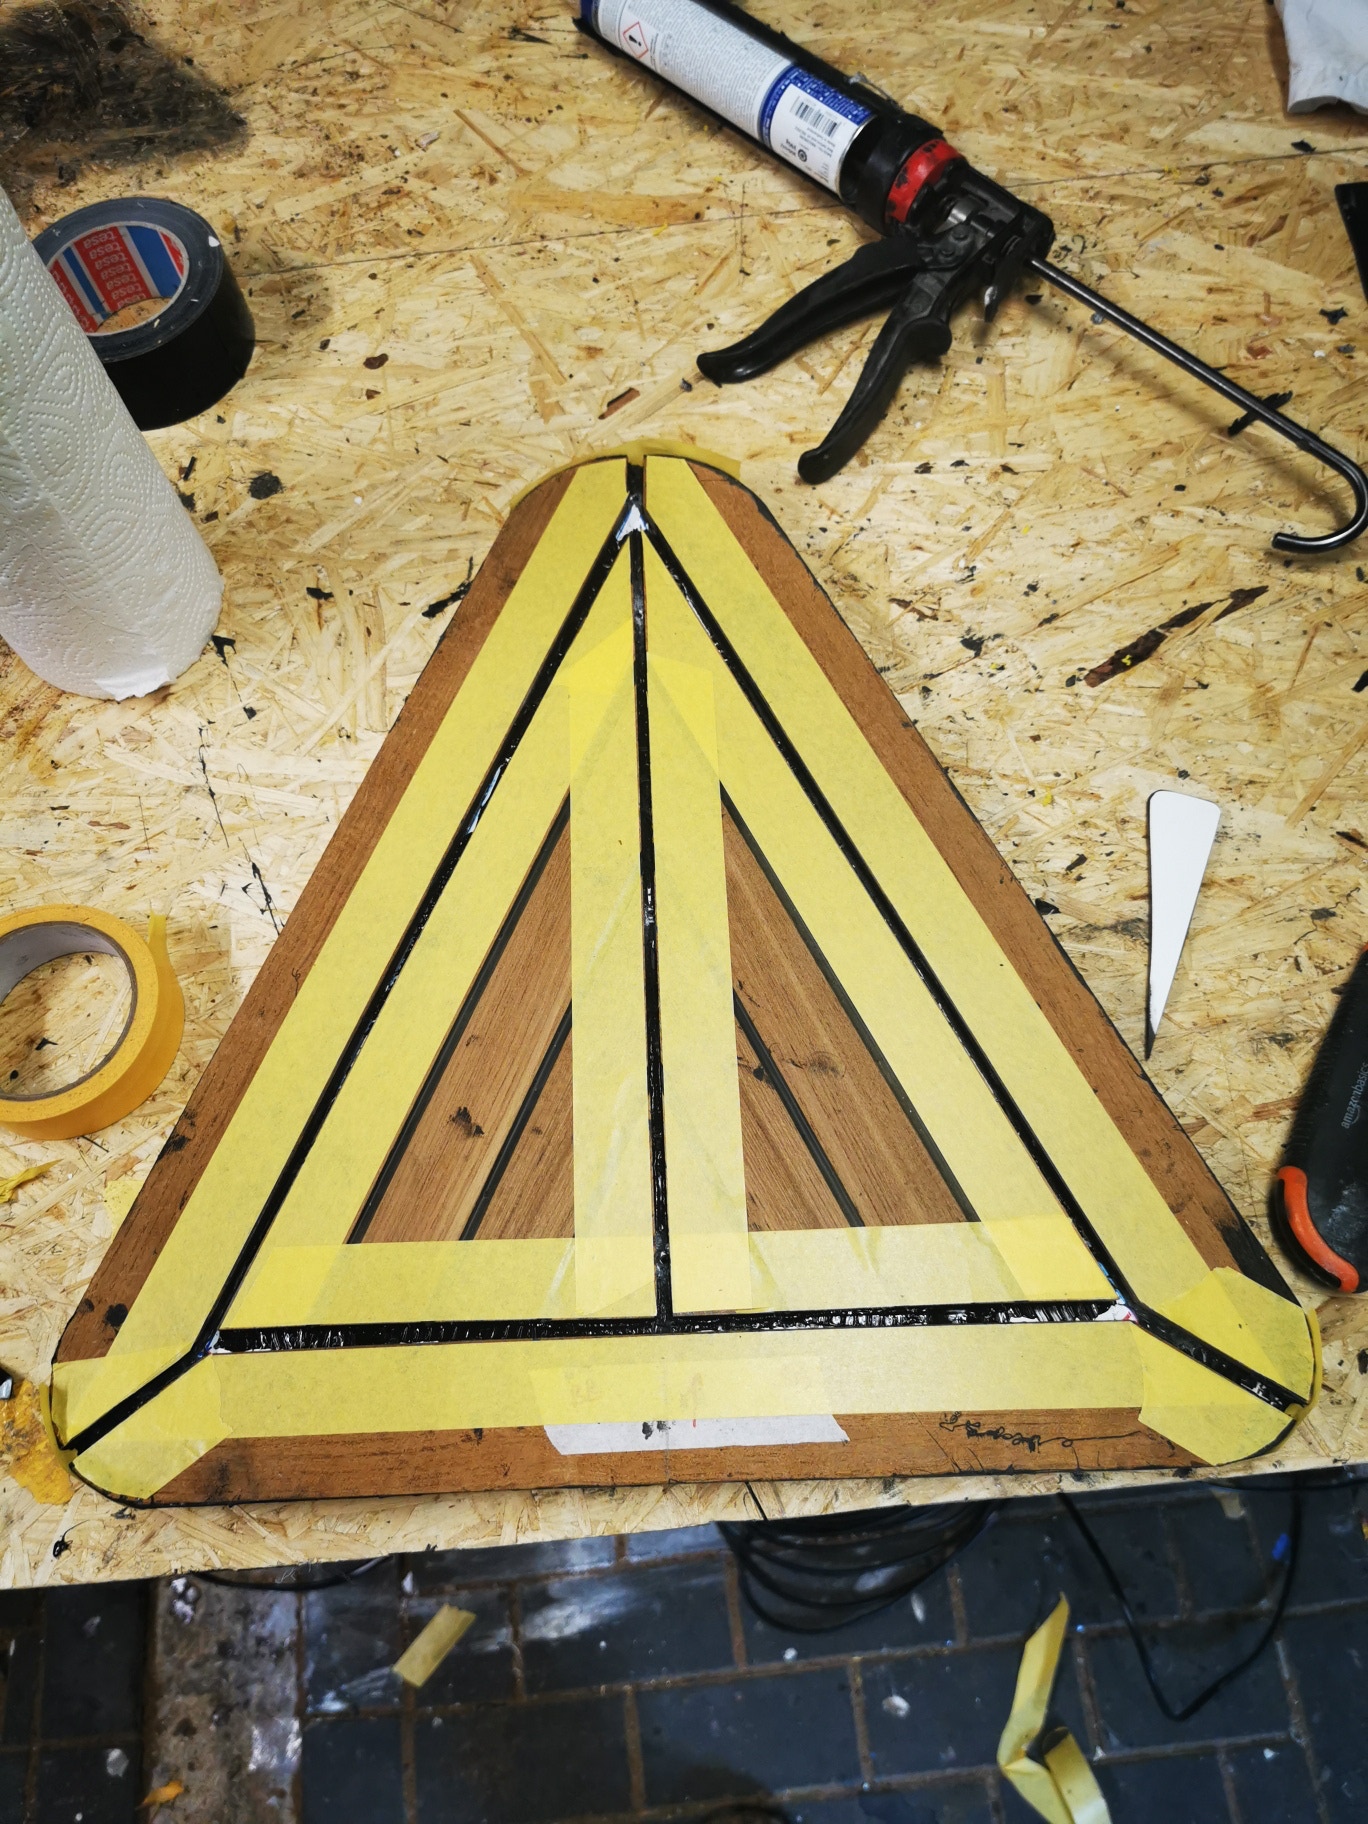
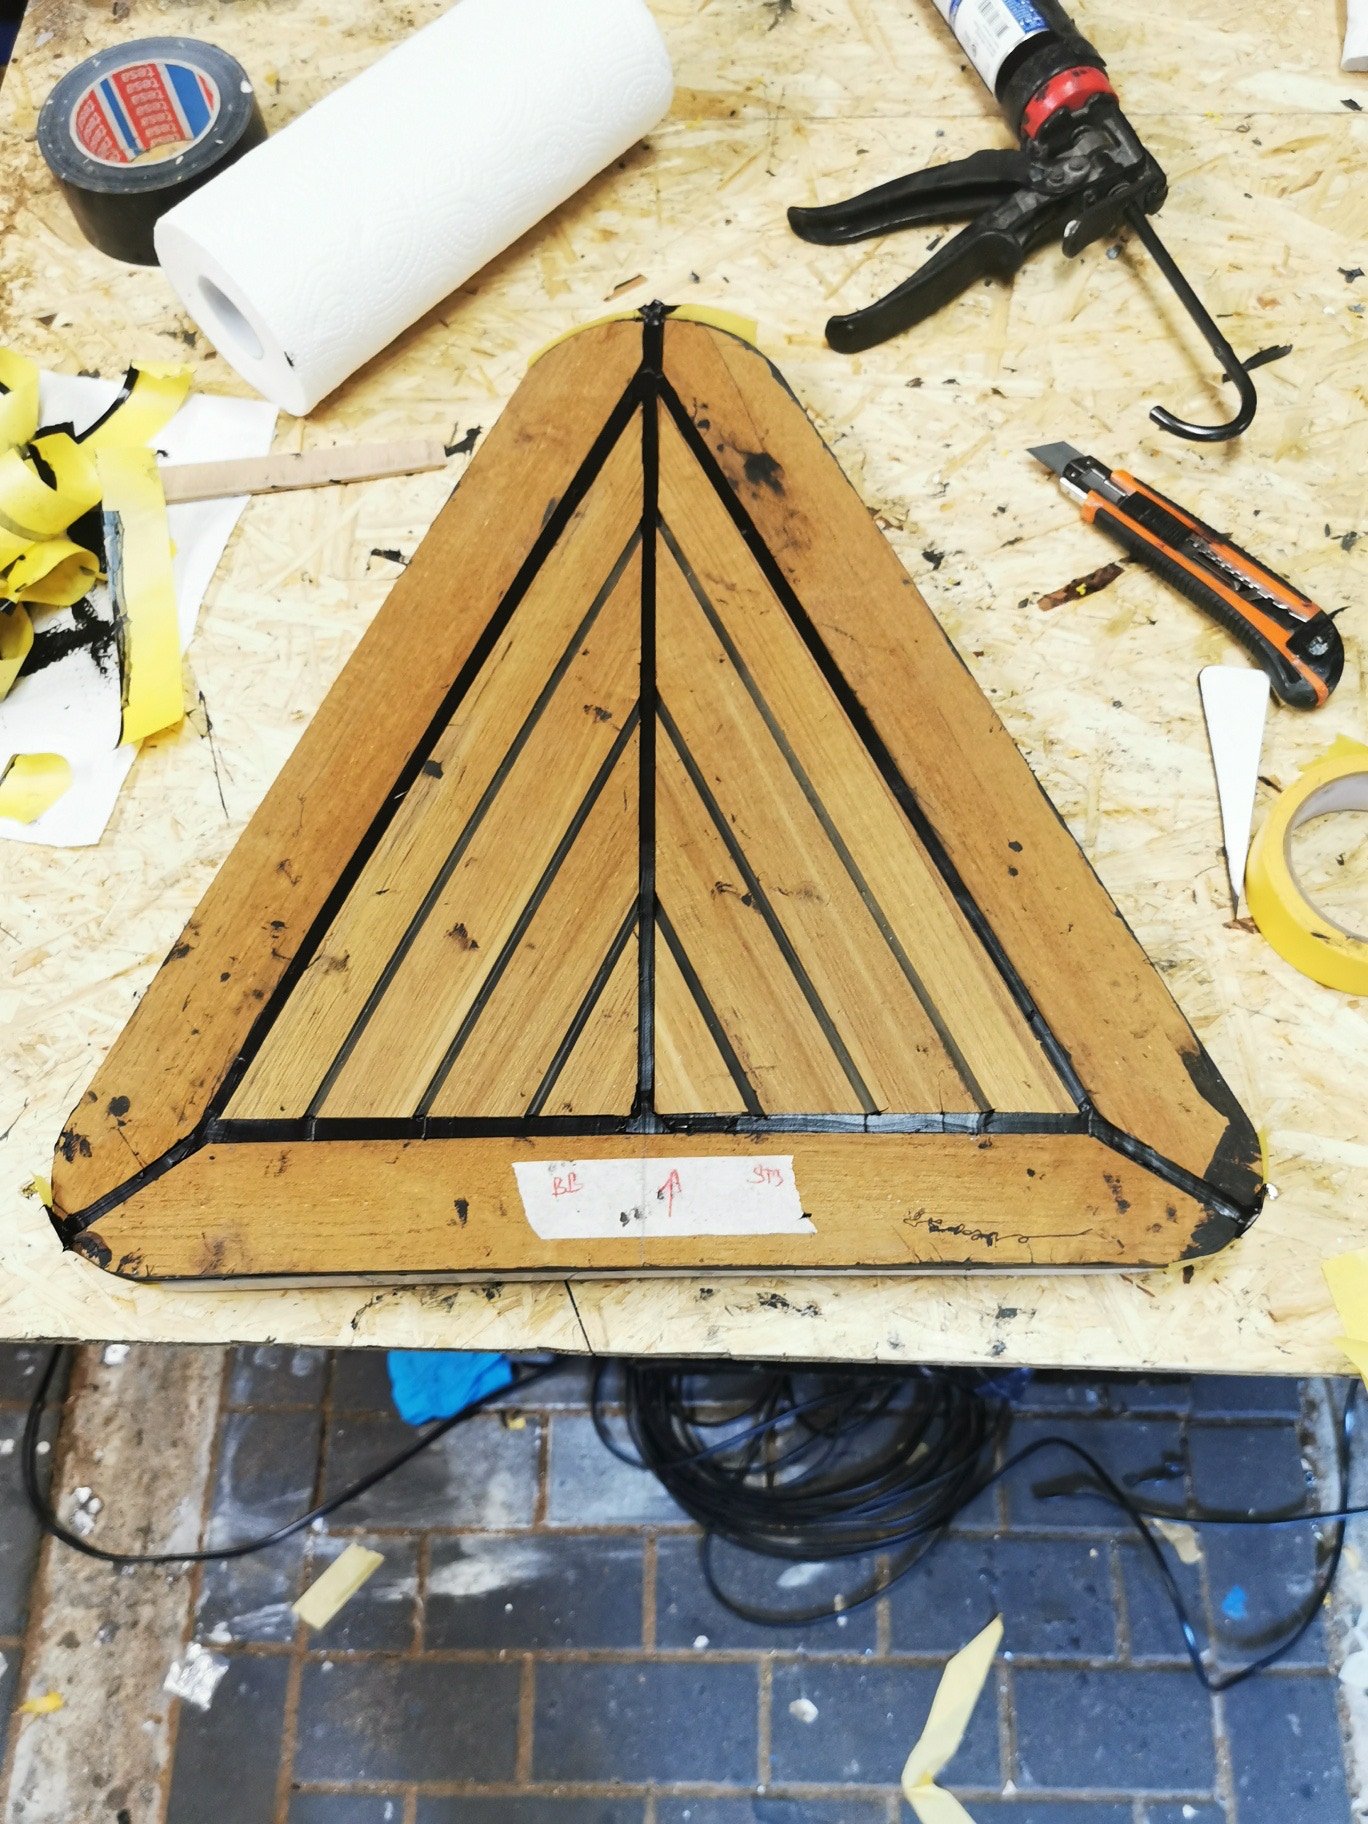
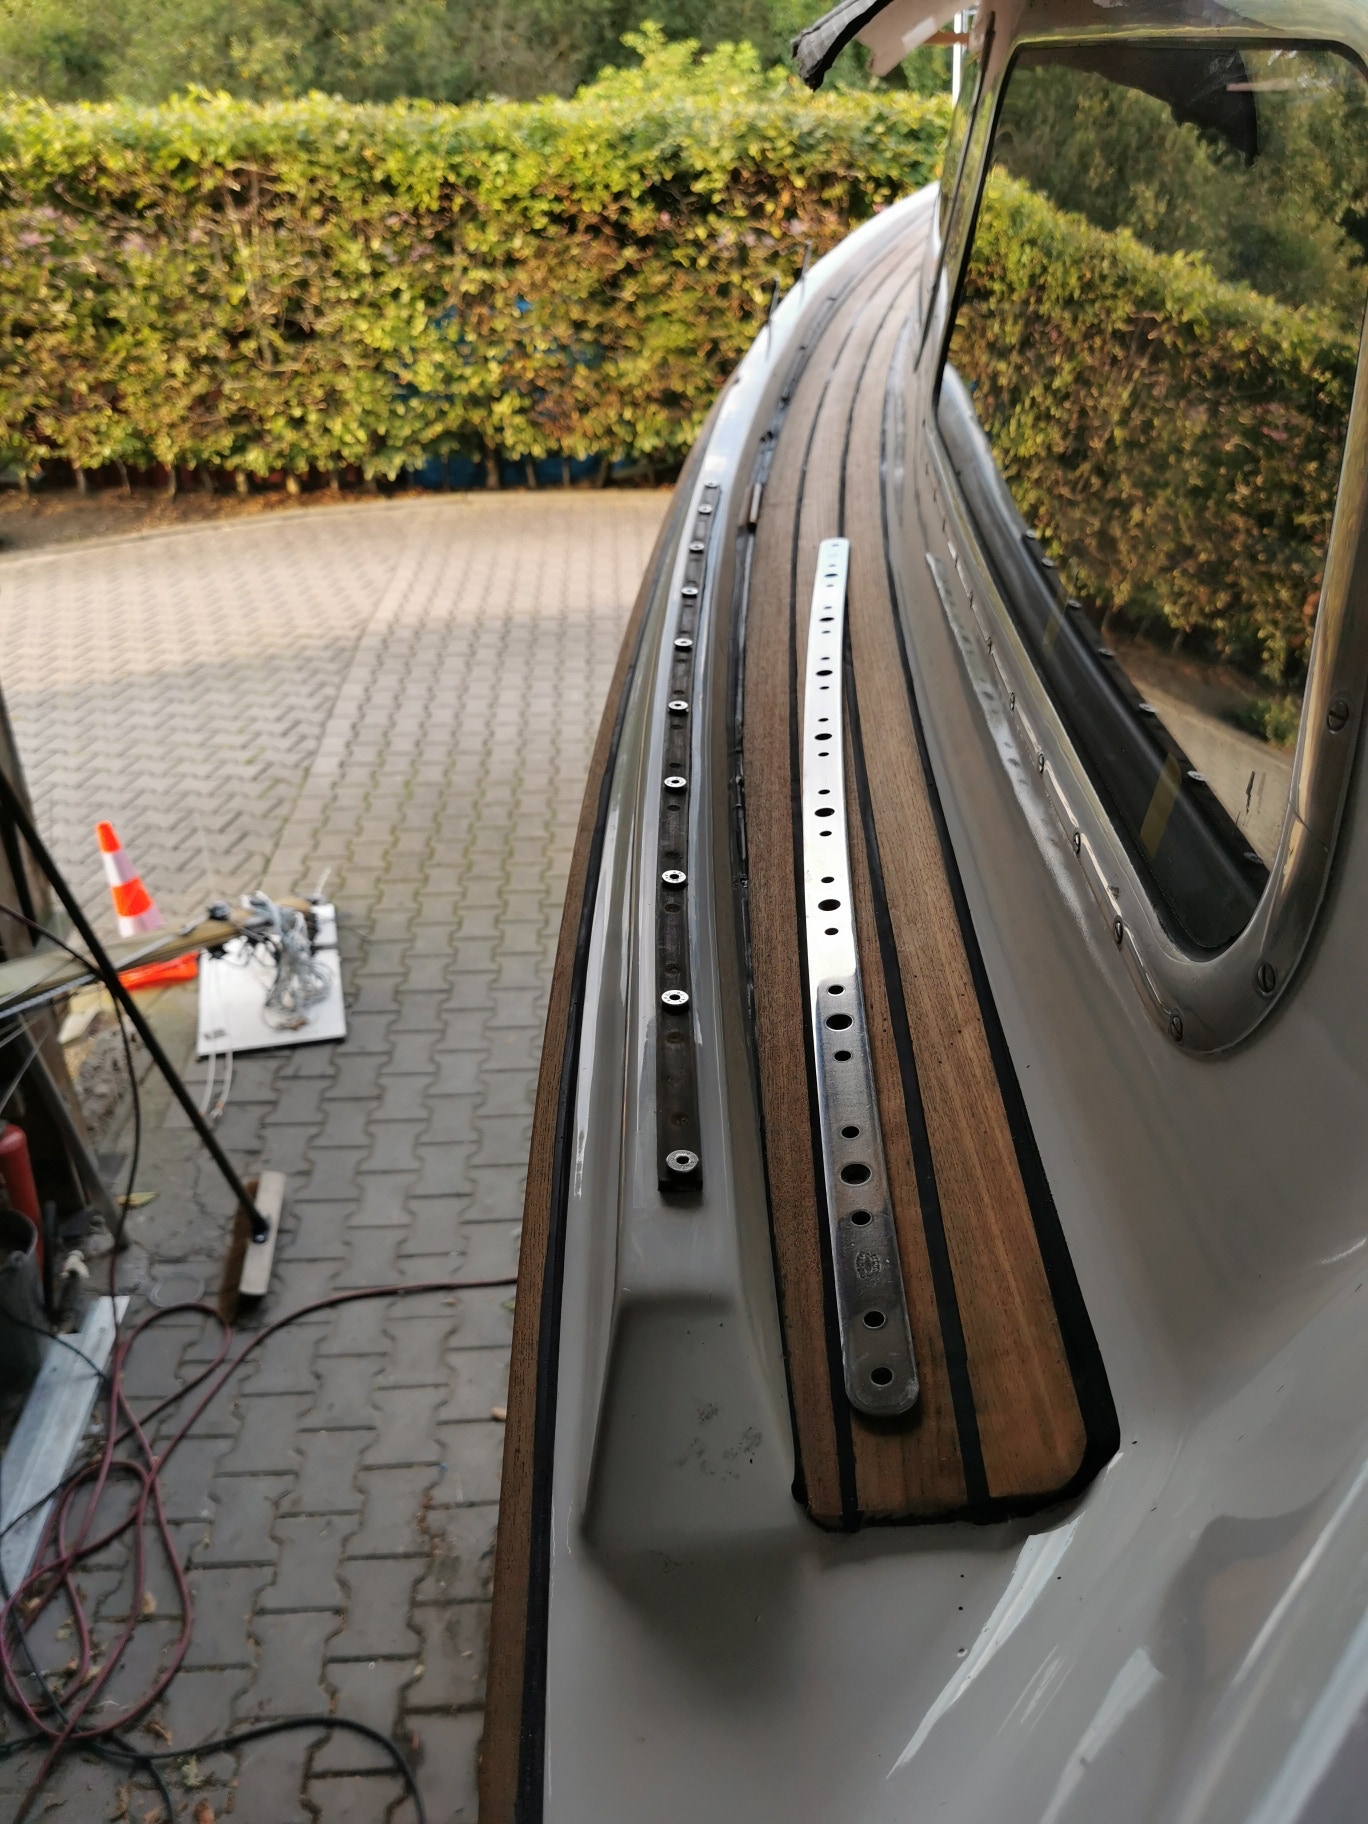
On the deck, the 35mm wide and 8mm thick teakstrips must be forced into the correct shape. This works best here too, after applying the adhesive (Sikaflex 290 DC PRO), attaching screws with small, stable plastic or wooden panels between the joints. Here, too, before grouting with "Sikaflex 298", each strip must be masked with gold tape so that when the excess adhesive is smoothed out (with a very narrow spatula), they do not get too dirty.
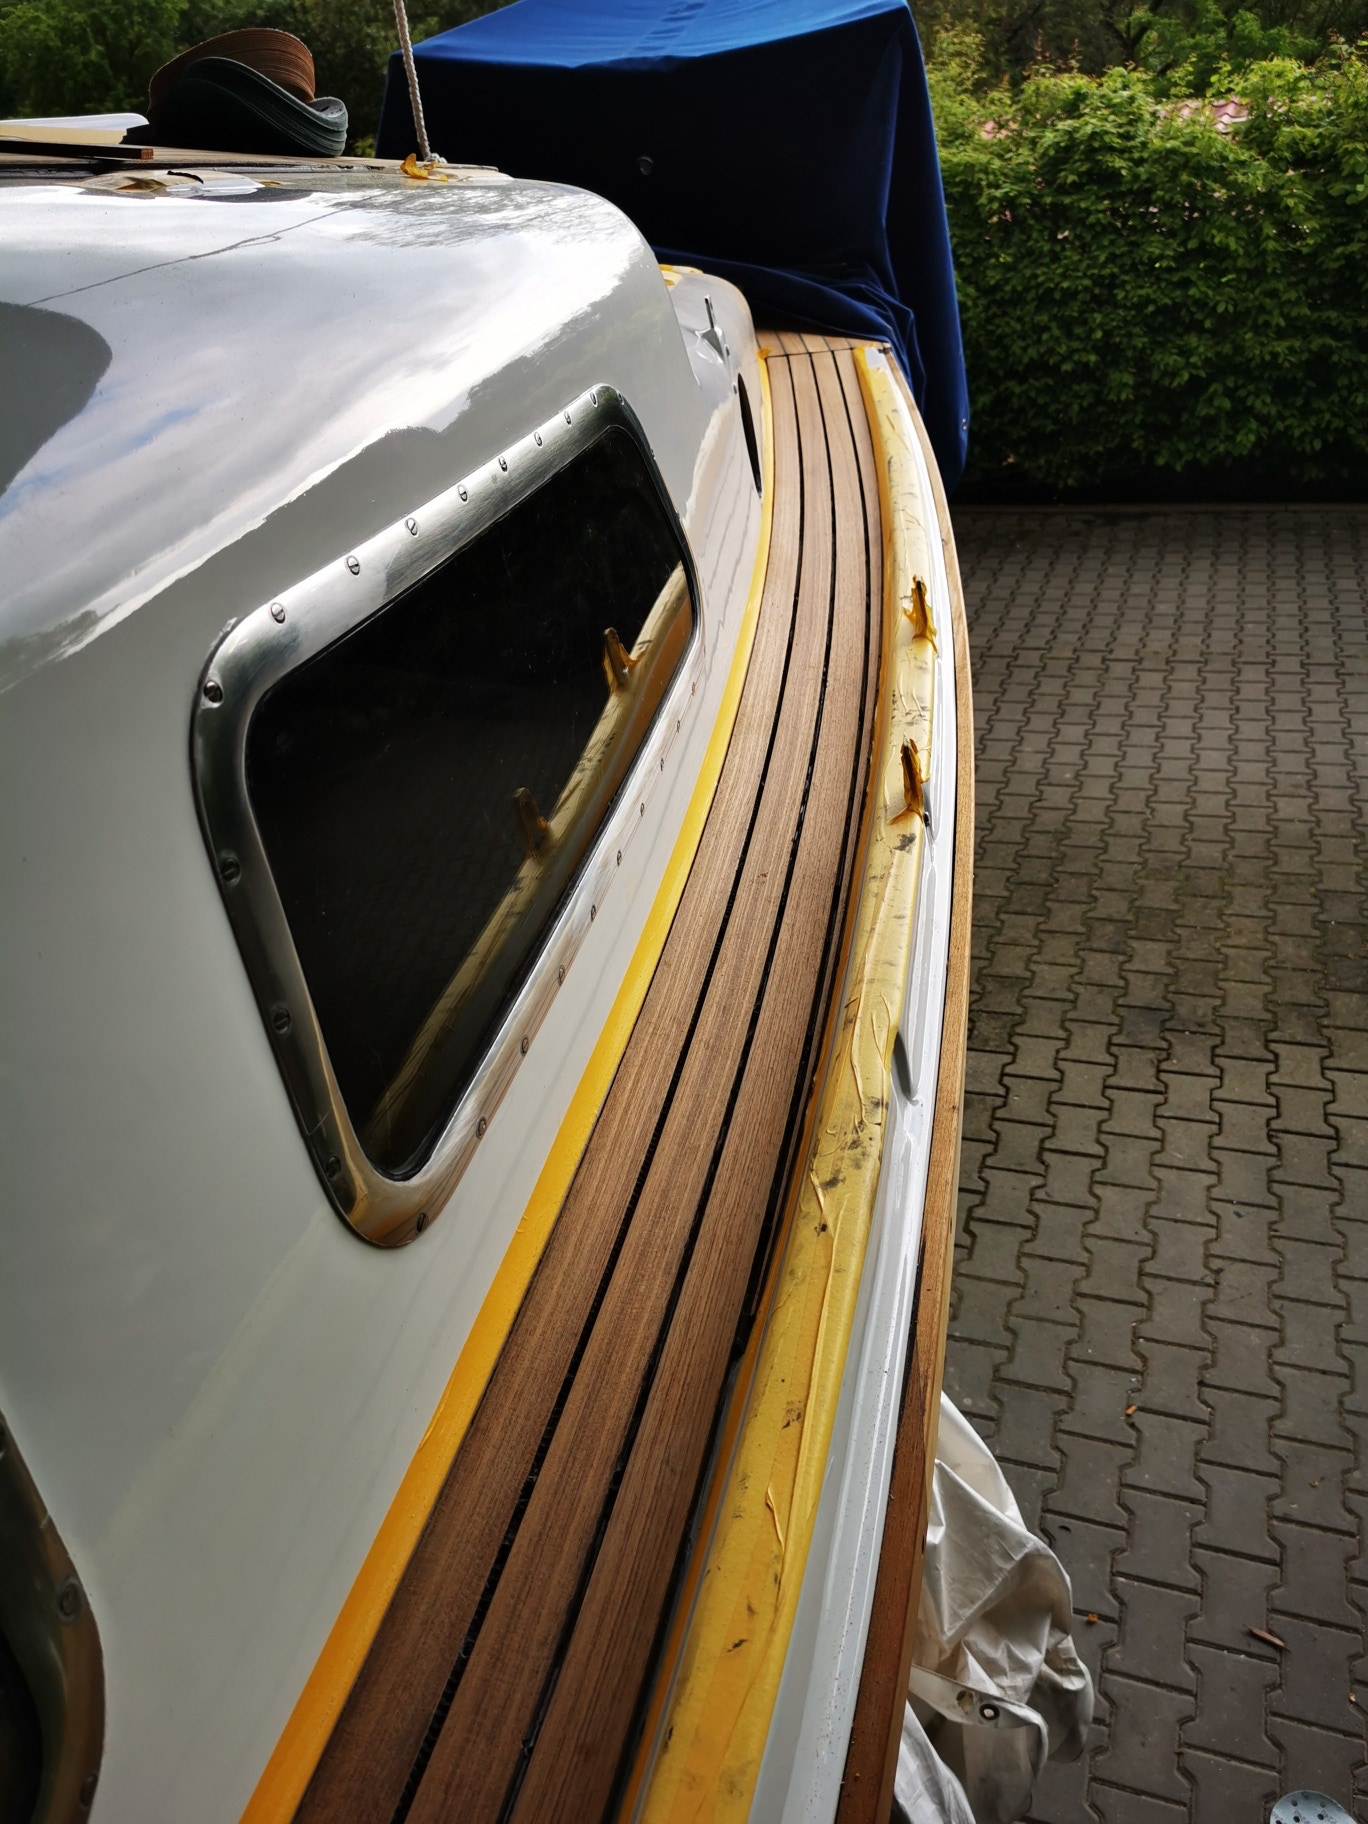
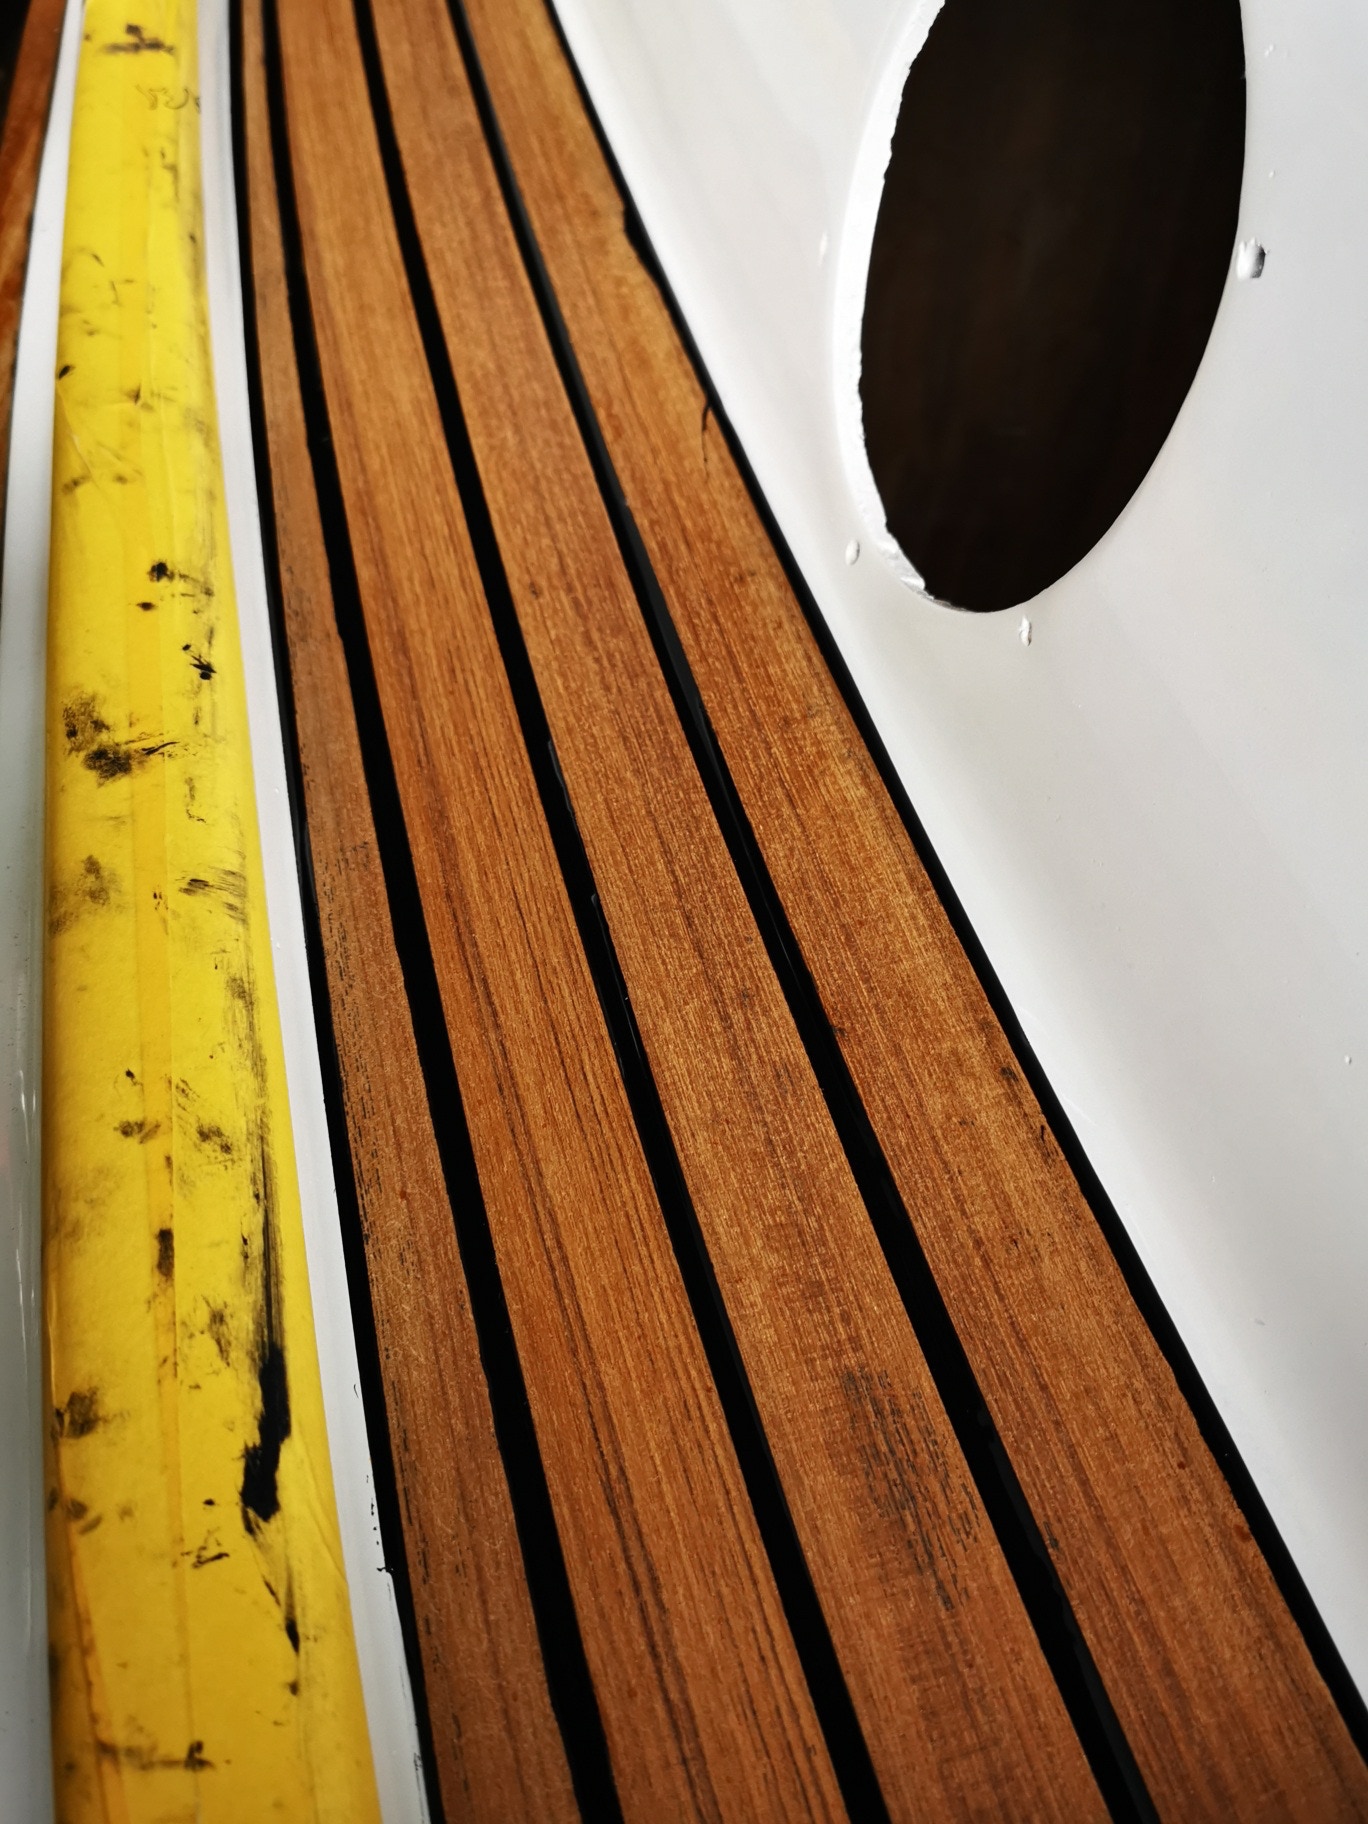
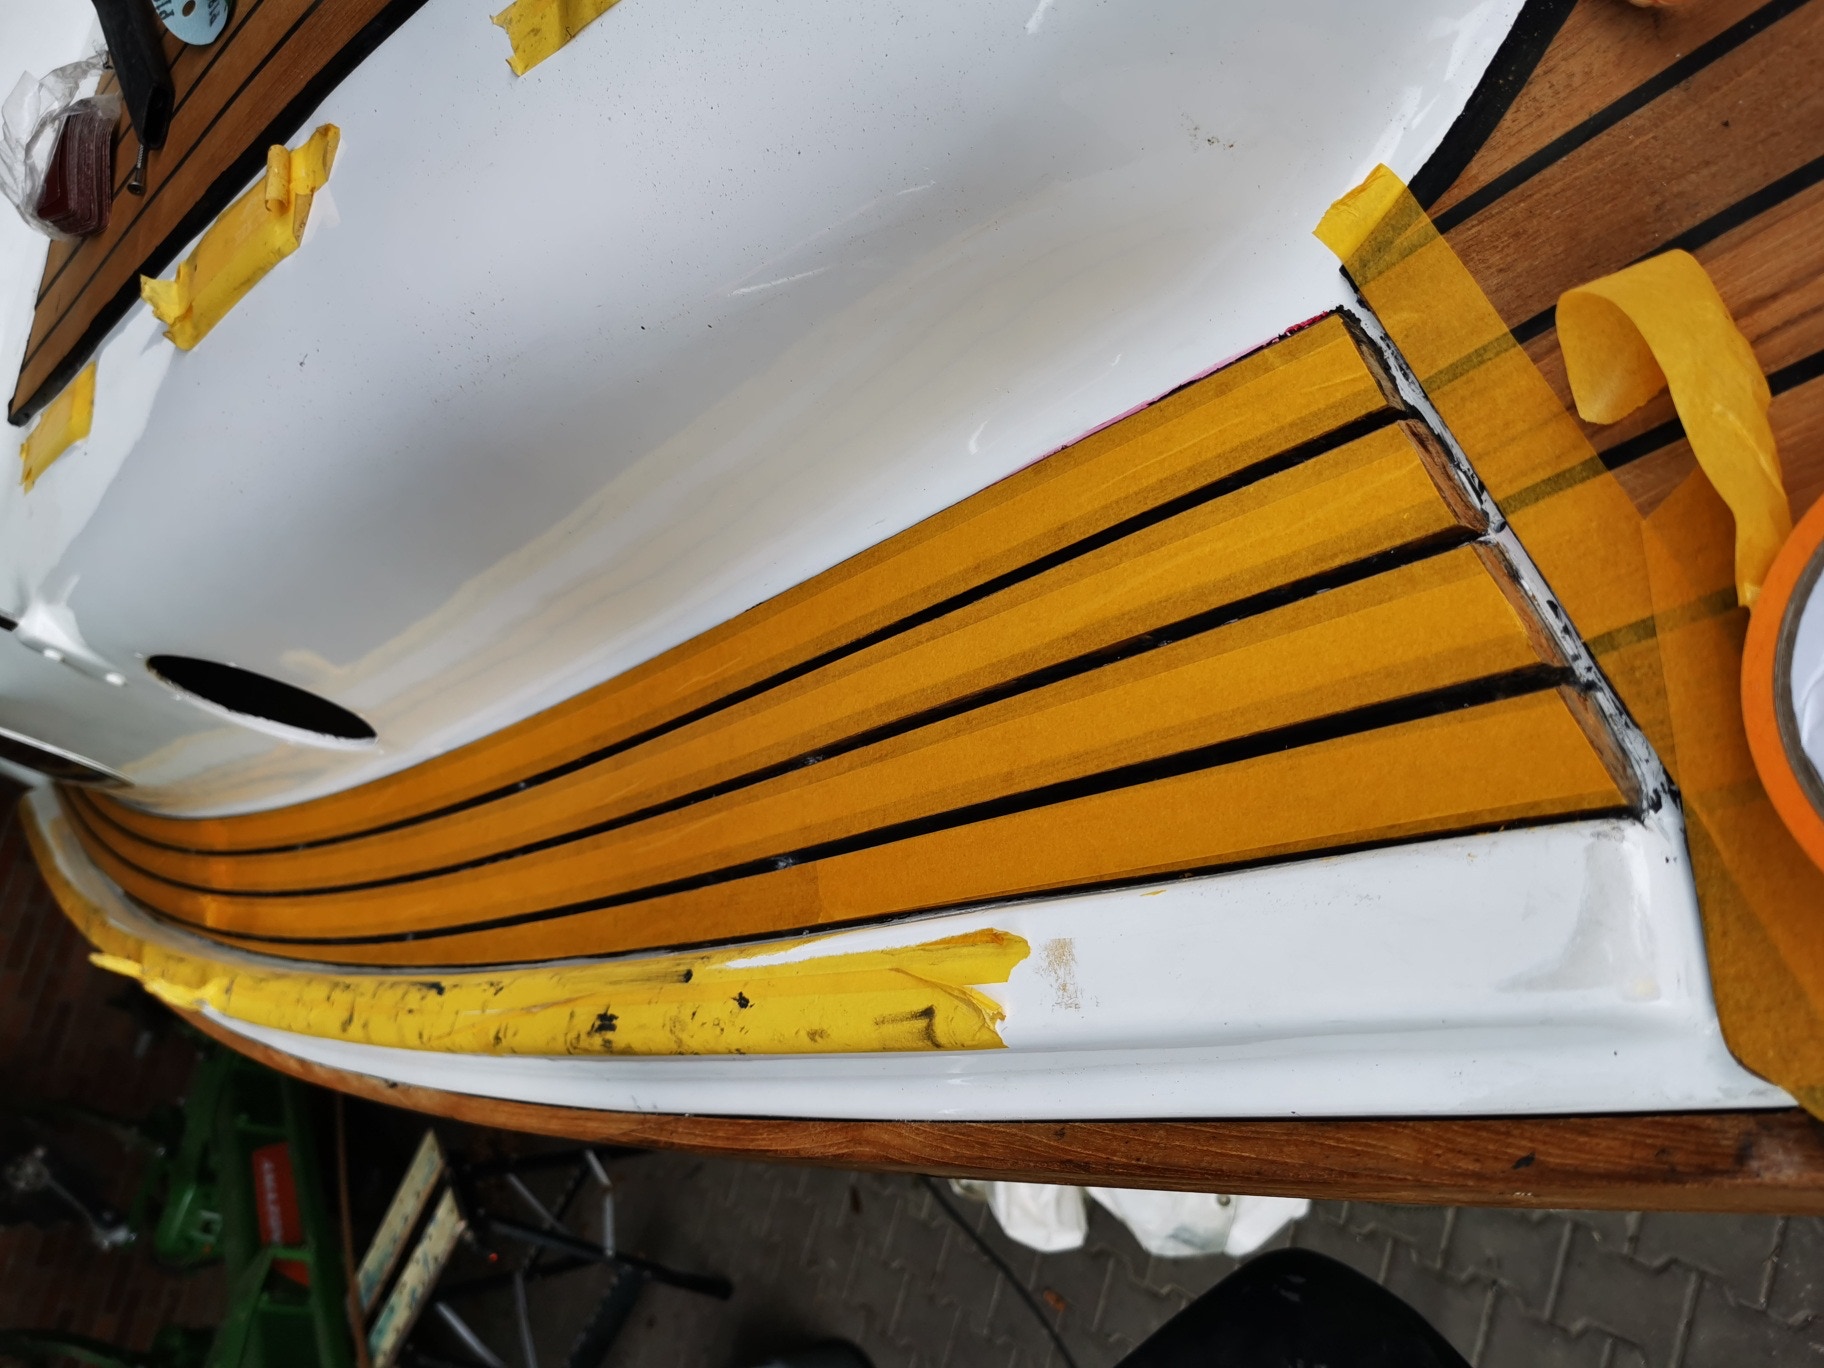
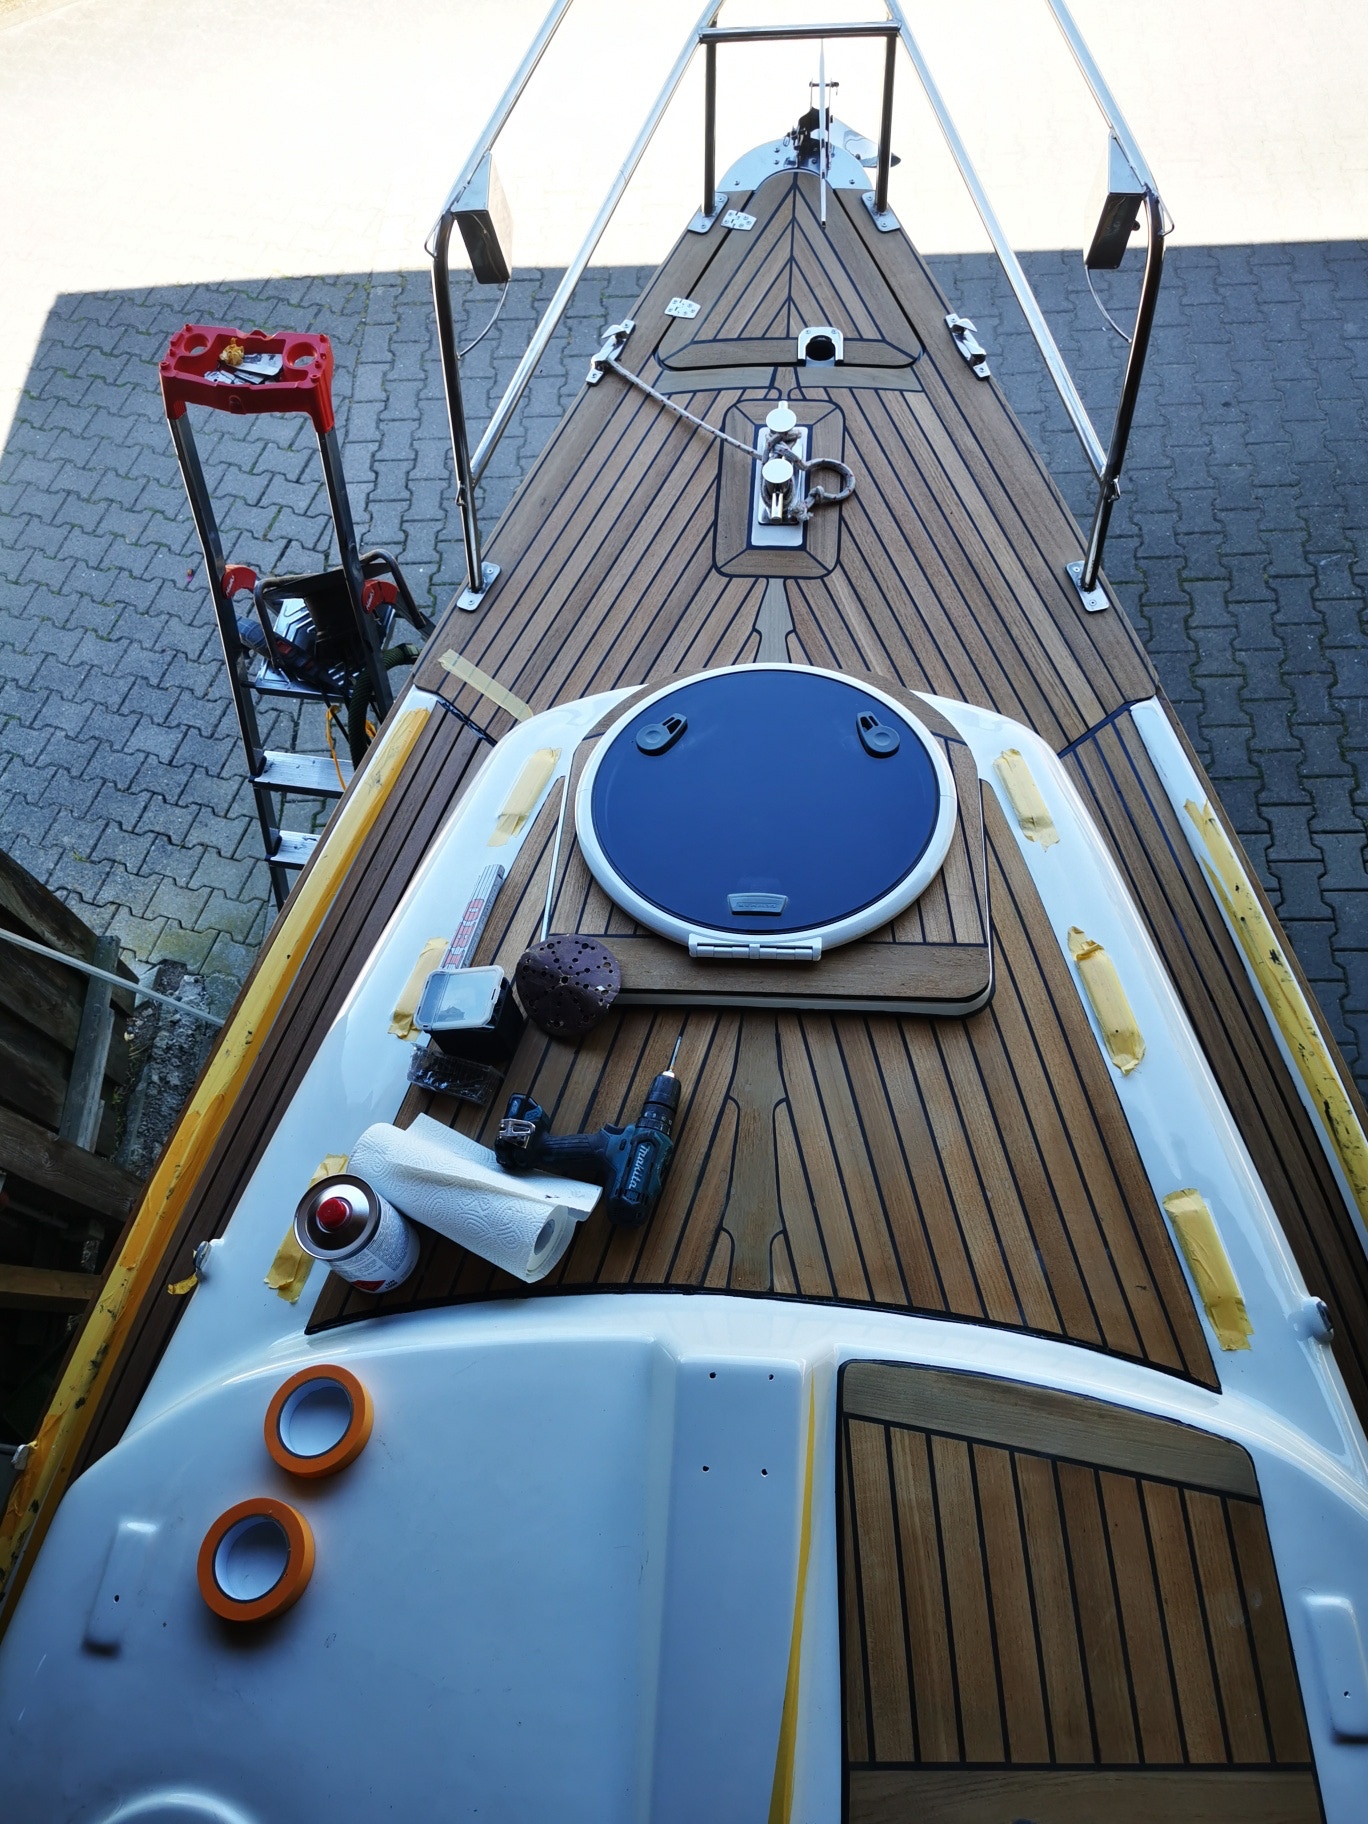
That looks pretty good, doesn't it? ;-)
20.6.2021
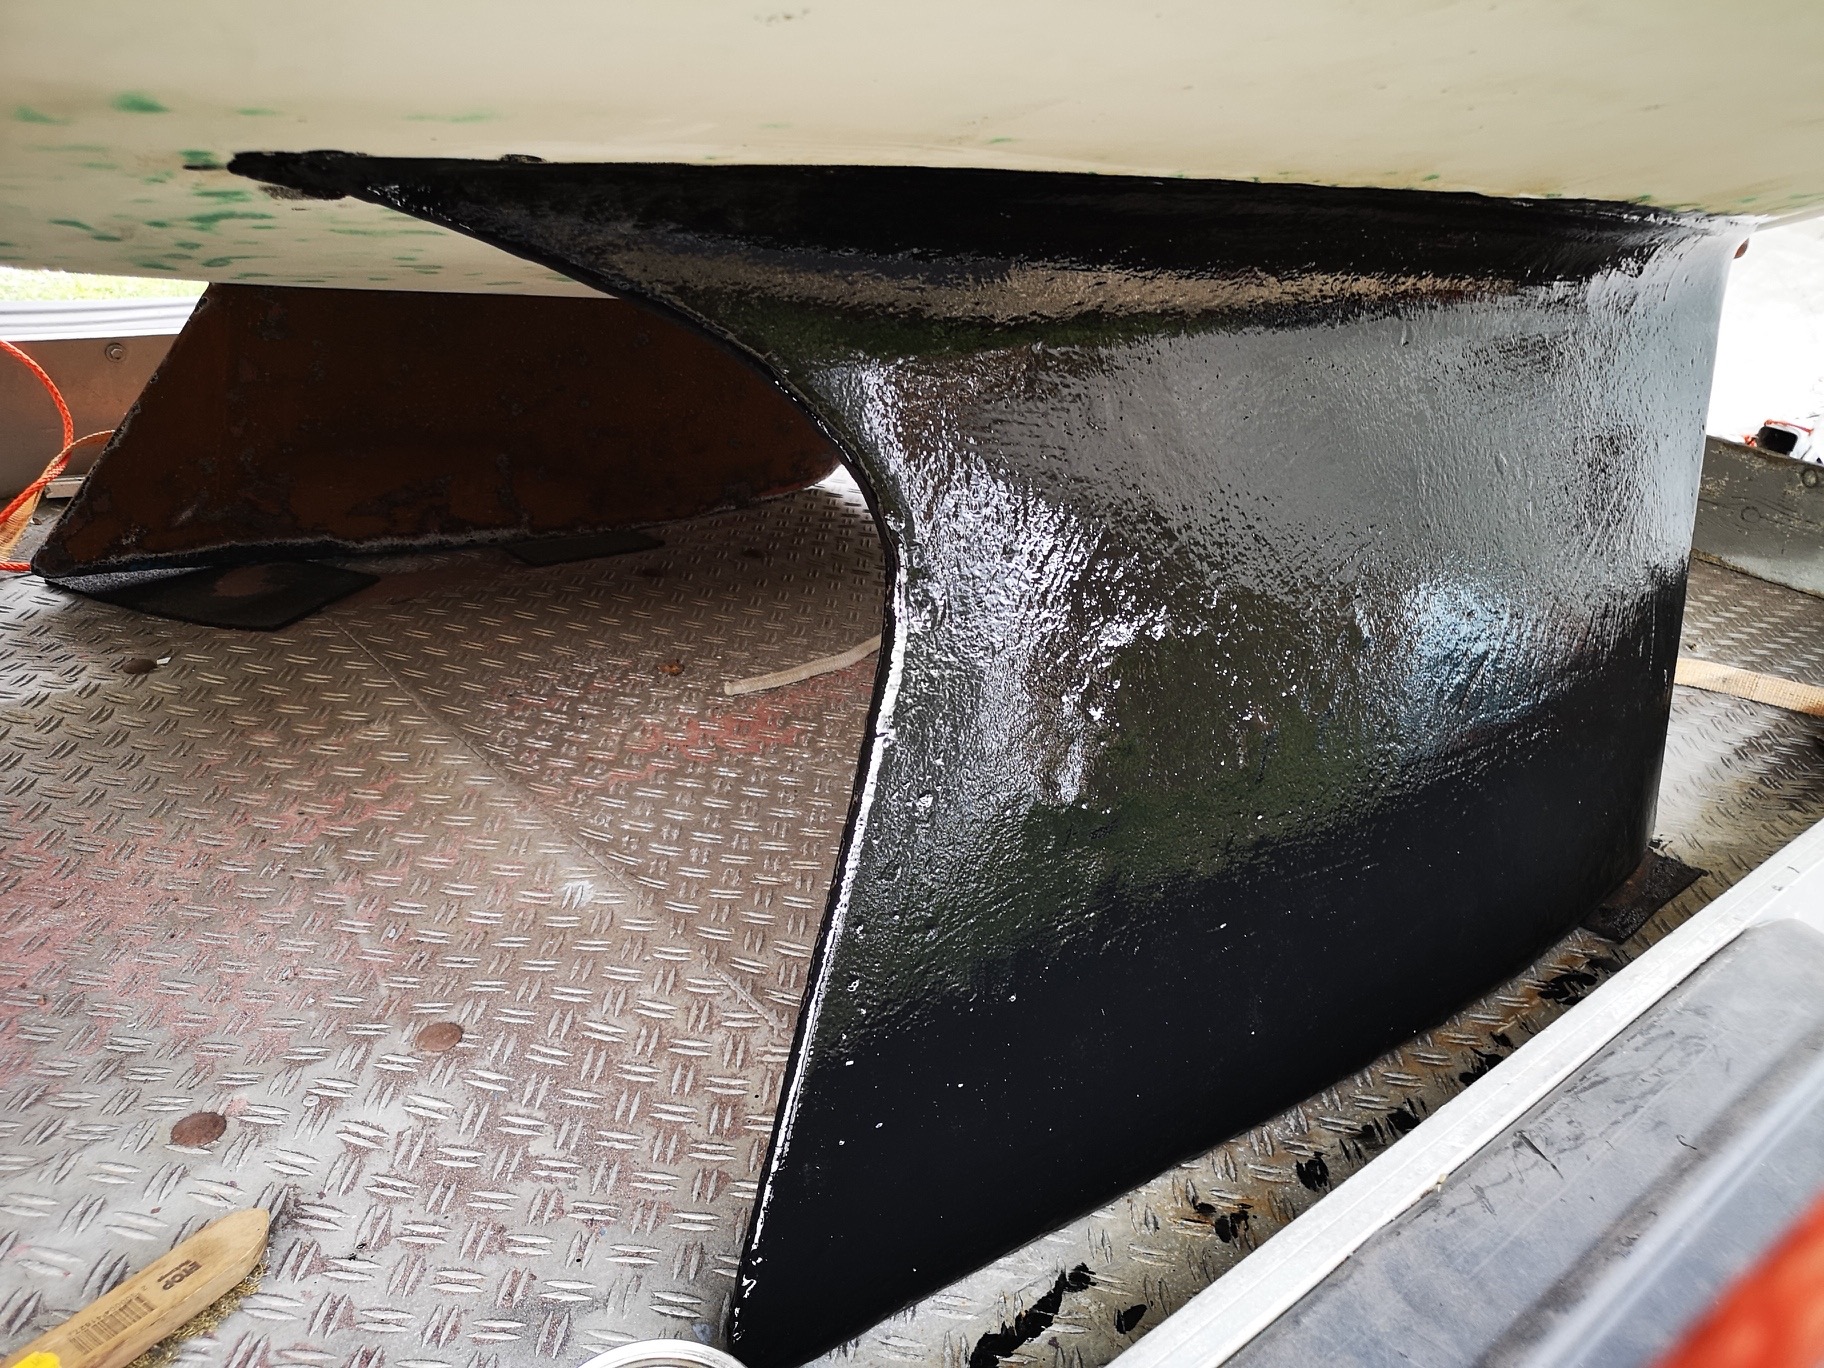
After the teak work on the deck slowly came to an end, I started with the preparations for the underwater painting and
the two keels and the skeg on the fuselage base are properly sealed with fiberglass and epoxy so that no water can enter there for the next 50 years.


Painting the underwater hull consists of many individual steps and, of course, requires that the subsurface has been properly prepared. With a laser I marked the water line in the dark and then taped the water pass clean with tape. First I applied 5 layers of VC TAR2 white, for the later, white stripe.
I applied the 2K paint in one afternoon at 30 degrees C. with a foam roller (solvent-resistant) and peeled off the tape immediately after painting!
After 16 hours of drying, I masked the top 3cm of the white layer and then applied 5 layers of VC TAR2 black underneath.
Tip: Tape at least 7cm with the tape so that you don't accidentally paint over the tape with the paint roller. Should it happen, remove the VC TAR promptly with acetone.
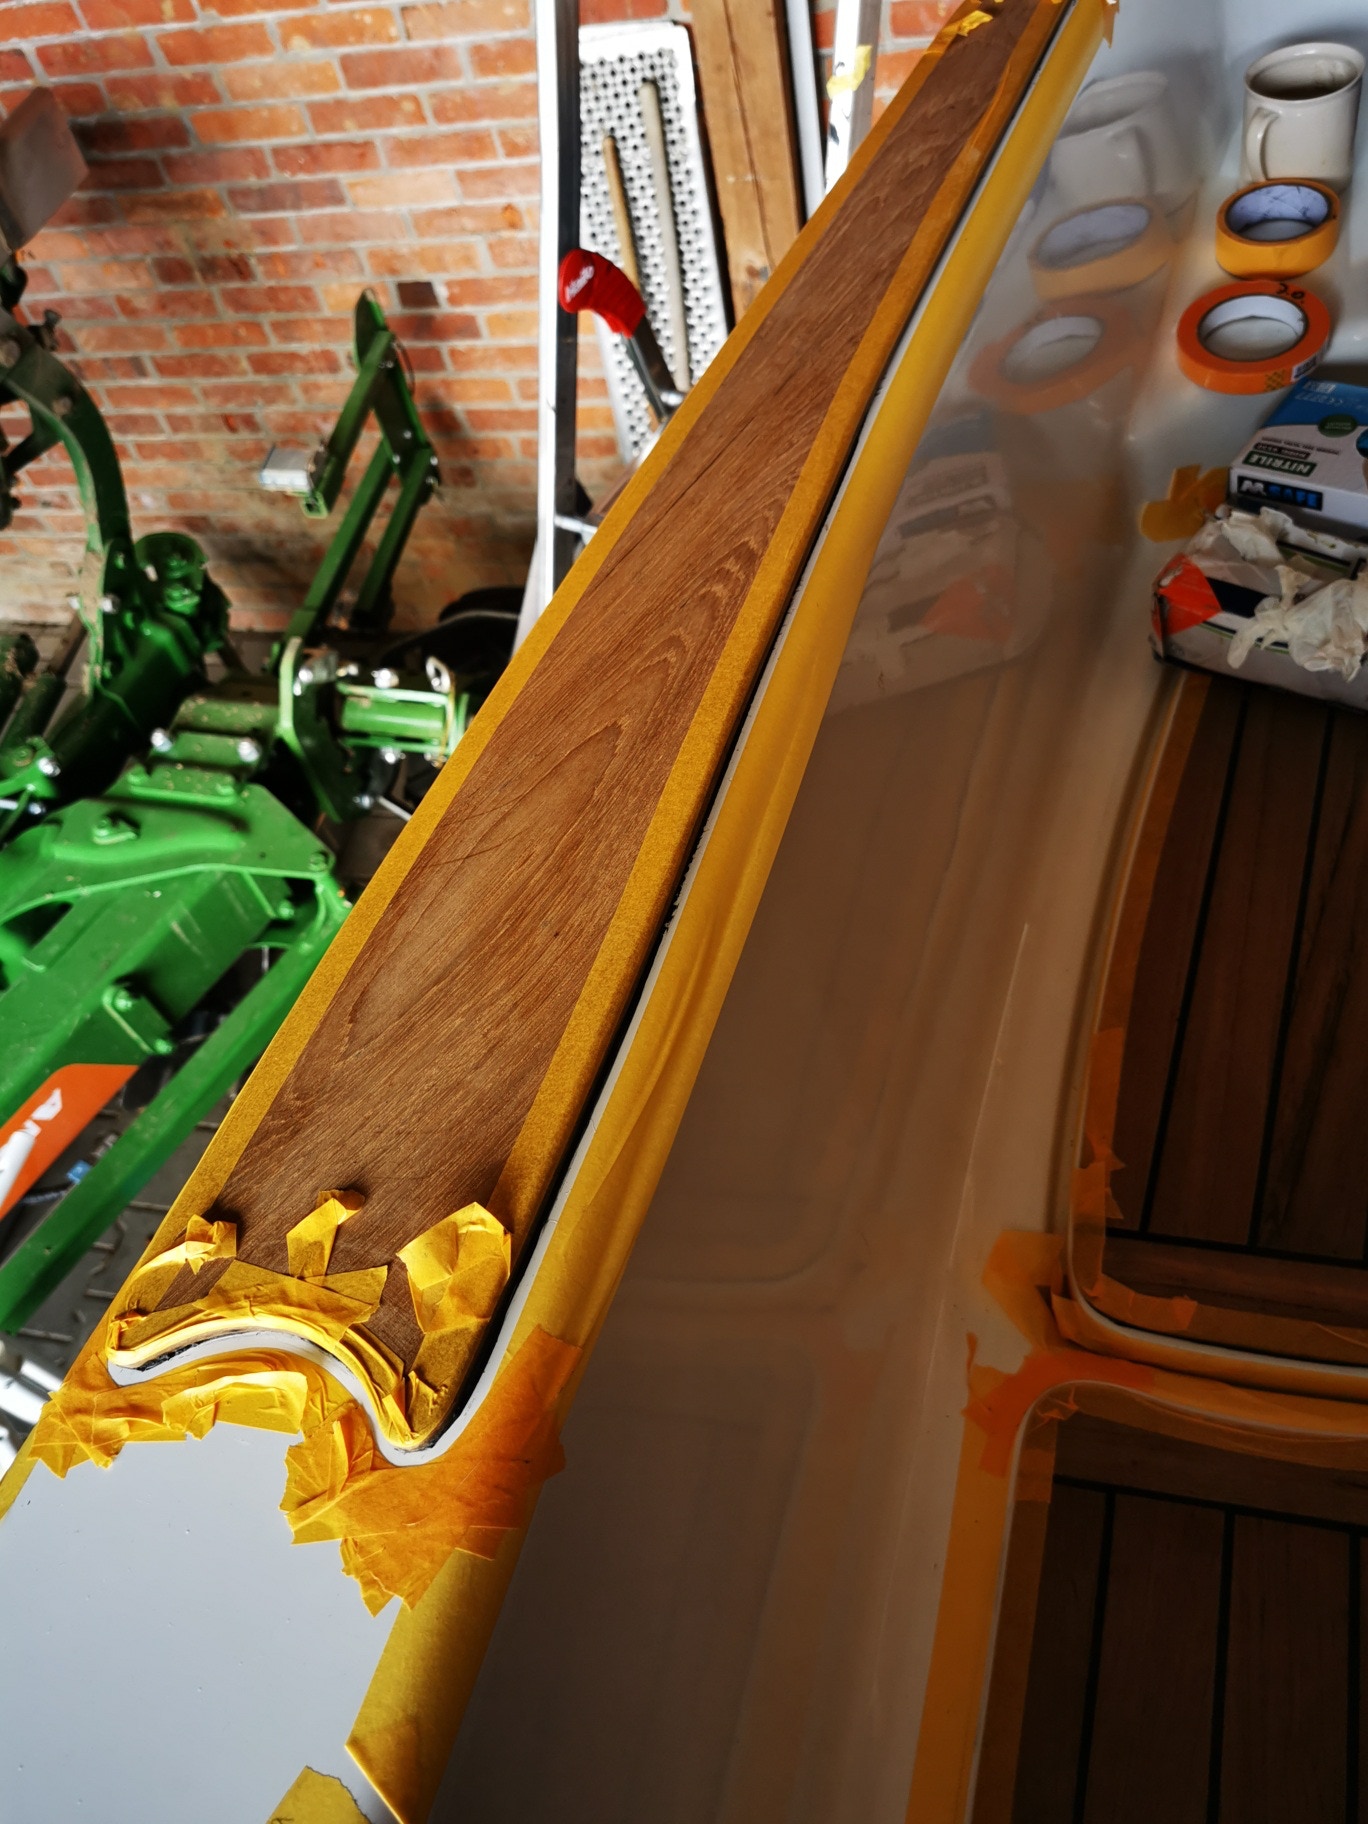
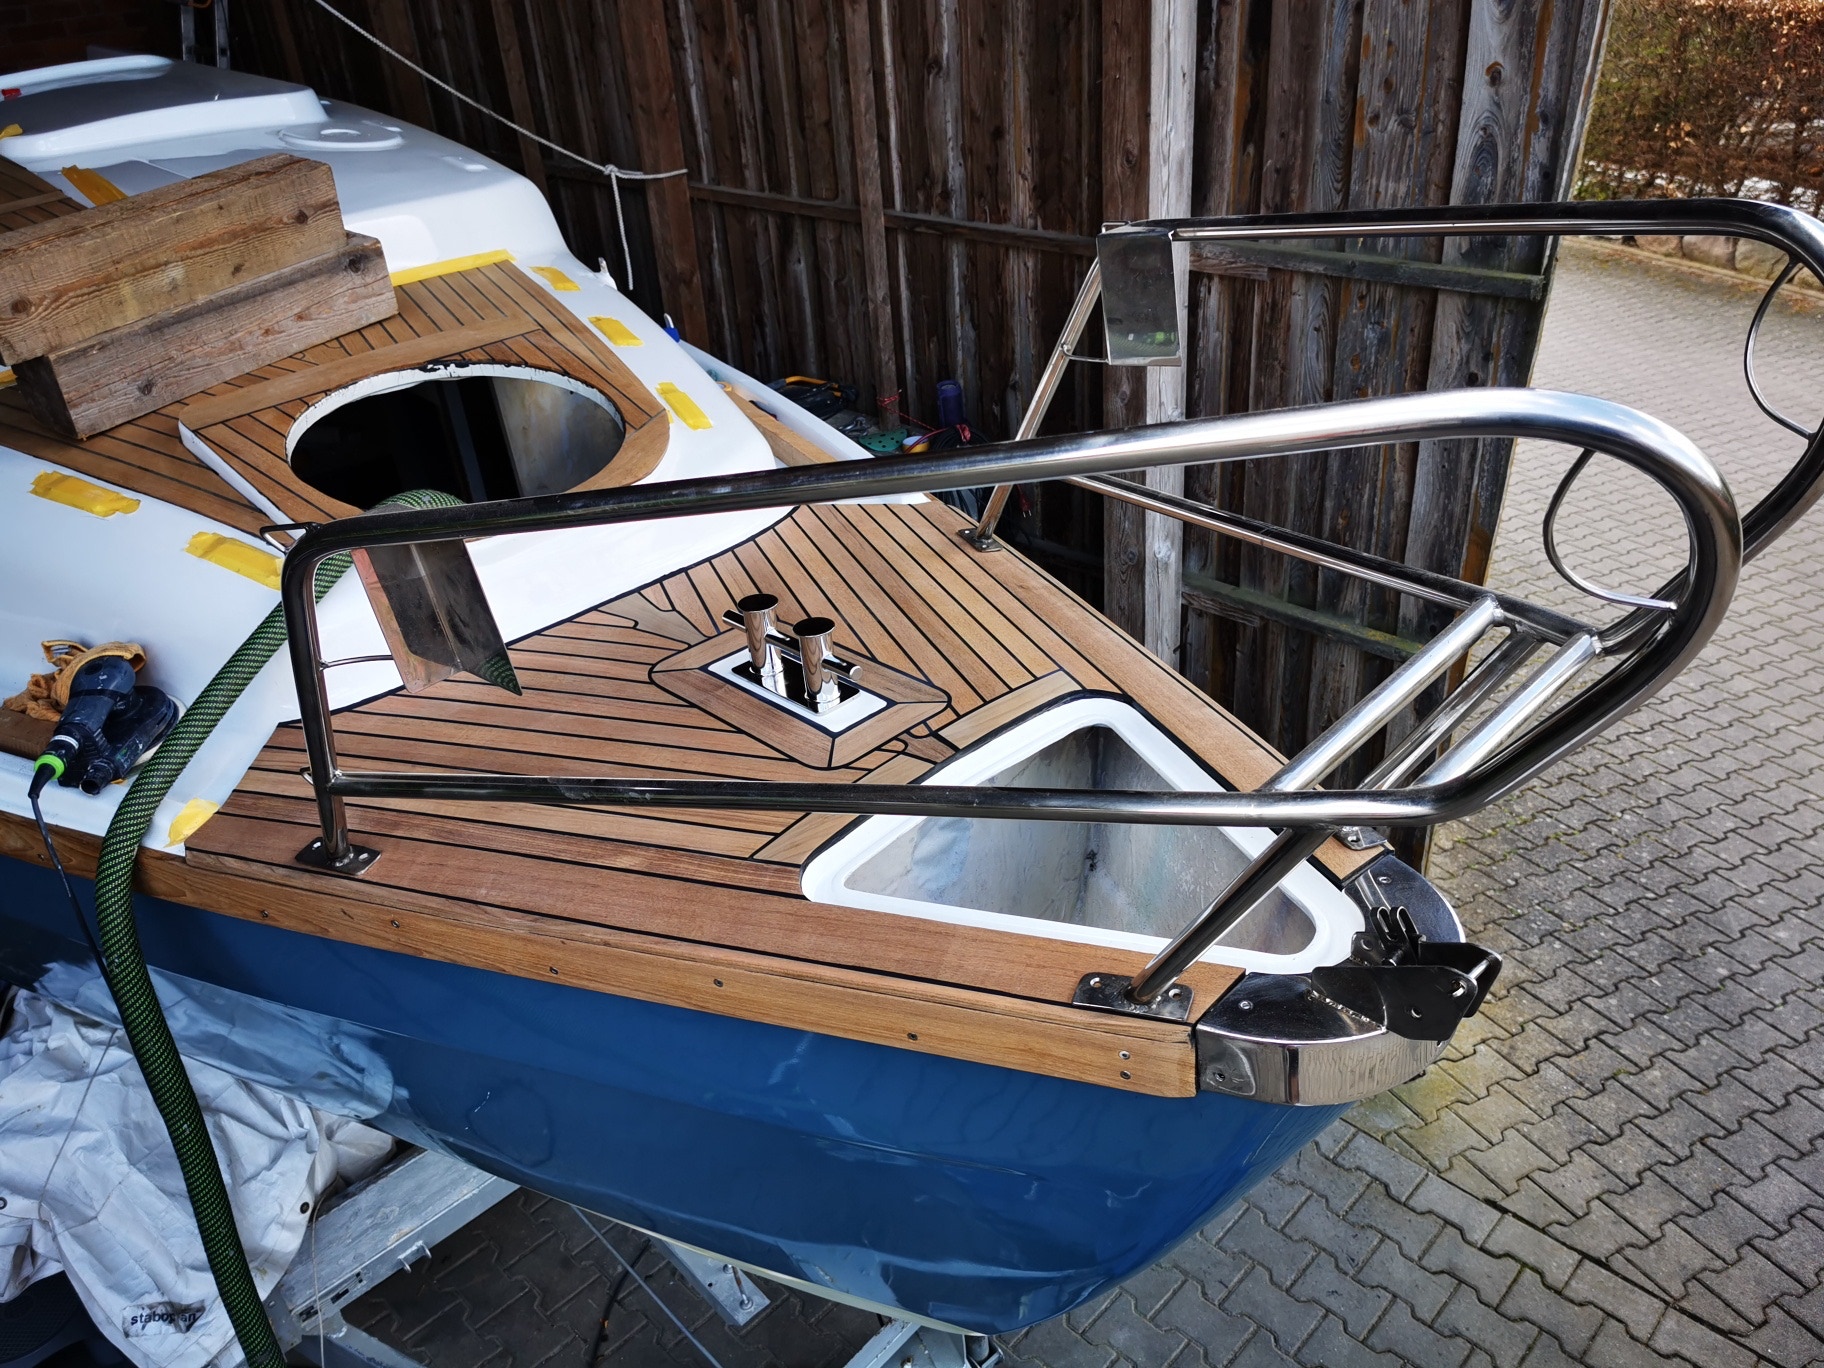
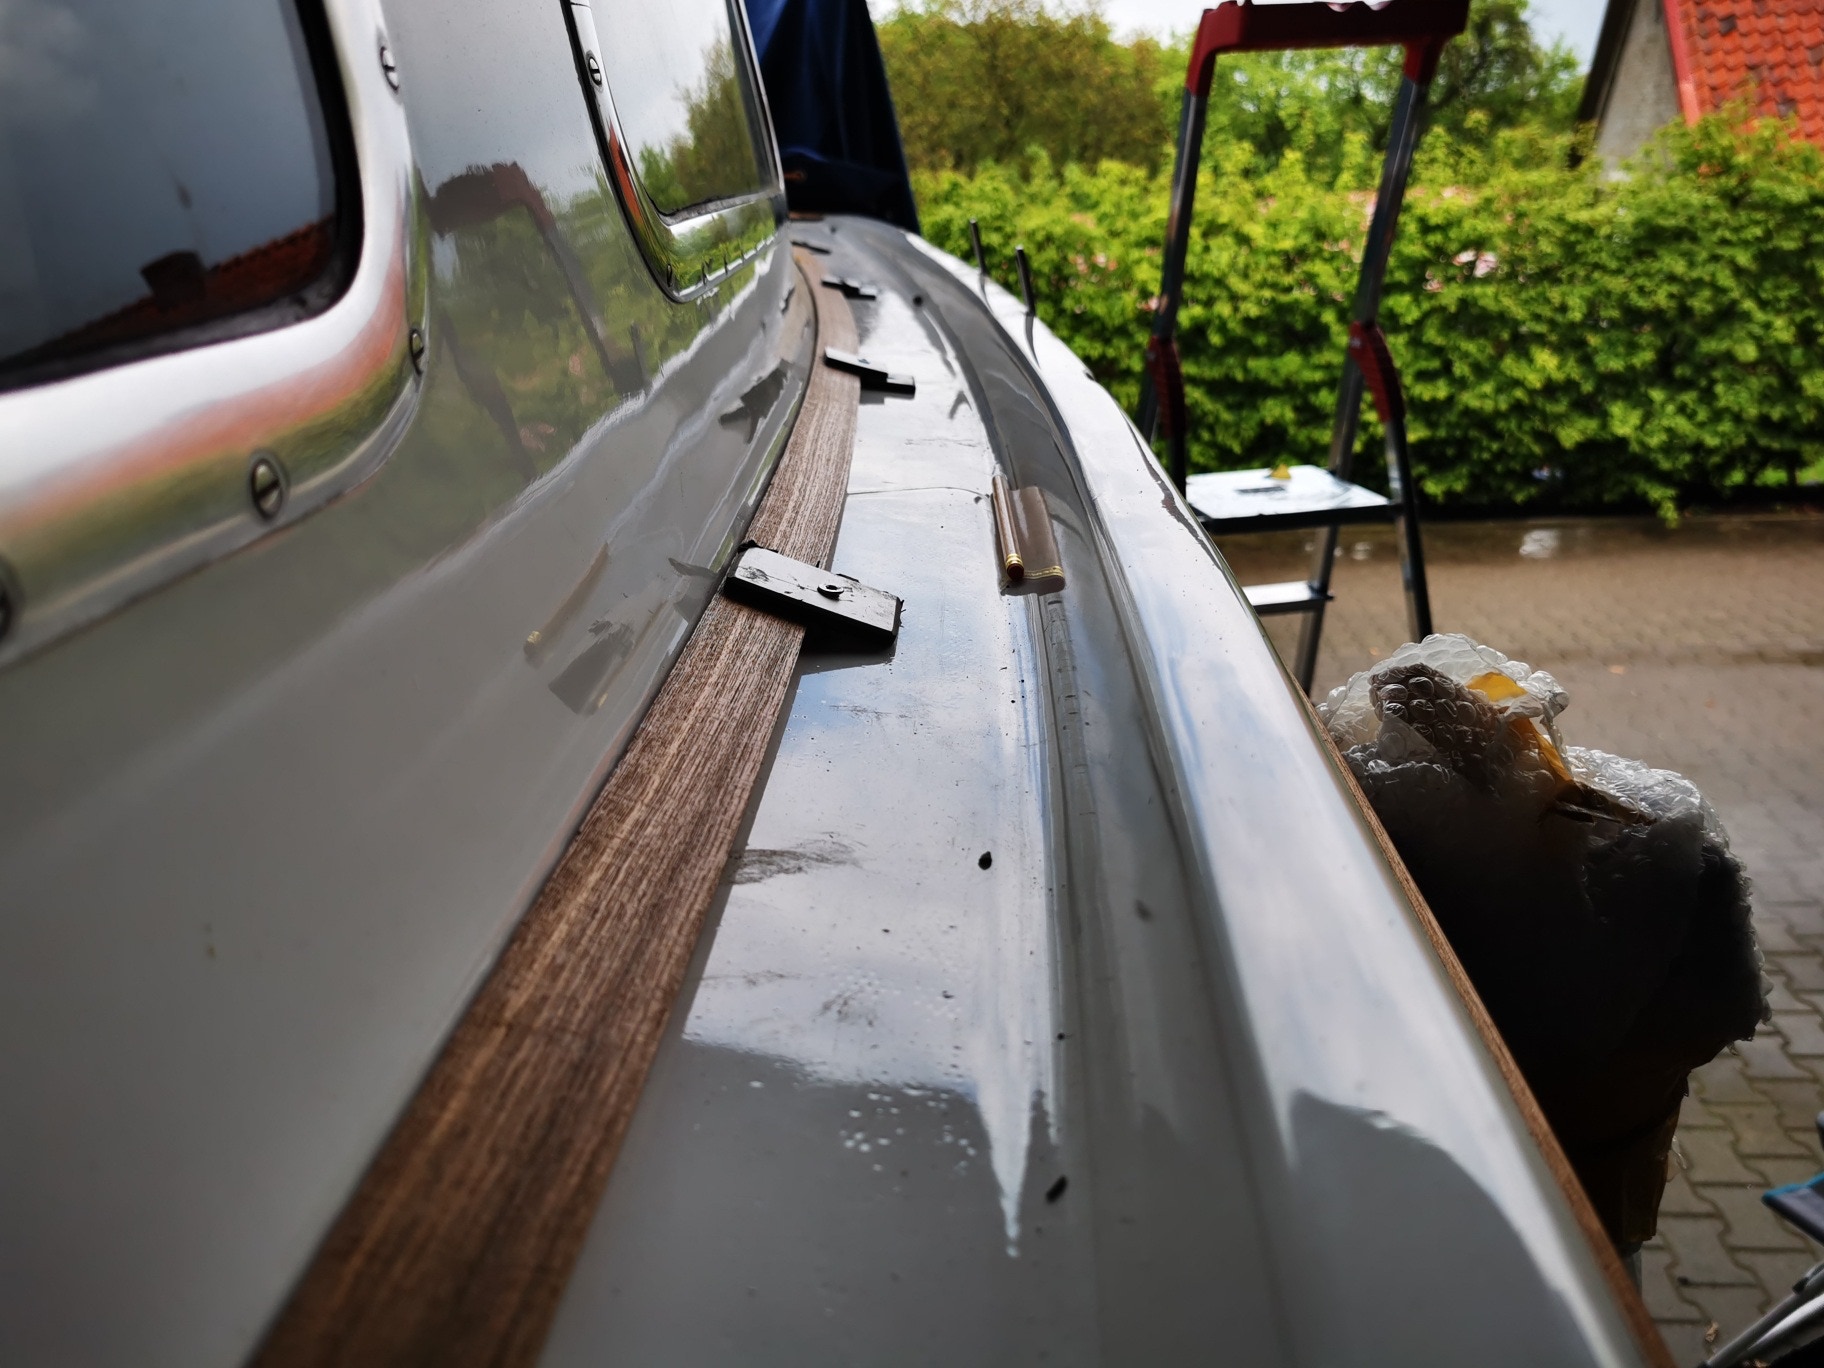
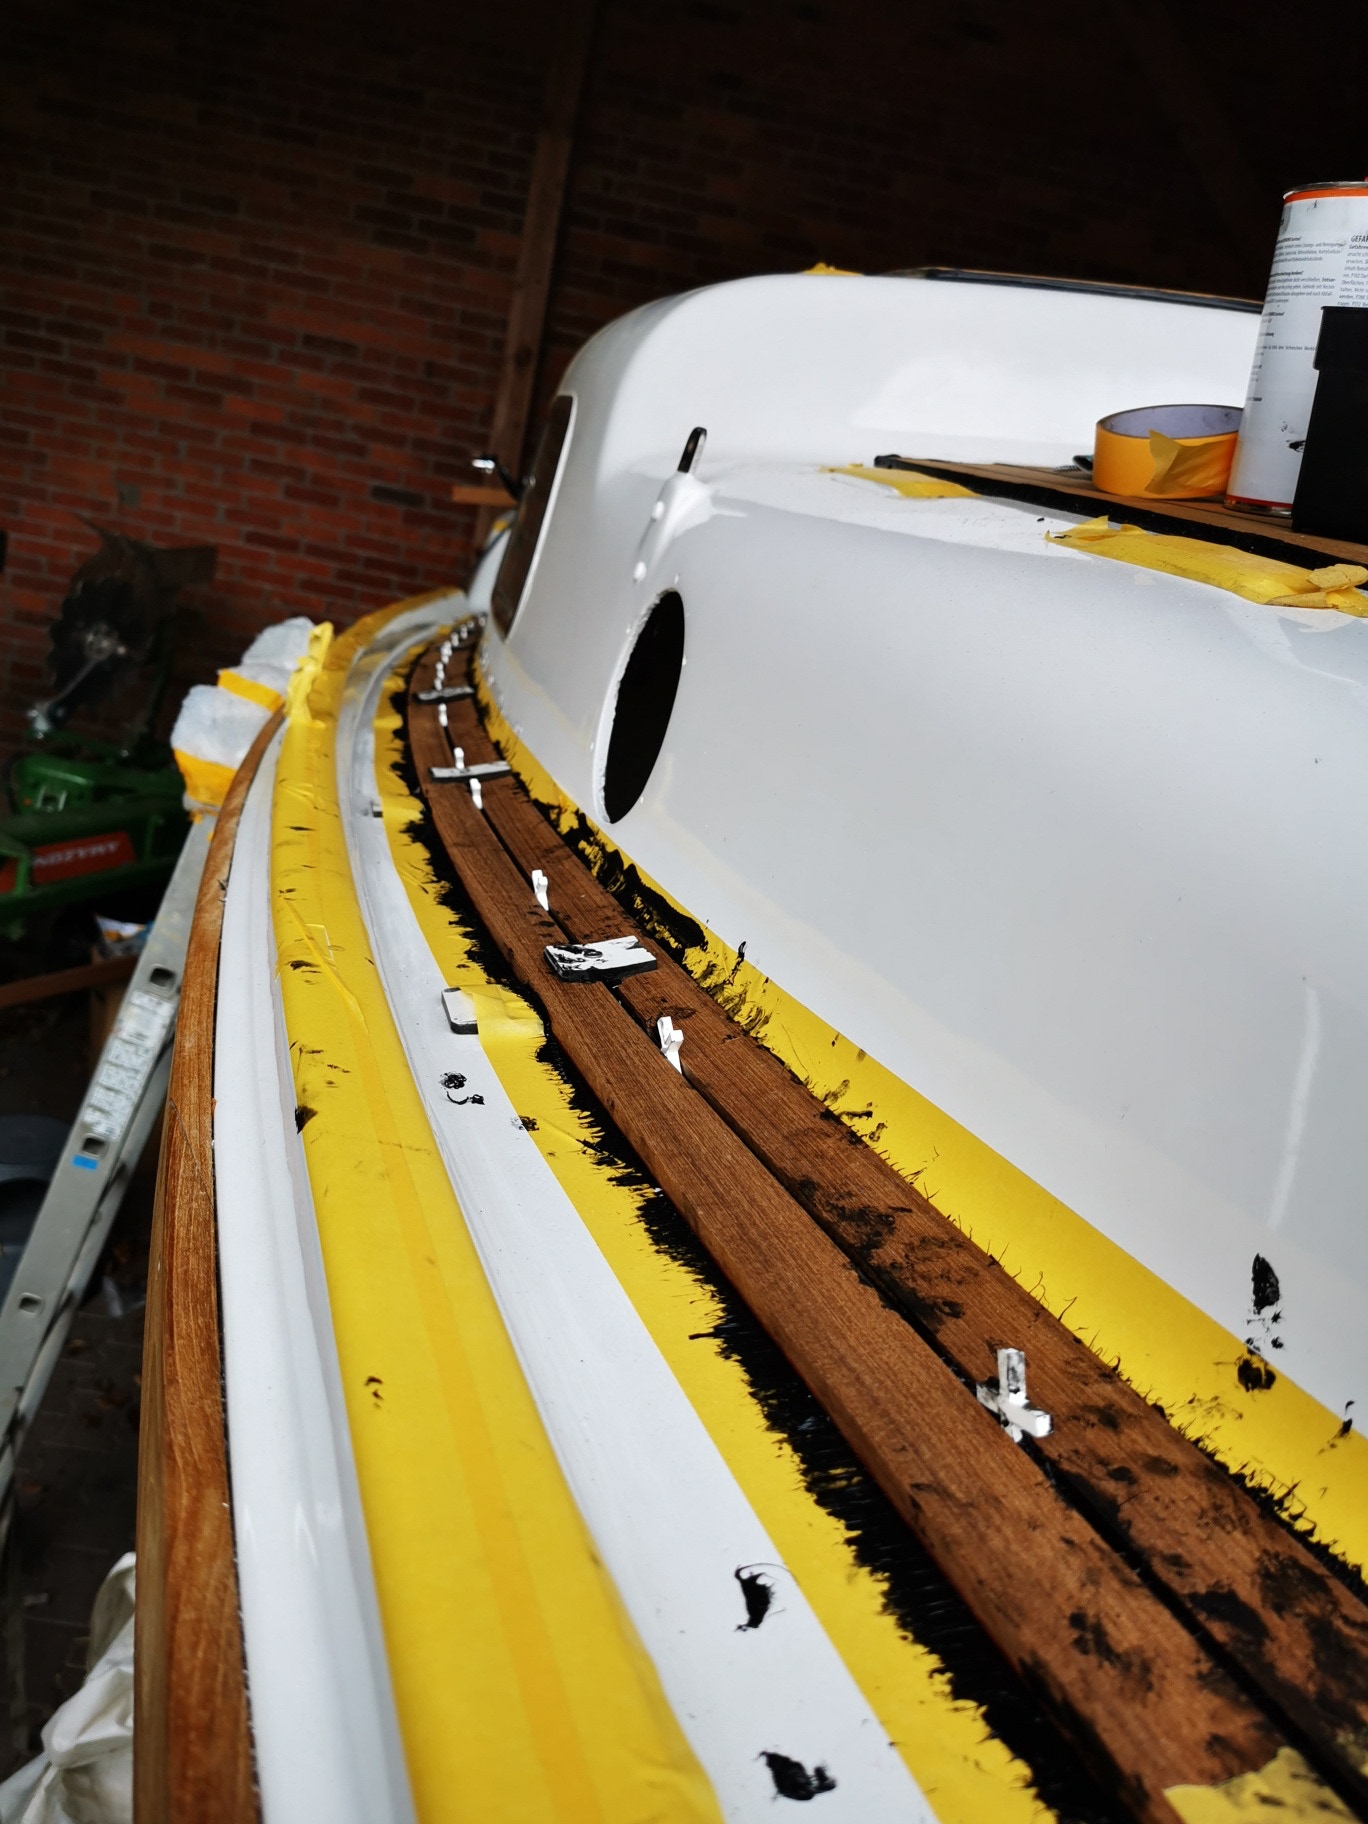
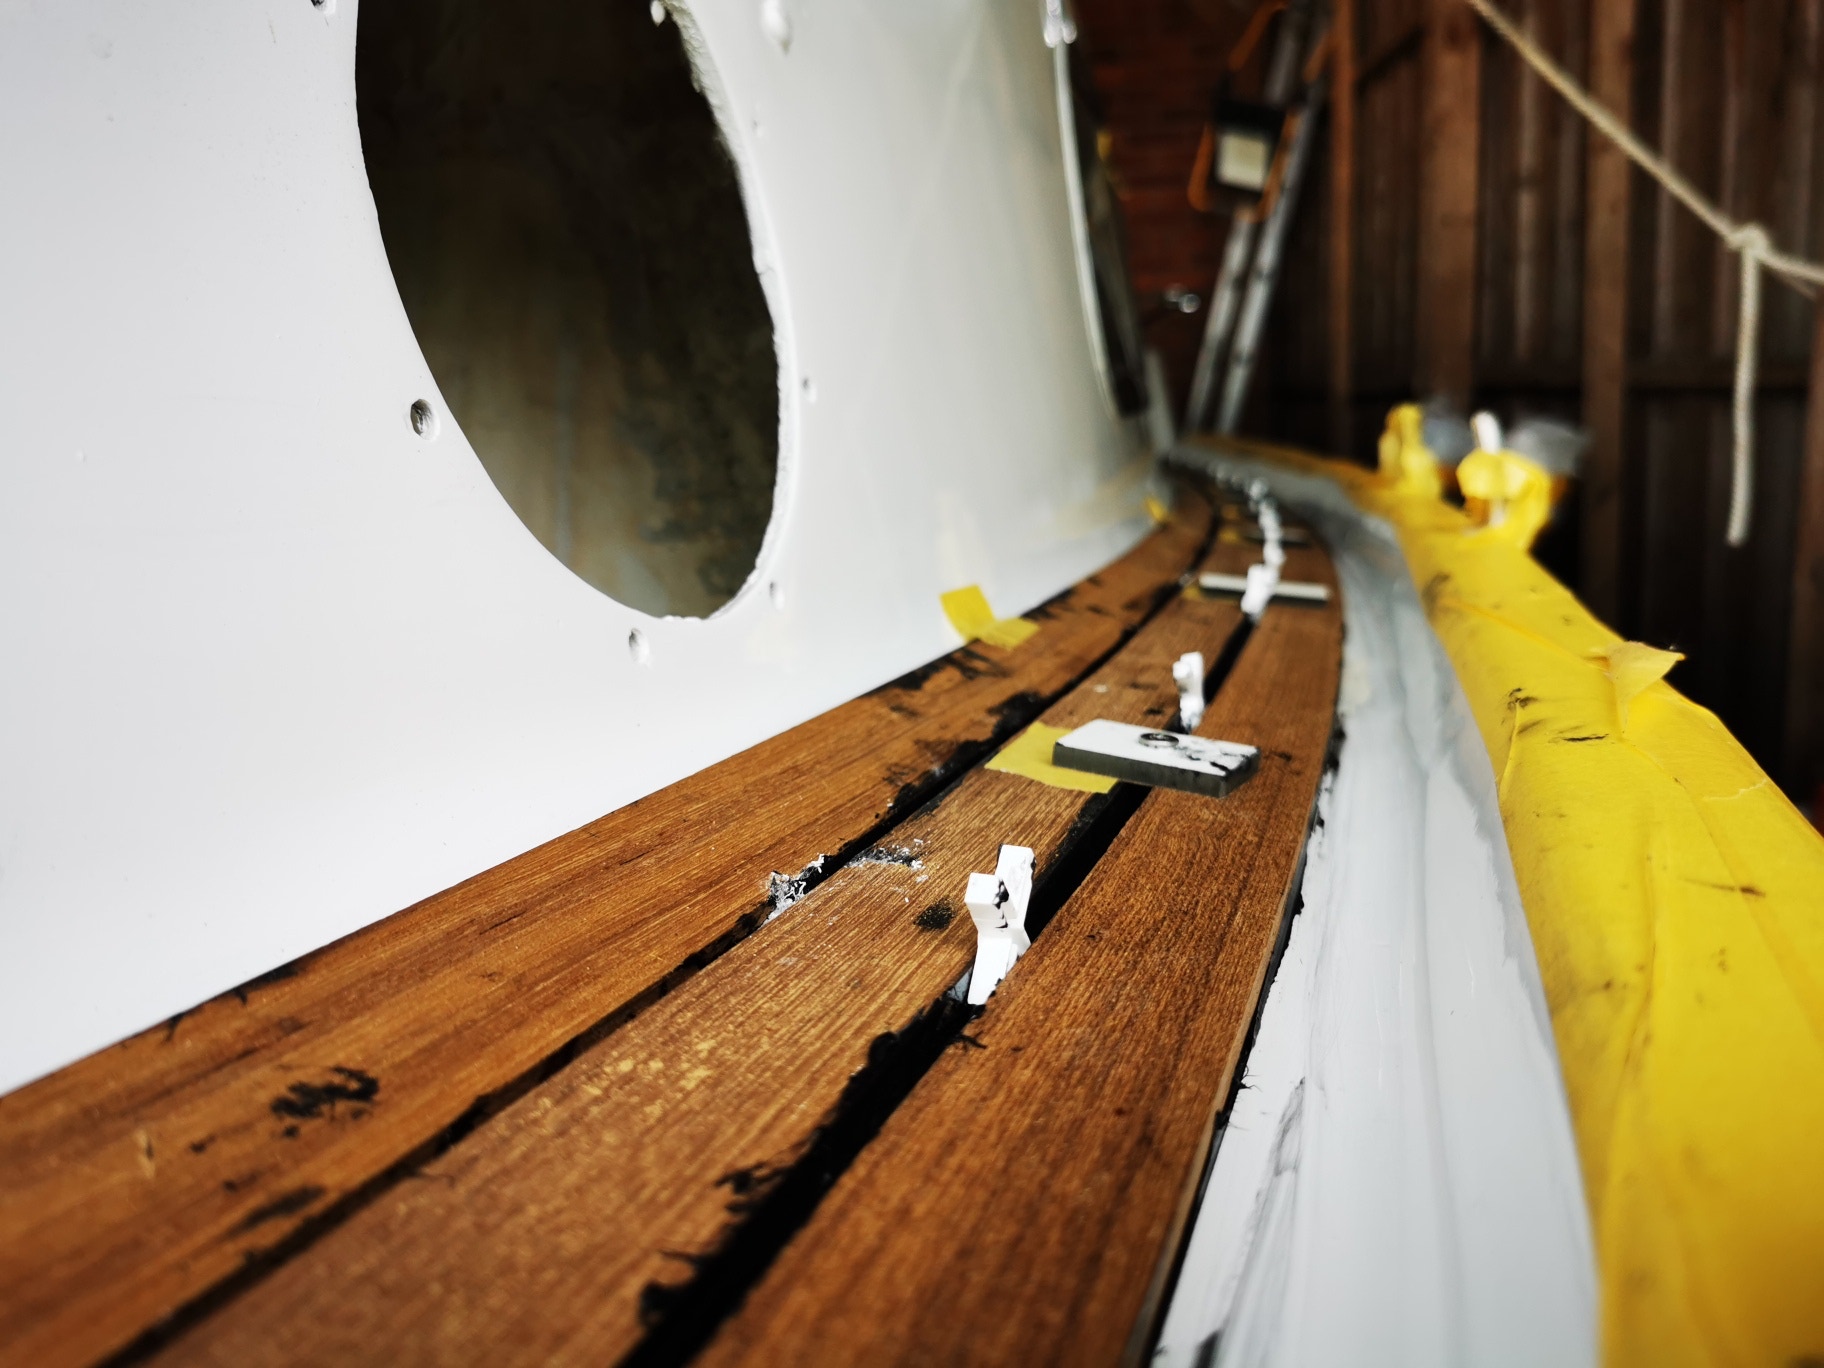
Teak on the stern extension
29.7.2021
I'm finally ready to cover the stern extension with teak. Here, too, everything starts with a cardboard template. In the workshop I then sawed the teak to size, put it together like a puzzle on the template, fixed it and grouted it with Sikaflex 290DC. The gold band here also helps that the Sika does not get onto the entire wood after smoothing (with a small spatula). I then placed teak panels in the frames that I had previously sawn to size with a fine jigsaw blade. You need weights for even results when grouting!
Voila ;-)

6.9.2021
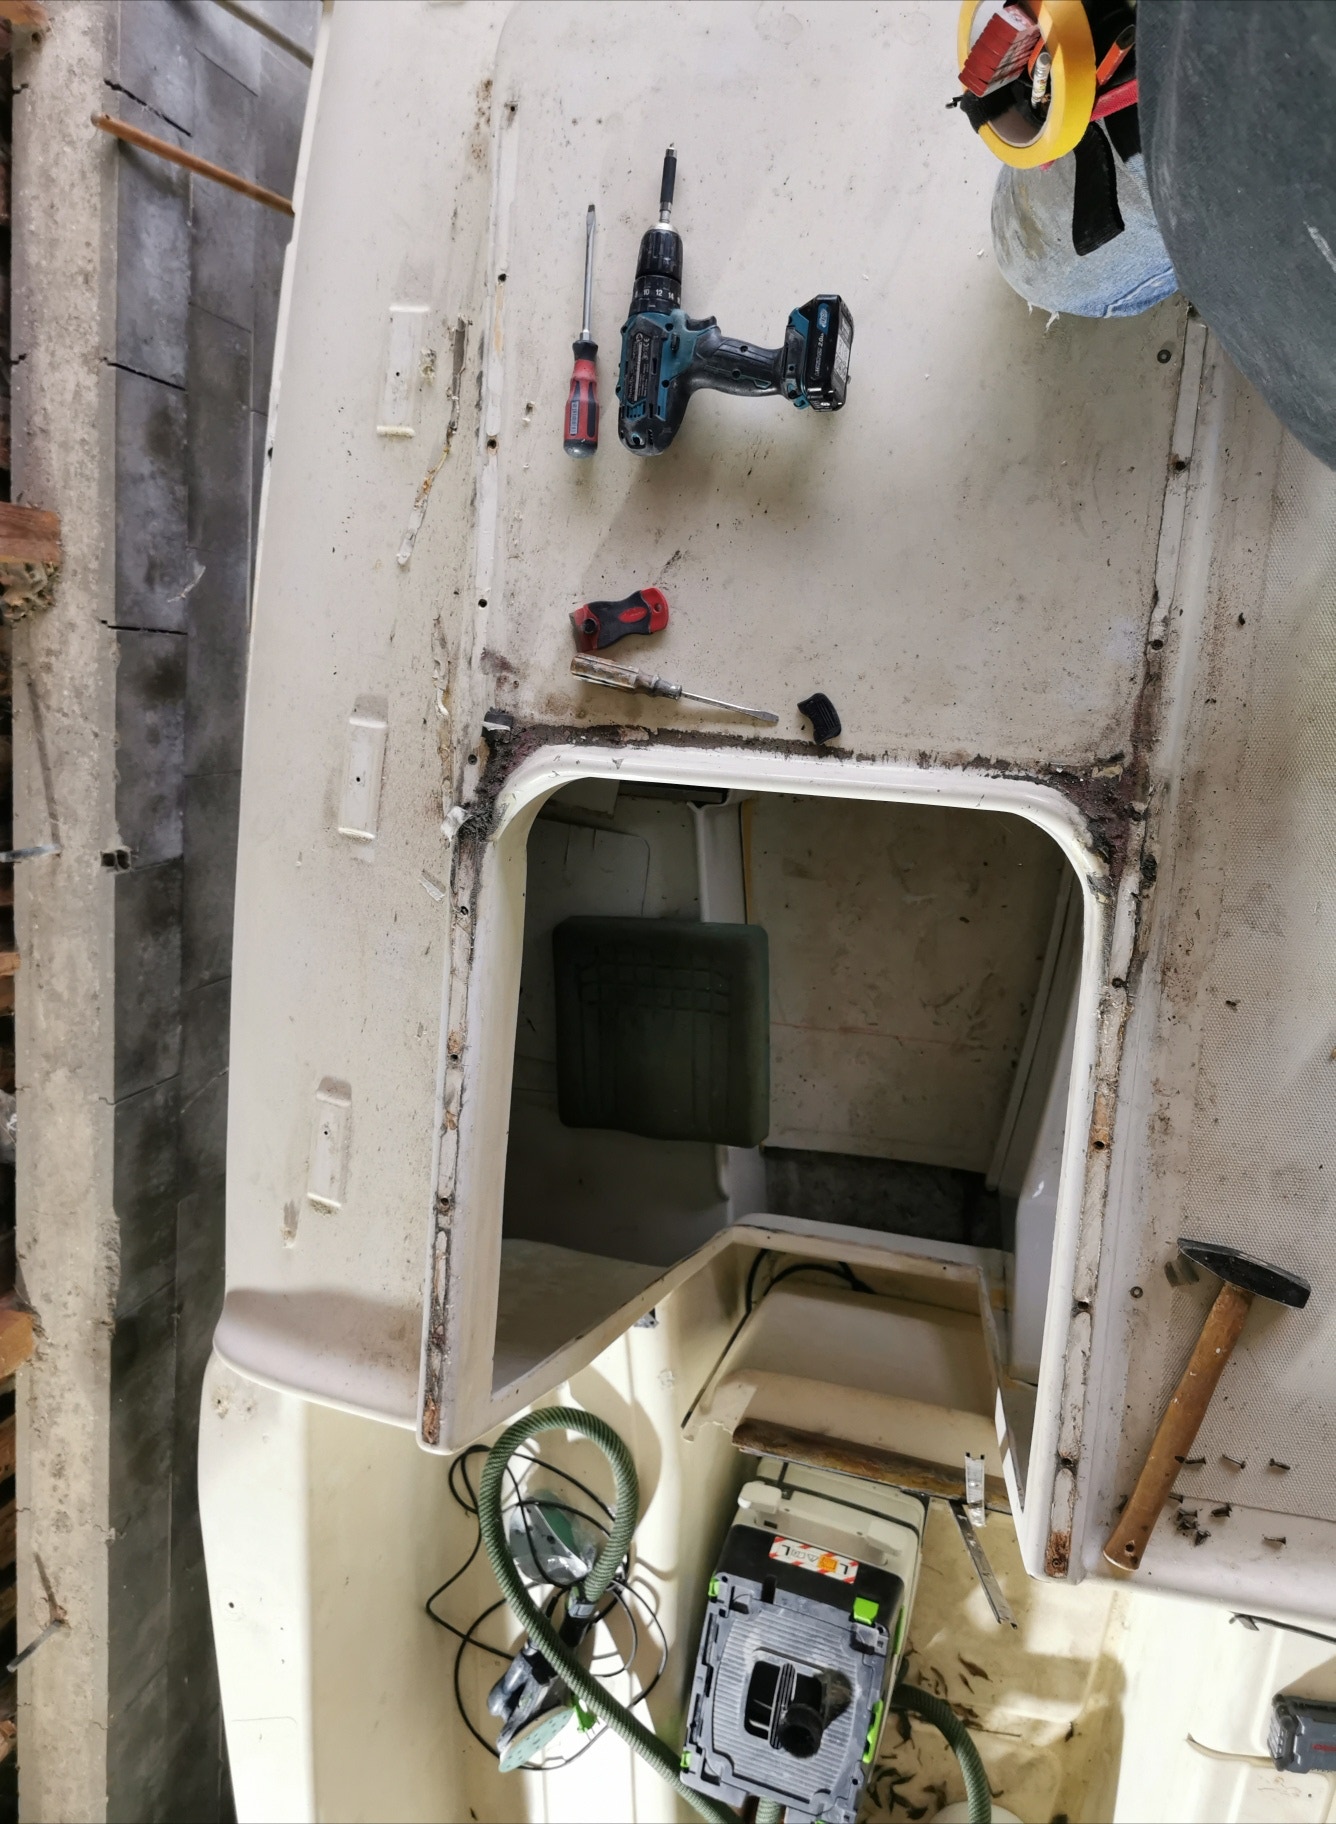
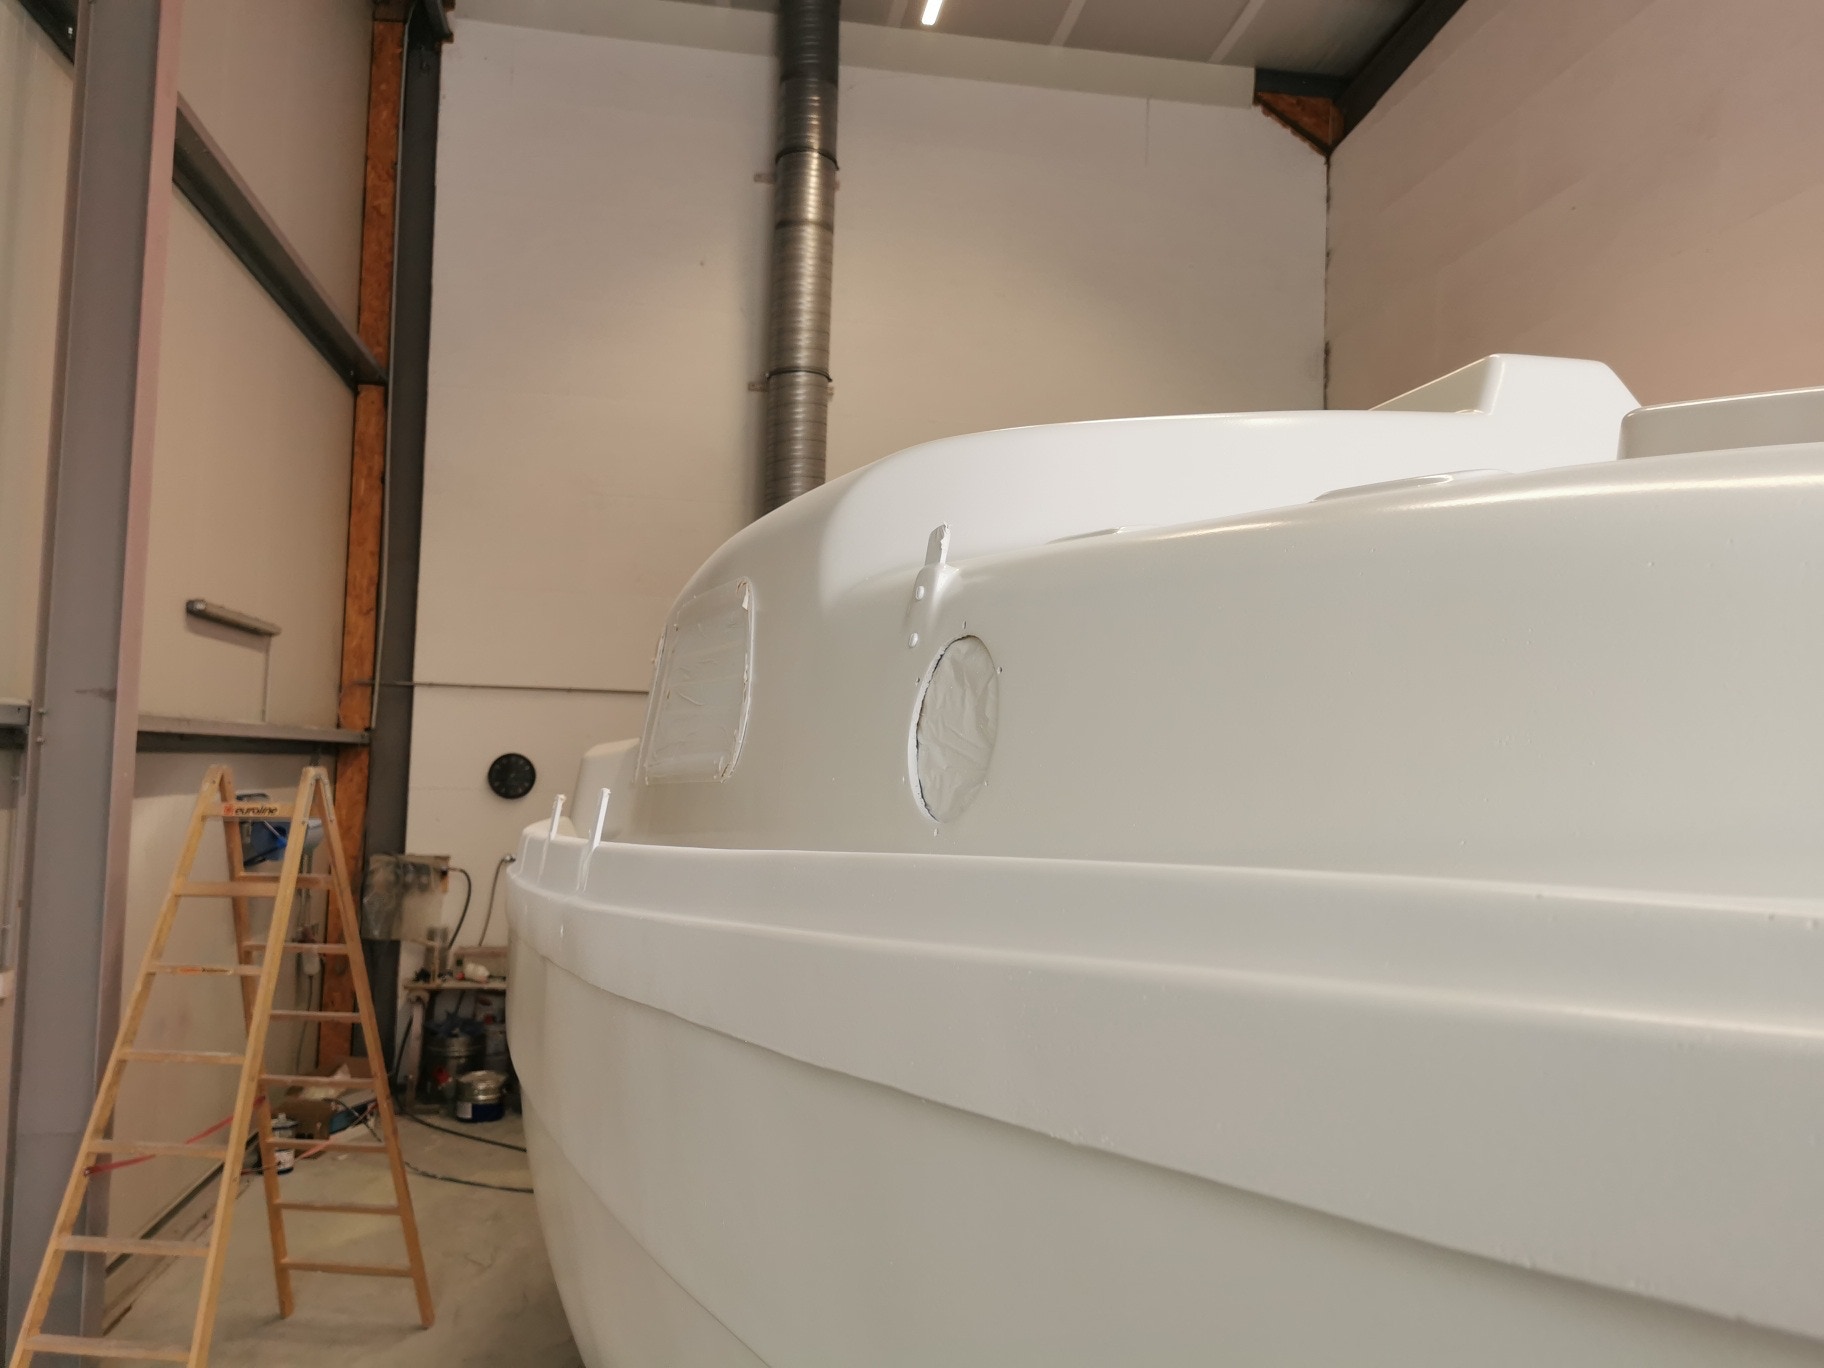
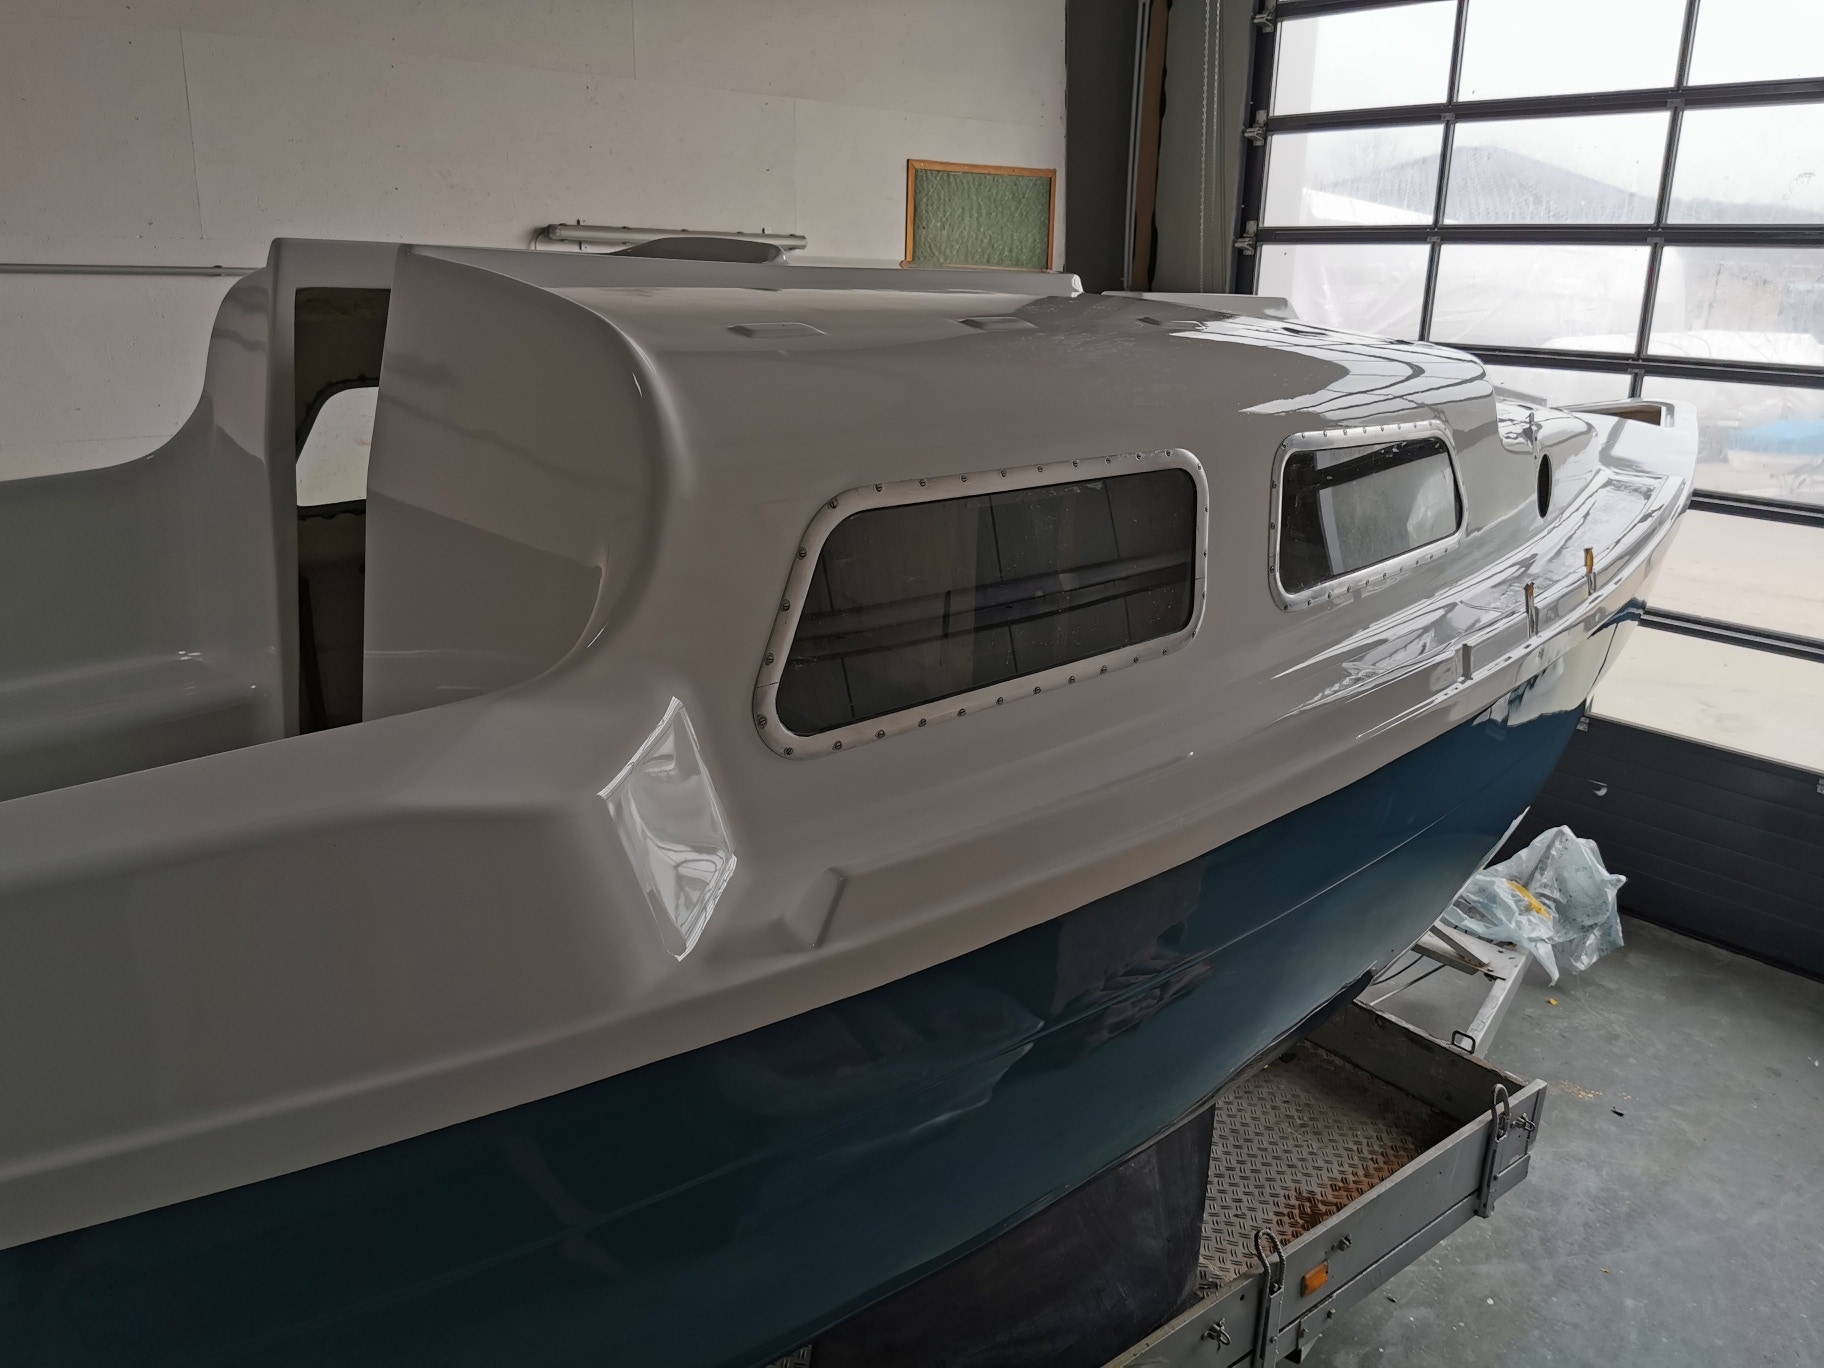
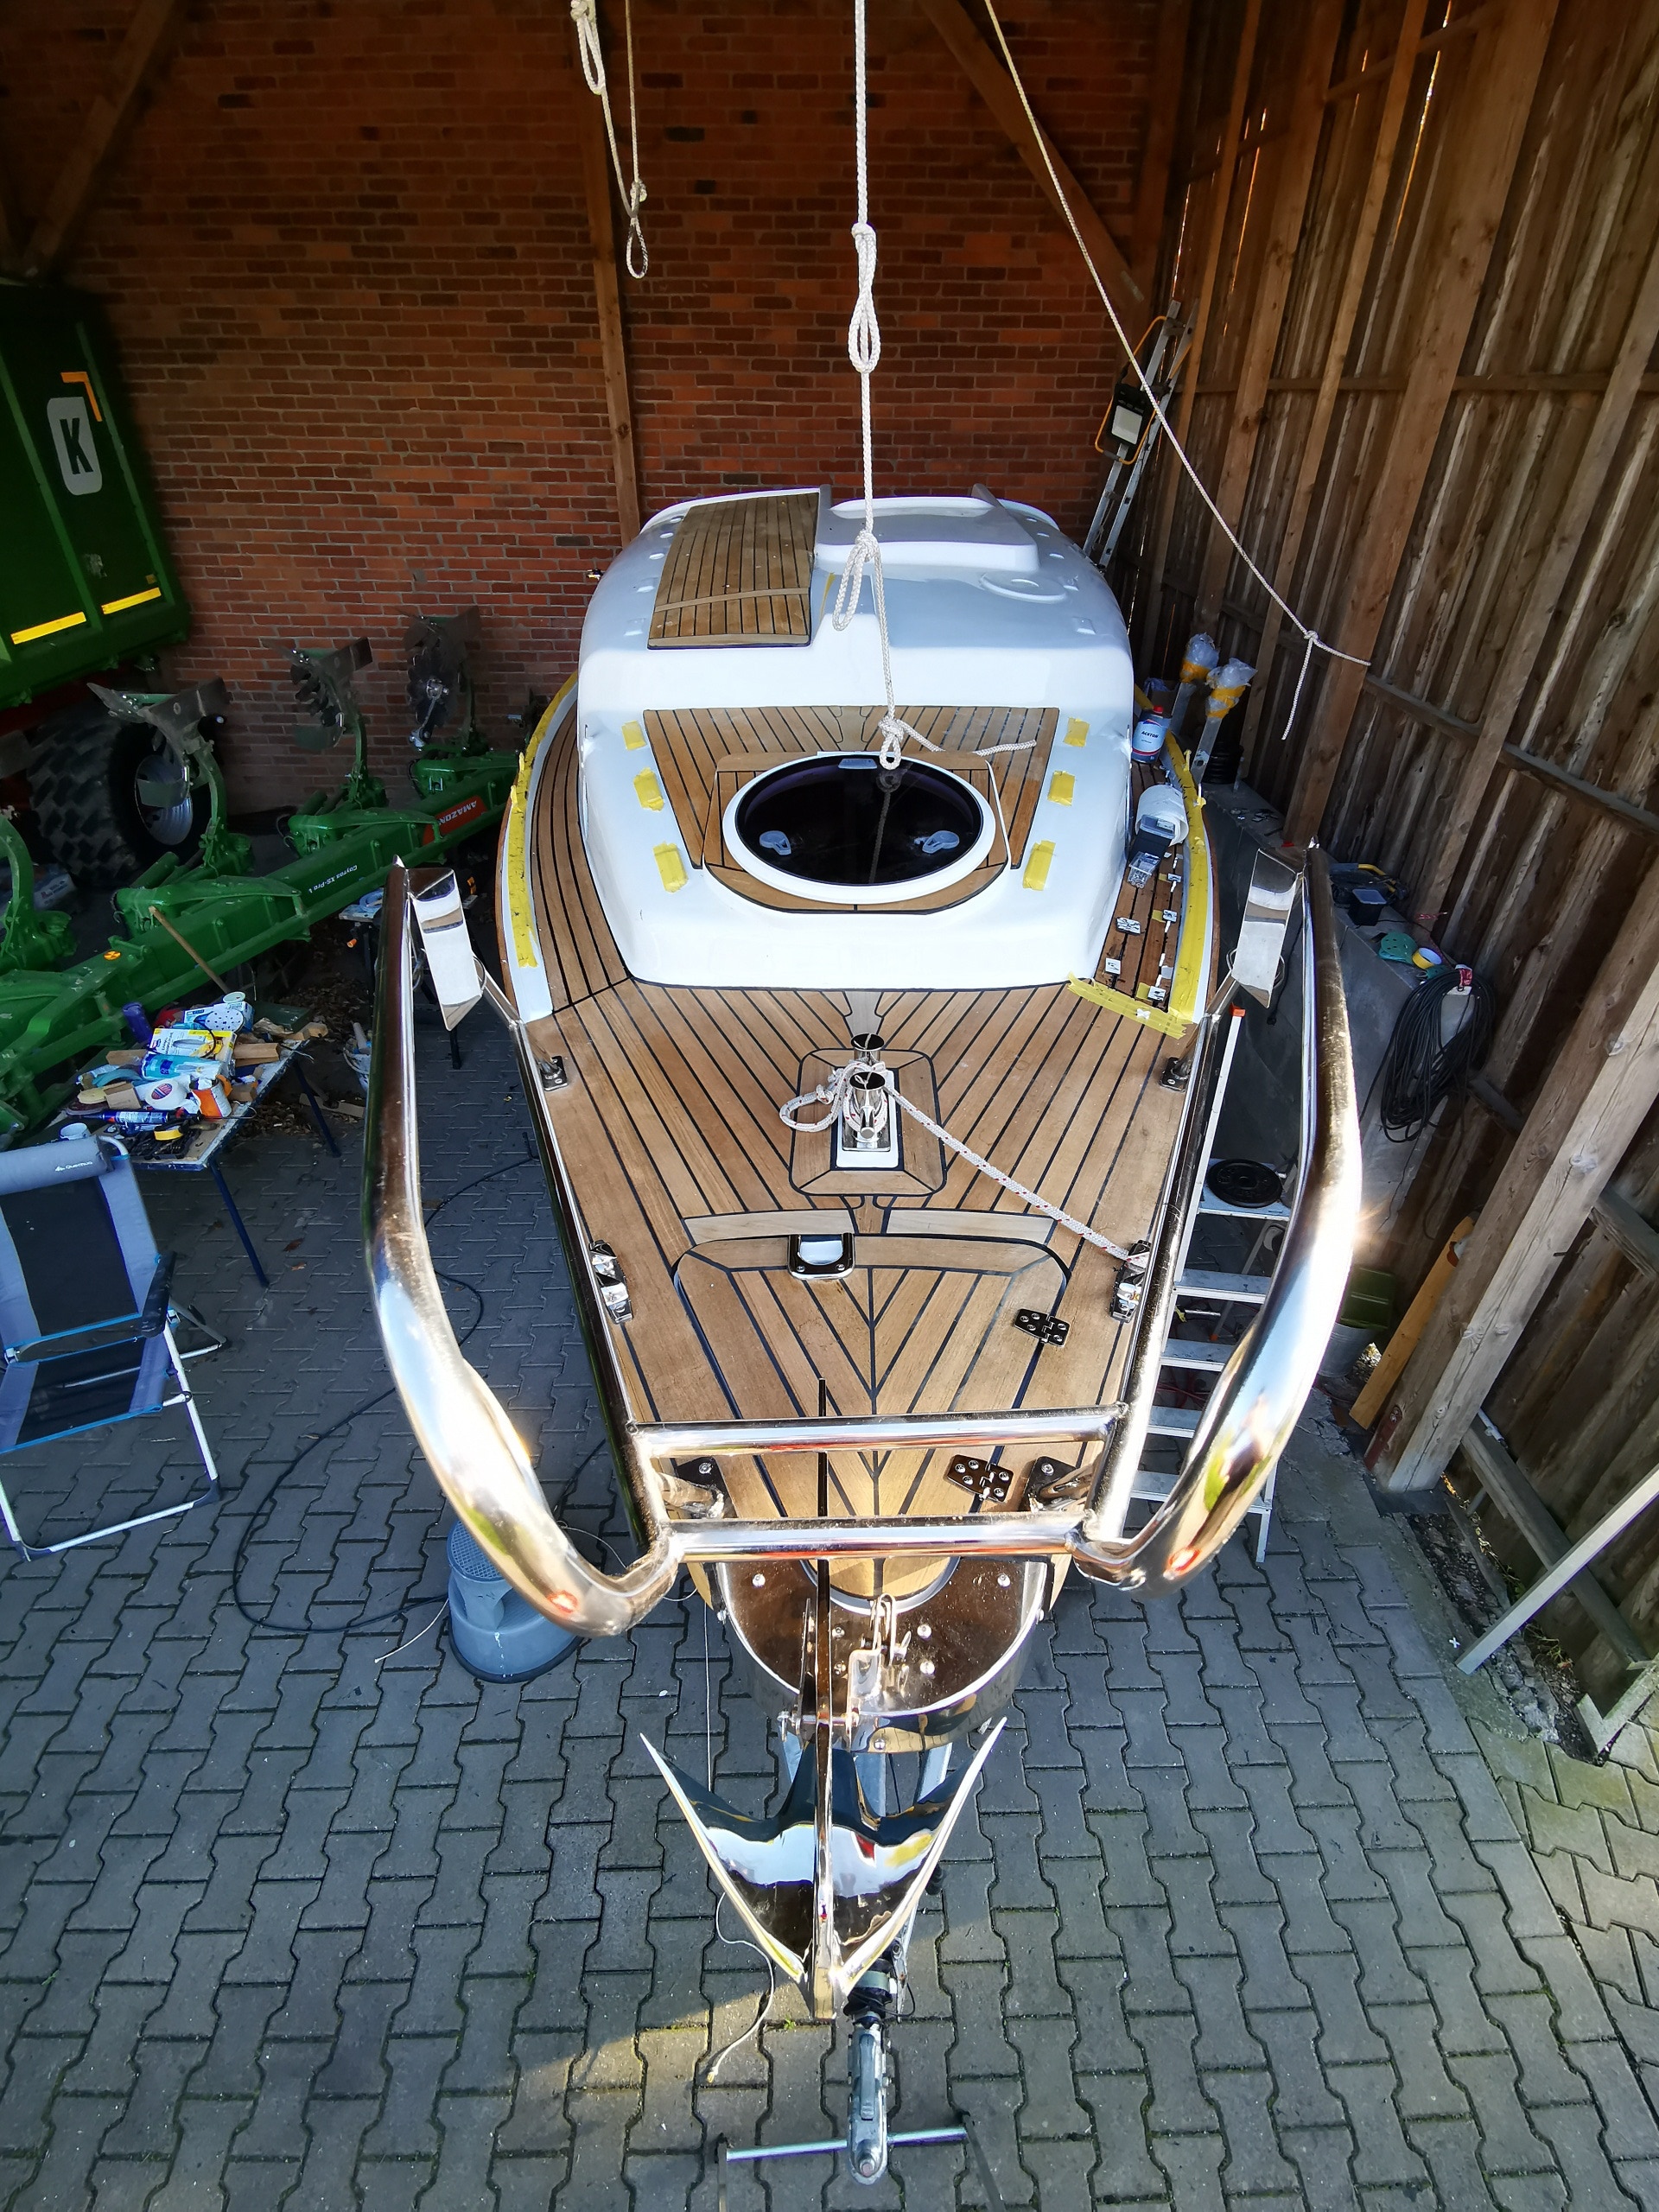
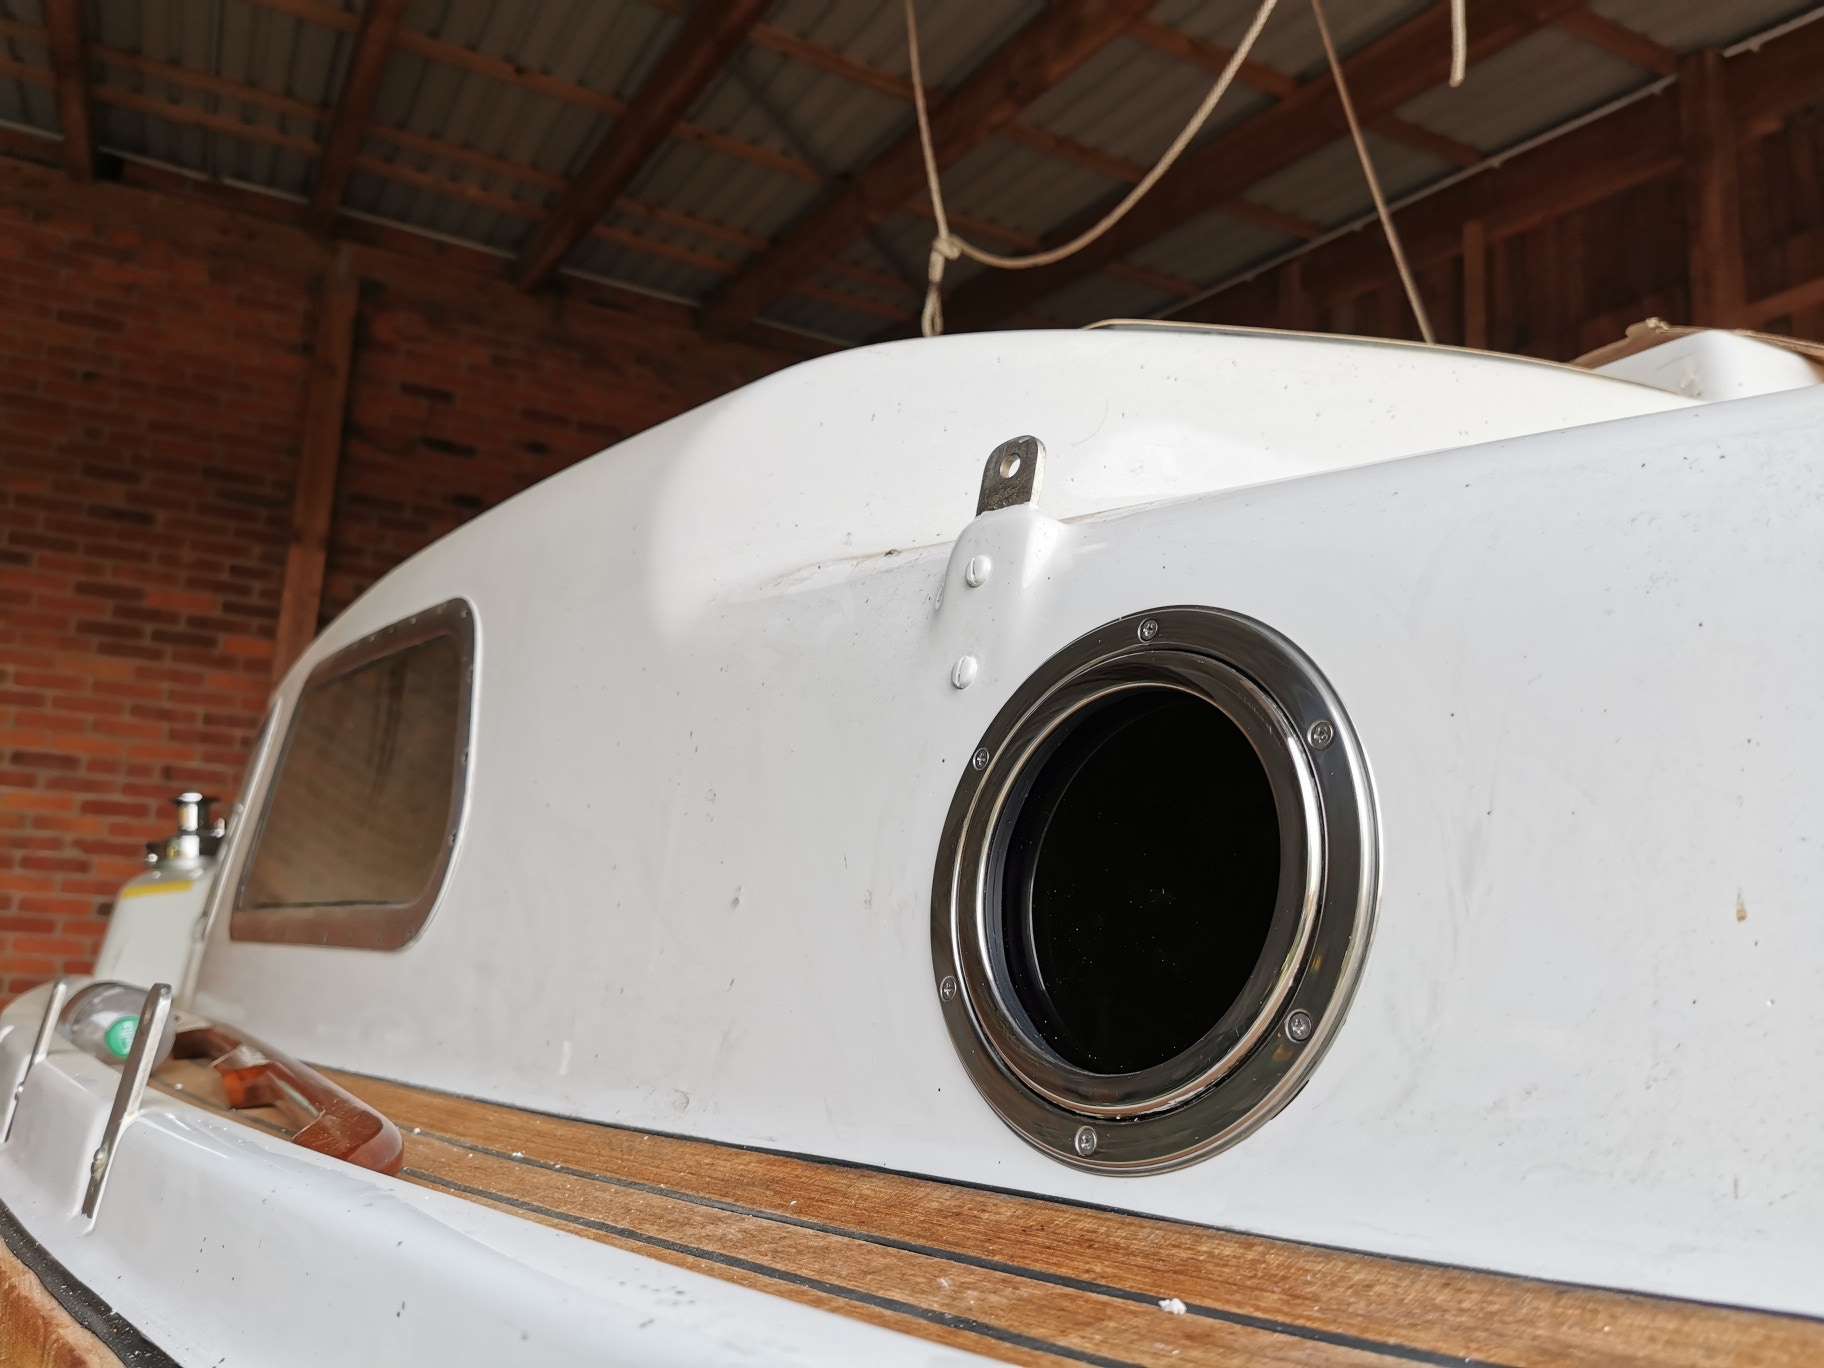
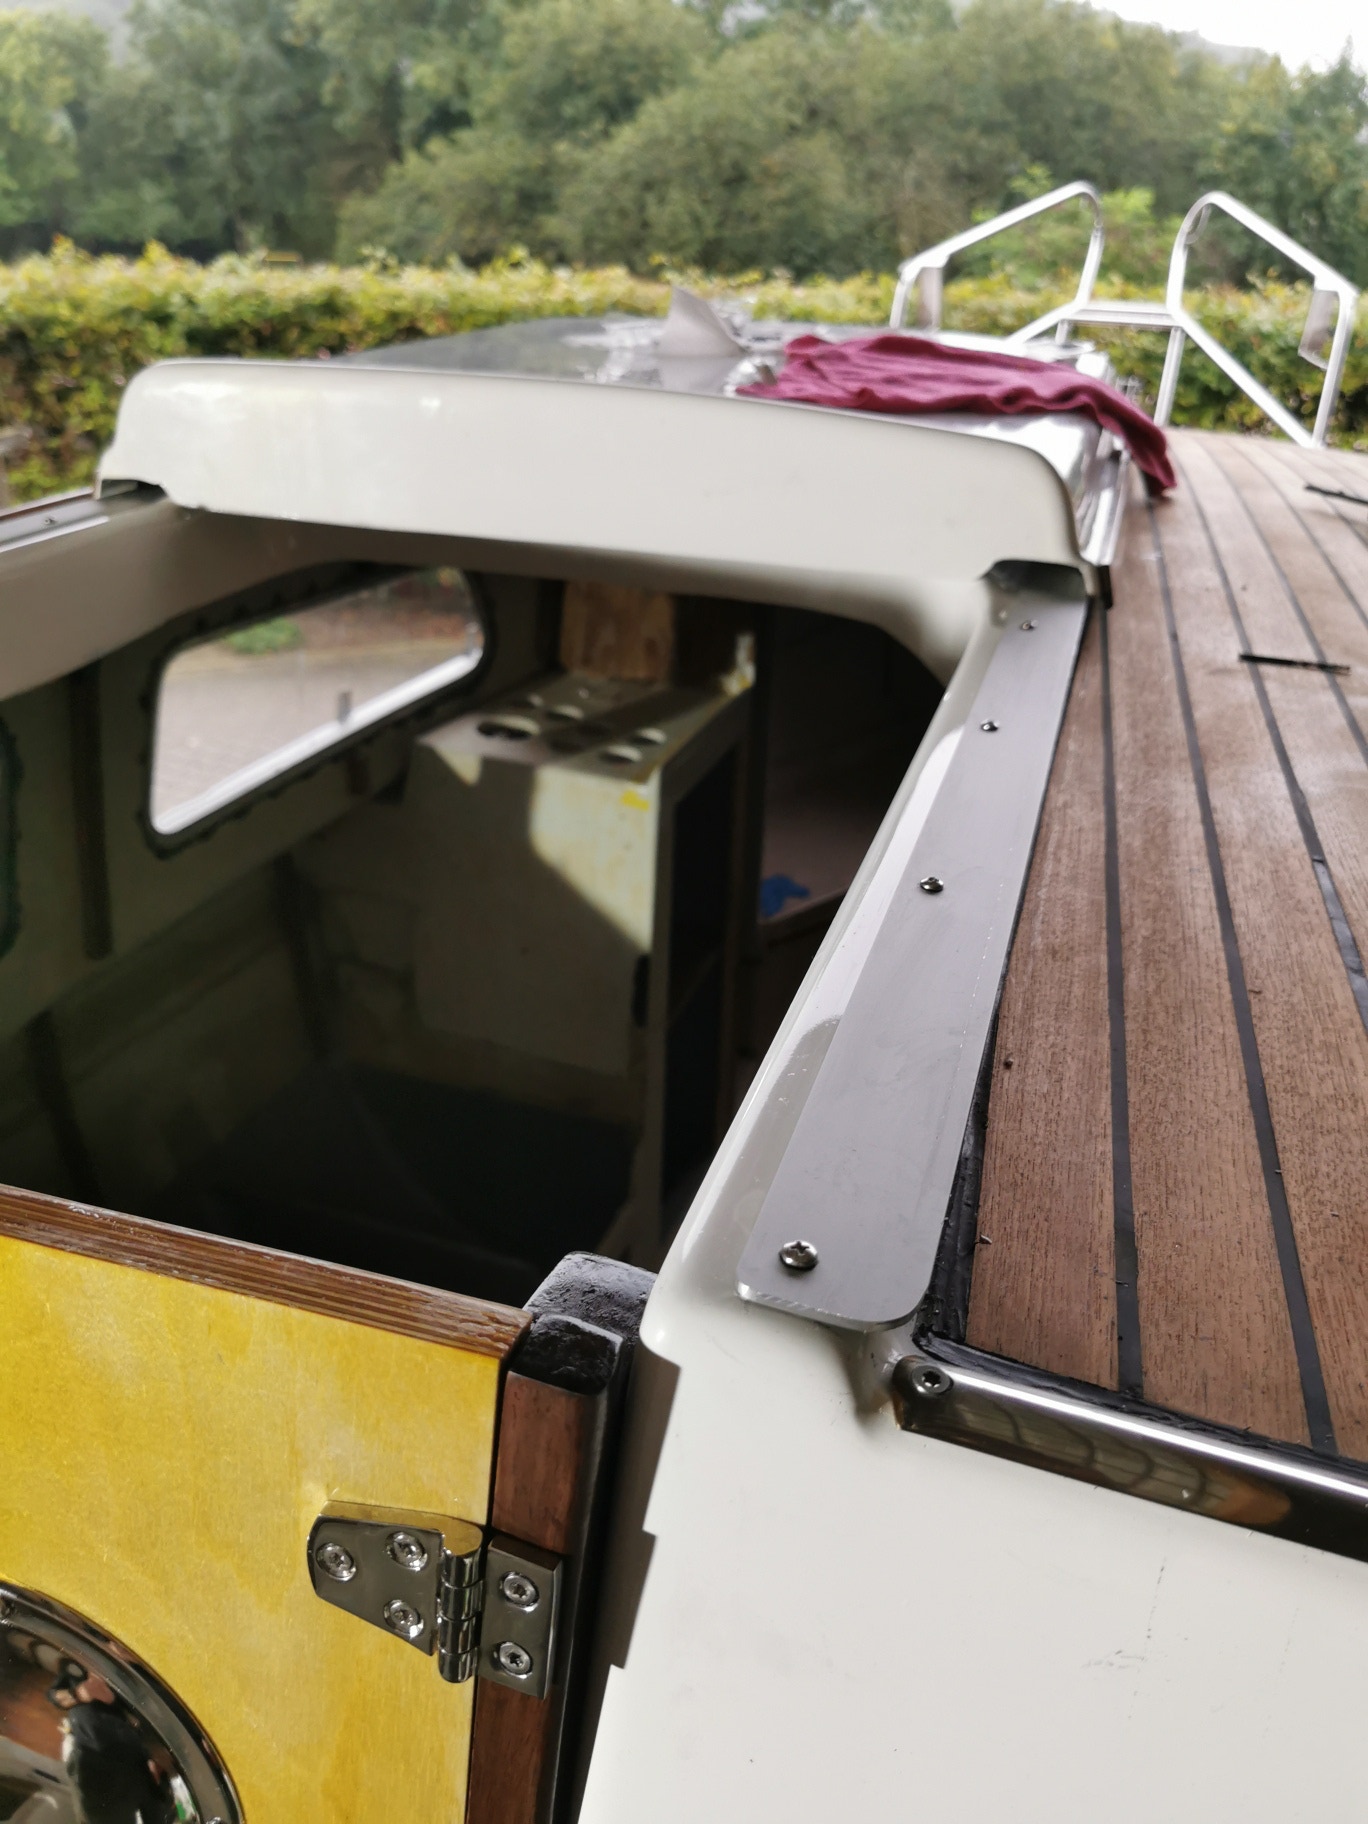
So that the boat can be launched on September 11th and then tested for a few weeks, I have completed the rest of the work on the deck and installed the on-board battery in the past few weeks. The doors on the companionway are ready, all windows are in place, a solar fan has been installed, the Genoa travelers have been installed and the final work has been carried out on the locker. The hatch cover needed a new guide rail.
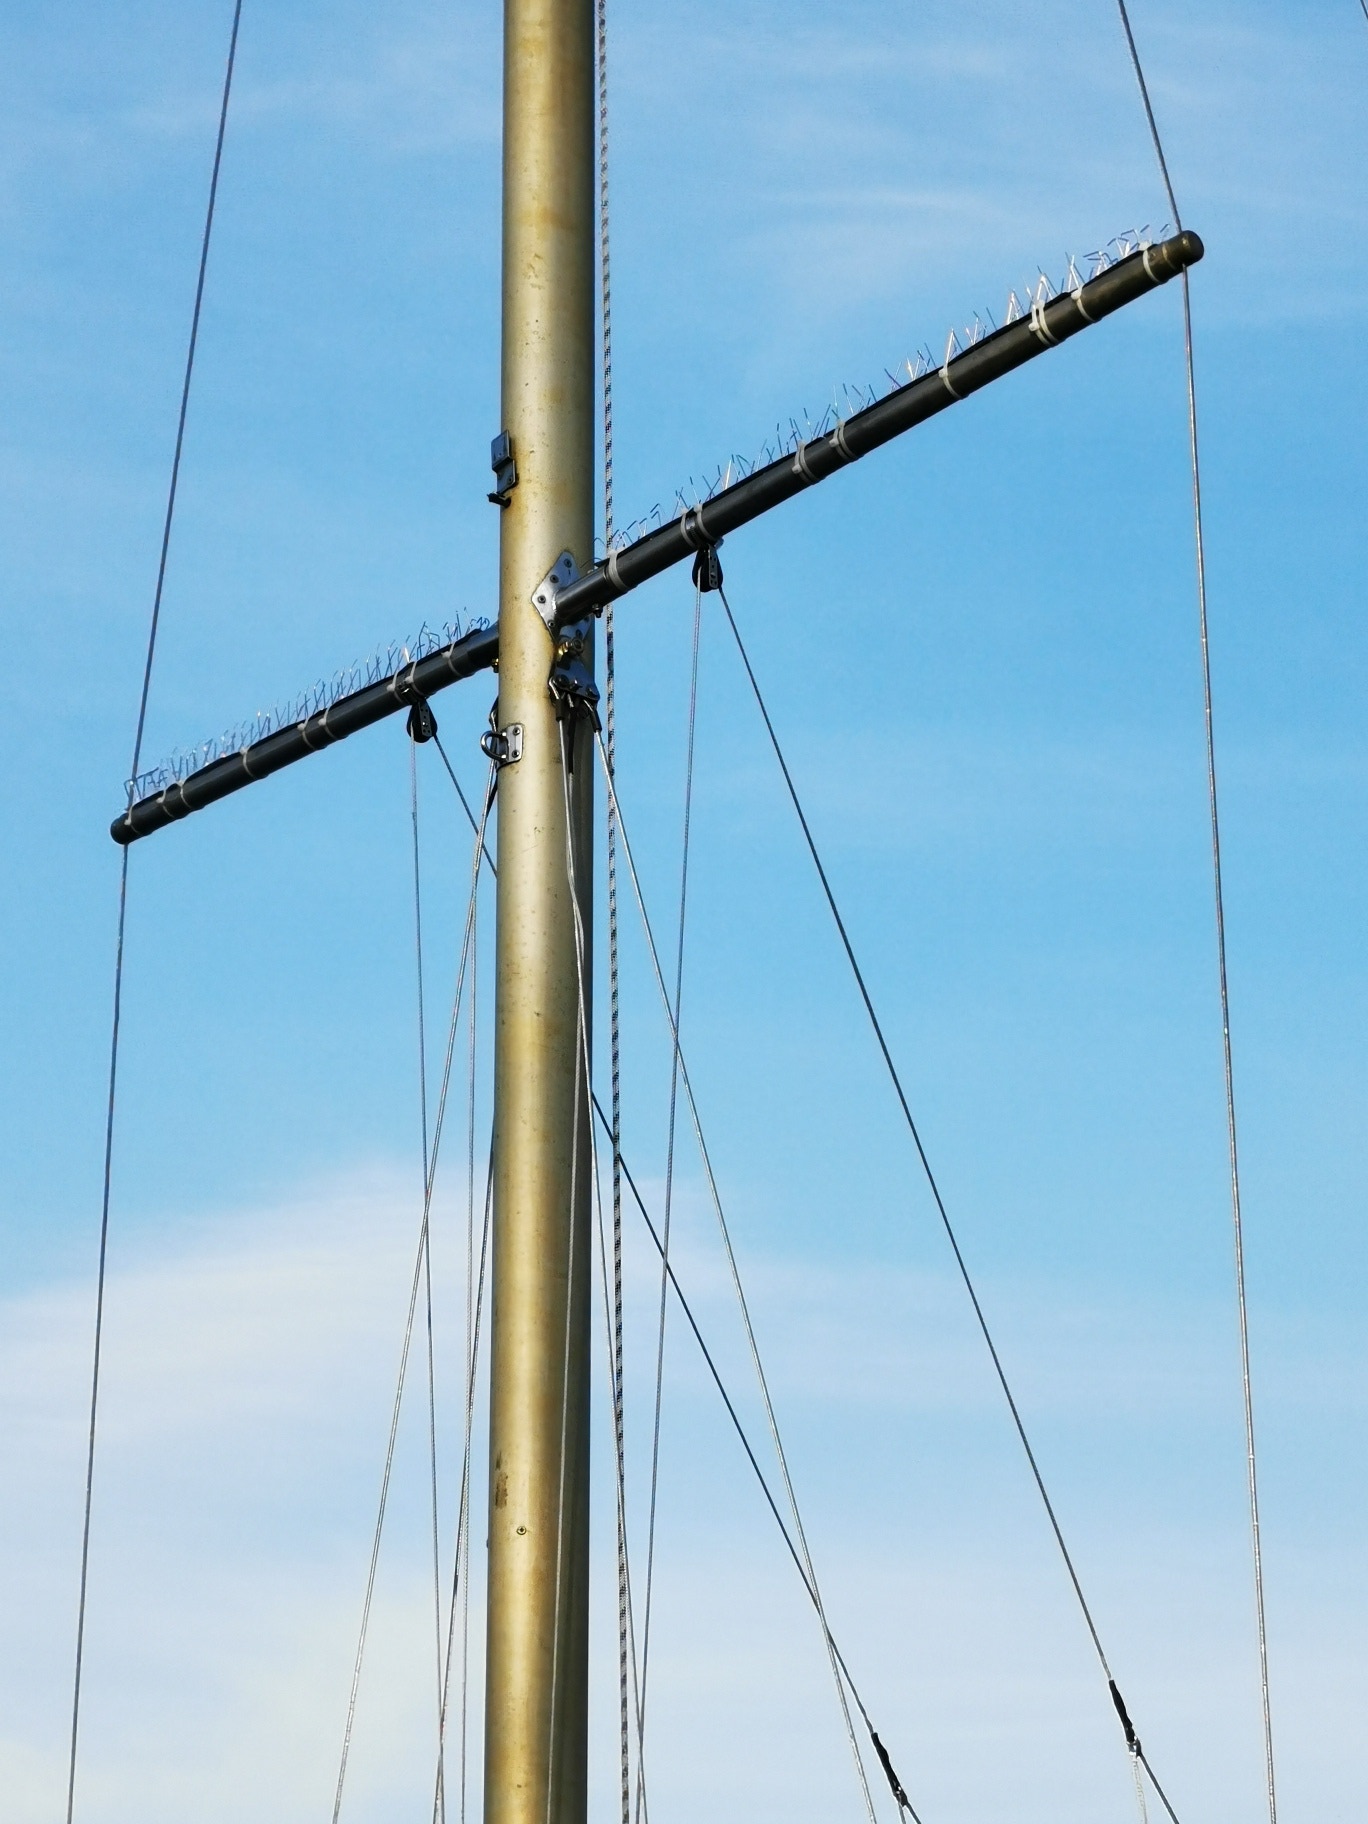
To set and lay the mast, I also build a so-called „Toten Mann“ so that I can safely handle the mast without any help. Pictures will follow shortly.
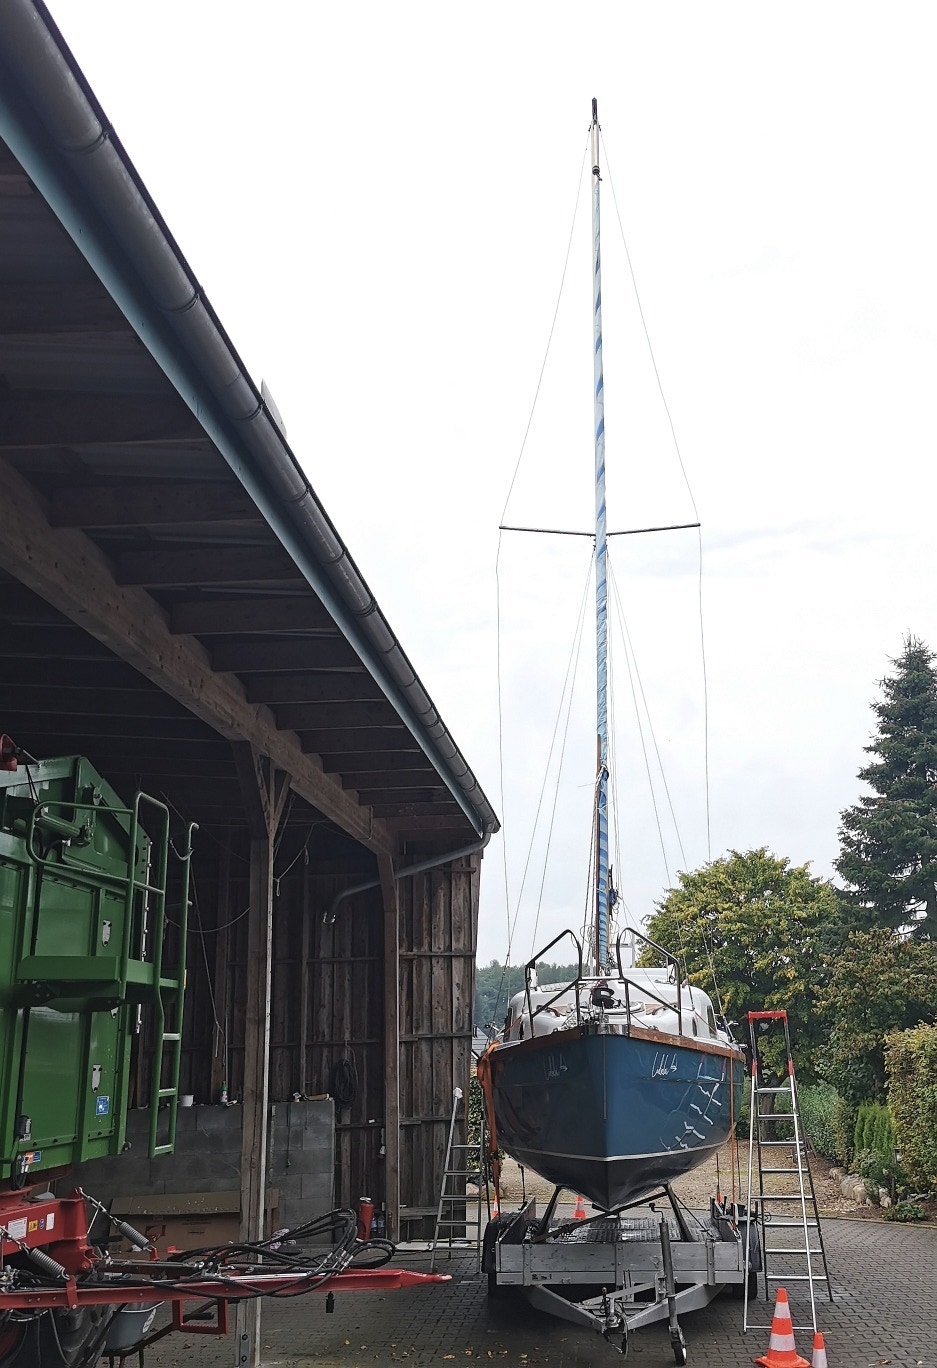
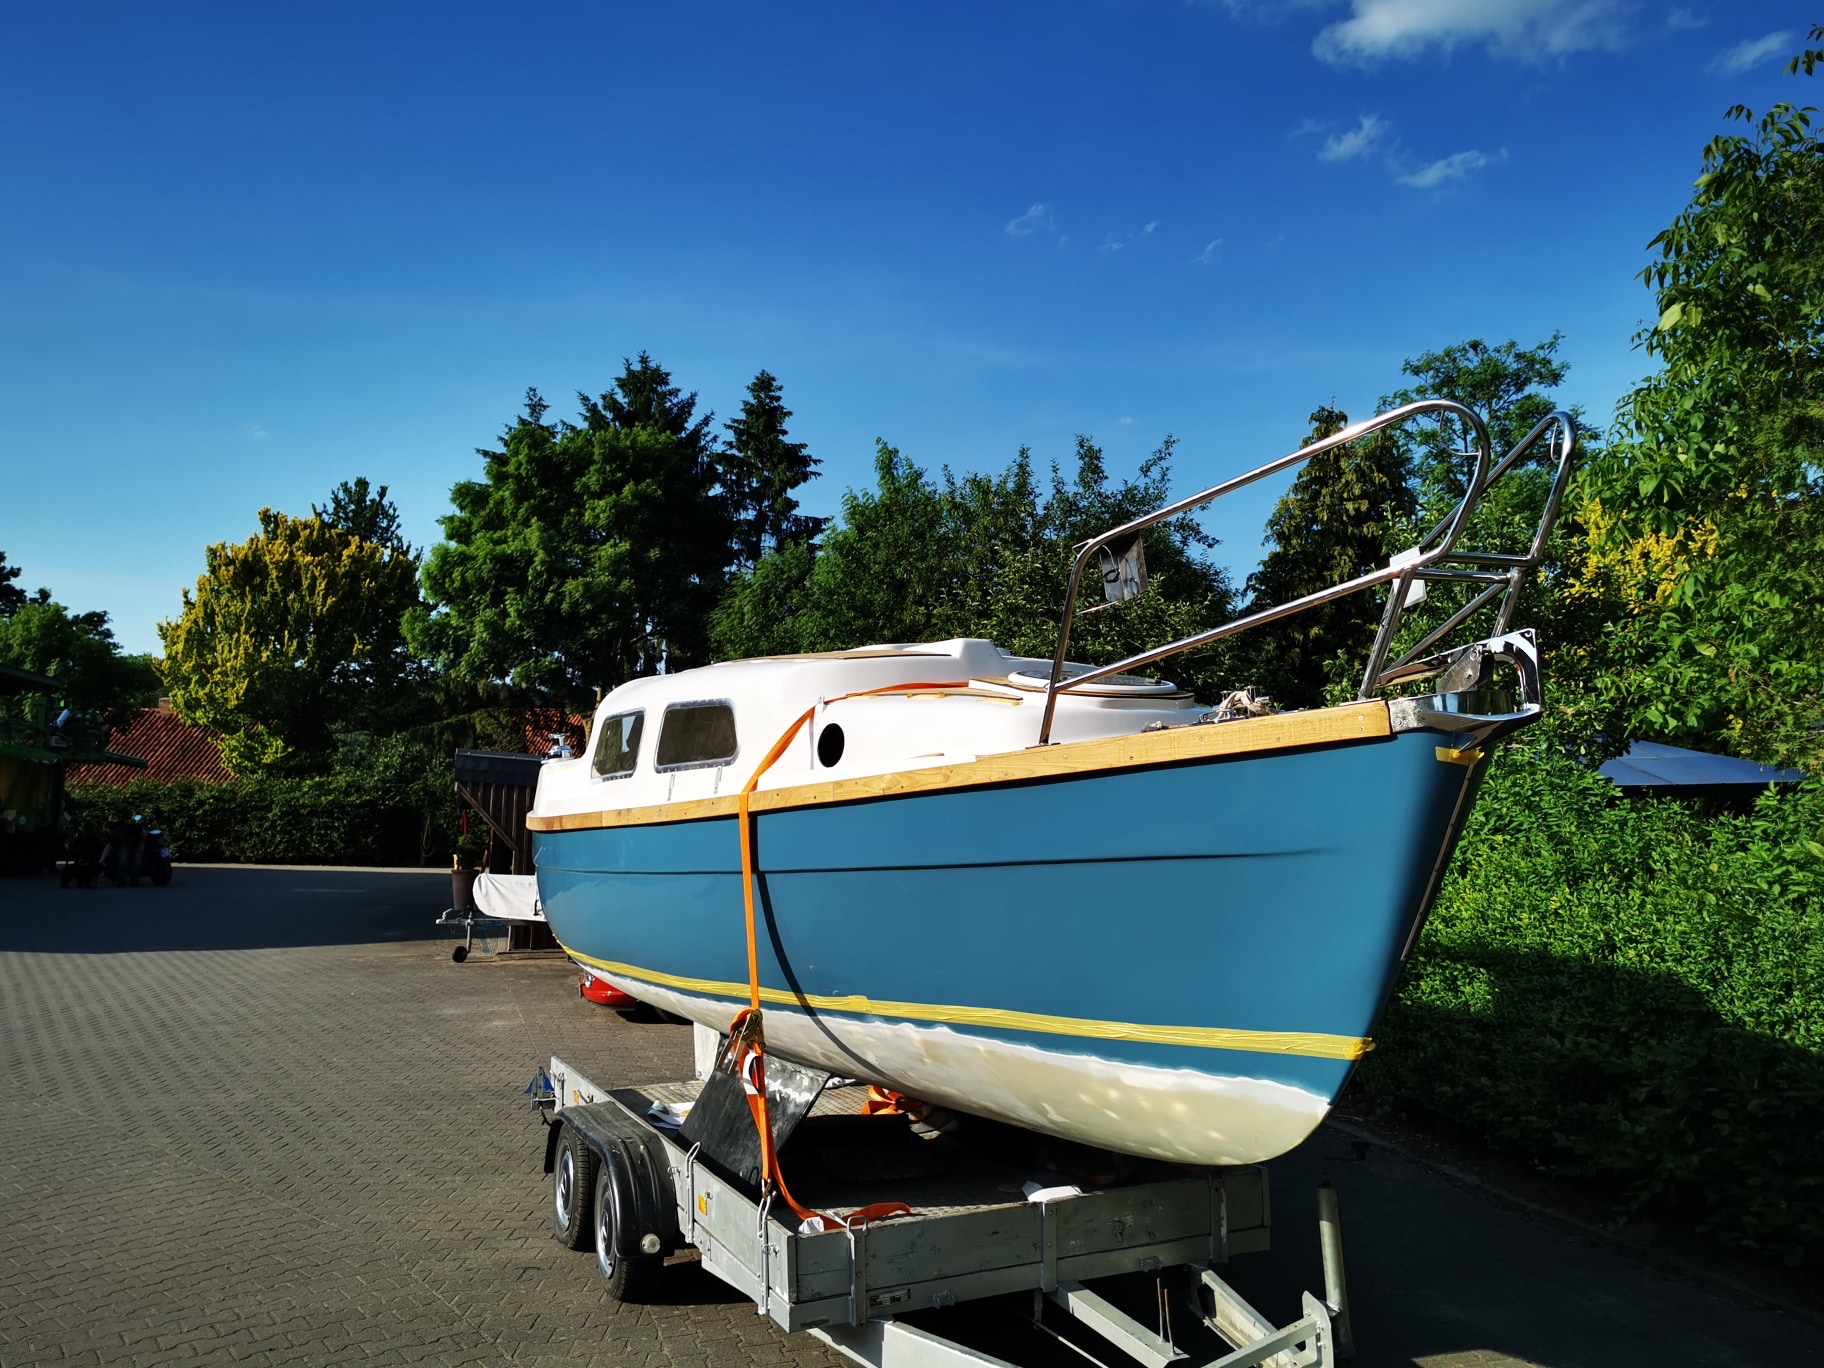
19.9.2021
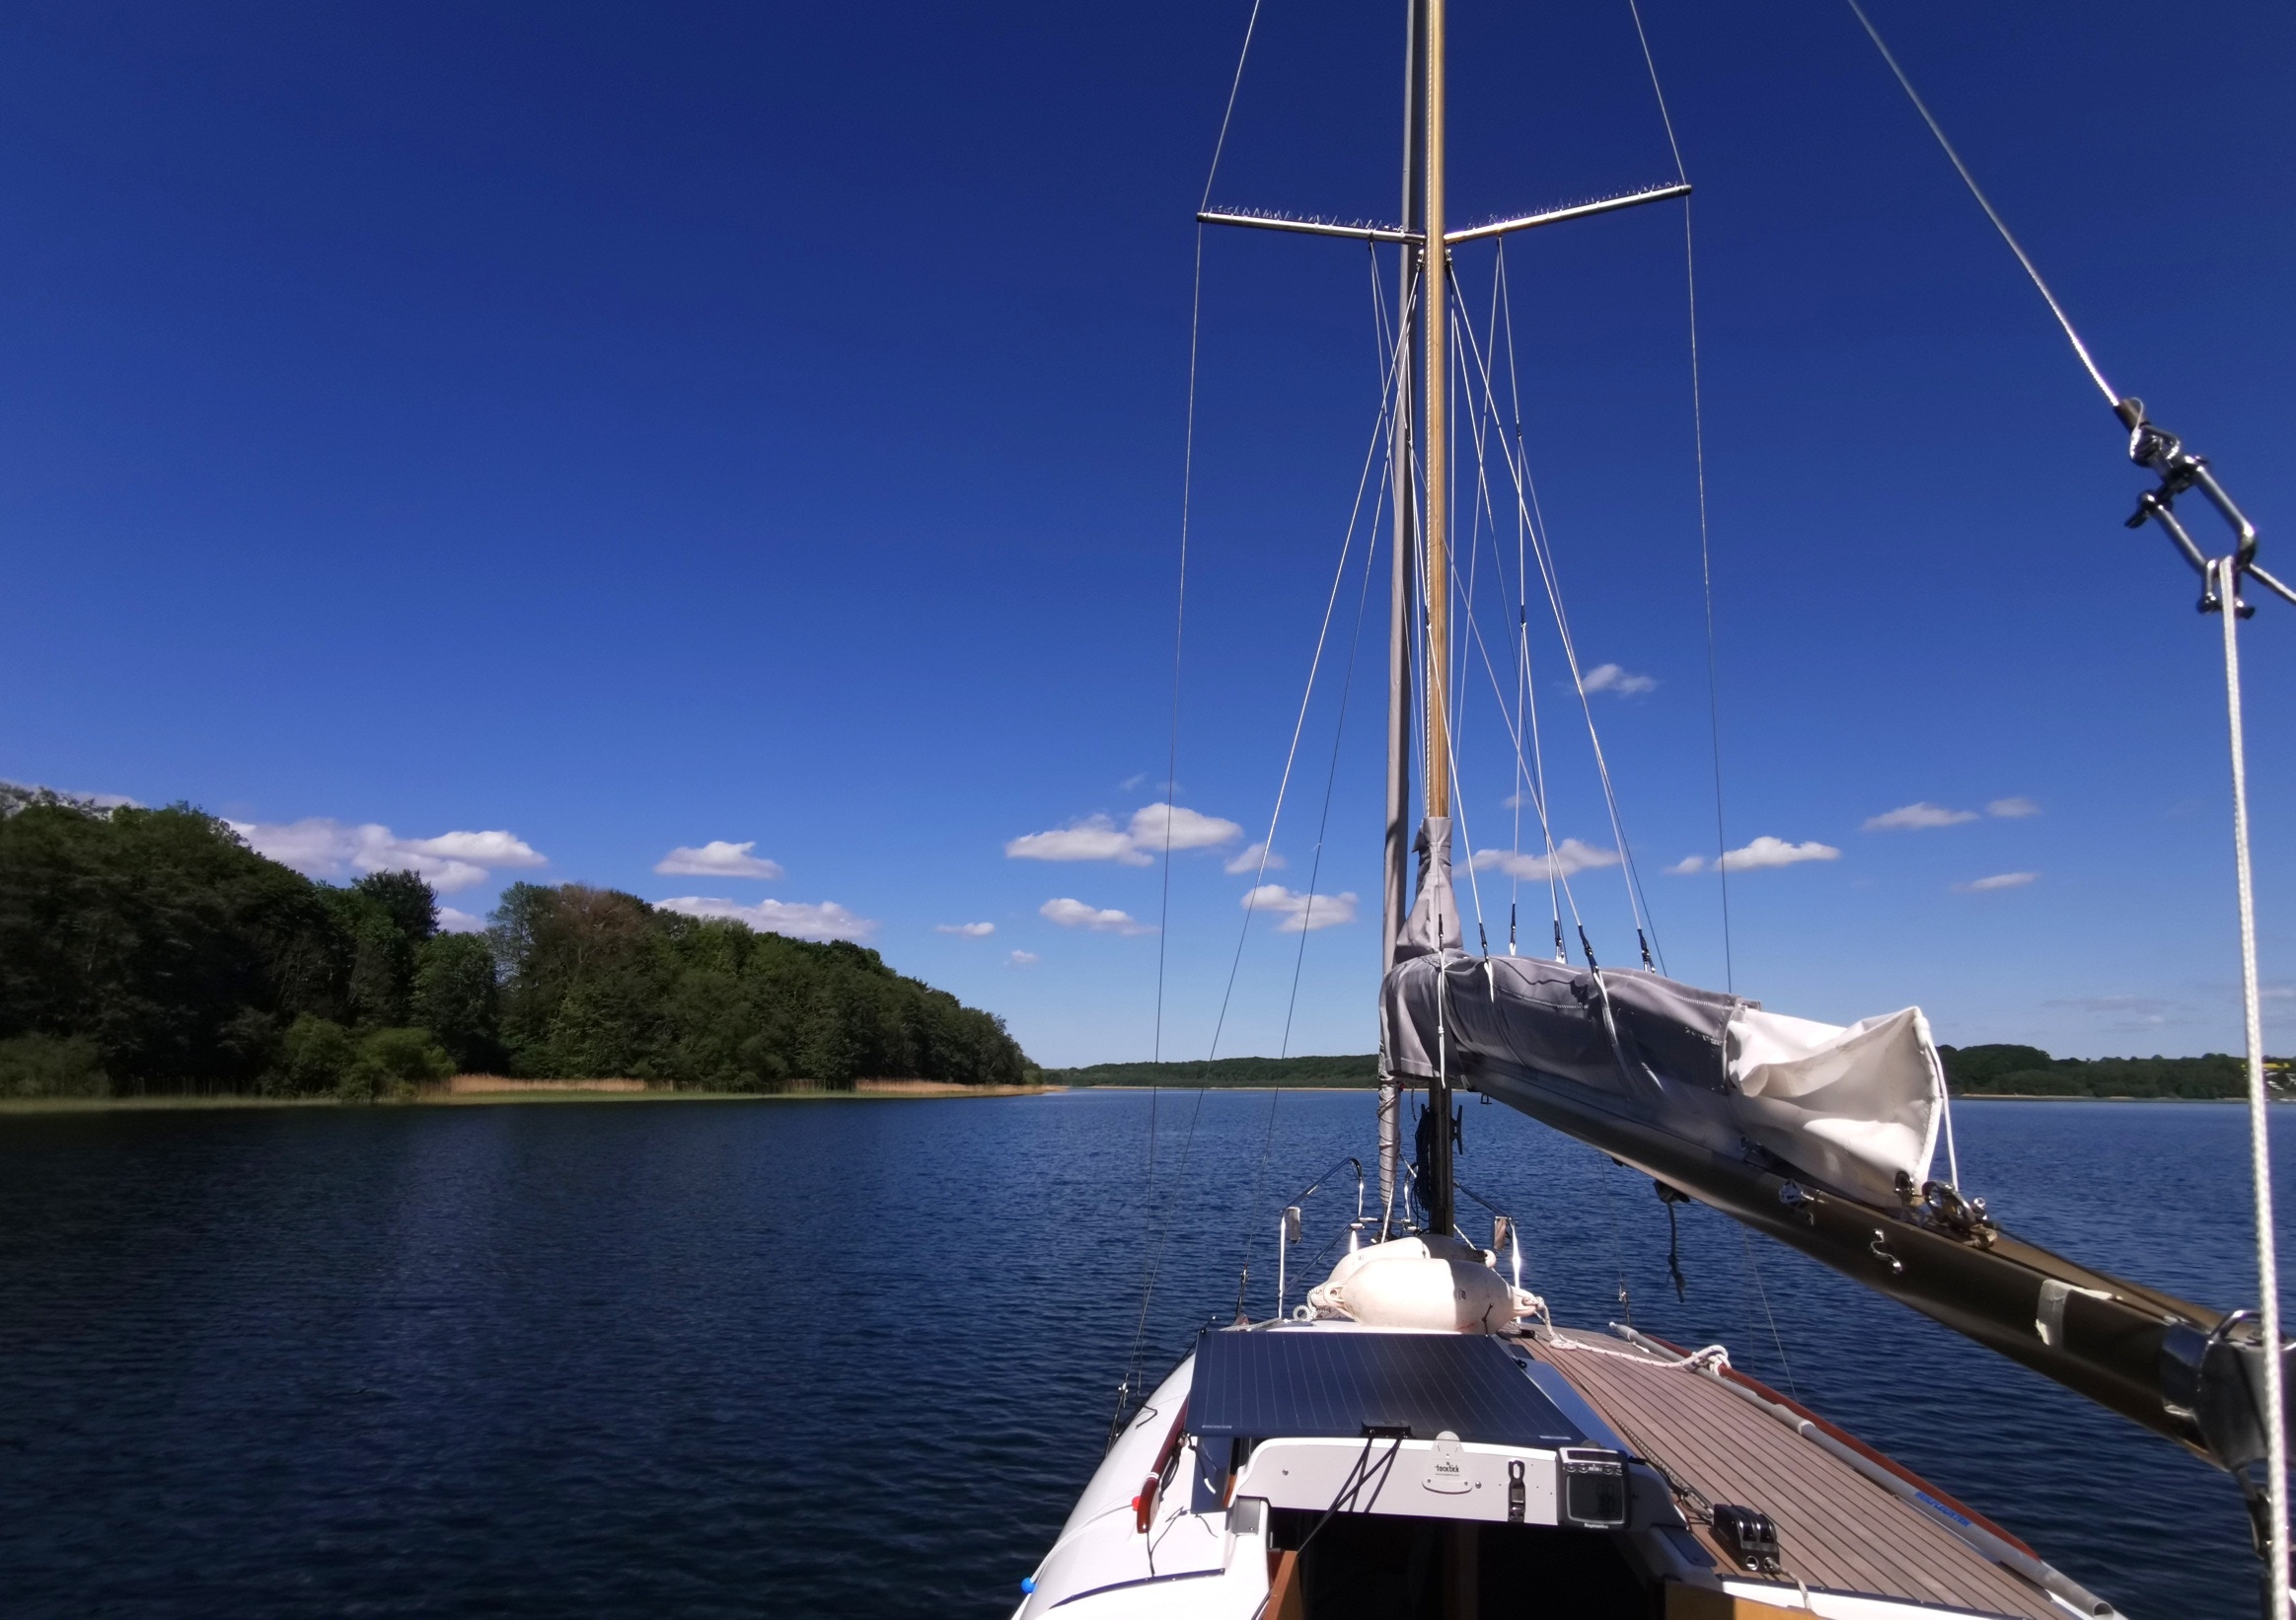
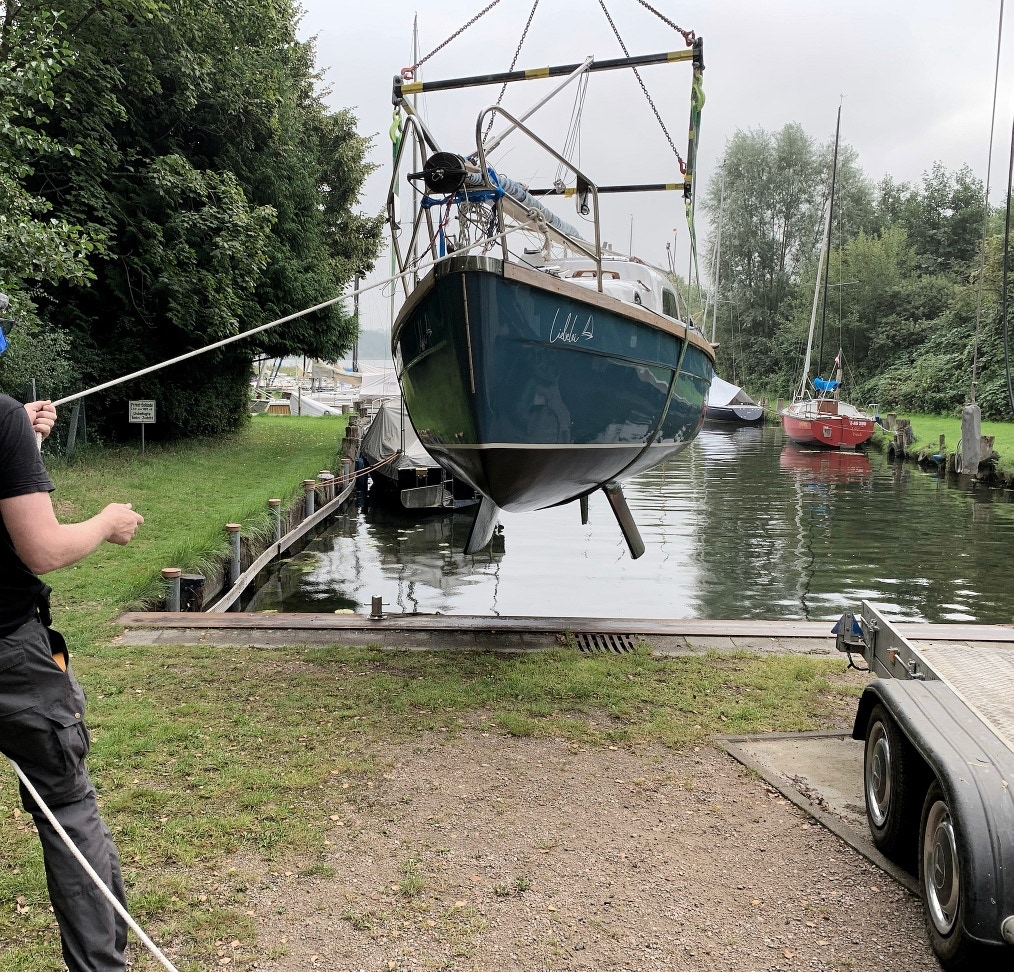
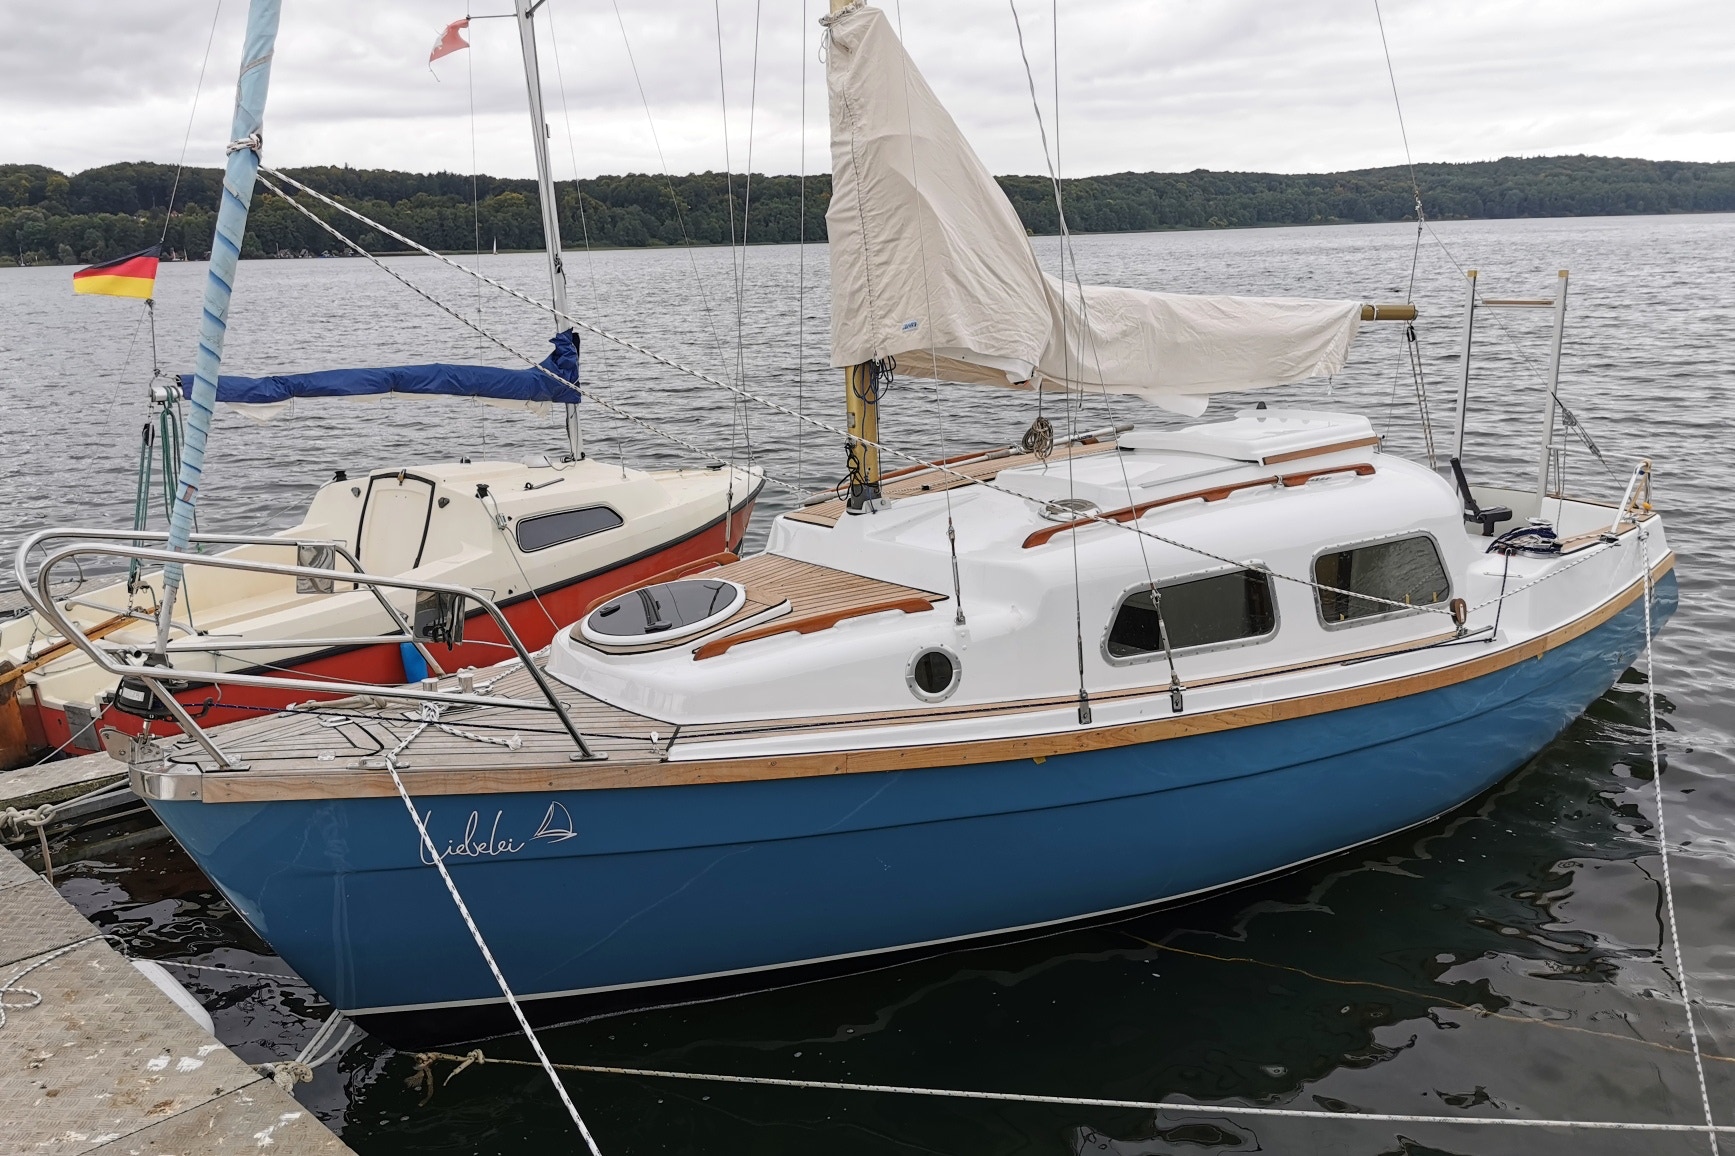
So, on September 11th, 2021 I finally put my "Liebelei" in the water. It was a long way to get here and I was accordingly excited about the first sailing experience and how all the changes to the boat will affect the sailing behavior.
The "Liebelei" shows a very stable sailing behavior on the water, accepts the wind excellently and with a strong heel it remains course stable and the rudder does not have any particularly high rudder pressure.
The stern extension lies well in the water as planned and during the test drives I never had the feeling that the extension had a negative effect on the boat's handling.
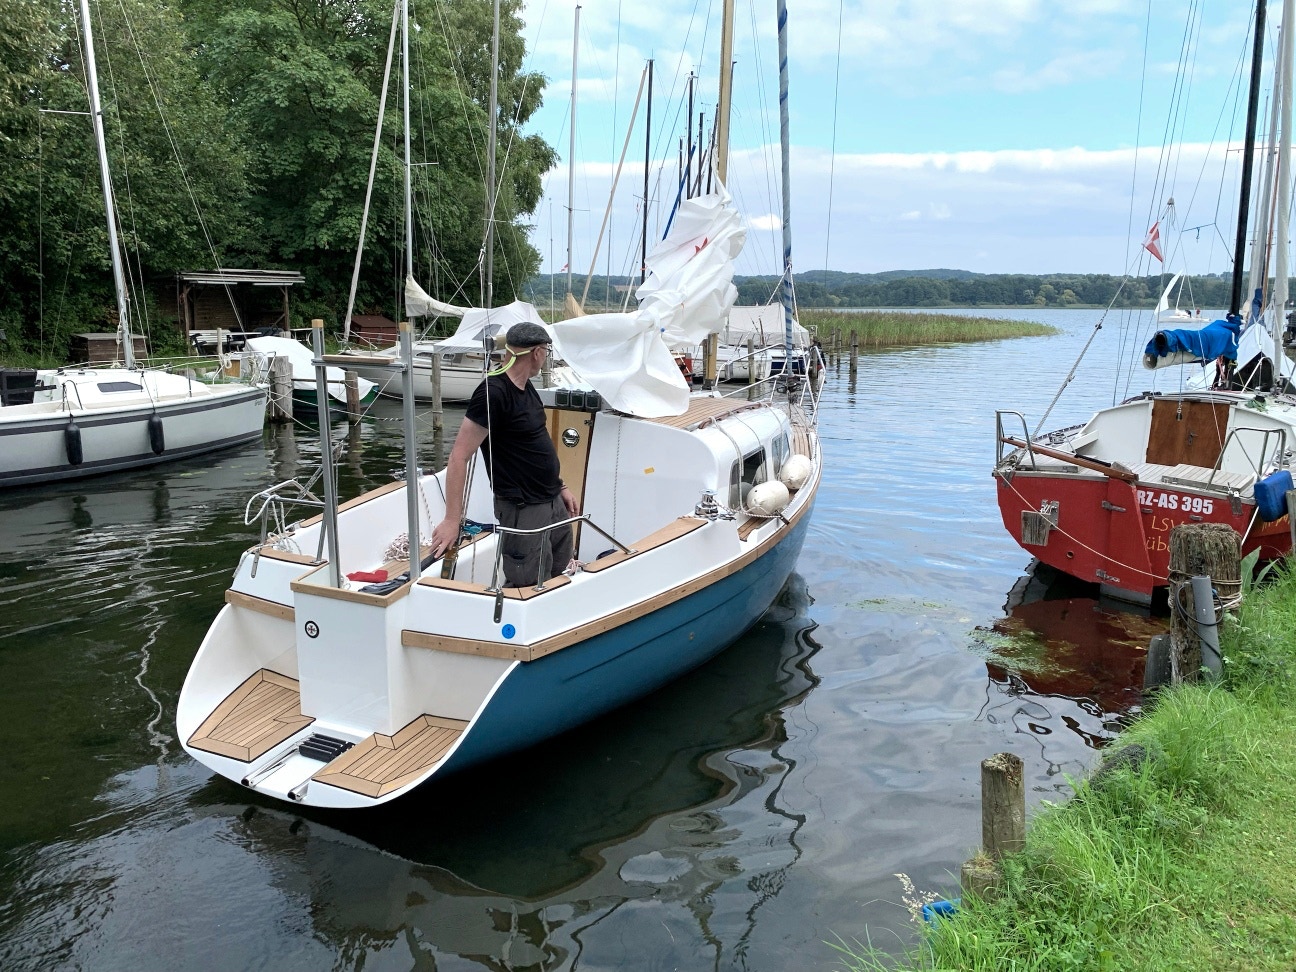

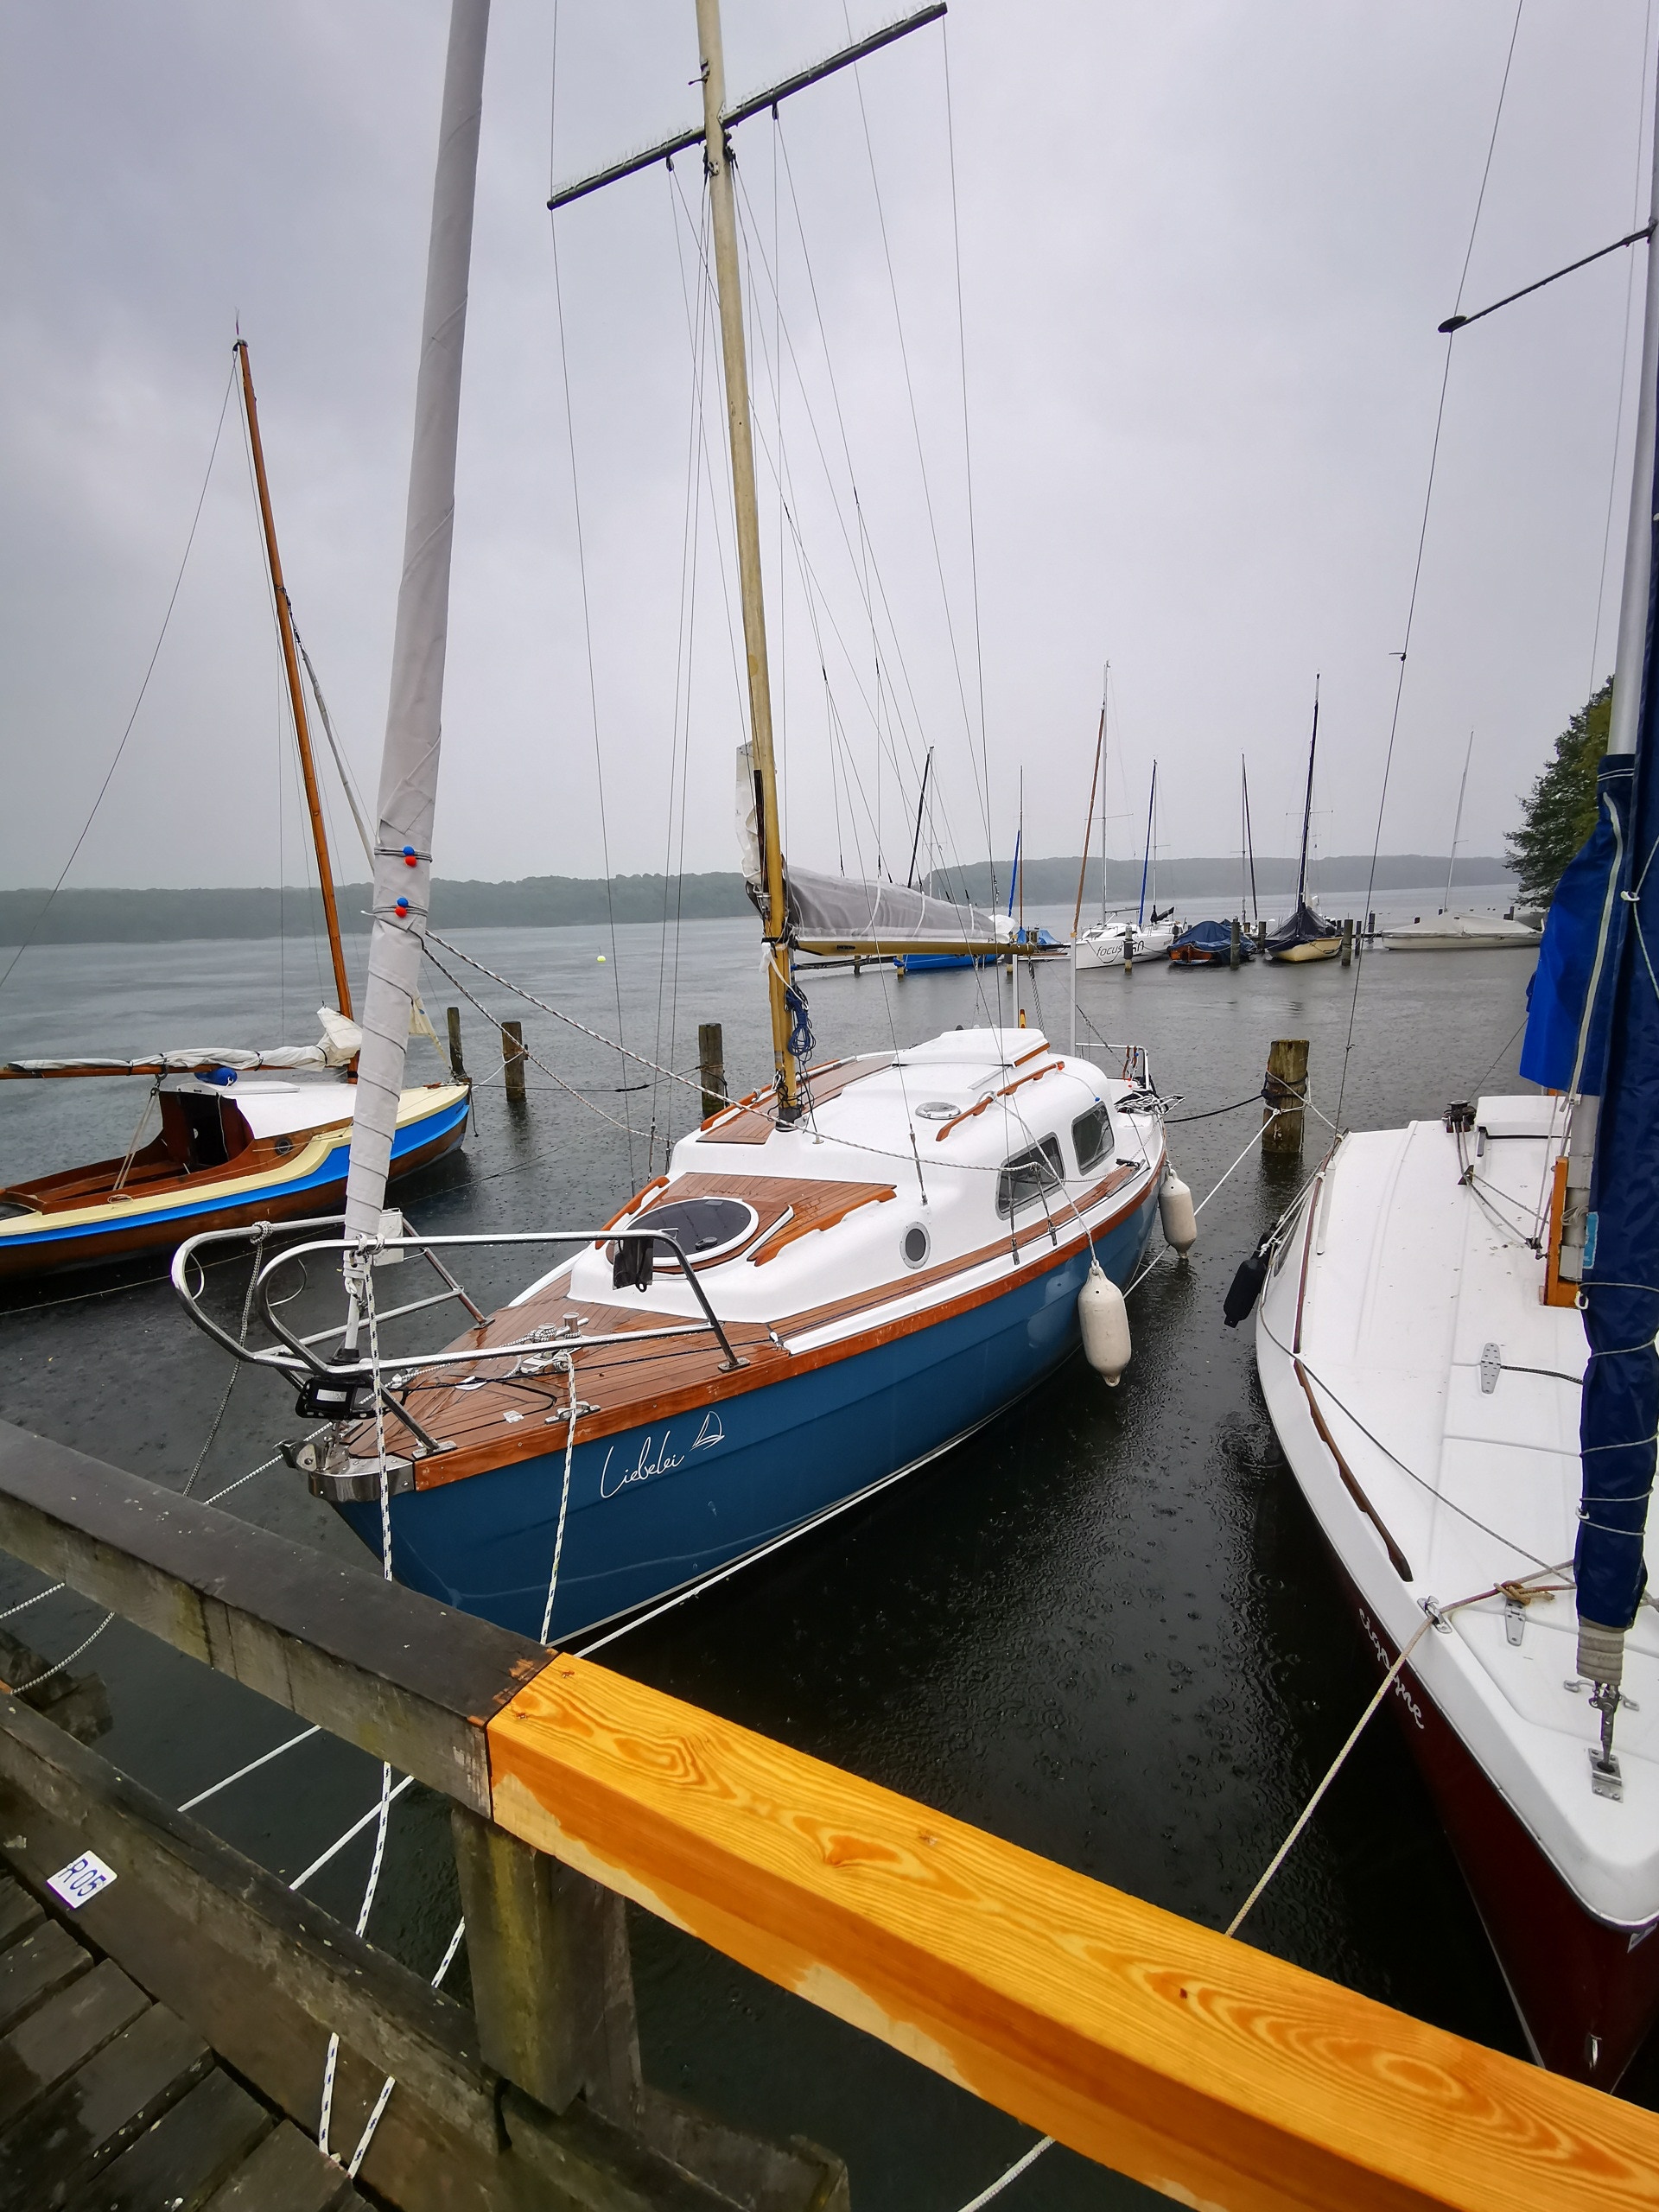
Ma y 2022
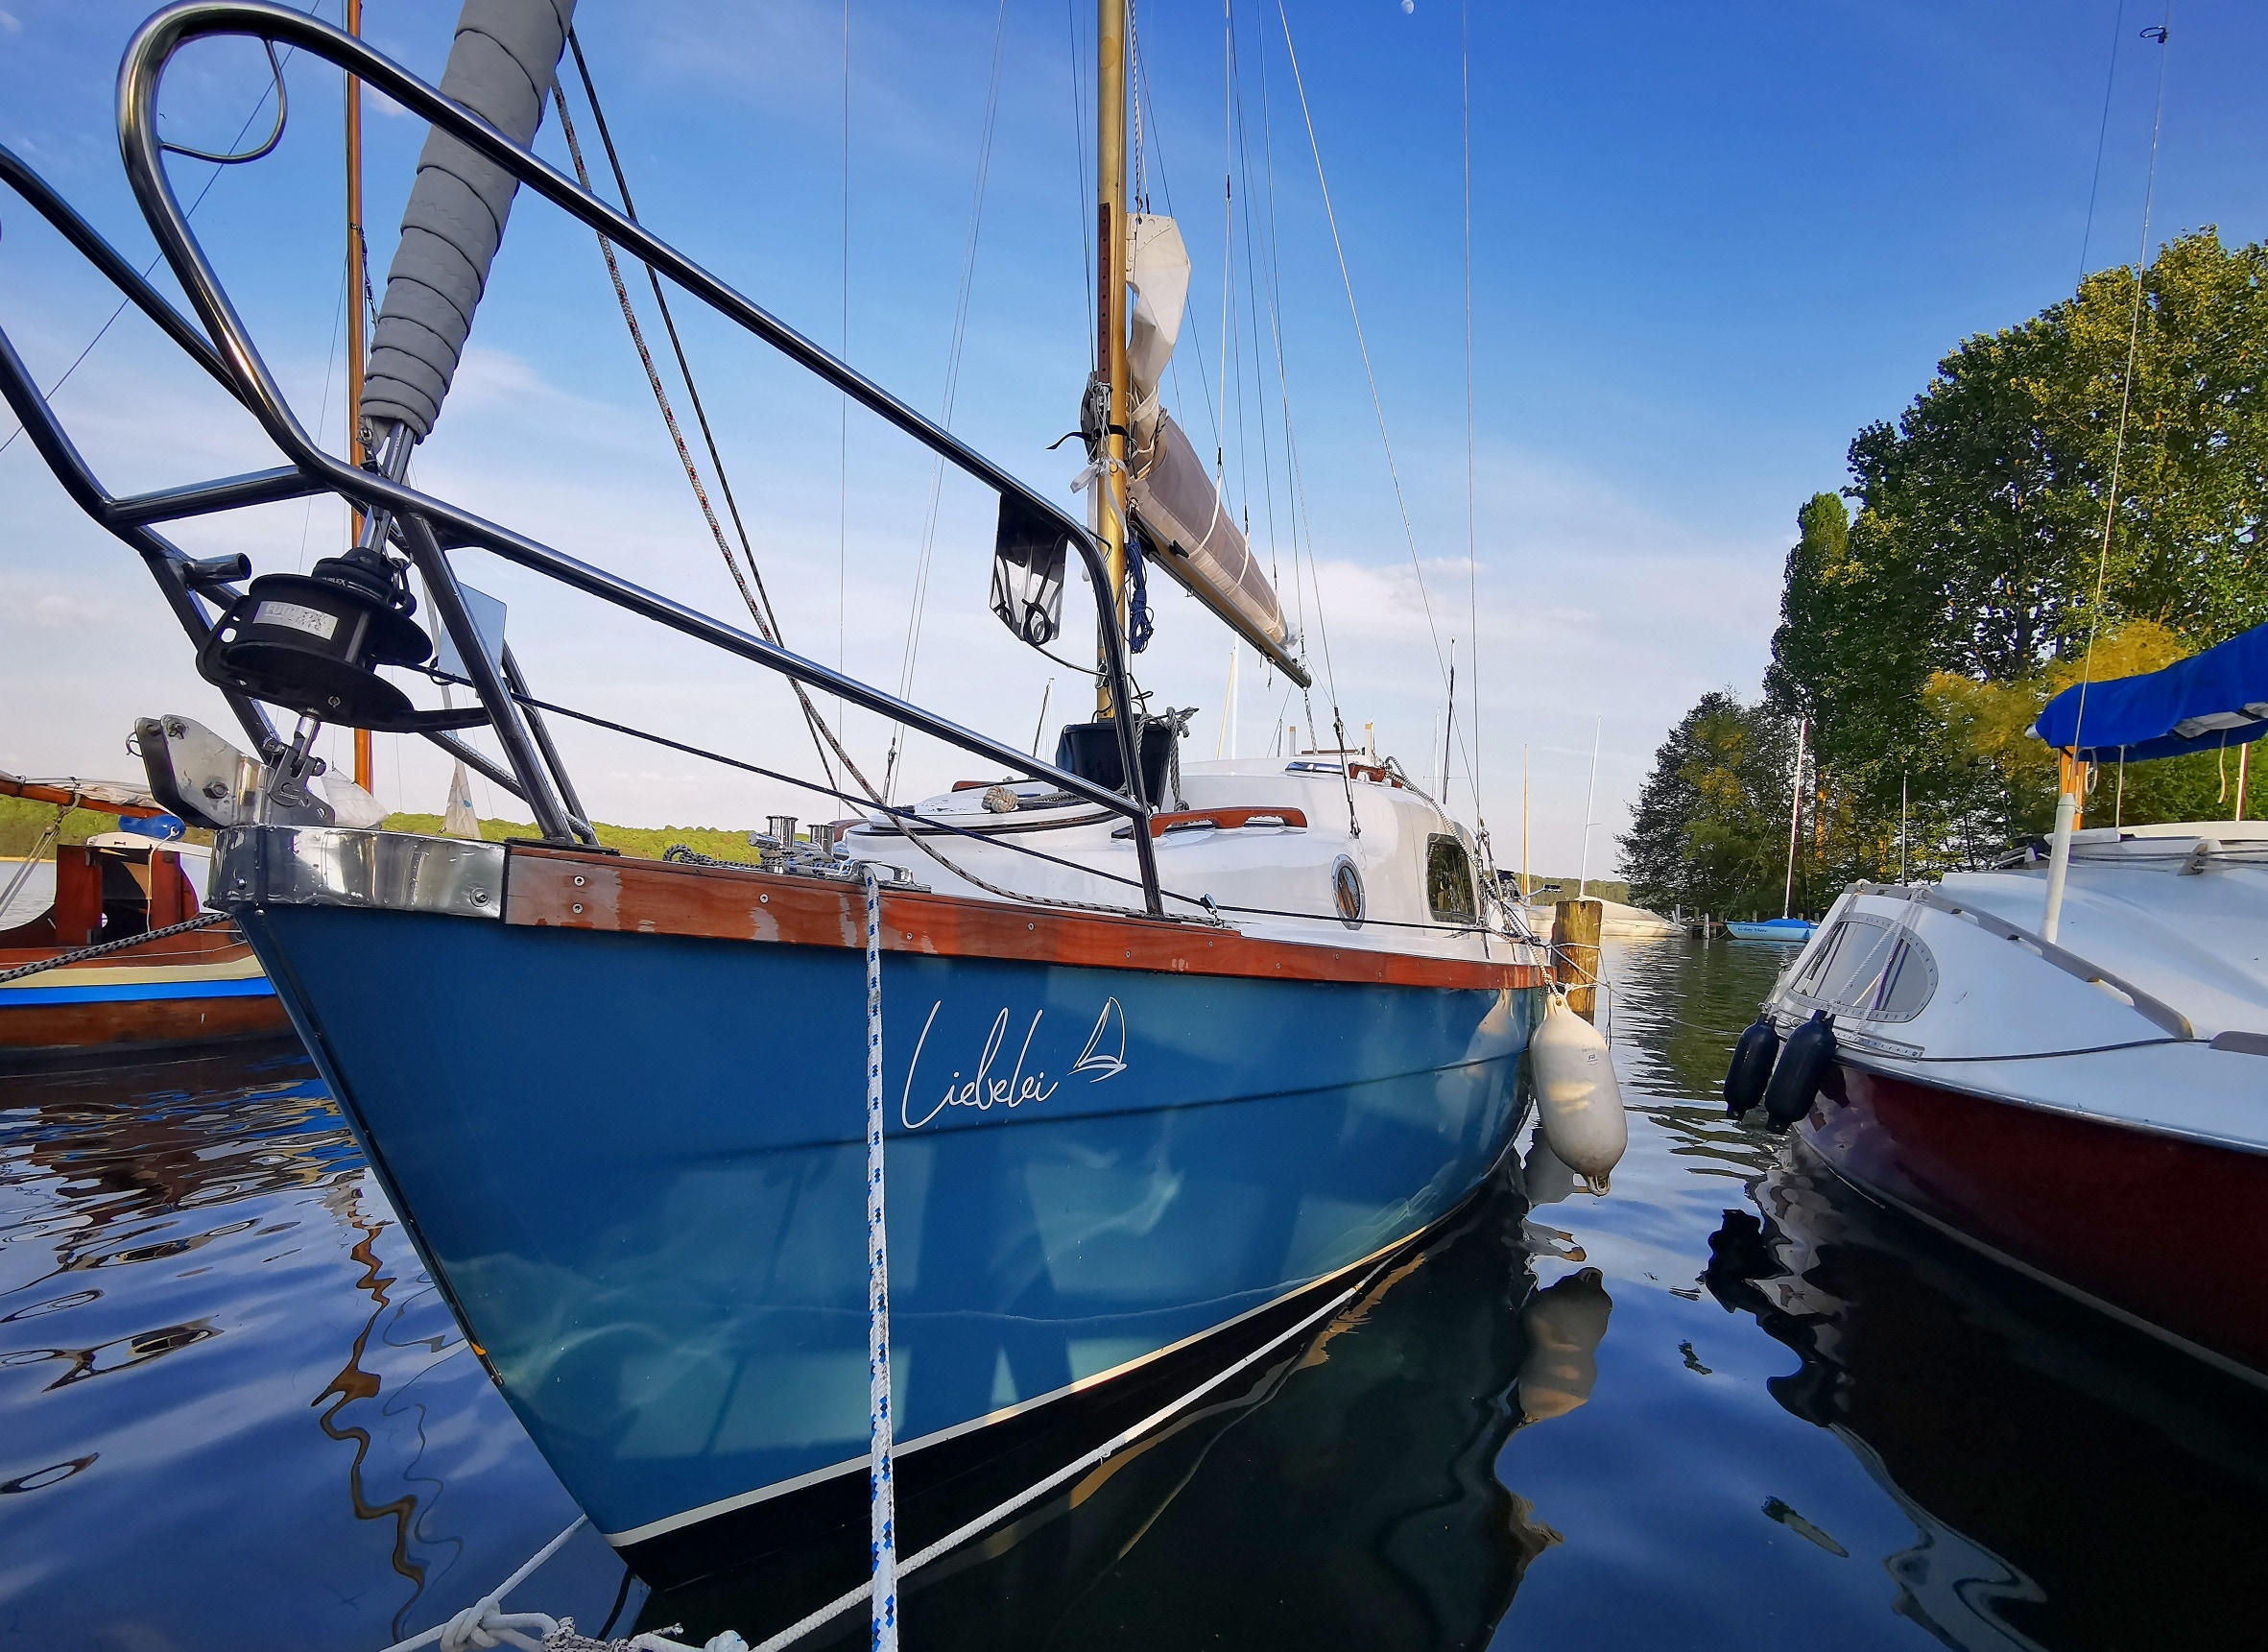
The "Liebelei" is in the water and now my boat can give me back what I put into it over the past 3 years.
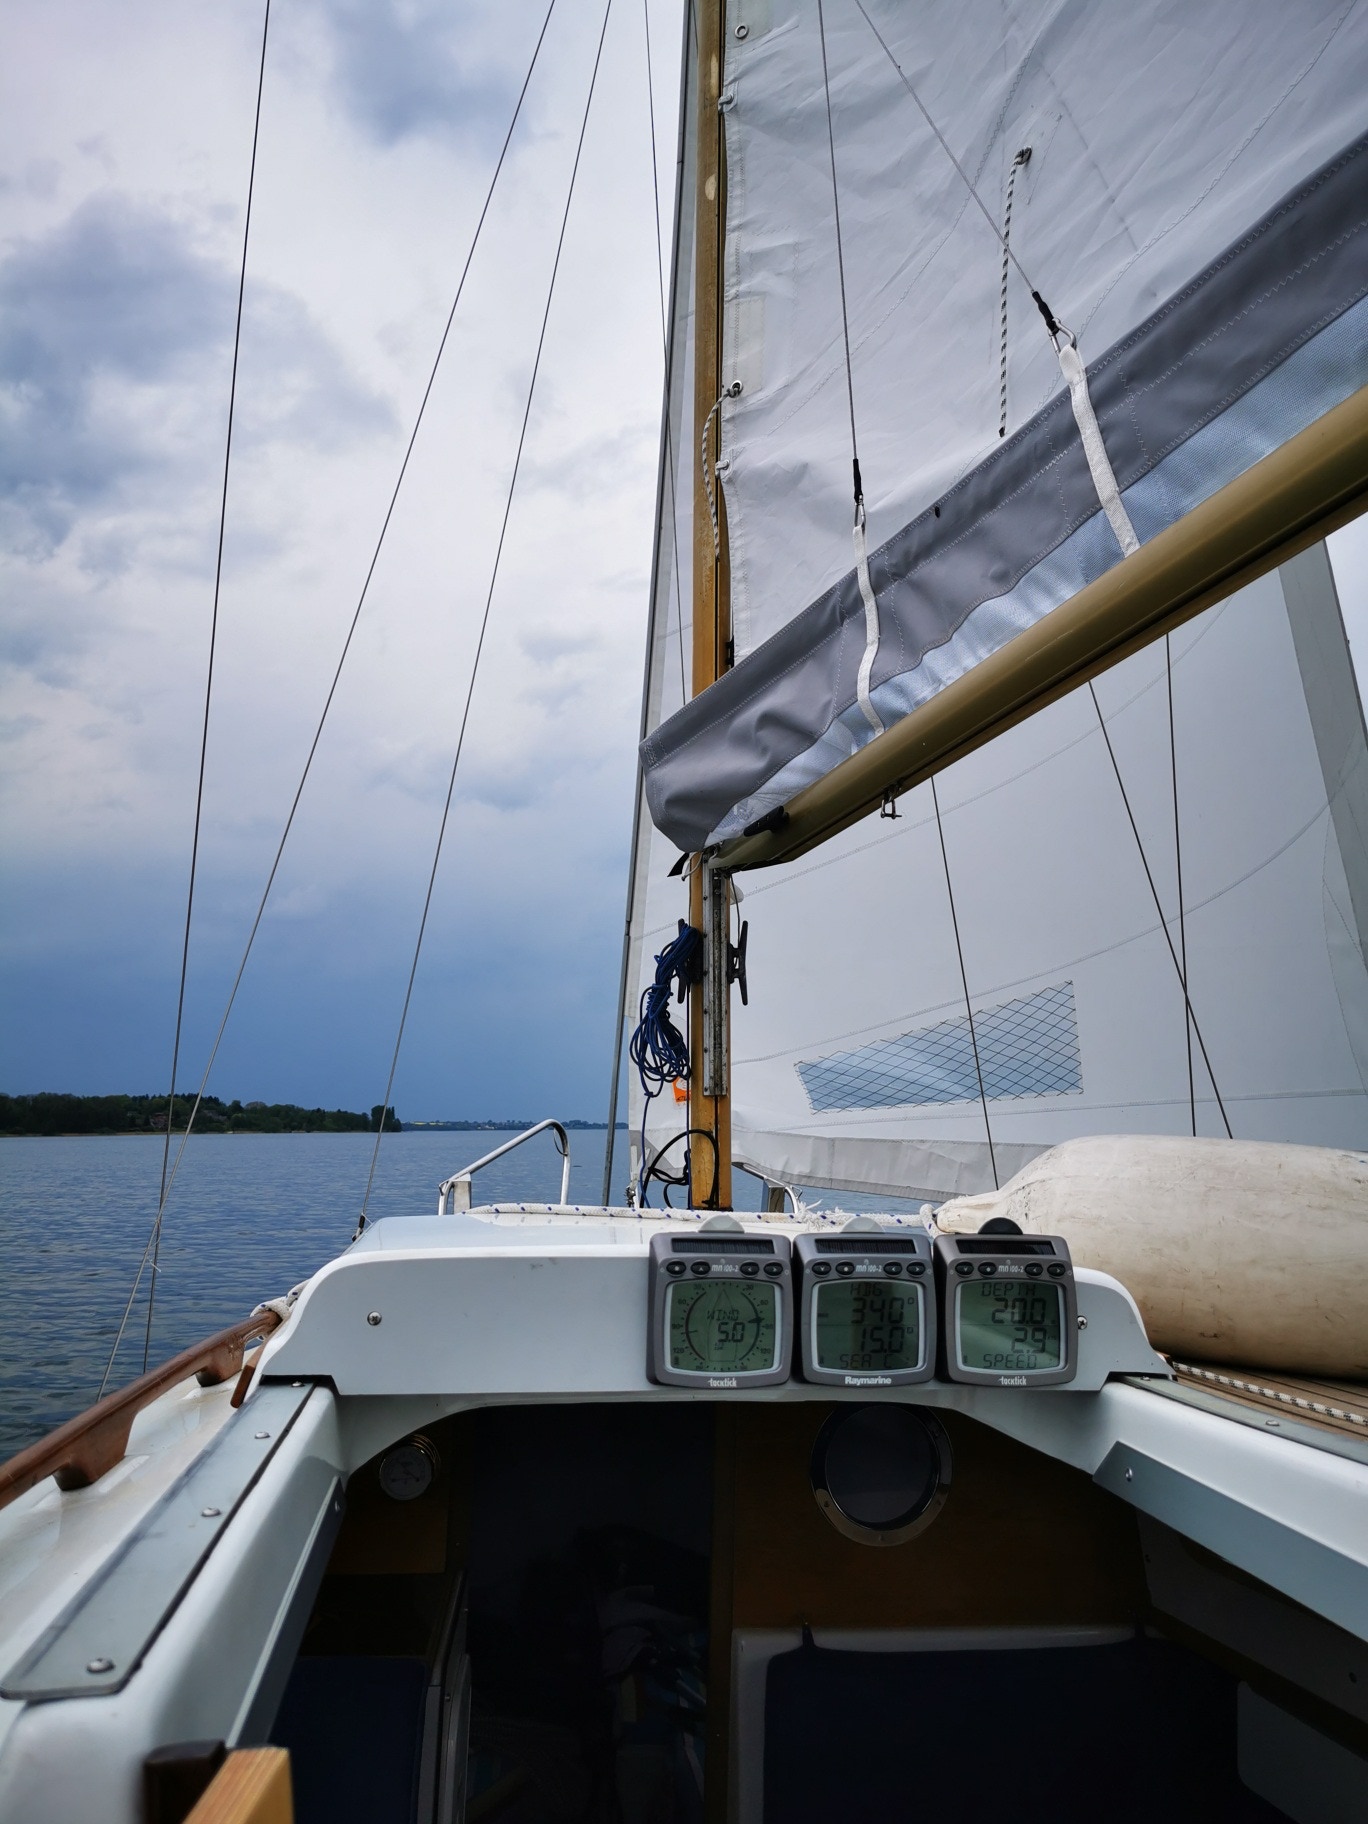
The new genoa sail is still a bit stiff when furled on the Furlex, but over time the sail will soften a bit. I attached the Lazy Jack and Lazy Bag perfectly and both serve their purpose perfectly. Here, too, the new mainsail still behaves a bit stiff when lowering.
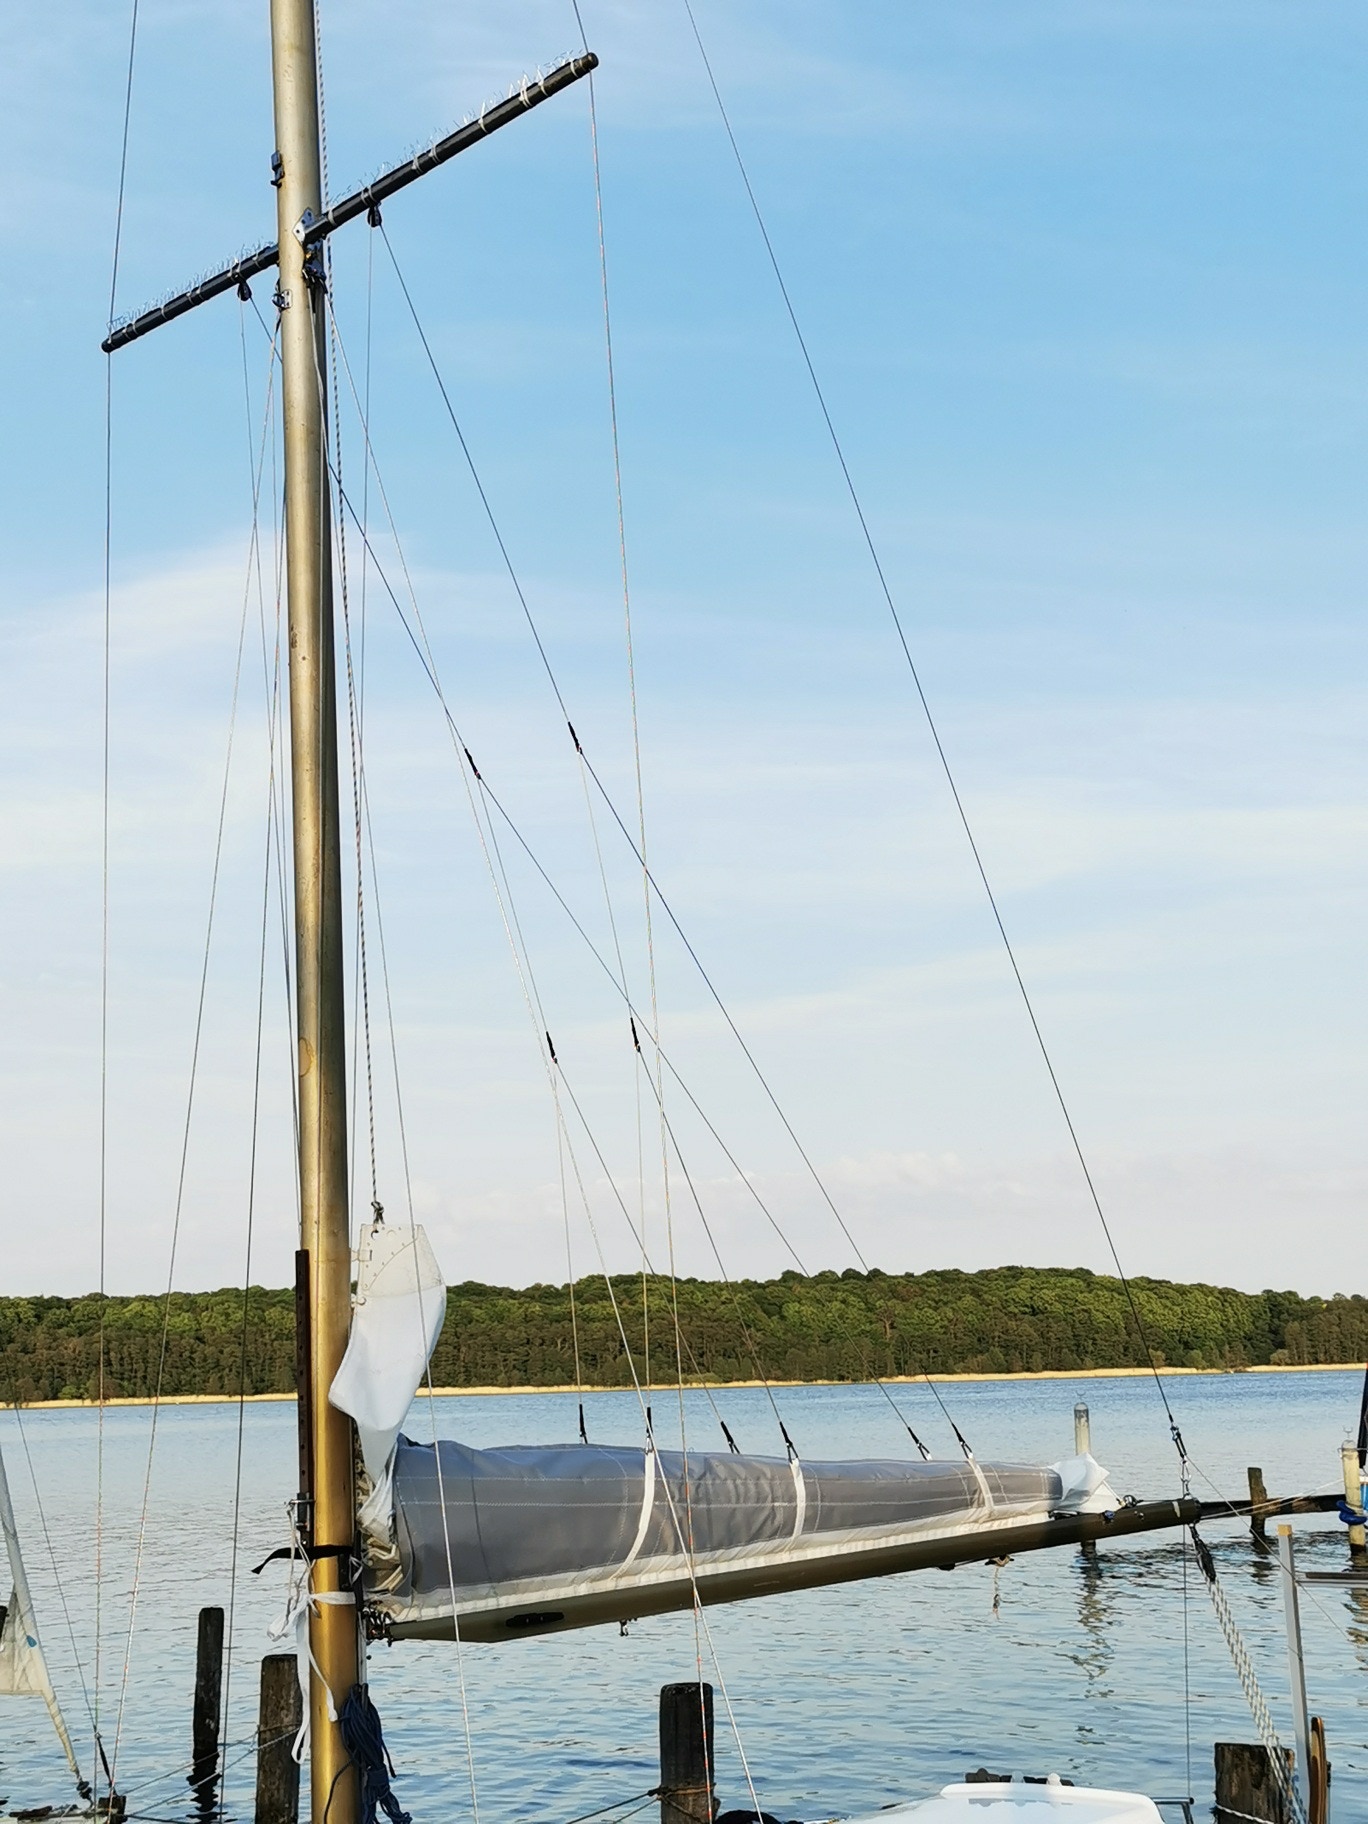
The new lazy bag and lazy jack do an excellent job and the new, still stiff sail falls perfectly into the lazy bag when the sail is lowered.
If I have time, I would also like to add the production or dimensioning of the Lazy Bag System as a separate section to my blog.
But Later more :-)